Anyone that’s ever used a word processor knows that fonts are an easy way of enhancing your document. Knowing which fonts are currently available on your system makes it easier to design your files to fit certain themes or criteria. But where can you find these fonts and how can you add or delete them?
In this article, we’ll show you where Windows stores its fonts, and how to add and manage fonts in your system.
Where Does Windows 11 Store Fonts?
Windows 11 has a specialized folder in which it stores its system fonts. The default location of this folder is C:\\Windows\Fonts. If you installed Windows 11 on a separate disk, you’ll need to navigate to the Windows folder in that drive and look for the Fonts folder. Alternatively, you can access it from the taskbar by doing the following:
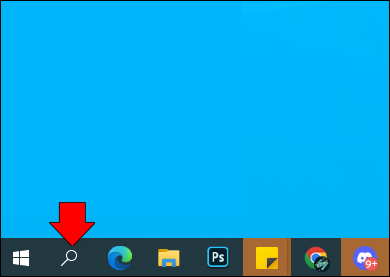
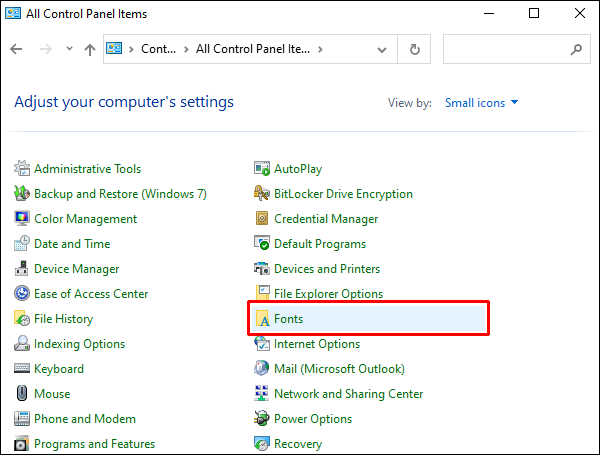
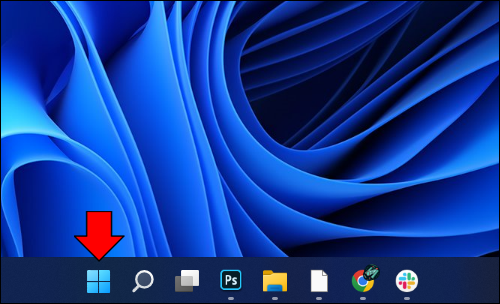
- Click on the magnifying glass icon on your taskbar.
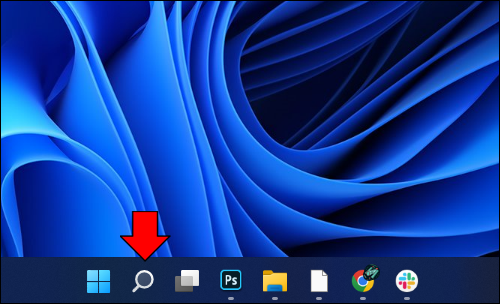
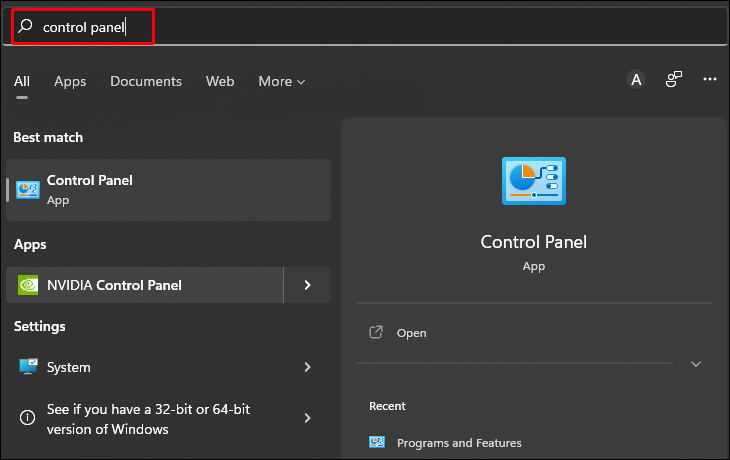
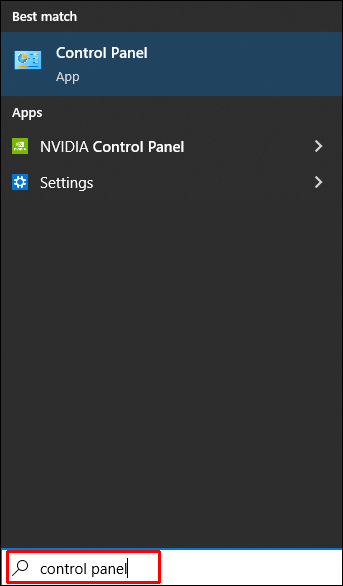
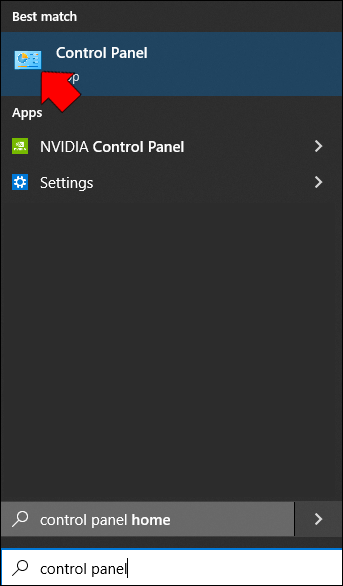
- Type in Control Panel.

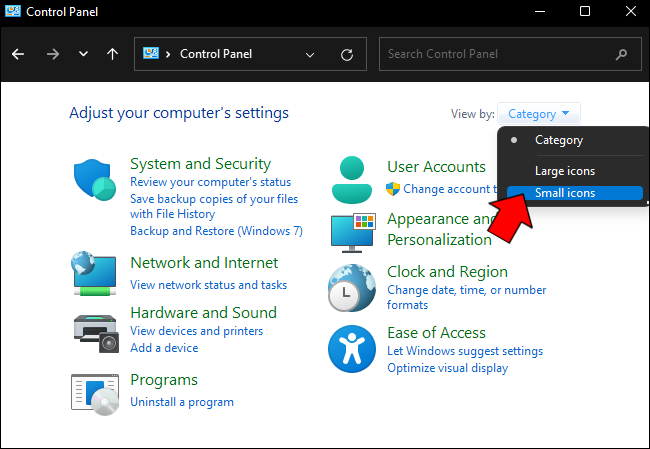
- If your Control Panel window is on Category view, click on the dropdown arrow beside view and choose small icons.
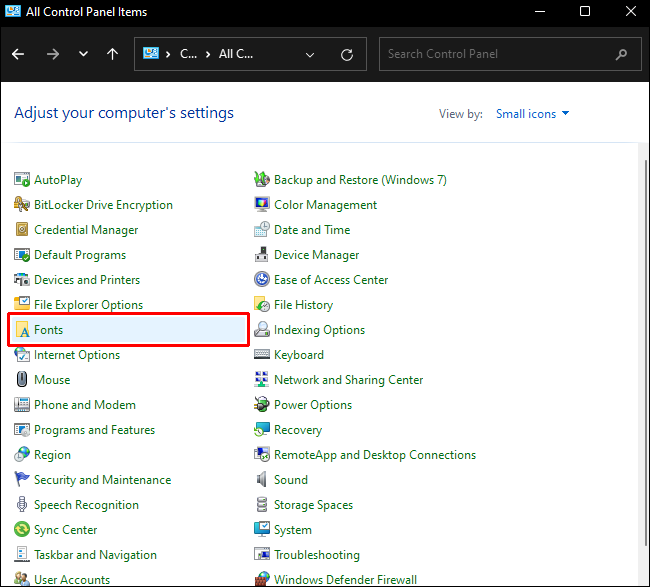
- Find and click on the Fonts folder.
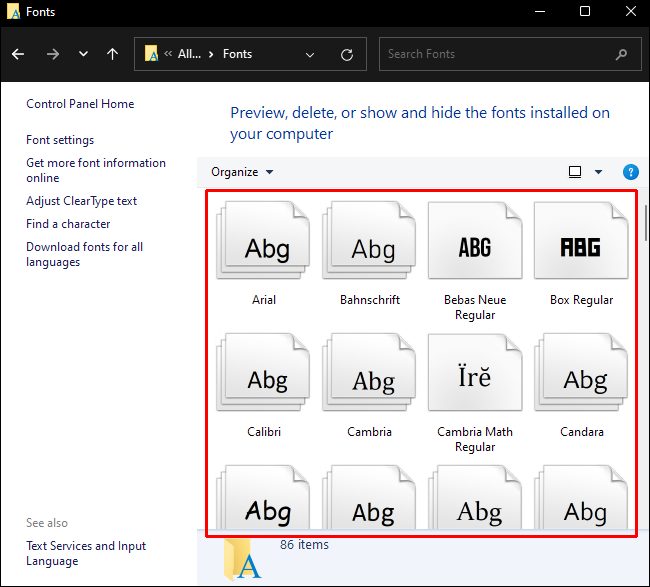
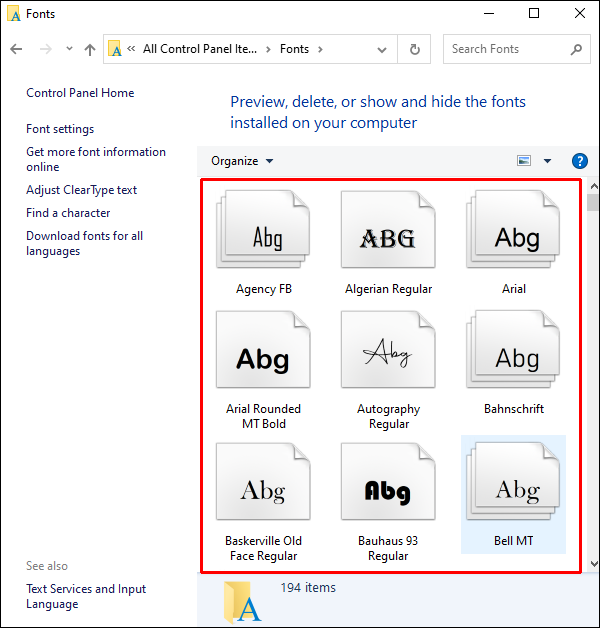
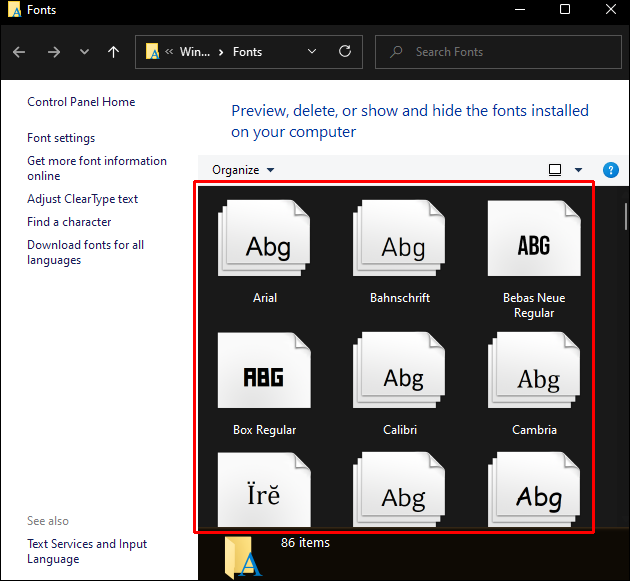
- You’ll now be shown a list of the available fonts on the system. If you wait for the folder to finish loading, you will be given a visual preview of the available fonts.
Where Does Windows 10 Store Fonts?
Windows 11 and 10 share similar storage locations for fonts. The default C:\\Windows\Fonts location for Windows 11 is the same for Windows 10. As above, you can also locate the Fonts folder via the Control Panel by doing the following:
- Click on the search icon on your taskbar.
- Type in Control Panel.
- Click on the Control Panel Icon.
- On the window, switch from Category view to Small icons by choosing it from the view dropdown menu.
- Click on the Fonts folder.
- To see previews of each, wait for the folder to completely load.

Where Does Windows 7 Store Fonts?
Windows 7 shares the same Fonts folder as the other Windows versions, located at the default address of C:\\Windows\Fonts. If you installed Windows on a different drive, replace the C: with the drive letter of the disk that you installed your OS in. Fonts can be found via the Control Panel by using these steps:
- Click on the Windows icon on your taskbar.
- On the popup menu, choose Control Panel on the right side.
- If your Control Panel is on Category view, click on the dropdown arrow and choose Small icons.
- Find the Fonts folder and click on it.
- You’ll now be shown a list of all available Fonts on your computer.
Alternative Location Method for All Windows Versions
There’s an alternate method of opening the Font folder directly without having to go through the Control Panel. The method is similar on Windows 11, 10, and 7. This can be done by:
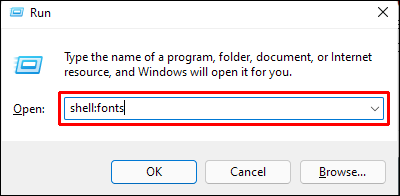
- Pressing the Windows button + R on your keyboard.
- On the text box type in
shell:fontsor%WINDIR%/Fonts. - Press Enter or click on OK.
- Your Fonts folder should now open directly.


Where to Locate Windows Store Fonts
When installing fonts from the Windows store, Windows will sort these in a different directory. You won’t find your new fonts in the usual C:\\Windows\Fonts folder. The address for these fonts by default is C:\Program Files\WindowsApps\ followed by the filename of the installed font.
How to Add a Font
Adding a font to your system is as simple as installing the associated file. Fonts can be downloaded from a variety of sources, and installation may differ between them. Here are a few common ways of adding fonts to your Windows PC:
Windows Store
Windows has a built-in shop where you can find many free fonts for your system. Using the Windows Store is ideal in that it guarantees compatibility with your computer. Installation is simple and can be done by following these steps:
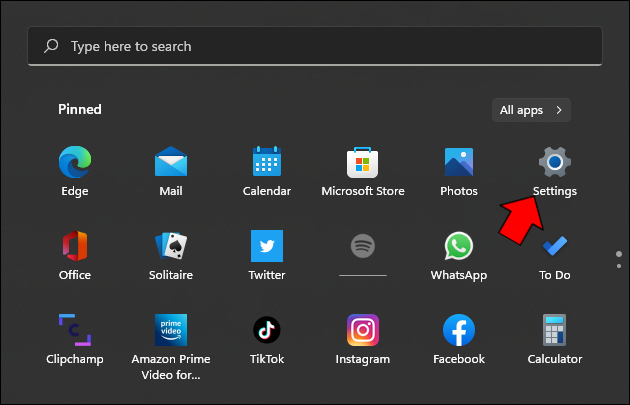
- Click the Windows icon on your taskbar.
- Scroll on the menu and click on Settings, or click on the Gear icon on the lower left of the menu.
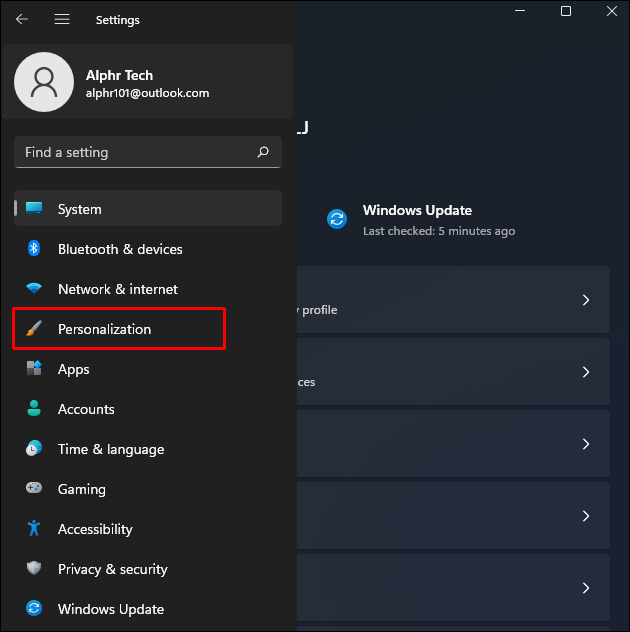
- From the options, click on Personalization.
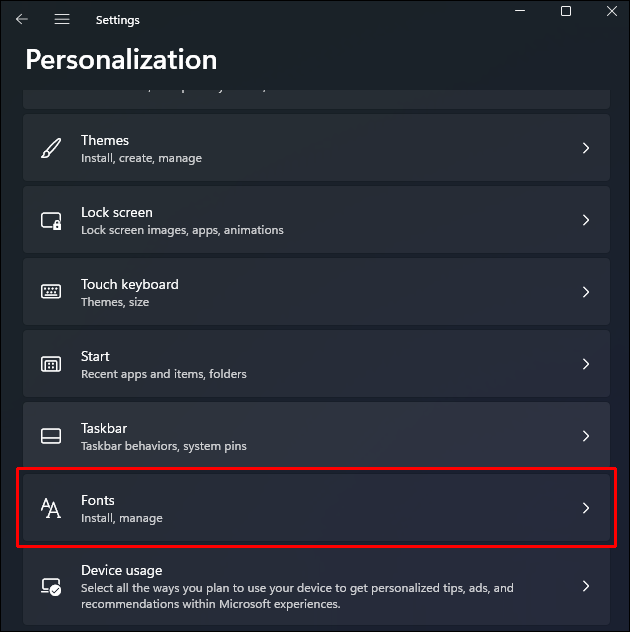
- Click on Fonts on the left menu.
- Under Add Fonts, click on Get more fonts in Microsoft Store.
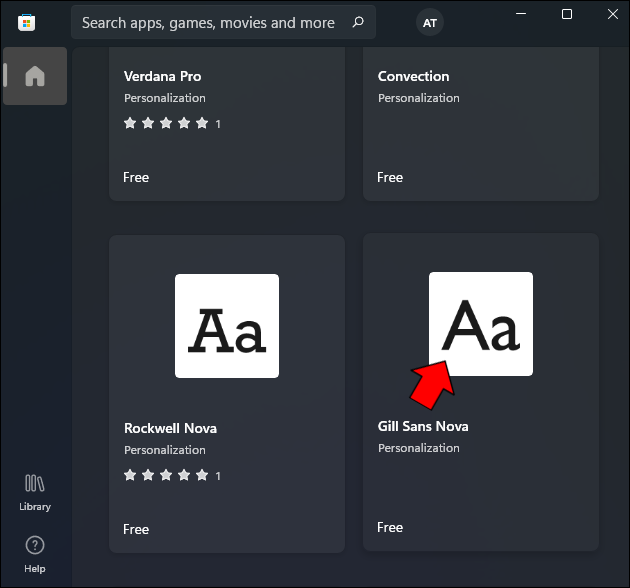
- Browse the featured fonts to see which one you might like. When you find an interesting theme, click on its icon.
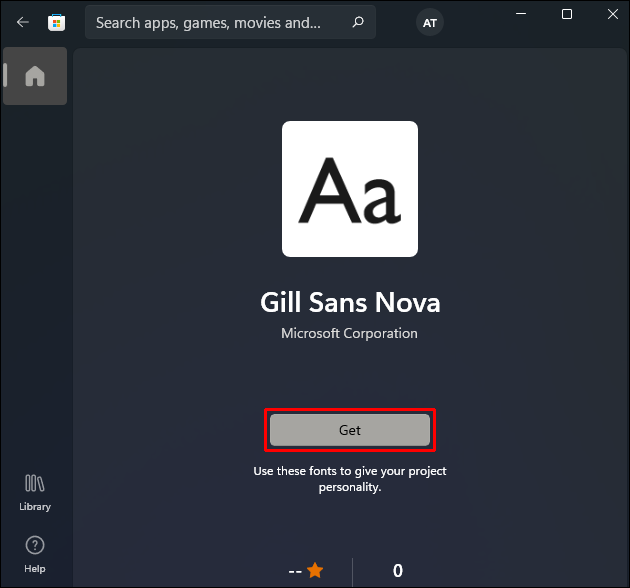
- Click on Get.
- Download and installation should start automatically.
- Once done, the font should now be available for your system.

Google Fonts
Another popular source of free fonts is Google Fonts. These files can be downloaded and installed by doing the following:
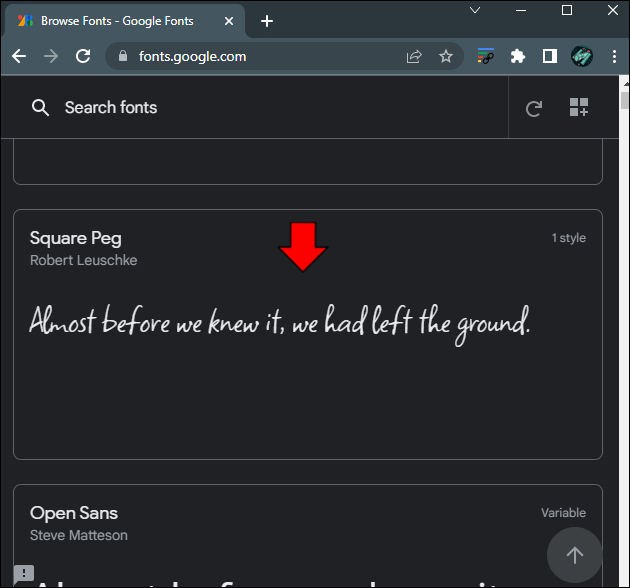
- On your browser, go to the Google Fonts webpage.
- Browse through the available fonts until you find one that you like. Click on the font to open it.
- Click on Download Family in the upper right corner of the screen.
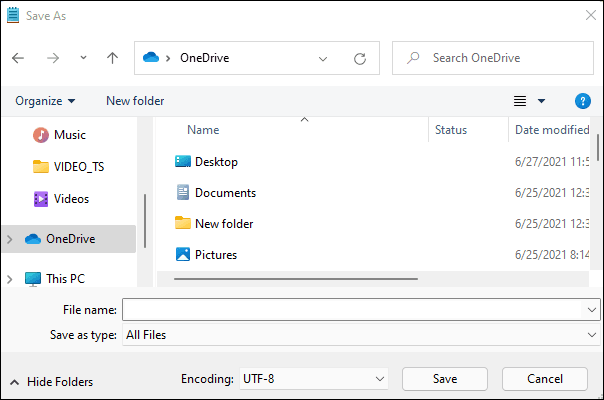
- Save the file to your chosen location.
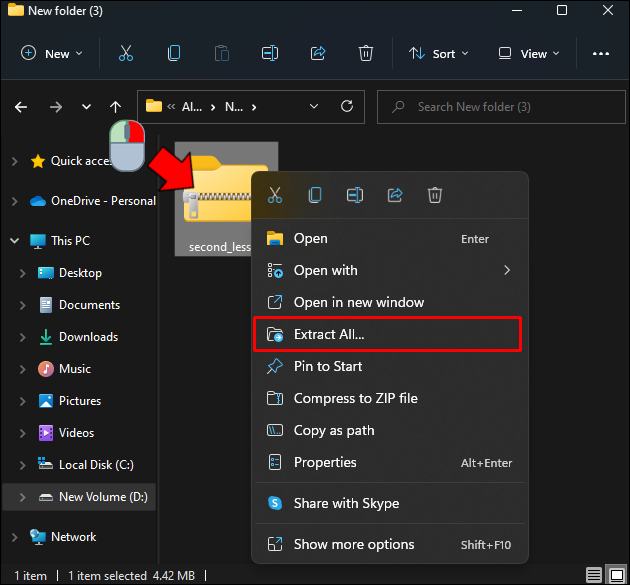
- Proceed to the download location and unzip your downloaded file.
- Right-click on the file and then choose Install from the dropdown menu.


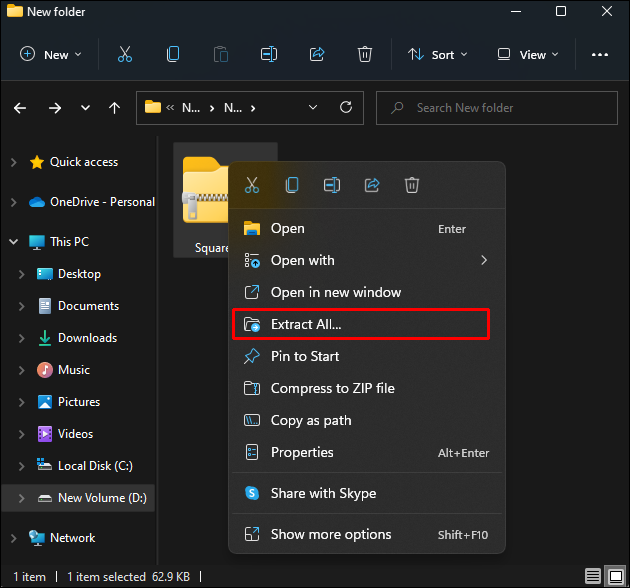

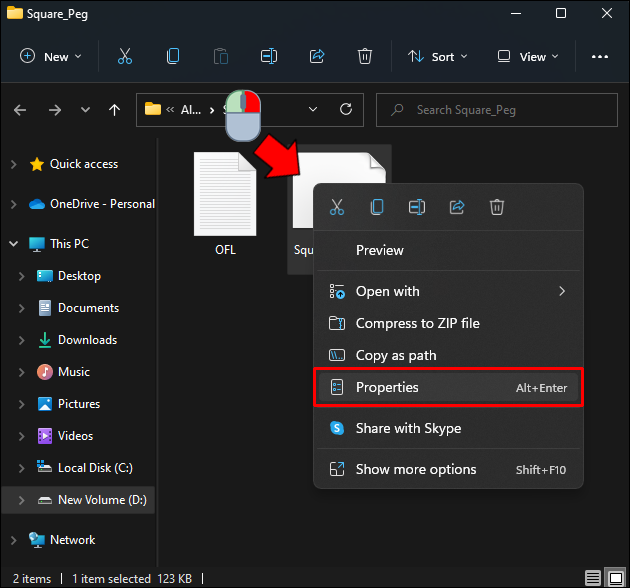
If you can’t find the option to install, the font file may be associated with another program. To change this, follow these additional steps:
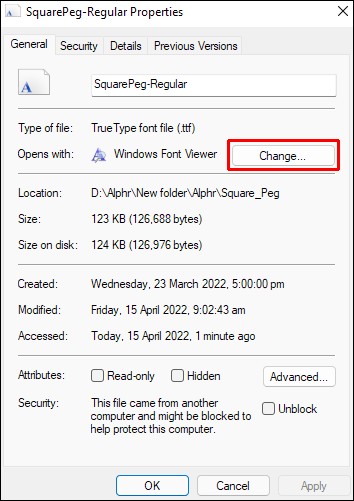
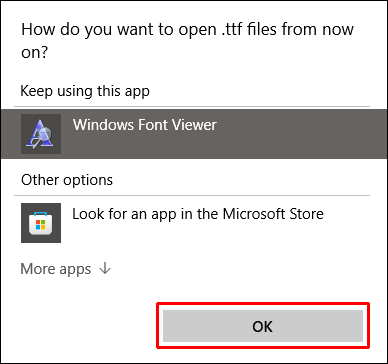
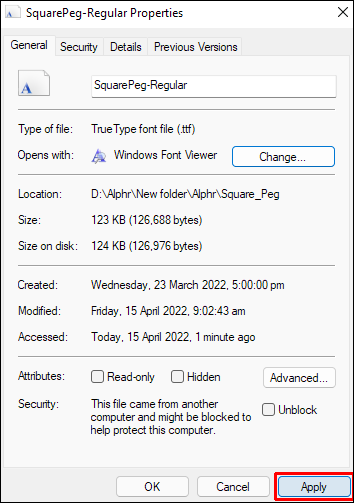
- Right-click on the file and choose Properties.
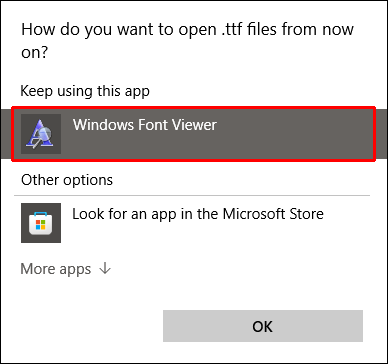
- Under Opens With, click on Change.
- Choose Windows Font Viewer.
- Click on OK.
- Click on Apply.
- Proceed to right-click on the font file then choose Install from the menu.
- Your font should now be installed.
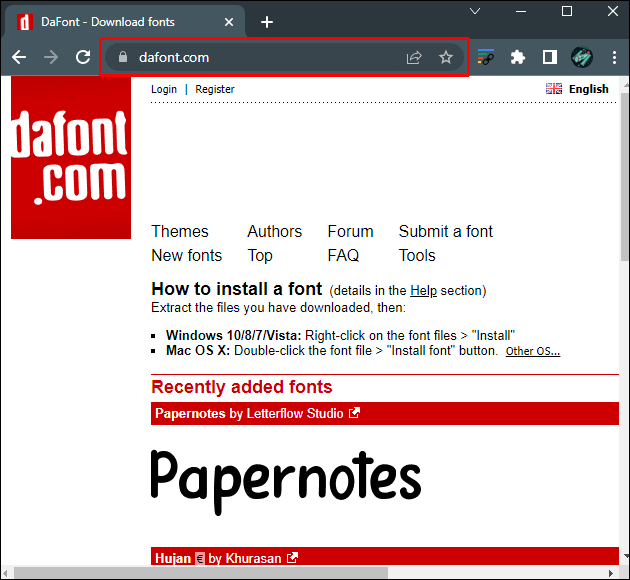
DaFont
An alternative supplier of free fonts is DaFont. Here’s how to use it:
- Proceed to the DaFonts page.
- Use the categories or search bar to browse through their available files.
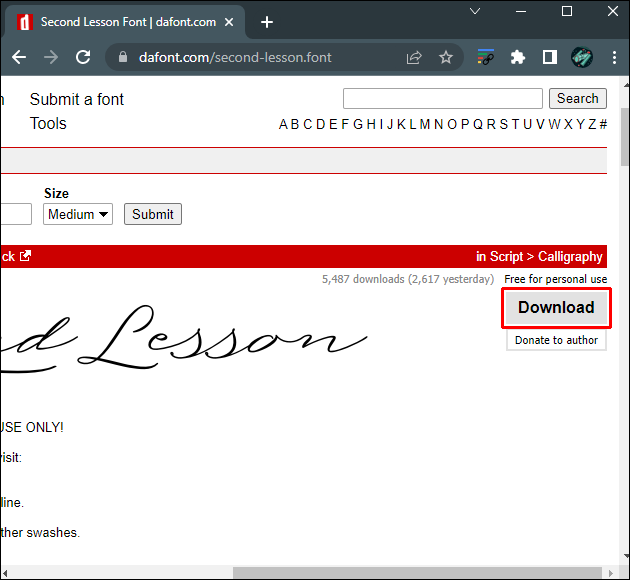
- Click on the font name to see a full sample of the font.
- Click on download on the right side of the screen to download the file.
- Save the file in whatever directory you wish.
- Right-click the directory and unzip the font file.
- Right-click on the font and choose Install from the menu.
- Your font should now be installed in your system.


An Alternate Way to Install Font Files
If you have a collection of .ttf or true type font files and you want to install them at the same time, you can do so via the Fonts menu in Windows settings. See below for an easy guide:
- Click on the Windows icon on your taskbar.
- Click on settings on the left menu.
- From the options, choose Personalization.
- Click on Fonts on the left menu.
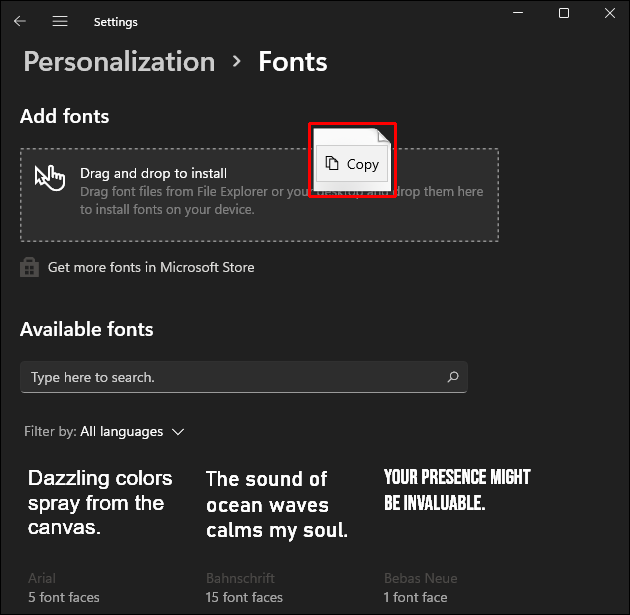
- Open the folder where you keep the font files you want to install.
- Highlight the files and drag and drop them into the box labeled Drag and drop to install.
- The files should show a small COPY icon on the lower-left corner to indicate that you can properly drop the files. If it shows a red cancel icon move your mouse until it shows COPY.
- Wait for the files to install.
- Once properly installed, the new fonts will be visible in the Available Fonts tab.


Modifying a Document’s Mood
Utilizing alternate fonts is an easy way to alter the mood of document, whether you want to go for a casual feel or present an aura of professionalism. Knowing where Windows stores its font files gives you an idea of what kind of fonts you have available.
Do you know of other directories in which Windows stores its font files? Feel free to share your thoughts in the comments section below.
Disclaimer: Some pages on this site may include an affiliate link. This does not effect our editorial in any way.