When players enter a new server or even an old one, they’ll spawn in a particular location. This location is a spawn point, and the game sets one for you by default. However, sometimes those spawn points aren’t ideal. What happens if a player wants to modify the spawn point to another place? With the help of plugin servers like Bukkit, you have even more control over changing your spawn points.
The first thing to do before you set the spawn points in Bukkit is to install some plugins. These plugins are what help make setting a spawn point possible. The steps also work for other plugins unless their creators specified otherwise.
Install the Plugins
The two plugins you want to download are Vault and EssentialsX. Vault doesn’t do anything to let you use new commands. However, without Vault, EssentialsX won’t work, which means you can’t use the commands it offers.
Here’s how you’ll install the plugins:
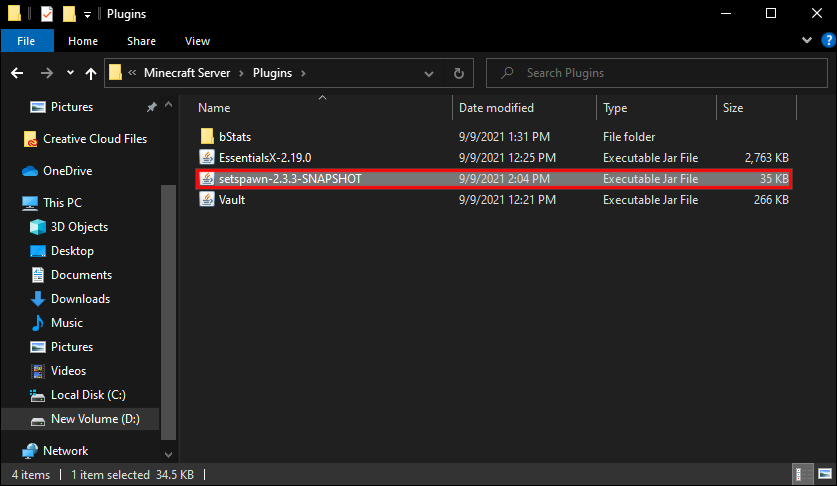
- Download the proper .jar files of Vault and EssentialsX for your version of Minecraft.
- Open them in a window.

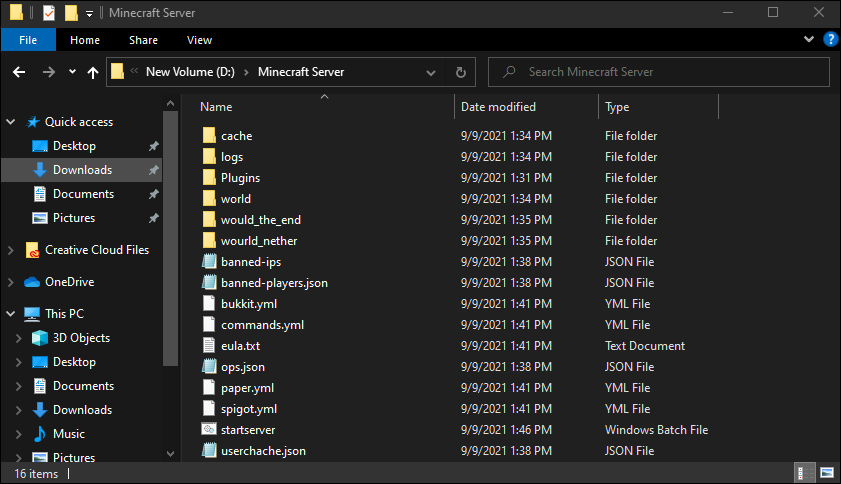
- Find your Minecraft server’s directory in a second window.

- Scroll down until you find the “plugins” folder.
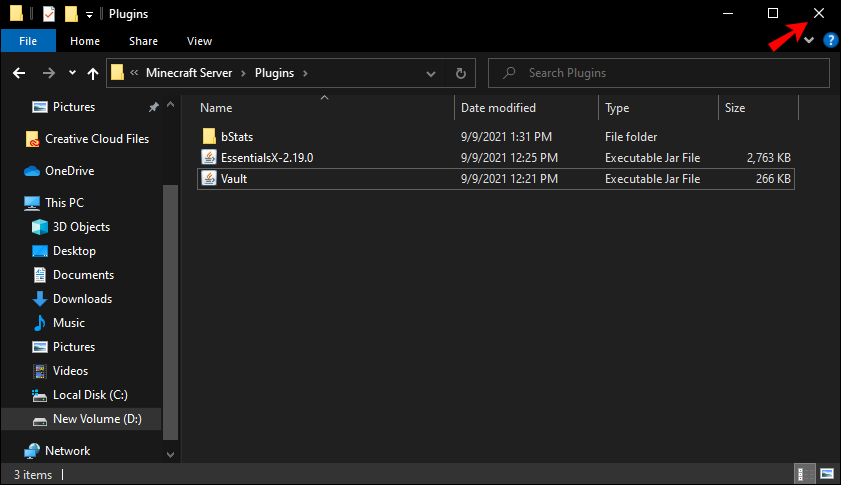
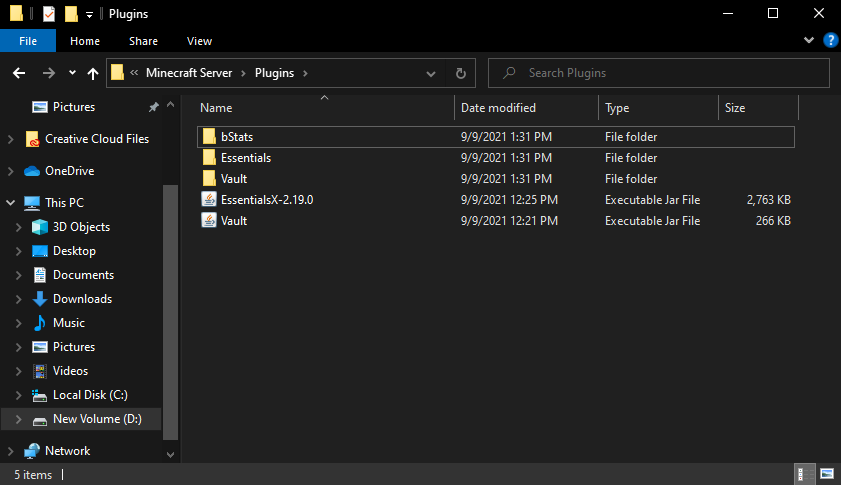
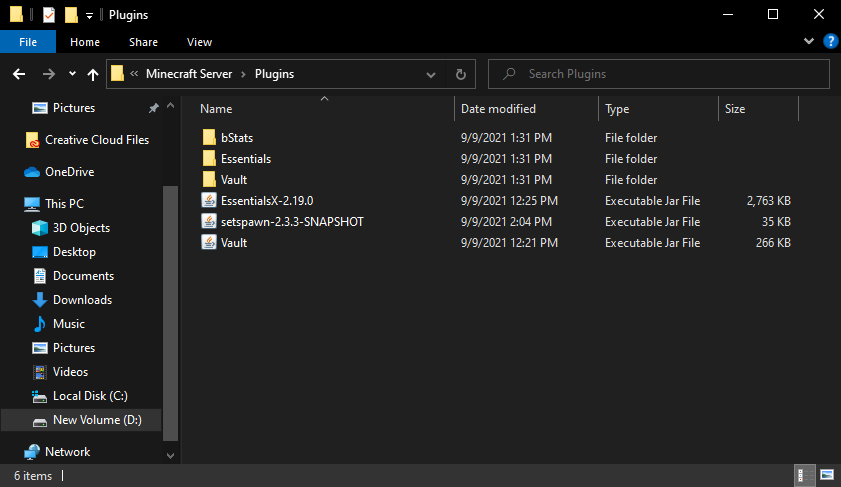
- Drag and drop your plugins into the folder from one window to another.
- Close the windows if you’re done with plugins.
- Restart your server.
- Log into your server, and if everything goes right, the plugins should work.


If your server isn’t active during the plugin installation process, you don’t have to restart it. Starting it back up after you install Vault and EssentialsX will make it automatically load the plugins.
Another plugin you can use for Bukkit is SetSpawn. It’s a tiny plugin that lets you set spawn points and allows other players to teleport to them. It’s very limited, but if you don’t want the other EssentialX commands, SetSpawn may be an option for you.
The following instructions are for installing SetSpawn:
- Download the proper .jar files of Vault and SetSpawn for your version of Minecraft.
- Open a window where you can drag them to another location.
- In another window, locate your server’s directory.
- Look for the “plugins” folder in the directory.
- Move the plugins from one window to the plugin folder.
- You can close the windows after this.
- Restart your server if it’s running.
- Your plugins should run if you installed the proper versions.


While not all plugins require Vault to run, you should install it on your server anyway. It doesn’t have conflicts with the majority of plugins out there. With Vault on your server, you’ll be able to use the essential plugins for Bukkit as well.
For players who play on local servers, this method will work fine. Those who play on hosting services will have to upload the .jar files to their servers. The process is similar to this one, as the hosting service’s launcher will take care of everything.
Seeing as there are multiple hosting services available, we won’t list how to install it for them. You can find the option to install the plugins with some quick research.
How to Use the Commands
Commands won’t work until you type them. To rectify this, you need to bring up the chat window by pressing a key, usually the backslash. After this, a chat window will appear, and you can start typing.
All Minecraft commands start with a “/” no matter if they’re default commands in the game or Bukkit plugin commands. If you type a command without the backslash, it won’t work. You’ll have to make sure you type in the command meticulously as well.
The steps for typing the commands are:
- After your plugins are installed, log into your server.
- Bring up the chat window.
- Type your command.
- Press “Enter.”
- You’ll see a message notifying you the command you type has worked.


If your commands aren’t recognized, you likely downloaded the wrong plugin version. You may also have forgotten to restart your server to install the plugin.
Once your command is executed, you can type another command into the chat window and run it the same way. You can keep executing commands until you want to continue playing. Close the chat window to start your game.
Commands to Change Spawn Point
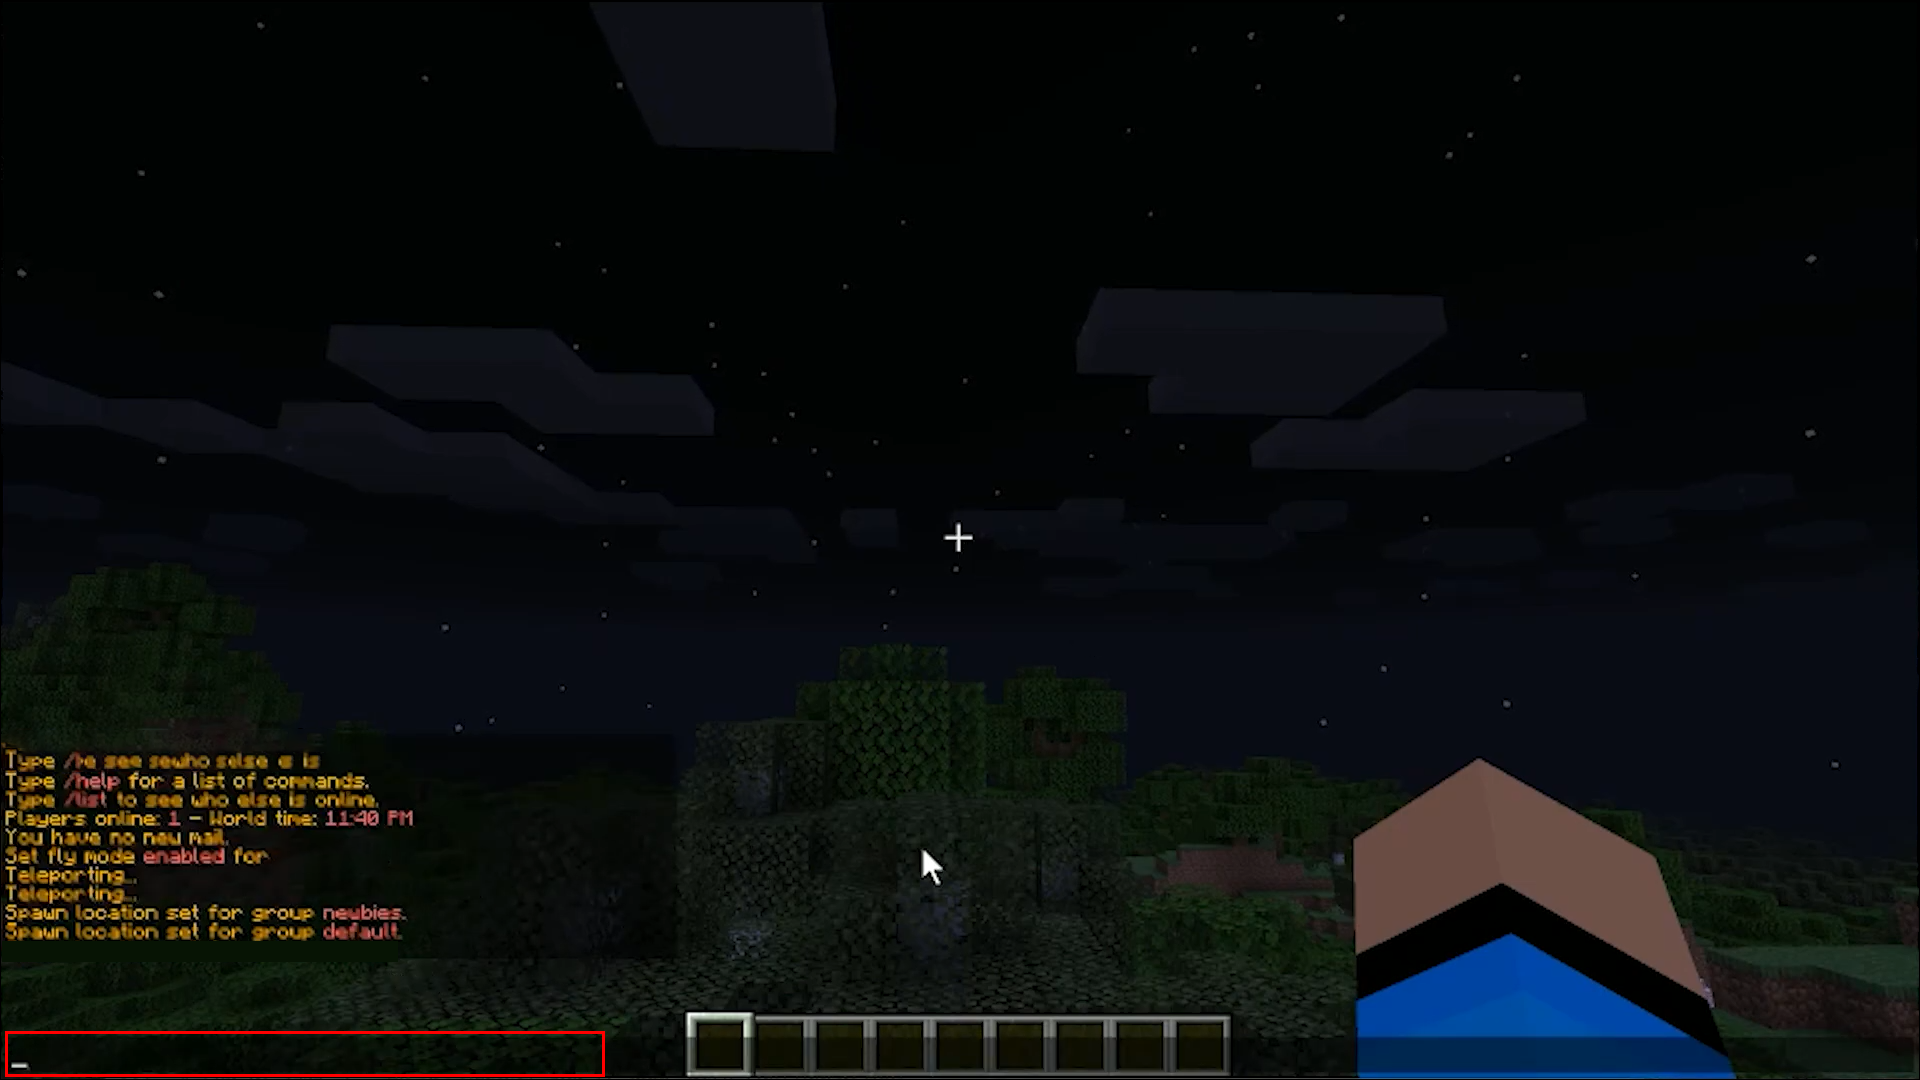
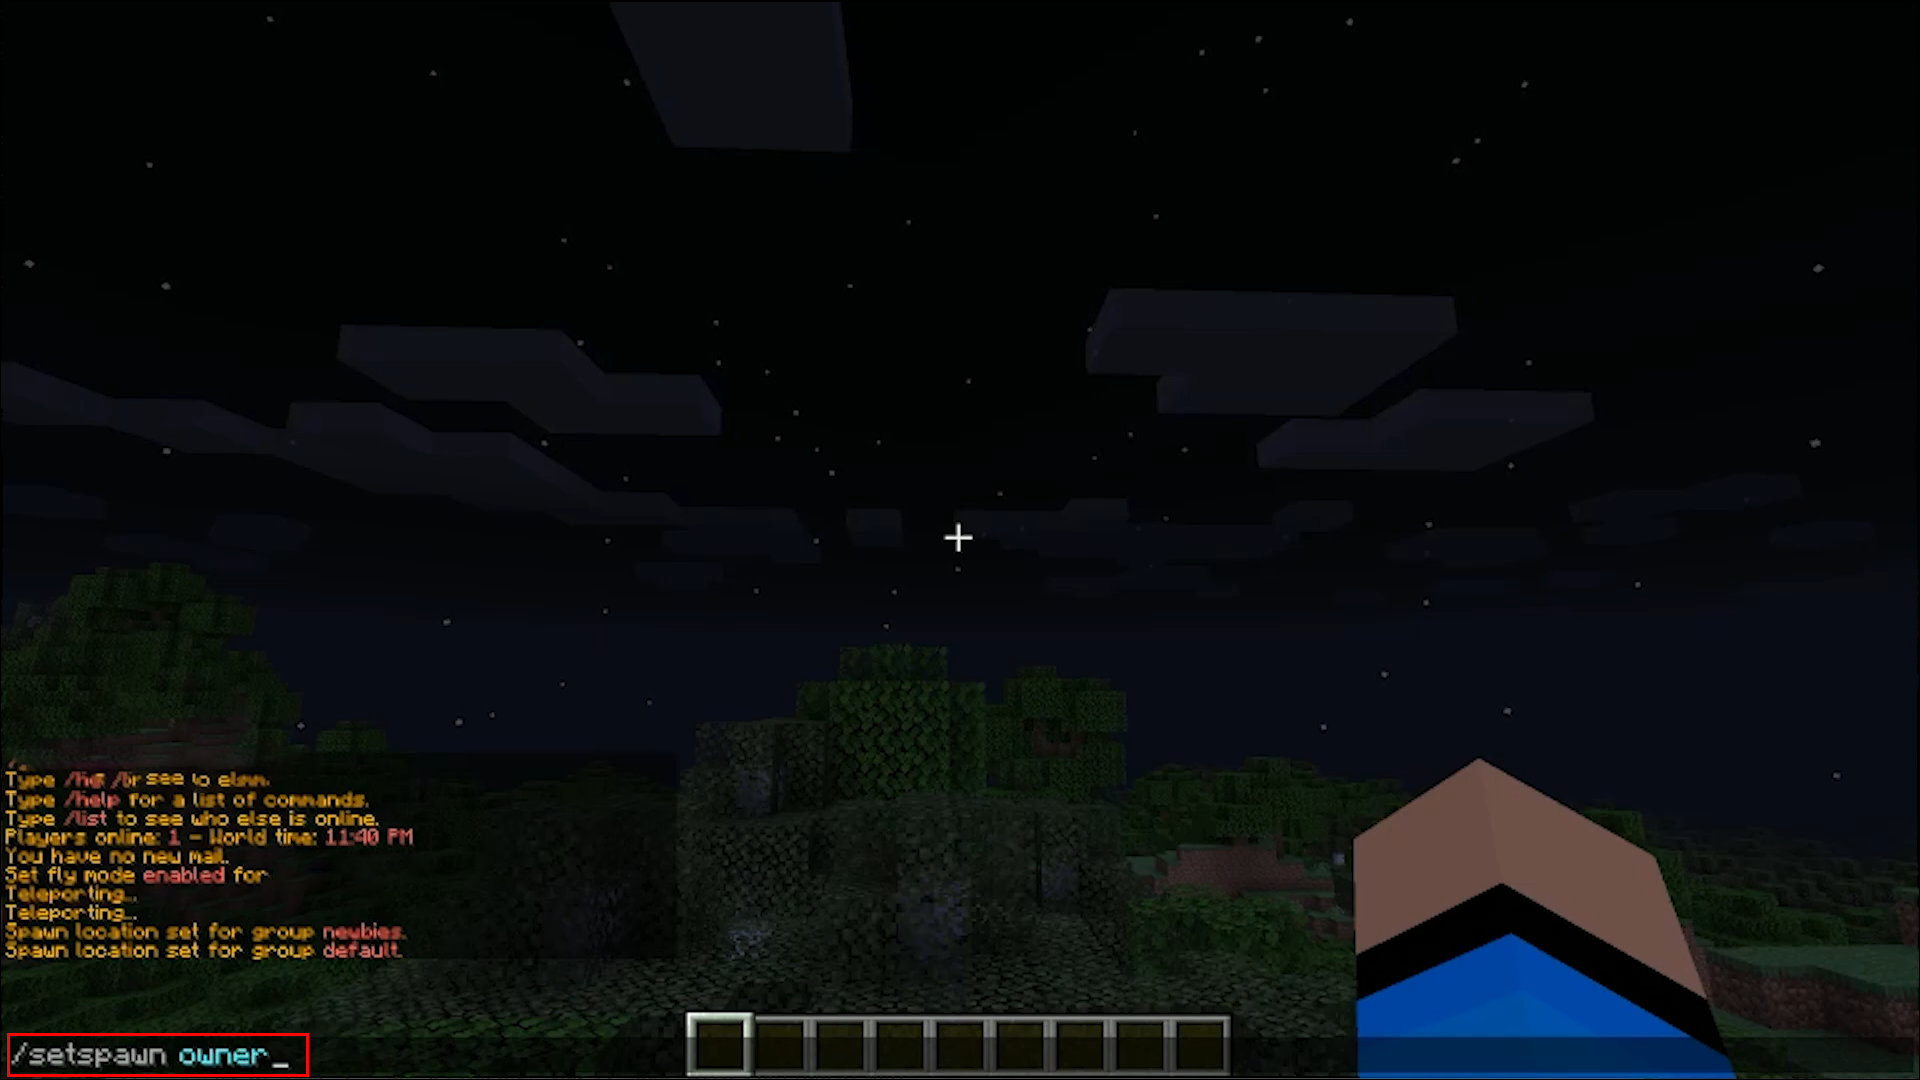
If you use EssentialsX or SetSpawn, there’s only one command to change your spawn point. That command is “/setspawn” without quotation marks. Using this command prompt allows you to change the server’s world spawn, and new players joining your server will spawn at the new spawn point you set. Players who haven’t slept in a bed will also respawn here should they die.
Using /setspawn is relatively simple. You only have to go to the exact spot you want to be the spawn point. It can be an area with signposts containing the rules or anywhere that strikes your fancy.
Once you reach the location, follow the steps above for using commands. The game will notify you if your server’s world spawn point change is successful.
Right after you change your spawn point, you can walk away and test if it works. Type “/spawn” in the chat window, also without quotation marks. If your spawn point was moved, then you’ll find yourself in the right place.
While you can continue to type other commands after this using EssentialsX, you should remember that SetSpawn doesn’t introduce many other utility options. Unless you have other plugins on your server, you won’t be able to use many other commands.
You can also change a player’s spawn point, which is separate from the world spawn point. The command is “/spawnpoint <insert player’s name here> [x] [y] [z]”. It’s a default command on all Minecraft servers. The coordinates at the end of the command are optional, and forgoing them will set the spawn point to your current location instead.
Speaking of default commands, a default command for setting up world spawn points exists. It’s “/setworldspawn [x] [y] [z],” and it works similarly to /setspawn. The coordinates are also optional.
Do These Commands Work for Spigot?
Yes, they do. Spigot is a branch of Bukkit, meaning the latter is developed based on Bukkit’s code. As such, almost any plugin that works with Bukkit will work with Spigot. You don’t have to worry about compatibility issues, for the most part.
Installing Vault, EssentialsX, and SetSpawn work identically on Spigot. The requirements of downloading the proper plugin versions also apply. With this in mind, you can use Spigot just like you would Bukkit.
Everything else we mentioned above also works in Spigot. However, some plugins developed for Spigot may not work on Bukkit.
Additional FAQs
How do you set EssentialsX spawns?
The command for changing your world’s spawn point using EssentialsX is “/setspawn.” Keep in mind that you have to walk to the precise location in your world and then type the command. Once you execute it, you can use /spawn to teleport to your new spawn point.
After changing your spawn point, you can still change it again by executing the command in a different spot on the map and repeat as necessary.
Can I set different spawn points for each player?
With the help of the “/spawnpoint <insert player’s name here> [x] [y] [z]” command, you can easily change the spawn points for every player. As Minecraft commands only work if you type everything correctly, you have to input names exactly as they appear. The coordinates at the end are optional but helpful.
Welcome to My Server
With the help of spawn point-changing commands, you can set up your server’s world so new players will spawn in a specific spot. After this, you can even change individual players’ spawn points with other commands. Changing spawn points can help a lot when you’re trying to manage the game and its vast terrain.
What do you have around your server’s spawn point? What plugins do you use to help with changing spawn points? Tell us in the comments section below.
Disclaimer: Some pages on this site may include an affiliate link. This does not effect our editorial in any way.