Seeing the “Can’t Take Screenshot Due to Security Policy” message when attempting to take a picture of your screen can be frustrating. You may have found some valuable information online and want to share it with someone as it’s presented on your screen. A screenshot may be the perfect way to do just that.
Unfortunately, today’s focus on security and privacy makes screenshotting difficult, especially for pages with login options or account information. This scenario can be frustrating on personal devices. Regarding business ones, the company can put security policies in place that prevent screenshots. So, how do you get around the “Can’t Take Screenshot Due to Security Policy” message? Follow along in this article to learn some of the best fixes for this problem, whether for business or personal needs.
Common Reasons that Lead to Screenshot Restrictions
In general, the reasons for blocking screenshots of specific screens/pages on your mobile devices include the following:
- For browser-based issues: The screenshot-capturing feature may not be available when browsing Incognito Mode via Google Chrome and Firefox.
- For app-based issues: Some apps disable screenshot capturing on specific screens, such as login or payment screens.
- For device-based issues: A screenshot-capturing restriction may be activated on your device.
Although using another device to take a picture is an option, it’s not ideal. Below are some of the most common methods to grab restricted screenshots.
Fixing Blocked Screenshots in Chrome Incognito
Because the purpose of Incognito browsing is to keep sessions private, by default, Chrome and Firefox disable the screenshot-capturing feature.
To take screenshots in Incognito mode using your personal or business Android device, you’ll need to navigate to the Chrome “flags menu.” This is where Chrome’s experimental features reside. This option is only available on select versions of Chrome.
To enable screenshots for Incognito Mode in Chrome, do the following:
- Launch “Chrome.”
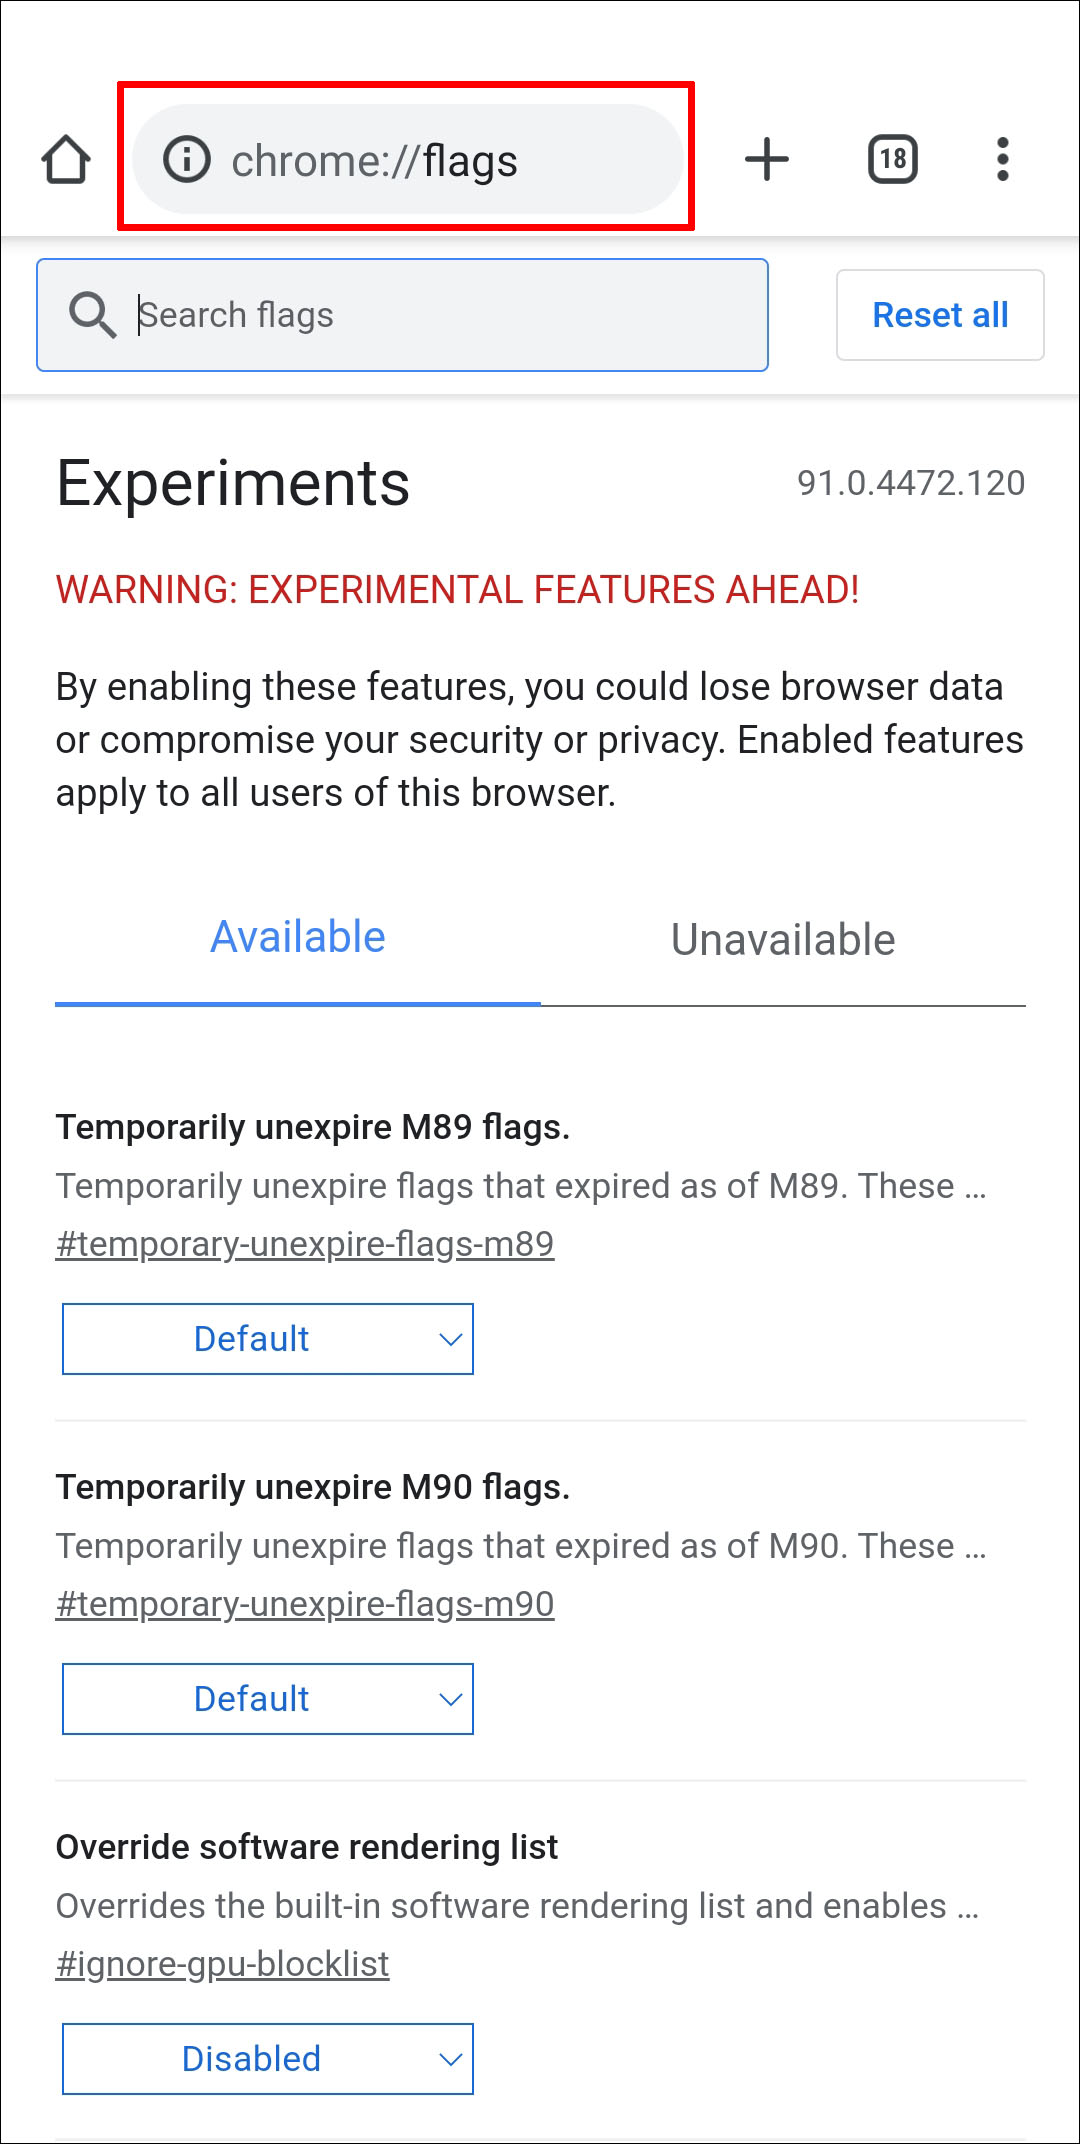
- Then enter “
chrome://flags“ without quotes into the address bar.
- On the “Chrome://flags” screen, type “
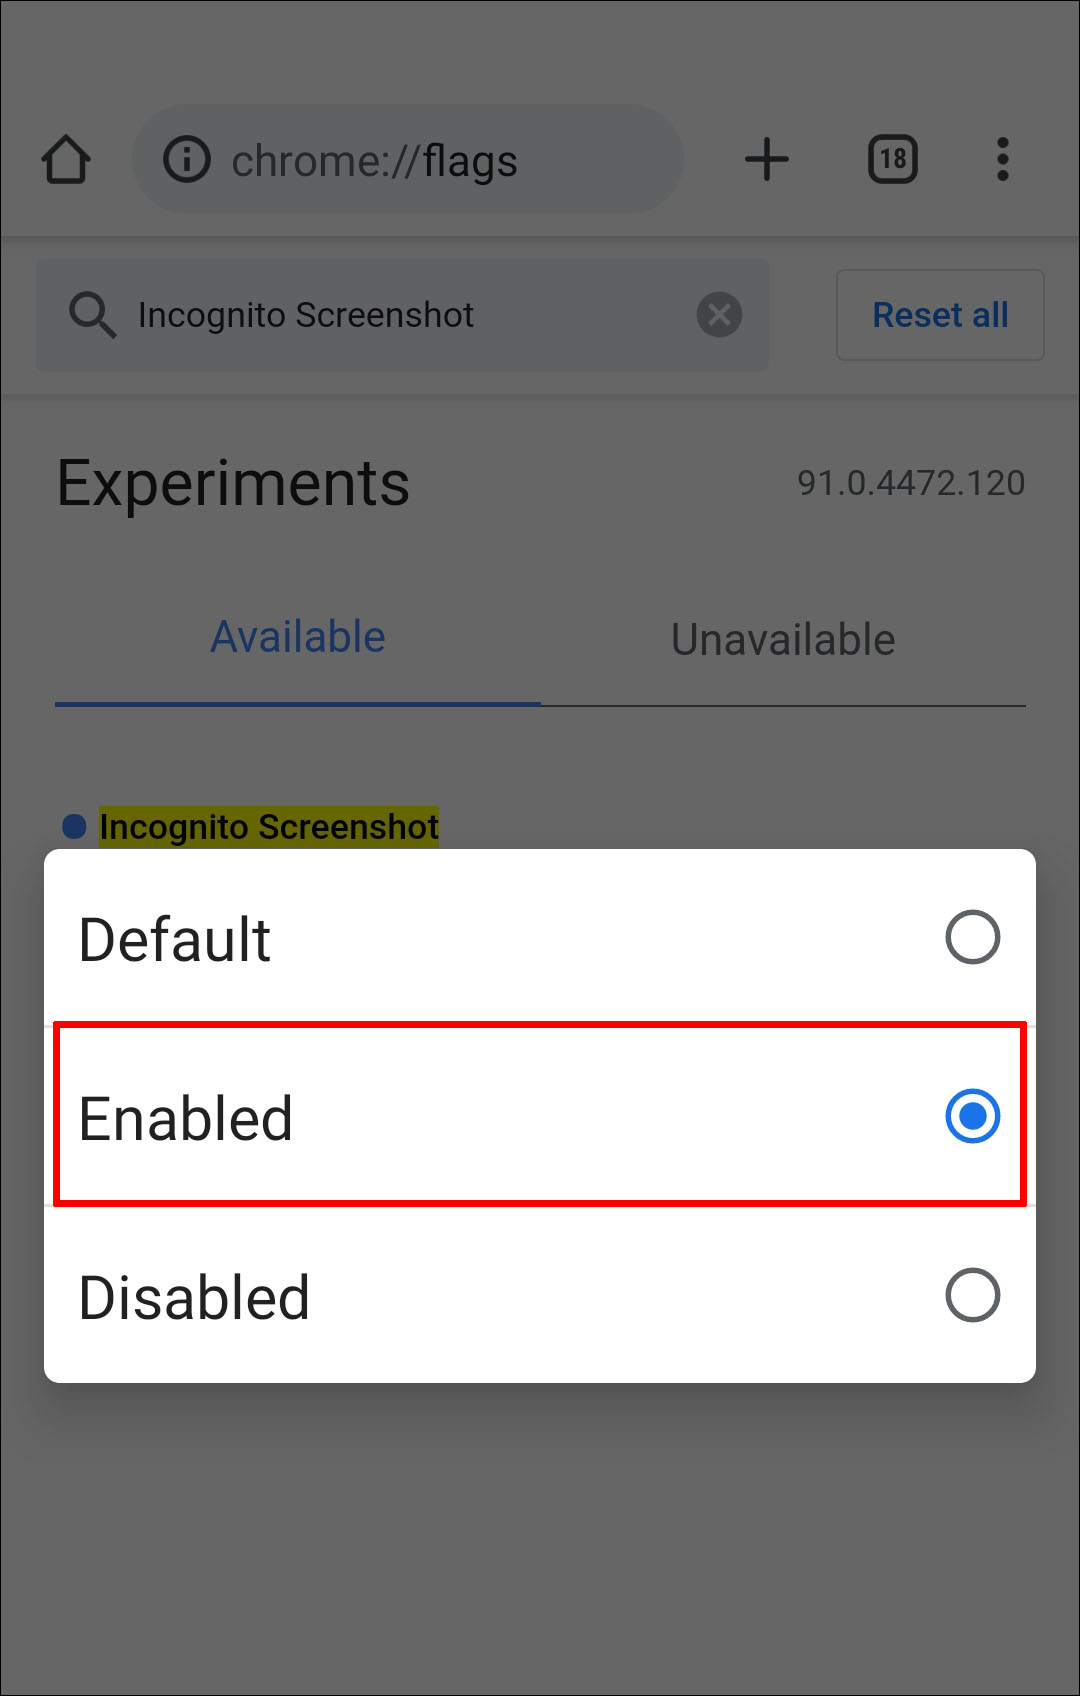
Incognito Screenshot“ without quotes into the search box. The “Incognito Screenshot” option now appears in the results. - Click on the pull-down menu underneath it, then select “Enabled.”
- For changes to take effect, click “Relaunch” toward the bottom-right corner.


Fixing Blocked Screenshots in Incognito Mode on Firefox
To allow screenshots in Firefox private browsing for personal or business devices, do the following:
- Launch “Firefox” and click on the “vertical ellipsis” (three-dotted menu) in the bottom-right section of the screen.
- Select “Settings.”
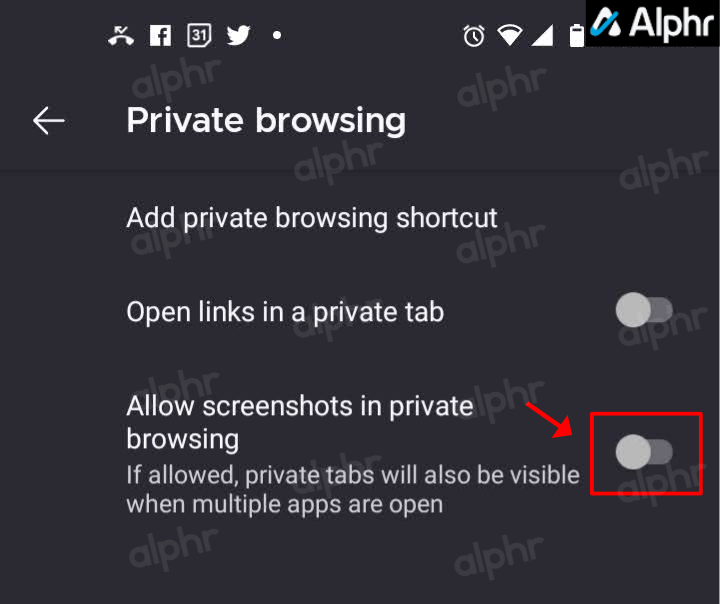
- Towards the bottom, choose “Private browsing.”
- Next, toggle on the “Allow screenshots in private browsing” option.


Fixing Device Restrictions that Prevent Screenshots
You should not have any restrictions for personal devices unless you set them or they are pre-activated in Android or iOS settings, such as PIN prompts and pattern screens. However, a screenshot-capturing restriction may have also been put in place by your business or the phone manufacturer, which can include the following:
- Android devices supplied by work or school: Settings may have a device-based or account-based restriction to prevent screenshot capturing for company security policy reasons.
- For privately owned Android devices: The manufacturer may have set a restriction on screenshots, or the feature has been disabled.
Alternatives Fixes
For devices issued by an institution, you can consider contacting the IT department to ask them whether this is an intentional restriction and for their advice on taking screenshots using the device.
High-Security App Restrictions
Because of the high-security level needed and required by some applications, such as financial and money management apps and those storing confidential data, the screenshot feature with these platforms may be disabled.
Also, Facebook and Netflix may disable screenshot capturing due to privacy protection or copyrighted content.
Alternatively, the app or the device model you’re using may allow you to disable the restriction preventing you from taking the screenshot. Try going to the app settings to see what options are available.
The screenshot-capturing feature is great for saving information to reference later or sending a screen in its entirety to someone. However, being greeted by the “Can’t take screenshot due to security policy” message instead of the screenshot can burst one’s bubble. Luckily, there are ways around this, such as disabling or removing the app or installing a screenshot-capturing app.
Now that we’ve shown you ways to resolve this setback, what was the cause, and what did you do to fix it? Let us know in the comment section below.
Additional FAQs
Can I Remove Security Policies from my phone to take restricted Screenshots?
The only possible way to remove specific policies is if you have the Google Device Policy app on your phone, which most people don’t. The app is only for businesses using G Suite.
You can deregister your work Gmail account and then add it again using Android Device Policy instead, but it could mean losing your job.
Suppose the phone was given to you or you bought a used business phone with Google Device Policy installed. In that case, you can remove Google Device Policy but deregister the associated Google accounts first.
Uninstall it using the following instructions:
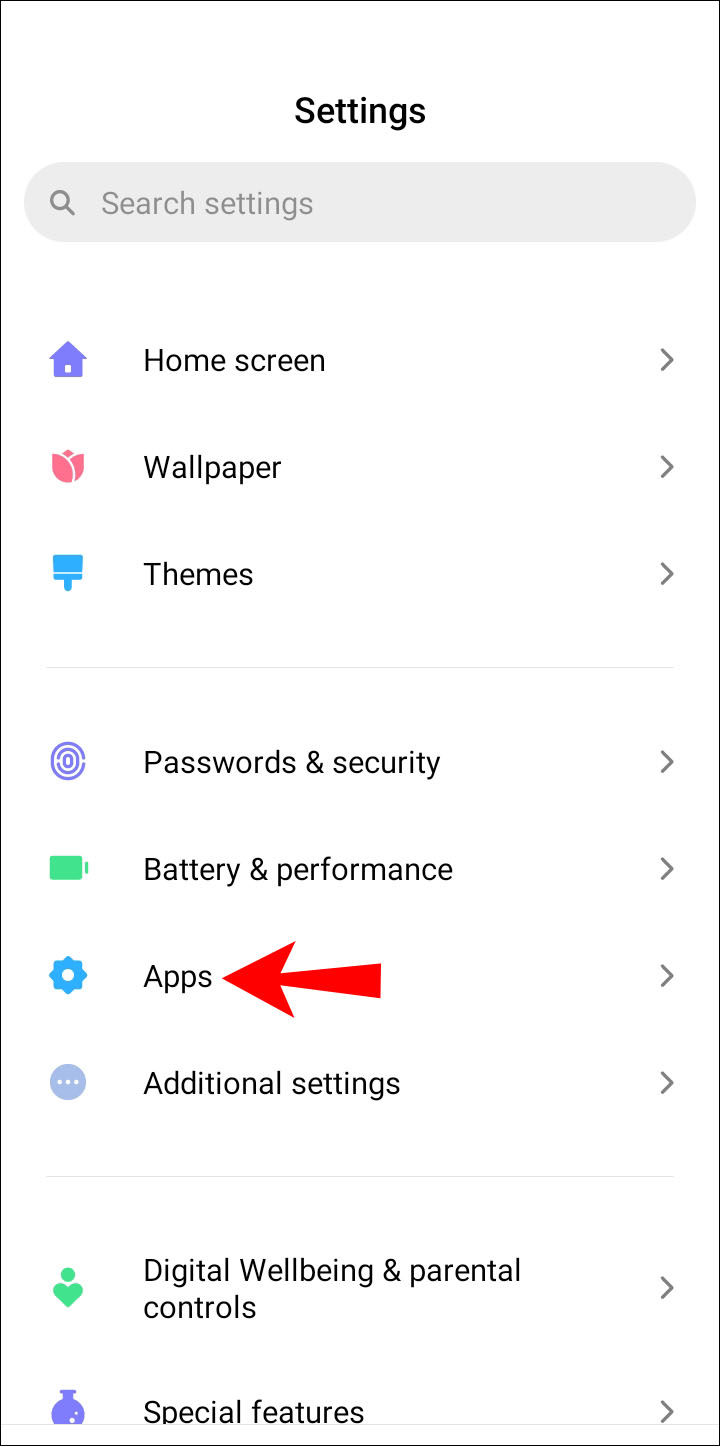
1. Head to “Settings.” and tap on “Apps” or “Apps & notifications.”
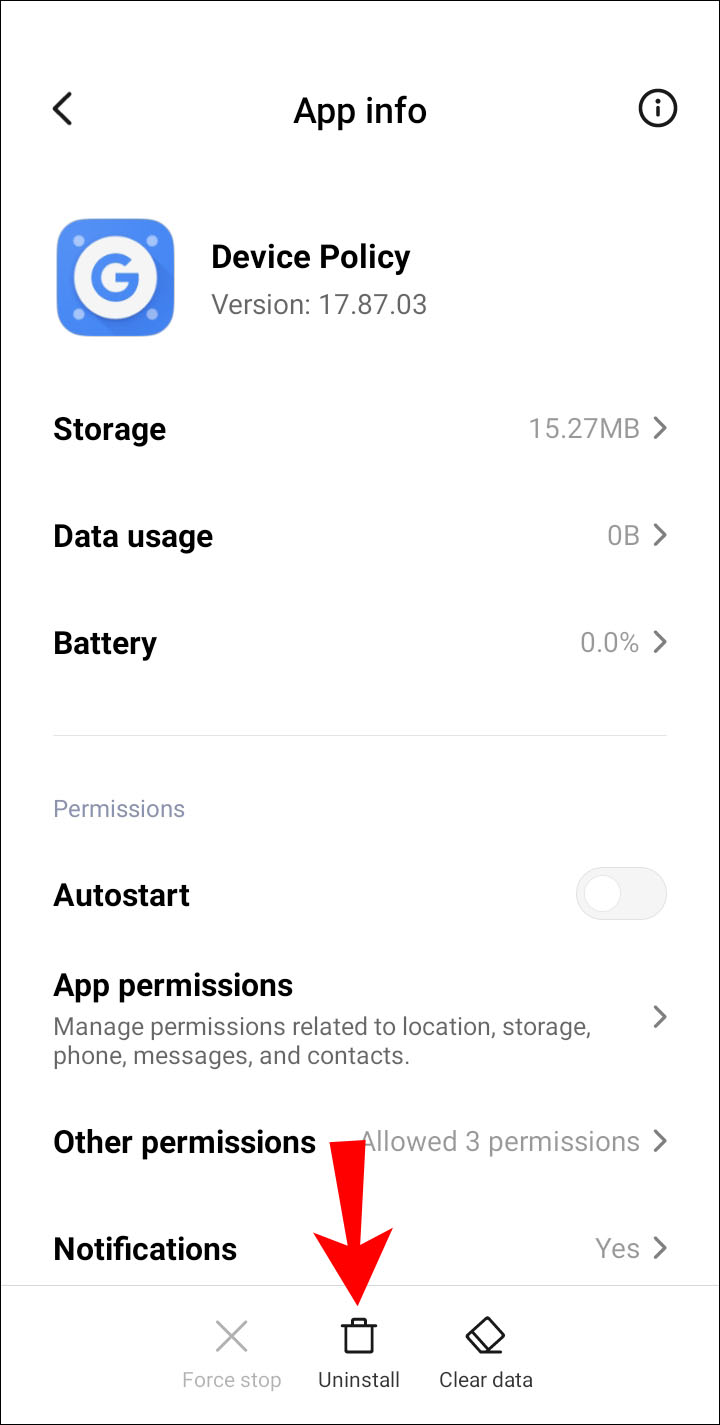
2. Tap on “See all ### apps” to open the app list. Older phones go straight to the list. Click on the “Device Policy” app.

3. Select “Uninstall” or “Disable,” then tap on “OK.”
4. Unregister the accounts associated with the app, then deactivate and uninstall it.
5. Launch “Google Apps Device Policy.”
2. Via the “Status” page, click “Unregister” for the accounts you have registered with the device.
3. Then, navigate to either of the following:
· Settings > Applications > Manage Applications or
· Settings > Apps.
4. Click on the app.
5. Select Uninstall or Disable, then tap on “OK.”
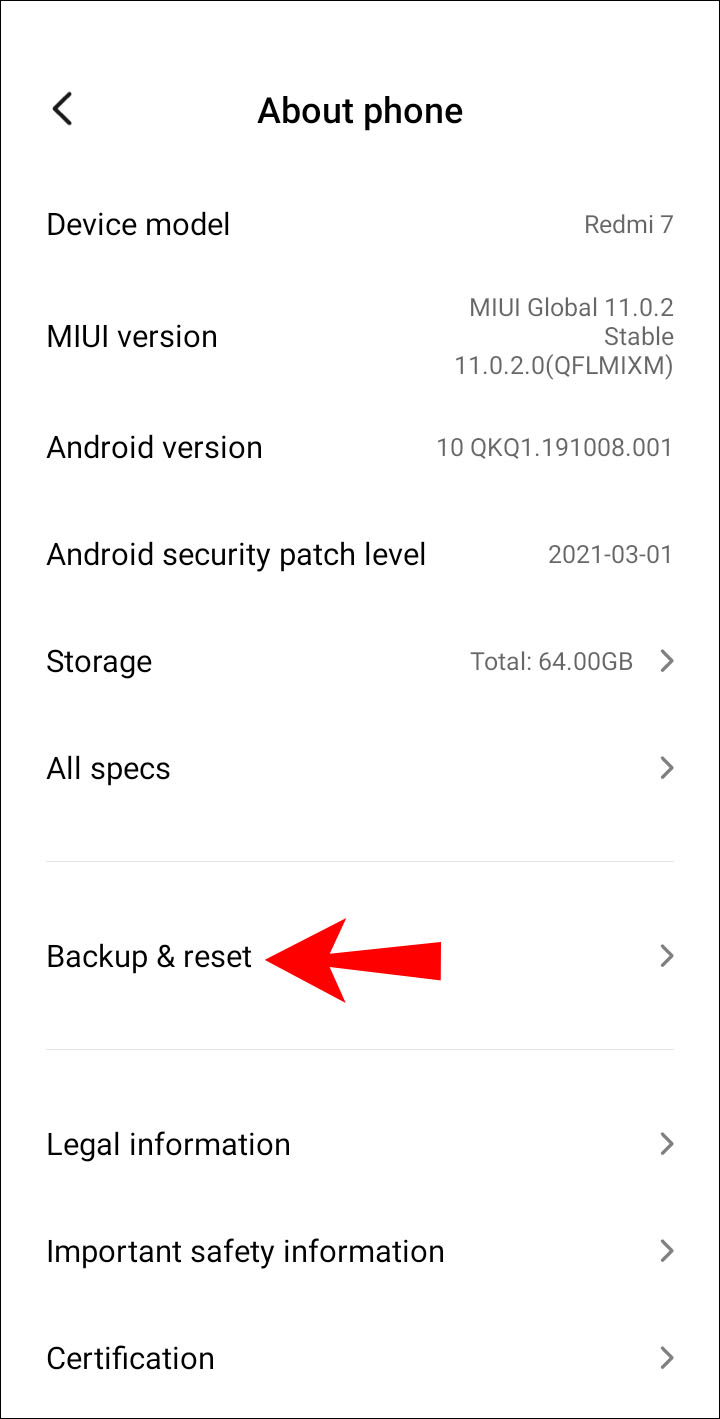
Alternatively, you can factory reset your device to remove the app. However, it is highly suggested that you back up your device since this will remove all the data, applications, and settings.
To factory reset your device, do the following:
1. Launch Apps from your home screen.
2. Select Settings > Backup and reset.
3. Select Erase all data (factory reset).

4. Select Reset Device.
5. Click on Erase Everything.
Disclaimer: Some pages on this site may include an affiliate link. This does not effect our editorial in any way.