Roblox is a great place to put your game development skills to the test. As you upload your first game, you can track live stats about who plays your game and which platform they use. Also, you can start simple in-game events whenever a user joins. By doing so, you can learn how to make the gamers’ experience even better. But how to get started?
We provide all the answers in this article. Learn how to analyze your game data and check who plays your Roblox game with ease. So let’s dive right in.
How to Check Who Played Your Roblox Game
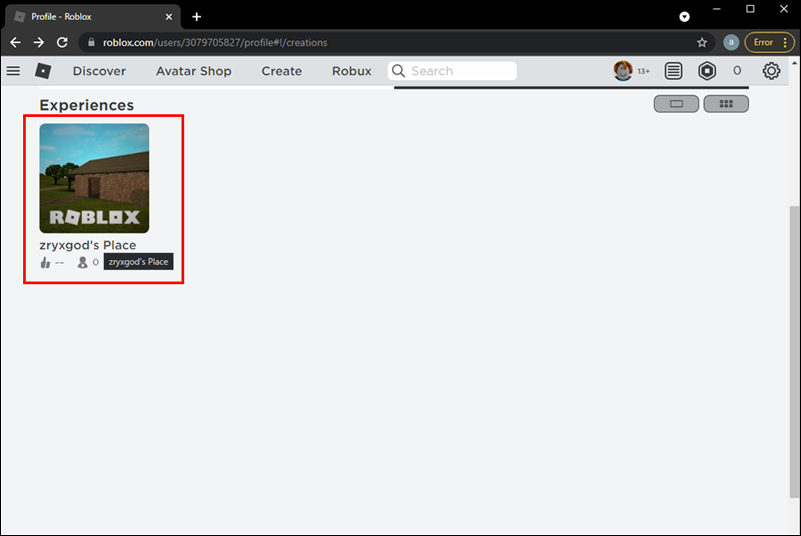
As you first publish your game on Roblox, it will be set to private. This means that no one can play it until you make it public. In case you haven’t already done so, here’s a quick reminder on how to make it accessible to everyone:
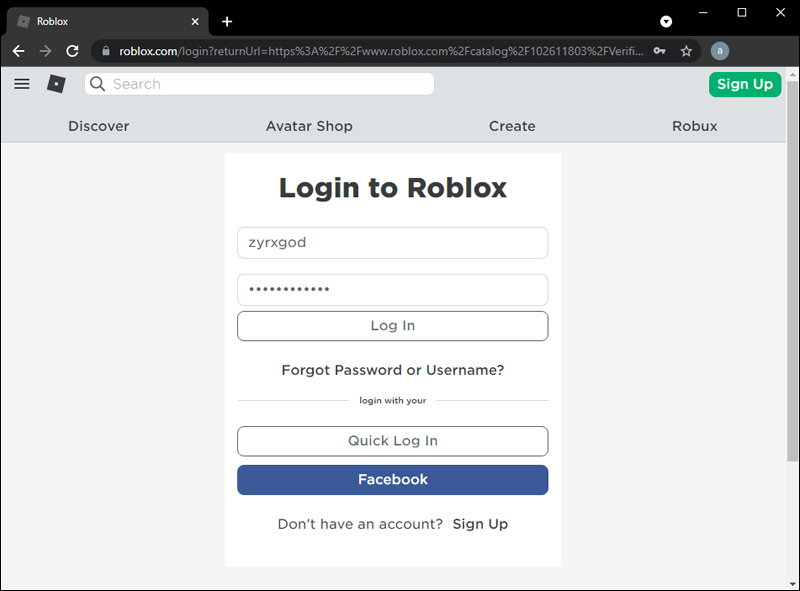
- Log into Roblox.
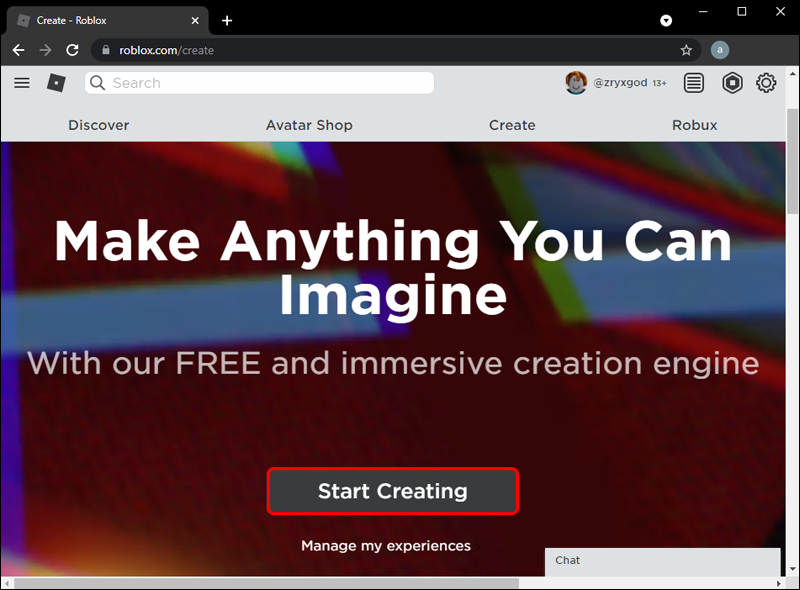
- Navigate to the Develop Page.

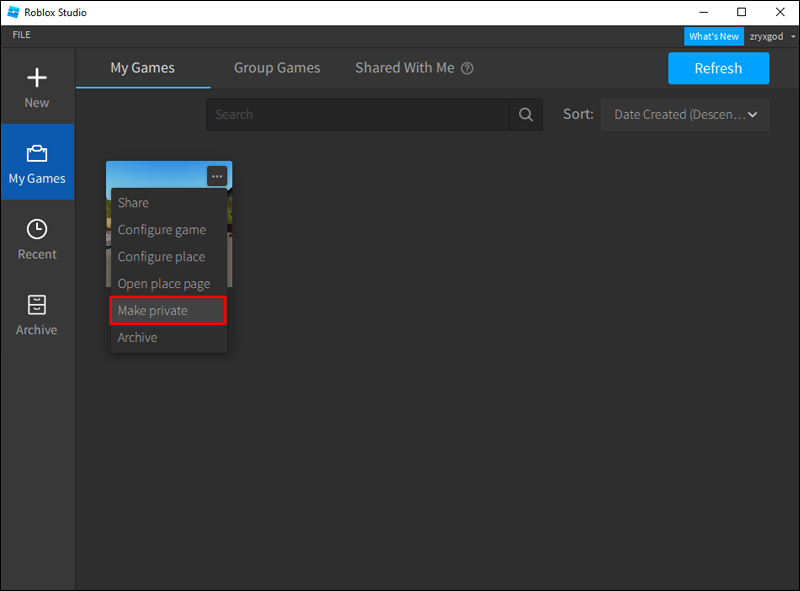
- Toggle the “Private” button to “Public” under your game name.
Now that you officially made your game public, there are two ways to track who plays it.
You can add a new event called “PlayerAdded” to fire an event whenever a new person joins a game.
Also, if you’re interested in the game stats and want to track the number of players that play your game at any given moment, you can use the Developer Stats.
We’ll start with the PlayerAdded feature.
PlayerAdded
The “PlayerAdded” event activates whenever a new player enters a game. This property is often used with the “Players.Player.Removing” event that fires whenever a player leaves the game.
For example, you can print a message when players join or leave the game:
1. local Players = game:GetService(“Players”)
2.
3. Players.PlayerAdded:Connect(function(player)
4. print (player.Name . . “joined the game!”)
5. end)
6.
7. Players.PlayerRemoving:Connect(function(player)
8. print(player.Name . . “left the game!”)
9. end)

Note that this event may not work as expected in the “solo” mode. The player gets created before the scripts connect to the “PlayerAdded” run. Instead, you can make an “OnPlayerAdded” function for handling the player’s entrance.
Tracking the Stats
Publishing a game is great, but improving it is more important for it to be successful. The Roblox platform lets you track your game data stats, including:
- The number of players playing your game and the platform they use.
- Total player visit data followed by how long they played and how many Robux they spent.
- In-game purchase stats.
- Premium payouts, depending on the time Roblox Premium members spent playing your game.
Thanks to this data, you can learn how many people play your game at any given moment, which devices are used, top-earning items, most popular places, and more.
Access the Developer Stats
To get to these developer stats, you should do the following:
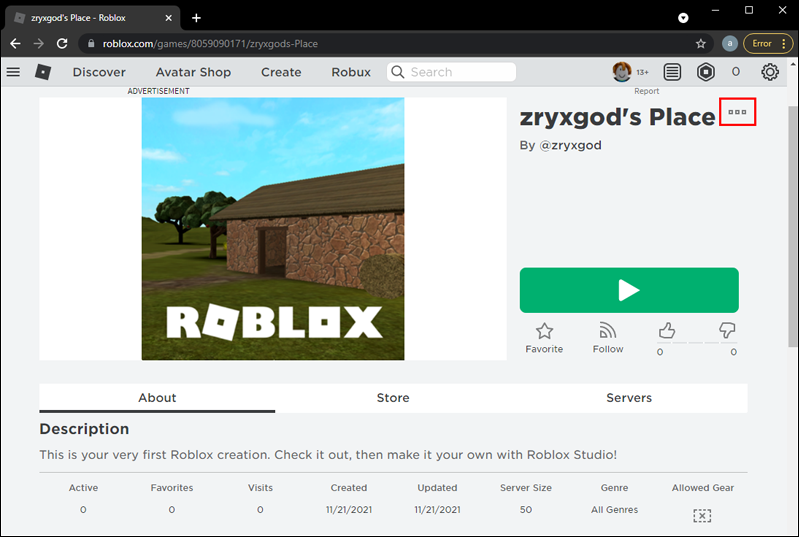
- Open a specific game place and go to its main page.
- Click on the “…” button.
- A context menu will appear. Pick the “Developer Stats.”
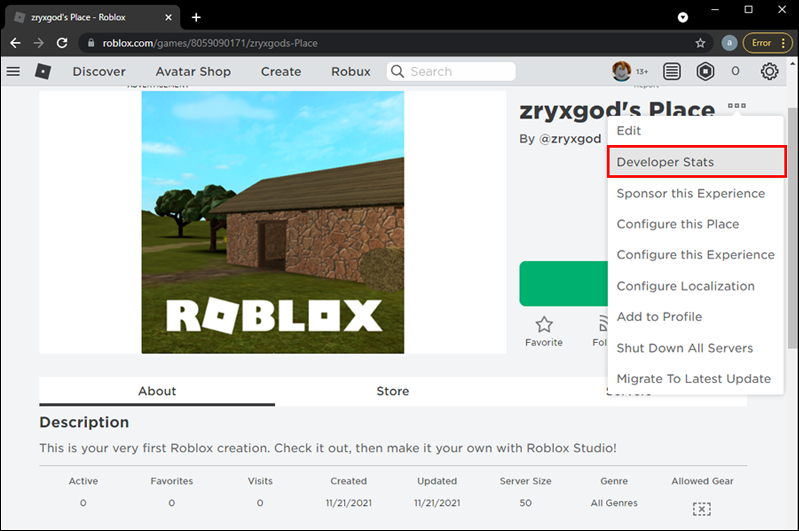
A new window with different tabs will open. In the “Game” tab, you’ll find most of the data related to people who play your game.
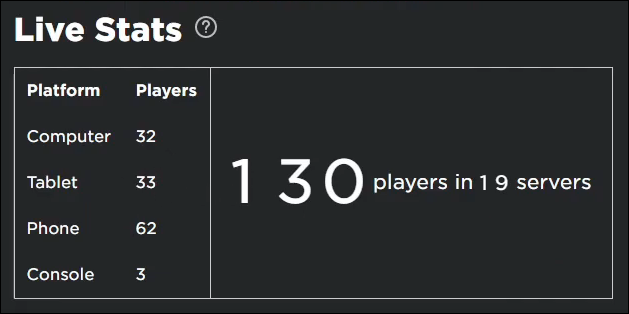
Under “Live Stats,” you’ll see how many players currently play your game. The number of the players will be separated by platforms – computer, tablet, or phone. The values in this chart update every 30 seconds.
In the “Historical Data” section, you’ll see charts and tables such as:
- Visits
- Average Visit Length
- Robux Revenue
- Developer Product Sales
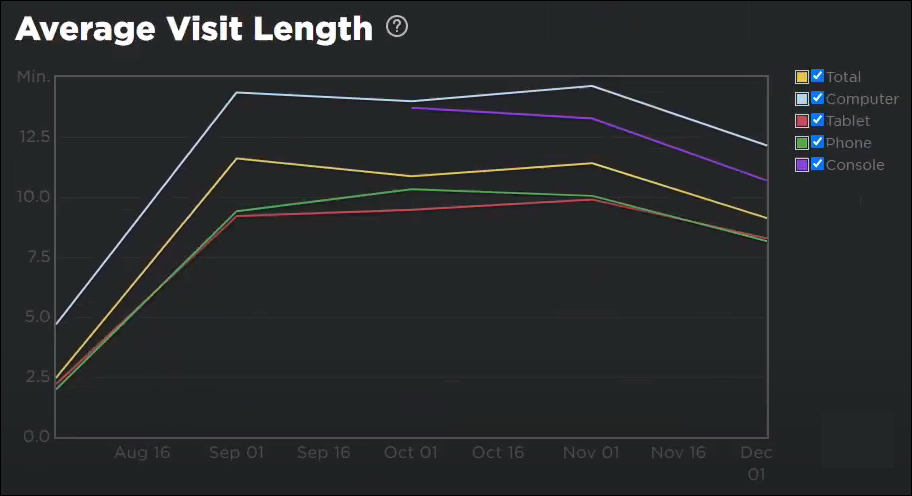
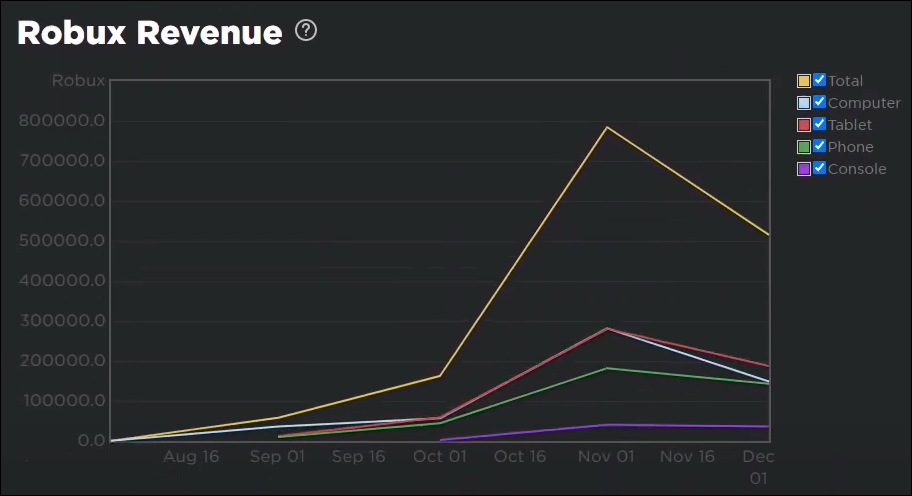

You can filter the data by hour, day, month, or platform. For example, you can check how many people have visited a specific place in your game on their tablets last month.
Note that the “Visit,” “Average Visit Length,” and “Revenue” stats are place-specific. The player count from the “Live Stats,” on the other hand, is for the entire game.
You can also download your stats for a deeper insight. Just download the .csv or .xlsx spreadsheet from the Developer Stats. In the spreadsheet, you can see the number of players that bought specific items on their phone or see the revenue percentage that comes from particular Dev Product sales or Game Passes.
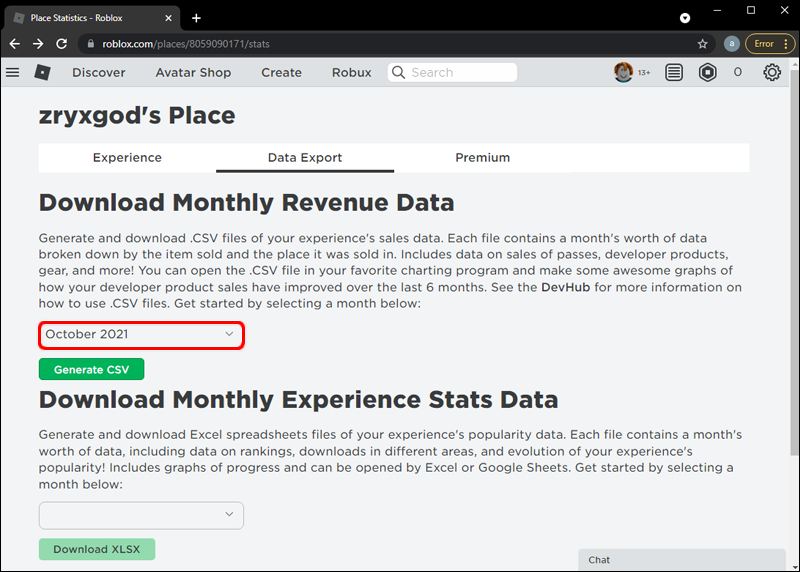
Here’s how to download the spreadsheets:
- Go to the top of the “Developer Stats” page and hit “Data Export.”
- Enter the month for which you want to download data.
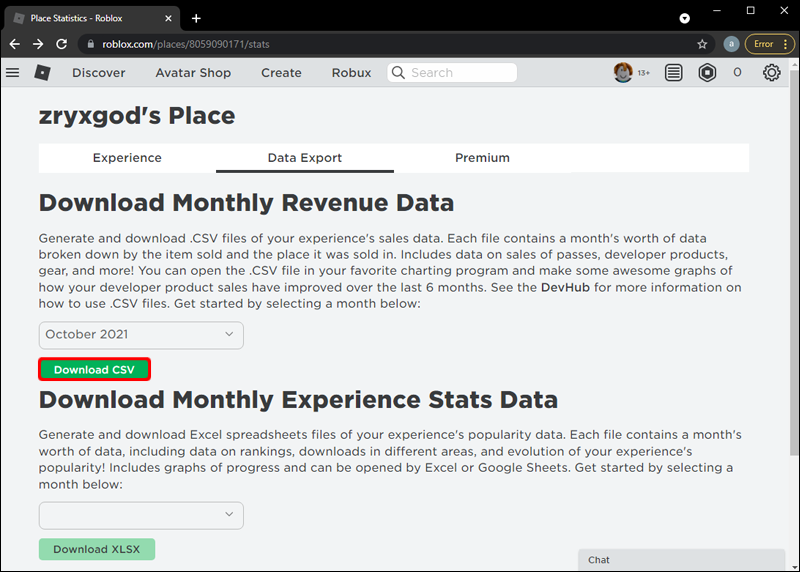
- Press “Generate.”
- Wait for the file to generate and hit “Download.”
- Find the file on your computer and open it.


These spreadsheets are helpful because they offer a deeper insight into how people who play your game immerse with it.
See Who Plays Your Roblox Game
Launching a game on Roblox is an exciting experience for beginner game developers. The platform makes it easy to upload and share your game with the world. However, if you’re like most developers, you’ll be interested to learn how your game does over time and who plays it. Thanks to a simple event like “PlayerAdded” and the Developer Stats, you can gain a deeper insight into how people immerse with your game.
Remember that the Developer Stats is your go-to place for analyzing your game performance and tracking how many players are engaging with your game at any given moment. The “PlayerAdded” event will serve you better for tracking who enters the game while you’re in it.
How did the access to Developer Stats help you improve your game experience? Did you add the “PlayerAdded” event to your Roblox game? Share your experiences in the comments below.
Disclaimer: Some pages on this site may include an affiliate link. This does not effect our editorial in any way.


