In a PowerPoint presentation, the images play an essential role in communicating the message. Sometimes images may require a little editing to fit the presentation’s objective.
You can make a background image transparent to reduce its intensity and get your audience to focus on the content displayed in the foreground.
In this article, we’ll show you how easy it is to make your image background transparent, how to make sections of your background image transparent, and how to delete the image – should you wish to experiment with different pictures.
How to Remove Image Background using an Online Tool
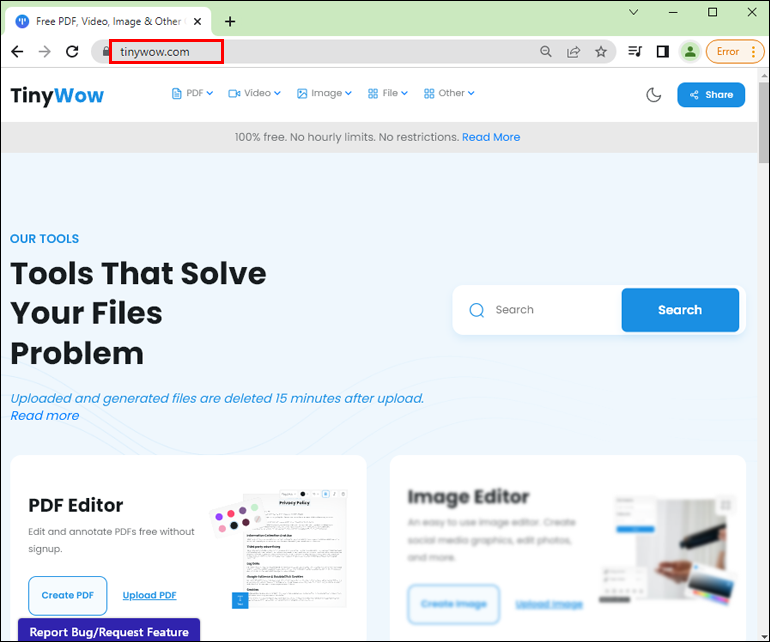
Before we tackle PowerPoint, let’s talk about this small free online tool comparable to any paid photo editing software available in the market and that is TinyWow. A hassle-free online tool that works like a charm in removing background images. Why bother with the paid software when you can do it free using TinyWow? Here’s how to do it:
- Visit Tinywow.com on your browser.
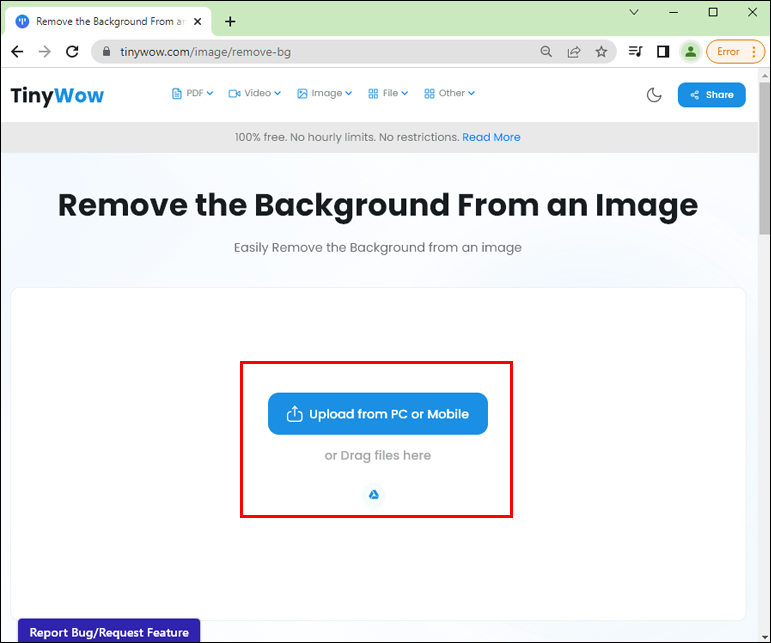
- Hover your mouse to the “Image” tab and click “Image Background Remover”.

- Click “Upload from your PC or Mobile” or “Drag some files”.
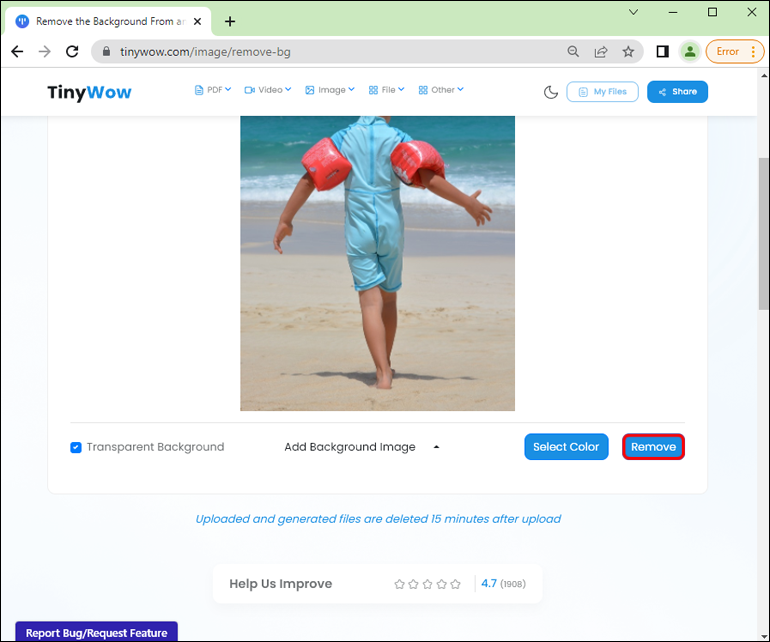
- Once the photo is uploaded, you can now click the “Remove” button.
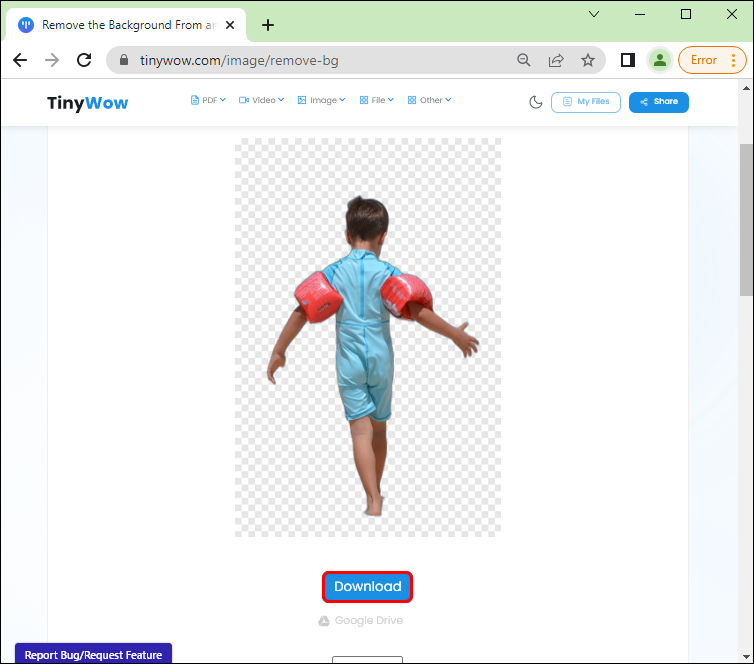
- You can now “Download” the image that has successfully removed the background image.

How to Convert an Image Background to Transparent in PowerPoint
In PowerPoint, you’ll have the option to change the original look of an image to suit your presentation design by either making specific colors or sections of your background image transparent. This is useful when your design has a specific color scheme or you just need to tone down the brightness.
To make the whole image transparent in PowerPoint for Windows:
- Navigate to the PowerPoint presentation.
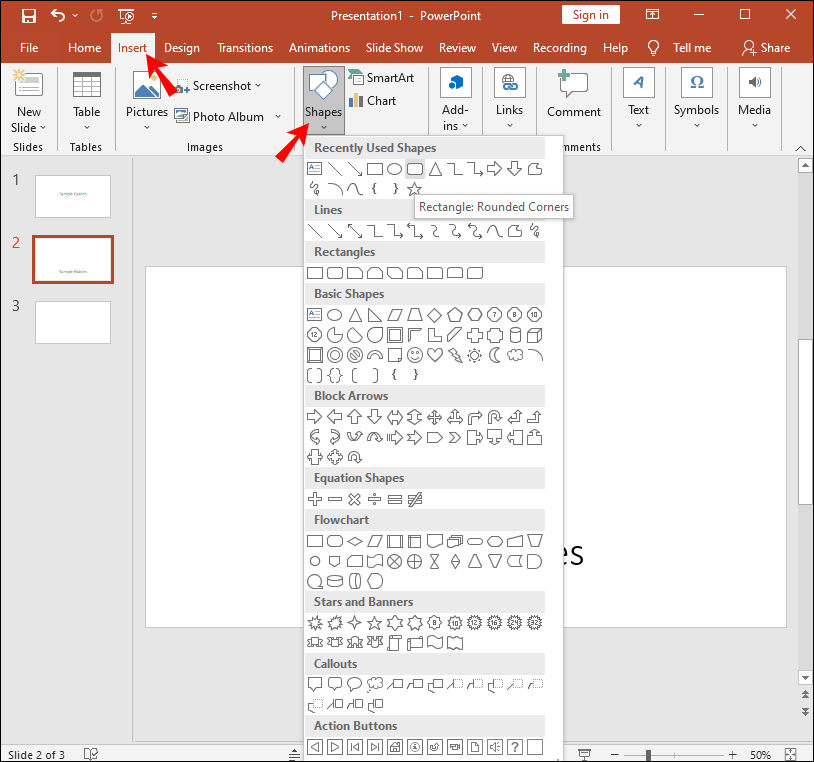
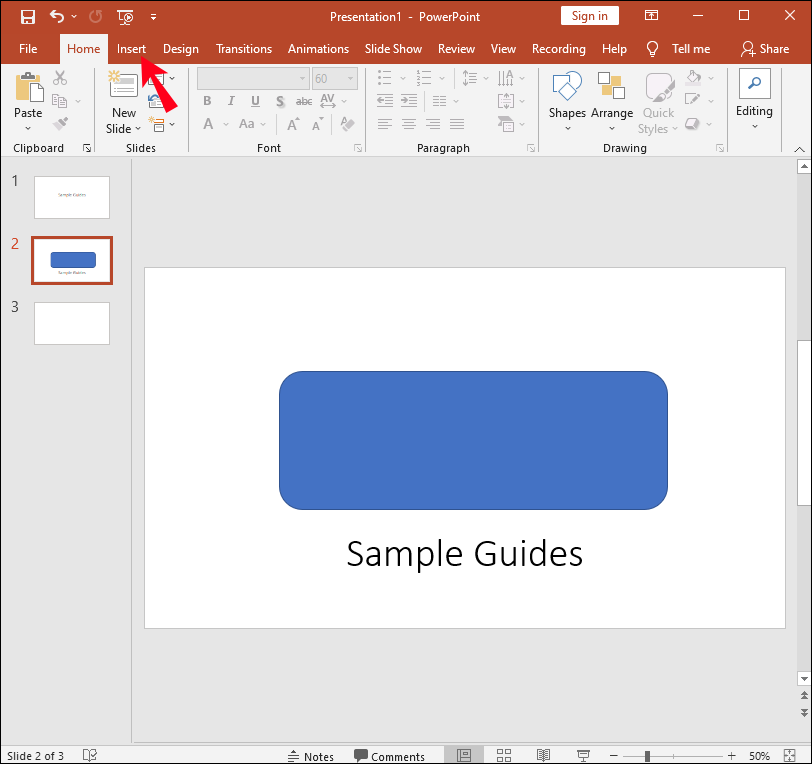
- Click on “Insert,” then “Shapes.”
- Decide on a shape from the gallery.
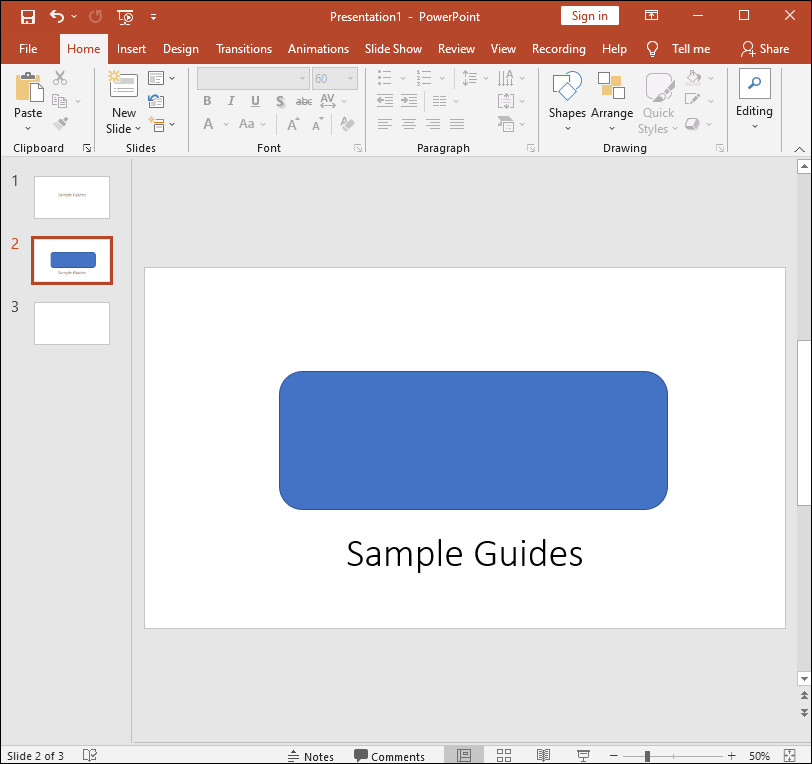
- Next, draw a shape making it roughly the same size as the picture you’re about to insert into it.
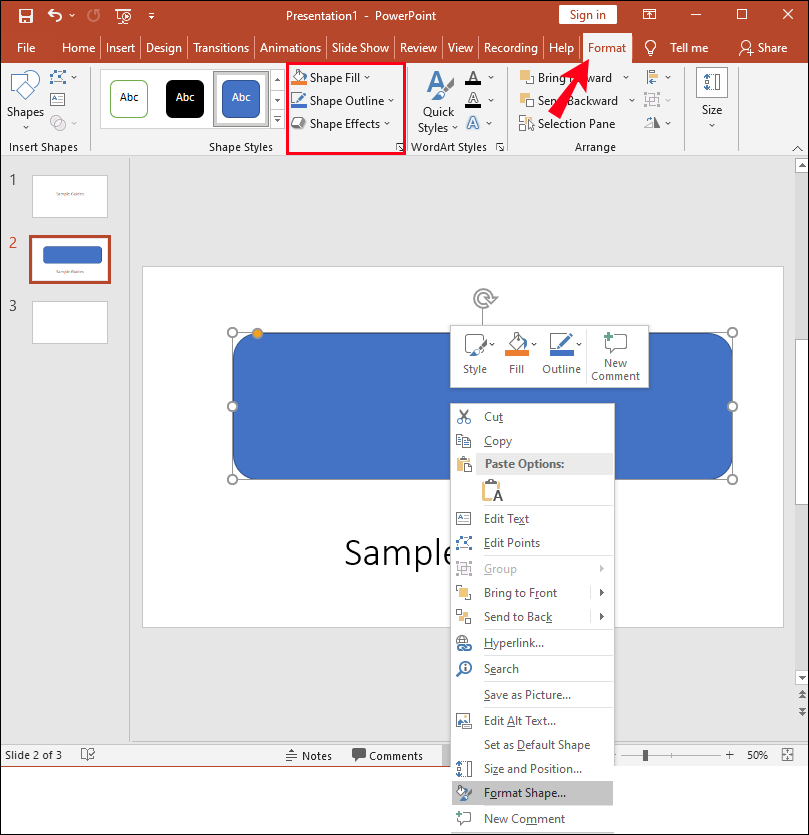
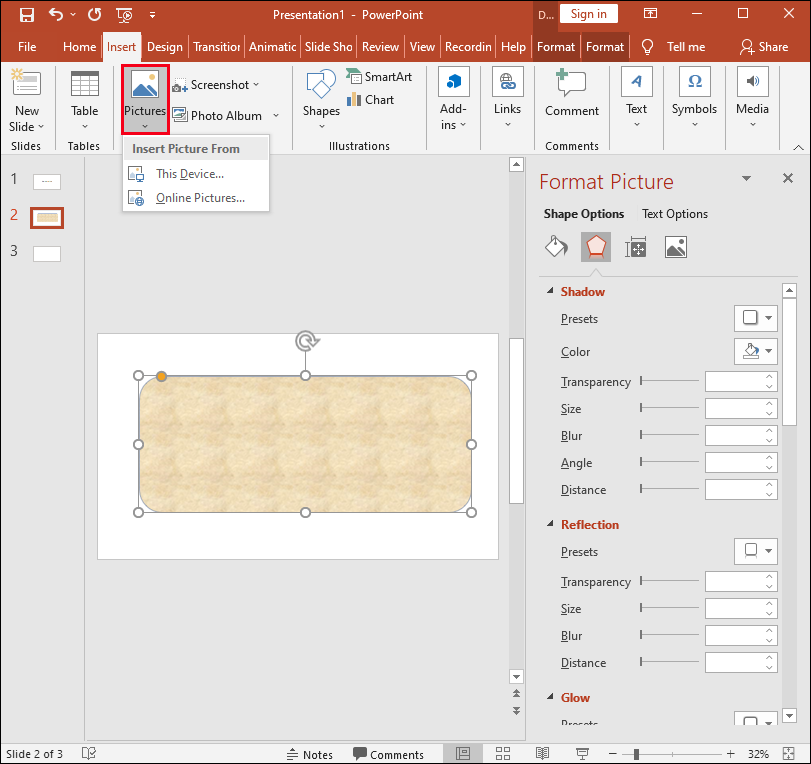
- Click on the shape then select “Format,” “Shape Outline,” “No Outline.”
- Right-click on the shape then click “Format Shape.”
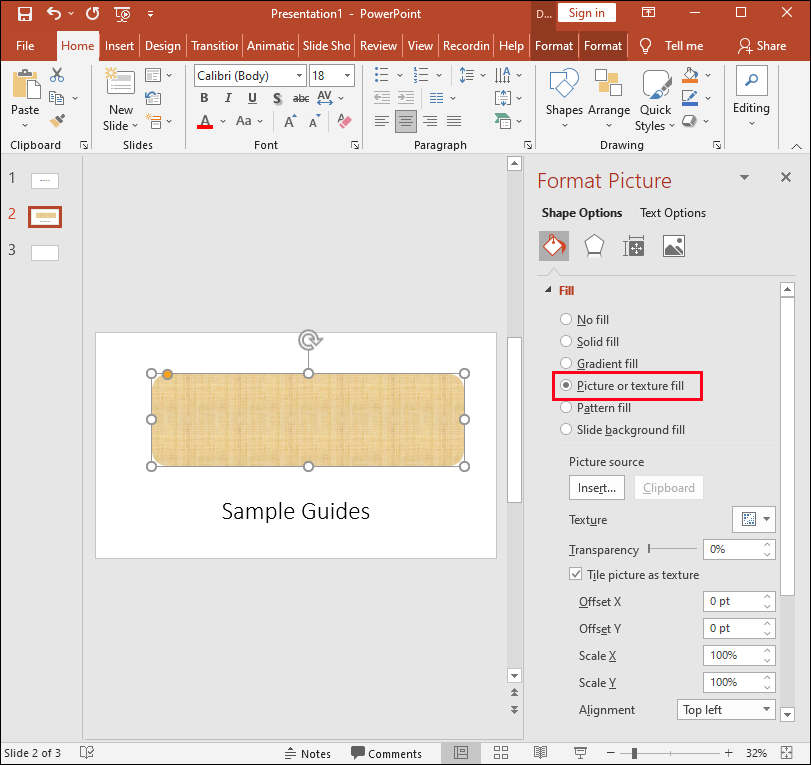
- From the “Format Shape” pane, select the “Fill” icon, then Texture or “Picture fill.”
- Select the “Insert” button.
- From the “Insert Picture” dialog box, find the image file you wish to insert.
- Choose the image, then click on the “Insert” button.
- Via the “Format Shape” pane, use the “Transparency” slider to alter the image.
- Alternatively, you can insert a number in the box beside the slider: 0% is the default setting and displays completely opaque; 100% displays completely transparent.


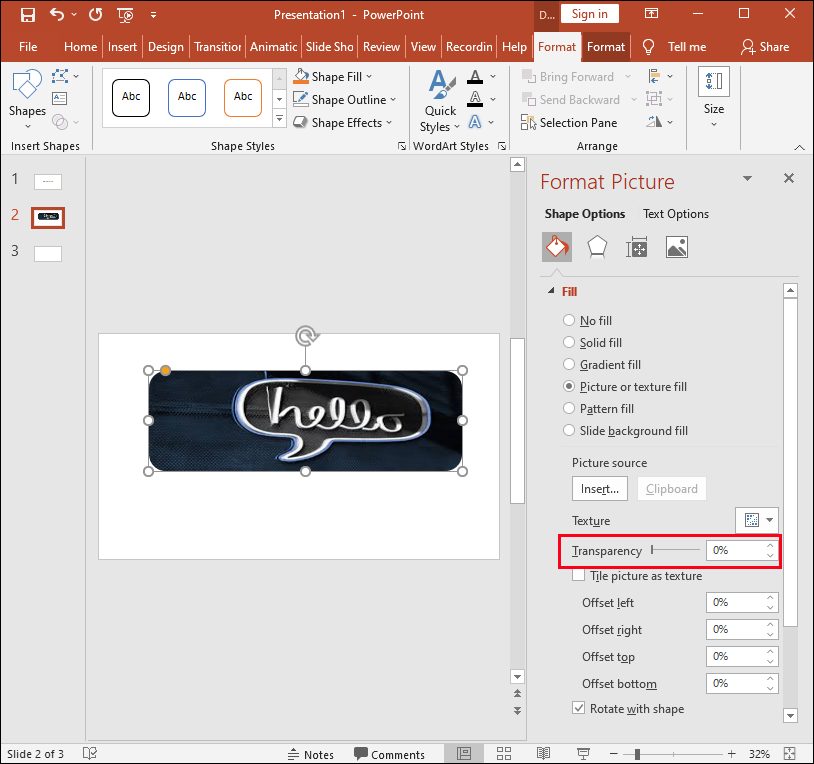
Note: Your image may become skewed if you change the original size ratio of your shape by dragging it. If your image doesn’t fit perfectly into your shape, make adjustments to the appearance of the image by resizing it, or using the “Offset” setting beneath the transparency slider.
To make an area of your background image transparent:
- Launch PowerPoint and access your presentation.
- Double-click on the image, then from “Picture Tools” select “Picture Tools Format,” then “Color.”
- Select “Set Transparent Color,” then once the pointer changes, click on the color you wish to make transparent.
- If you wish to undo the color changes from the “Adjust” group, select “Reset Picture.”
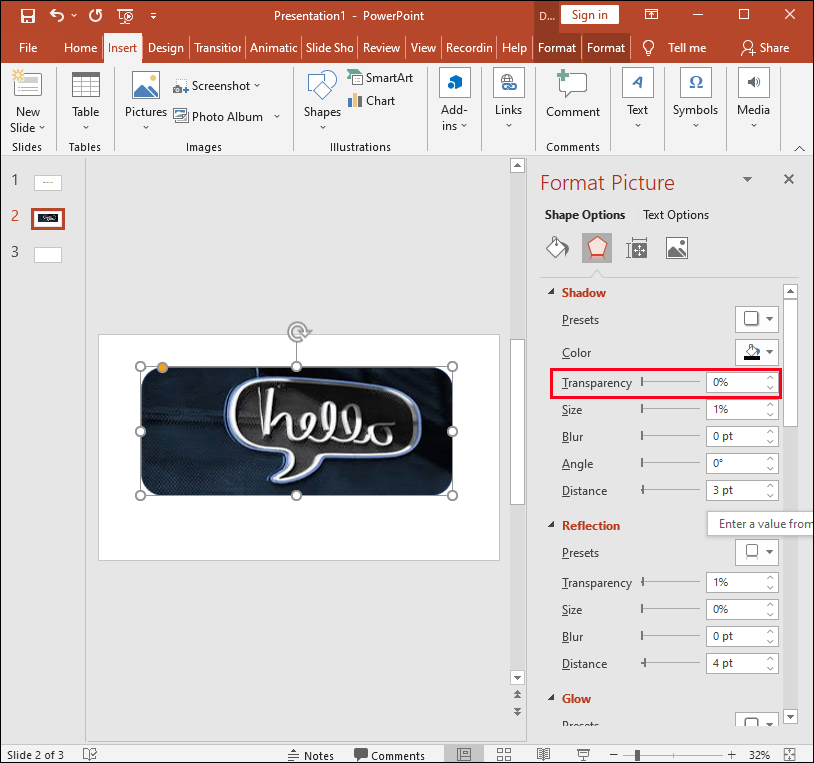
To make the whole image transparent in PowerPoint for macOS:
- Navigate to the PowerPoint presentation.
- Click on the image you wish to make transparent.
- Click on the “Picture Format,” or “Shape Format” tab.
- Select “Transparency.”
- From the transparency options, click on a preset, or for more alternatives, choose the “Picture Transparency Options” at the bottom.
- The “Format Picture” panel will launch on the right.
- Beneath “Picture Transparency,” drag the slider to the right to set the percentage of transparency you wish or enter a value in the box.
- The percentage of transparency varies from the default setting of 0% for completely opaque to 100% for completely transparent.
To make an area of your background image transparent:
- Navigate to the PowerPoint presentation.
- Click on the image you wish to alter the color transparency.
- From the “Picture Format” category click “Color,” then “Set Transparent Color.”
- Click the color on your image that you wish to make transparent.
How to Make a Shape Transparent in PowerPoint
- Open PowerPoint.
- Click on “Insert” then “Shapes.”
- From the pull-down gallery, choose a shape to draw to the size you wish.
- Right-click on the shape, then select “Format Shape.”
- From the panel, open the “Fill” section.
- Then move the “Transparency” slider to the right to set the amount of transparency you desire.
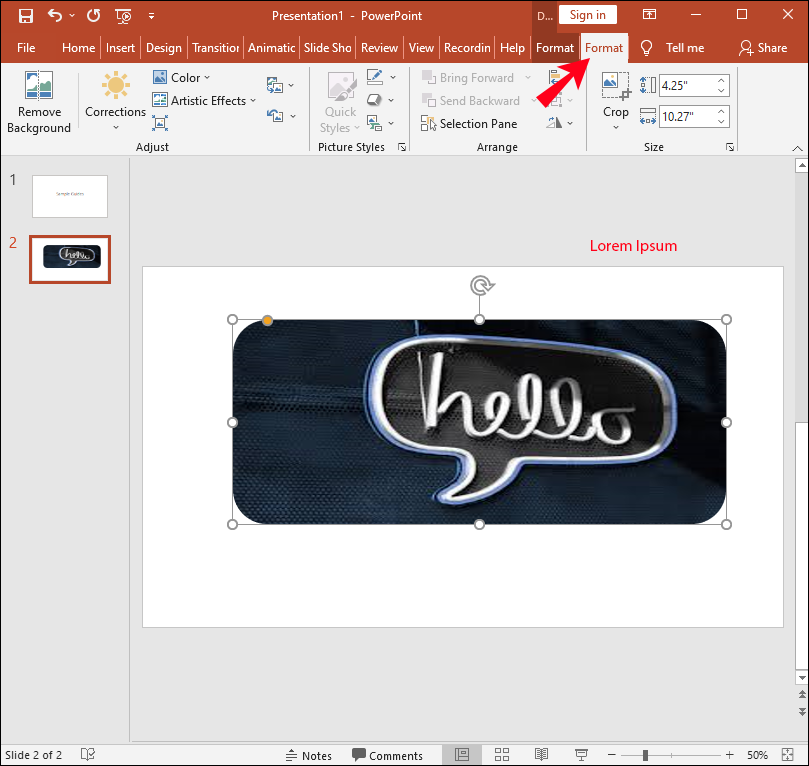
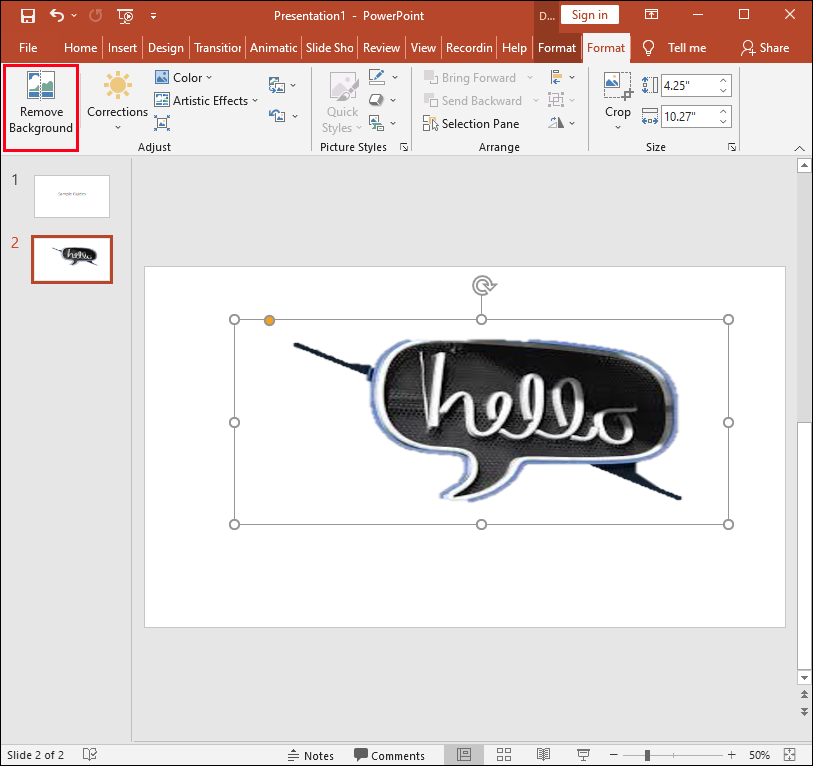
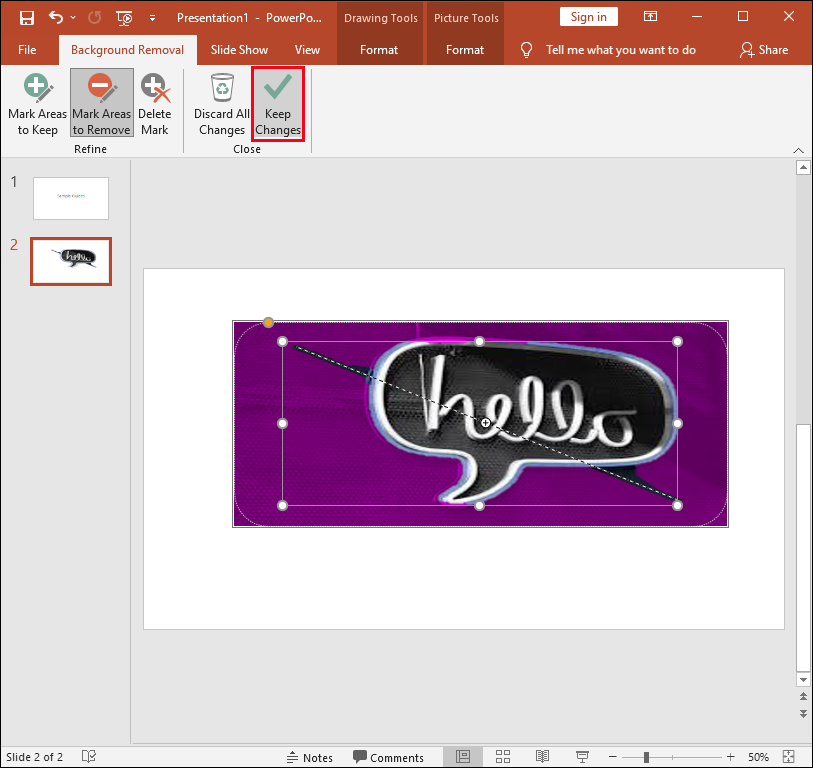
How to Use the Remove Background Tool in PowerPoint
To delete the background of a photo using the “Remove Background” tool:
- Open PowerPoint and select your photo.
- Click on “Picture Tools,” the “Format” tab, then “Remove Background.”
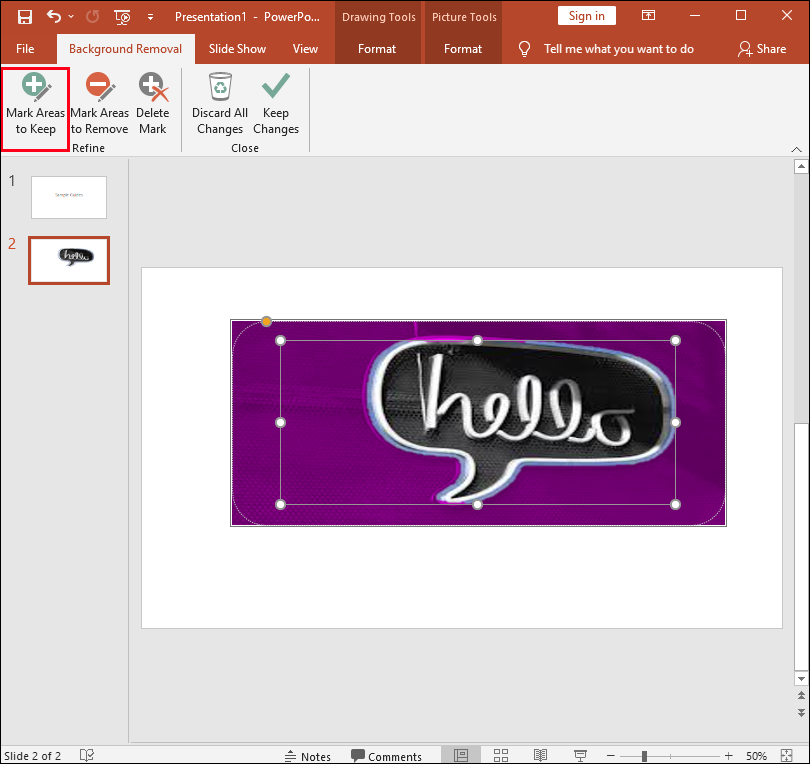
- From the “Background Removal” tools:
- Choose “Mark Areas to Keep” to draw on the sections you want to save.
- Choose “Mark Areas to Remove” to draw around the sections you want to remove.
- Choose “Mark Areas to Keep” to draw on the sections you want to save.
- Once done, click on “Keep Changes.”
- To save your image separately, right-click on it then select “Save as Picture.”

Presentation Transparency in PowerPoint
PowerPoint offers lots of image editing features to help you achieve the presentation design you’re looking for. Using the set transparency tool, you can make a whole background image transparent for subtlety, or just sections of an image for a layered effect. And for additional customization, you even can set the level of transparency.
Now that we’ve shown you how to change the transparency of your background image and how to do some other cool modifications, do you think the changes you’ve made to your images assisted in the delivery of your presentation? How do you think your presentation was received? We’d love to hear about how cool the design of your presentation slides turned out, so let us know in the comments section below.
Disclaimer: Some pages on this site may include an affiliate link. This does not effect our editorial in any way.