Device Links
Every now and then, the data that you import from web pages may result in a great number of columns appearing even if they’re not used. You see this happening with CSV files and .txt files just as often.
When it happens, deleting columns manually may not always be easy. Sure, if you only have two or three empty columns, it’s quite ok to delete them manually. But what if your imported project creates 57 empty and non-continuous columns? – For that, you’ll need an automated process.
Using VBA Macro
The first method involves using a VBA macro.
- Go to your Excel file.

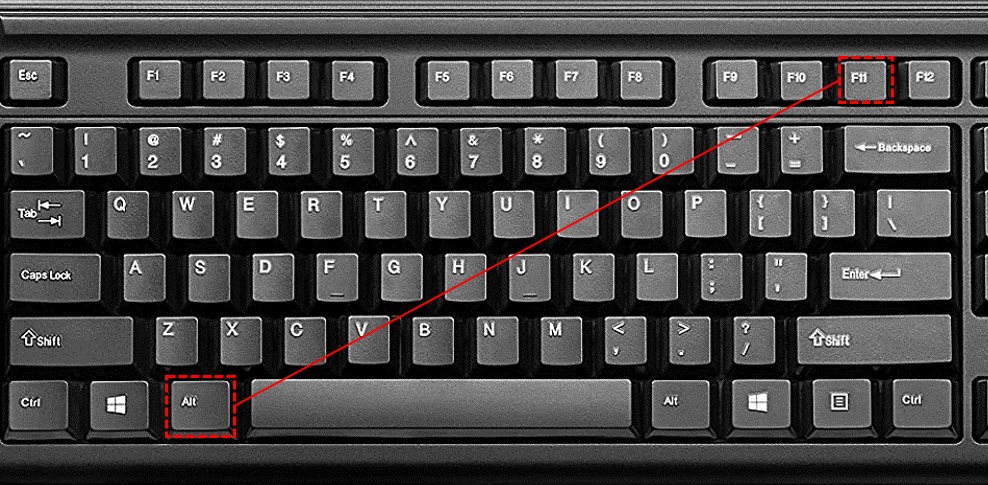
- Hold Alt + F11 together.
- Wait for the Microsoft Visual Basic for Applications window to appear.
- Then, click Insert.
- Select Module.
- Paste the following lines of code in the window.
Sub DeleteEmptyColumns()
  'Updateby20140317
  Dim rng As Range
  Dim InputRng As Range
  xTitleId = "KutoolsforExcel"
  Set InputRng = Application.Selection
Set InputRng = Application.InputBox("Range :", xTitleId, InputRng.Address,Type:=8)
  Application.ScreenUpdating = False
  For i = InputRng.Columns.Count To 1 Step -1
  Set rng = InputRng.Cells(1, i).EntireColumn
  If Application.WorksheetFunction.CountA(rng) = 0 Then
  rng.Delete
  End If
  Next
  Application.ScreenUpdating = True
  End Sub
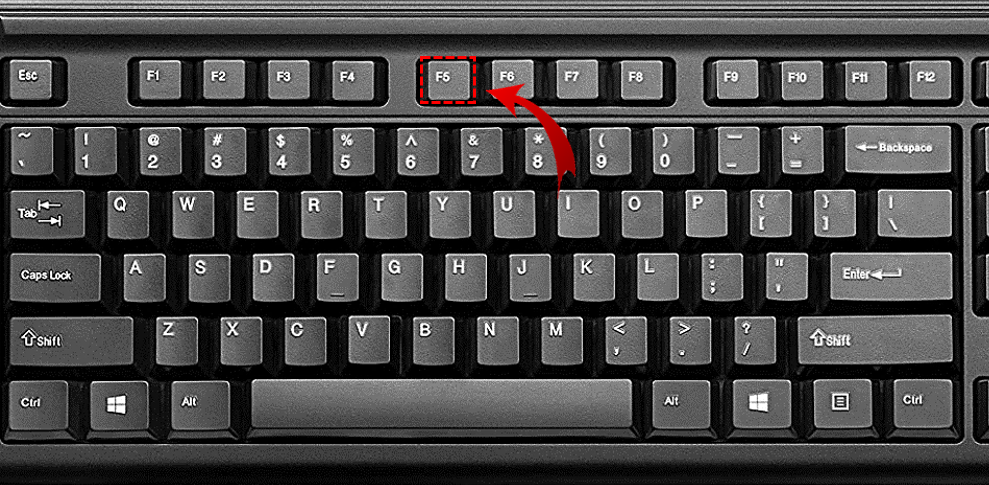
- Press F5 to compile and execute the macro.
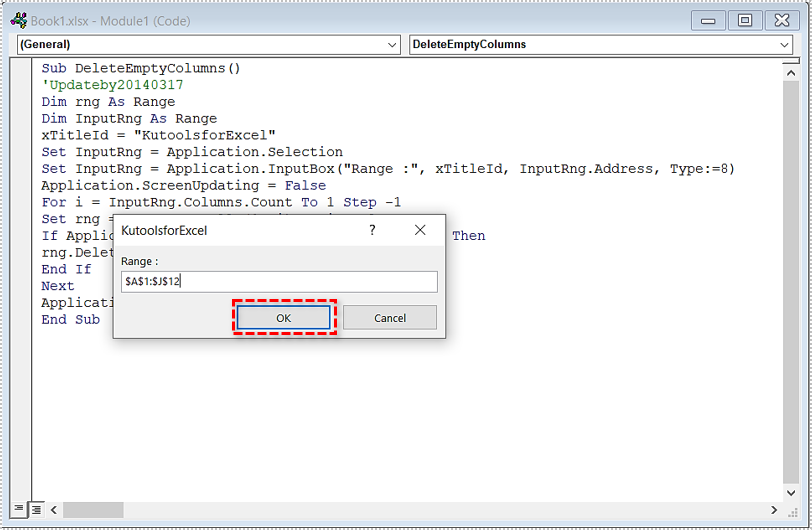
- Input the appropriate work range in the dialog window.
The range is the specific interval between columns that you want to target. The format is $A$1:$J$12. The letters correspond to the column, and the numbers correspond to the rows. - Press OK.


After that, all the empty columns should be erased, and all filled columns should be next to each other.

Using Excel Tools to Delete Blank Columns
Obviously, Excel wouldn’t be such a powerhouse if it didn’t have great sorting abilities. You can use the Delete dropdown menu to delete entire rows, columns, or blank cells.
- First, select the data range and press F5.
- Then, click Special.
- Now, select the Blanks option.
- Click OK (This selection will ensure that all blank cells are selected in the targeted range).
- Go to the Home tab.
- Select the Delete dropdown menu under the Cells tools group.
- Select Delete Cells.
- Select Shift cells left for removing and rearranging columns.
- Click OK.


Now the empty cells from the blank columns should’ve disappeared, and all the other rows are closer together.

You can use the same approach to delete entire rows. However, instead of moving the cells to the left, you select the other option.
Select Shift cells up for removing and rearranging rows.

Depending on what version of Excel you’re running, you may get different wordings. But in any case, the top two options in the Delete Cells menu are always the same.
This method no longer removes all blank cells in the selection. Before Excel 2013, this would inadvertently remove even empty rows, which would generally mess up the sorting.
Now the problem no longer occurs. Therefore, if you want to also get rid of the rows, you can do so by selecting the data range again and following the previous steps. Then simply select to shift or delete cells up instead of left.
Deleting Blank Columns on Android
Although the process is similar for deleting blank columns in Excel on Windows, Mac, and Android, here’s a quick overview of doing it on Android.
- Open up the Excel spreadsheet you want to edit and tap on the column heading you want to edit.
- Now, select Delete from the menu that appears.
Other Easy to Perform Sorting Tasks
Although using the Excel toolbar to delete empty columns and rows seems easier, the VBA macro method is foolproof, which means you can use it even in older Microsoft Excel versions.
Using the same VBA module or the Go To function menu, you can do so much more in Excel. Do you have certain formulas that are no longer relevant? – You can remove them as well or rearrange them accordingly.
You can also remove unnecessary comments or all comments from your project if you don’t want them to show up during your presentation. Look into VBA if you want to be an Excel power user.
A Final Thought
Over the years, a wide range of add-ons have appeared online. Some of them allow you to take even more shortcuts when sorting large spreadsheets. However, these apps are rarely free and not worth the trouble for simple tasks such as removing blank rows, cells, and columns.
Besides, if it were that difficult, Microsoft would’ve further simplified the process by now or created even more extensive guides on Excel sorting.
Disclaimer: Some pages on this site may include an affiliate link. This does not effect our editorial in any way.


