Laptops are sturdy pieces of hardware and generally durable no matter what you put it through. However, there may be times when you’ll notice your laptop not charging at all. When that happens, there are several ways to mitigate disaster.
If you’re the owner of a Dell laptop and have a problem with charging, look no further. Below, you’ll find a variety of methods to get your laptop to start charging again. We’ll address common symptoms and possible solutions.
Dell Laptop Not Charging No Light
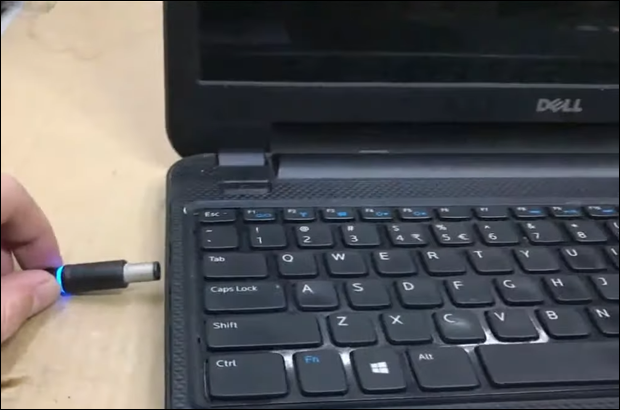
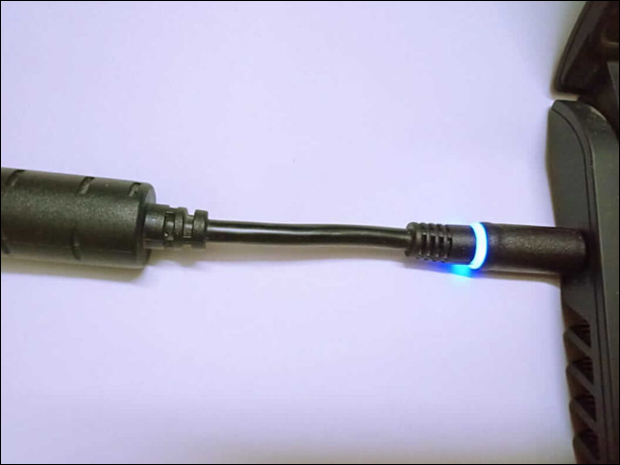
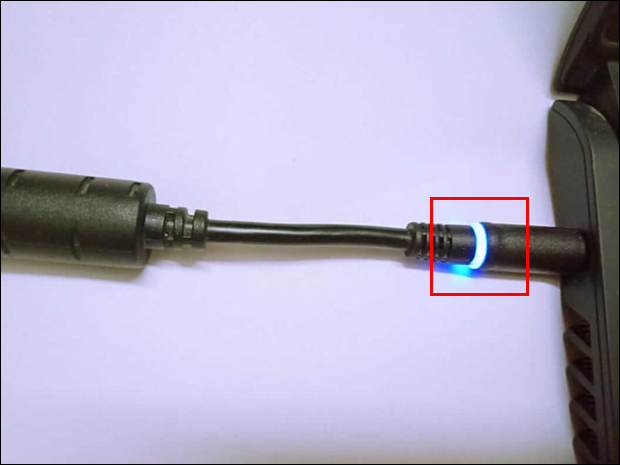
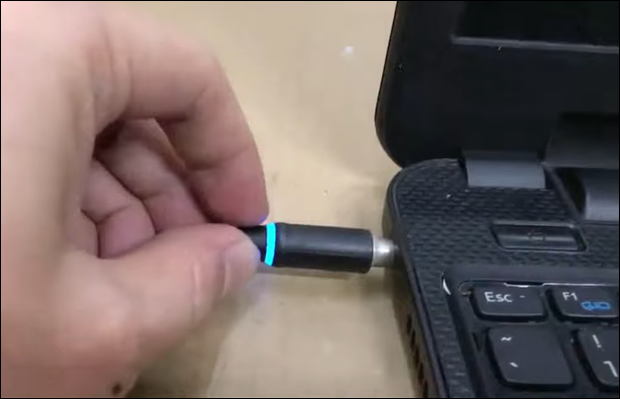
Dell laptop AC adapters have LED lights to indicate your laptop is receiving a charge. If you plug it into a power socket and connect the charging end to your laptop’s charging port, it should light up. Occasionally, the LED is off or turns off when you connect the charger to the computer.
There are several reasons this may happen, such as:
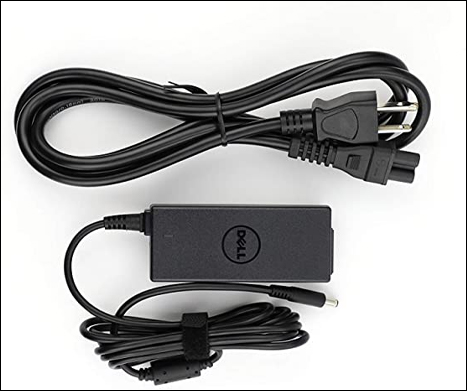
- Damaged charger
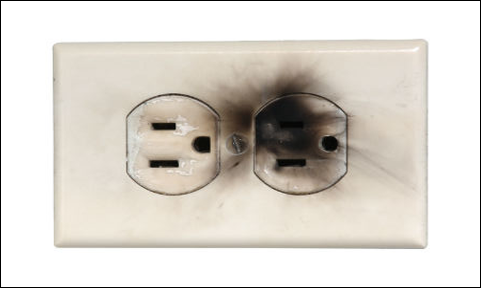
- Faulty wall outlet
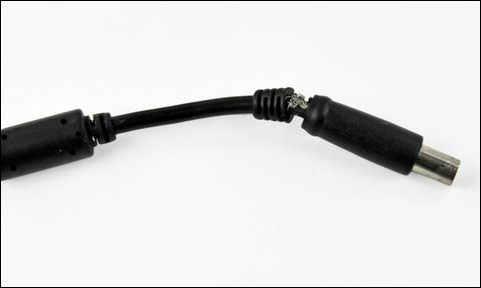
- Damaged cable

- Faulty connector

Follow these troubleshooting steps and to pinpoint the possible cause for a charger malfunction:
- Check the AC adapter, cables, and charging port for damage.
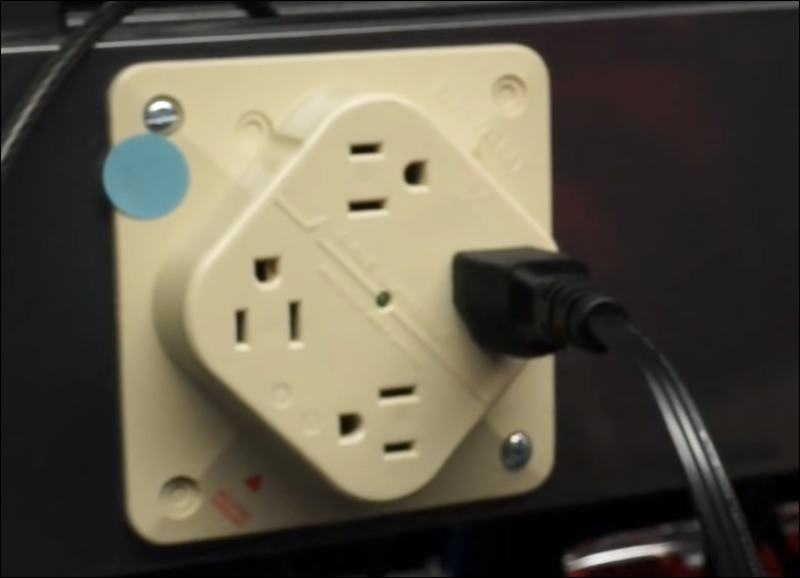
- Ensure the power outlet is working.
- Disconnect and reconnect the power cables and the AC adapter.
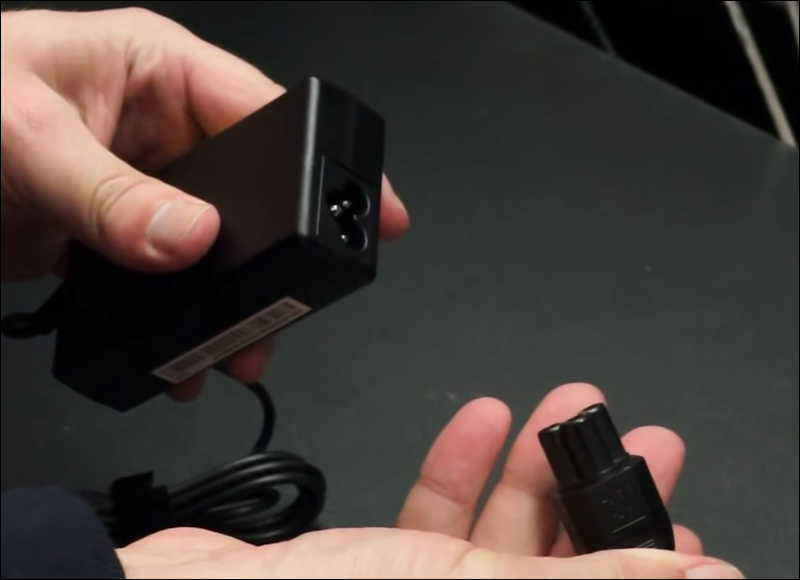
- Separate and reattach the cables of the charger from the charging brick.
- Plug the charger back into the laptop.
- Check if the LED indicator is lit up.

If the wall outlet is working, but the LED indicator doesn’t light up, you may have to buy a new charger. This phenomenon doesn’t usually indicate a faulty port, but you should be prepared for the possibility.
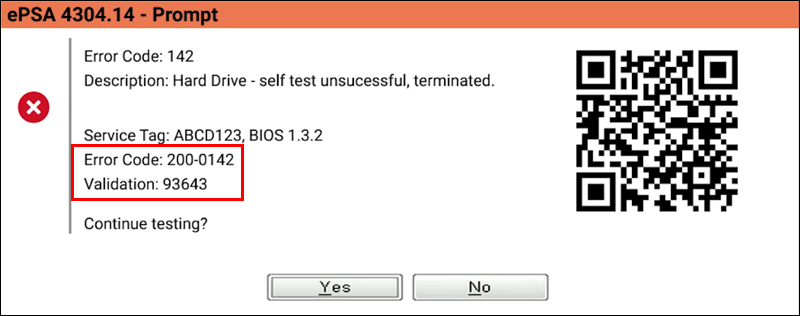
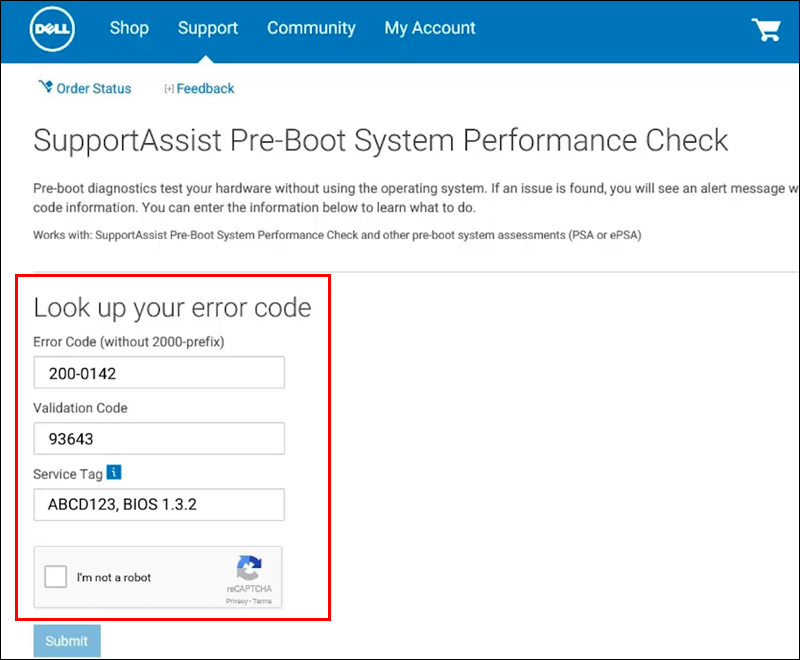
You can run a Dell ePSA hardware diagnostic test to troubleshoot the issue further. Here are the steps:
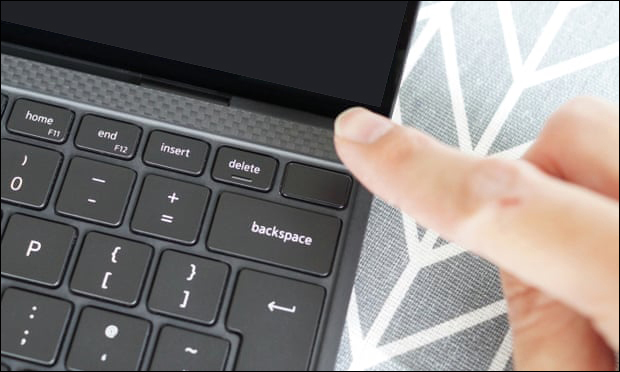
- Turn your laptop on.
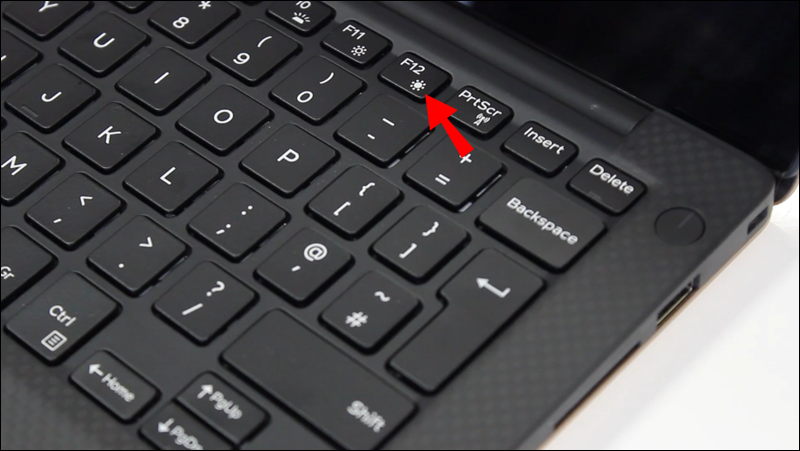
- Tap F12 repeatedly until the One Time Boot Menu pops up when you see the Dell logo.
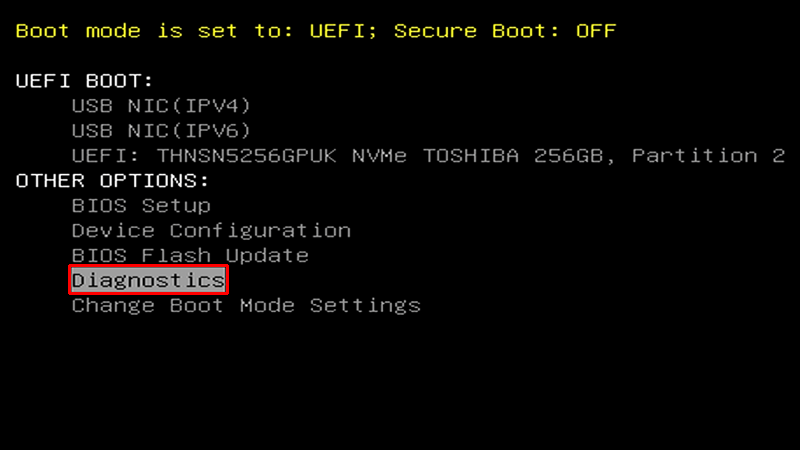
- Use the arrow keys and highlight “Diagnostics” before pressing the Enter key.
- Follow the instructions.
- Write down the exact error code if there is one.
- Contact Dell Technical Support for further assistance.
Dell Laptop Not Charging With USB-C
Some Dell laptops have USB-C chargers instead of other proprietary pin designs. These laptops already ship with a designated charger, which can be replaced. However, when it malfunctions, it’s usually due to a faulty USB-C port or the motherboard.
Here are some ways to potentially solve the problem:
- Ensure the wall outlet is working.
- Disassemble and reassemble the charger (if possible).
- Unplug and reinsert the charger.
- Check if it’s charging.
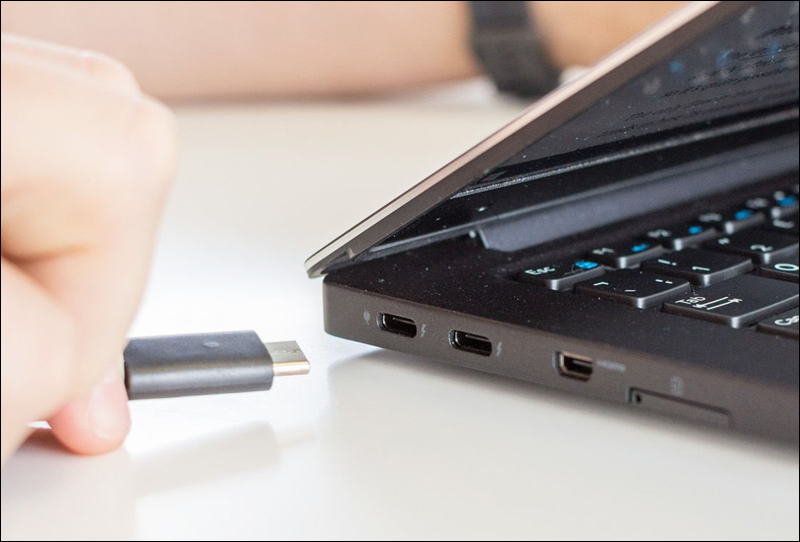
If these steps don’t help, you can try flipping the USB-C cable upside down. Should any other actions not work, the issue is likely the port or motherboard, and you’ll have to send it in for repairs.
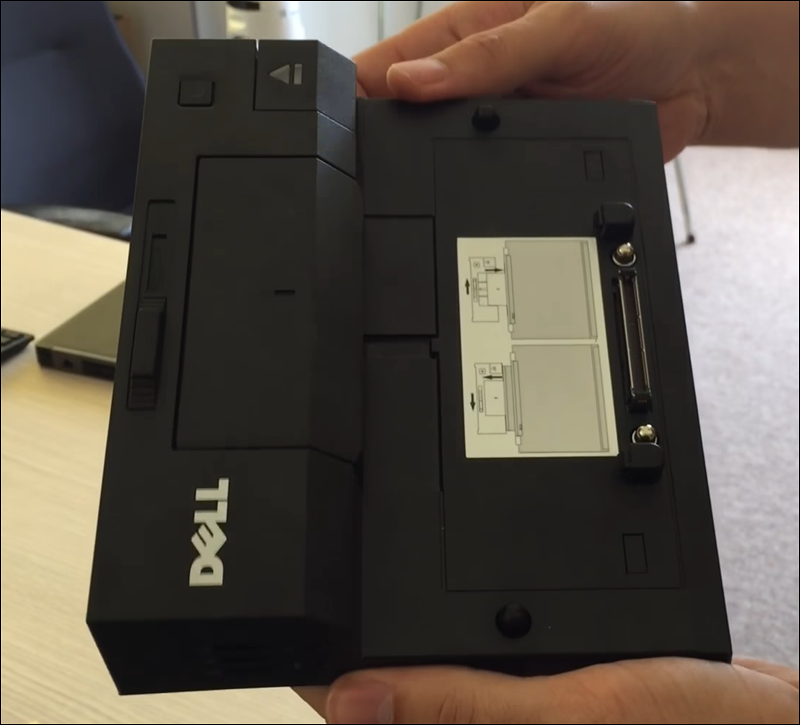
Dell Laptop Not Charging Through Docking Station
Some Dell laptops can be charged via USB-C or the included charging cable connected to a docking station. These devices are designed to increase productivity by connecting all essential peripherals to one place. Should you discover your laptop isn’t charging when plugged into the docking station, there are a few ways to address the issue.
Before we get into the fixes, here are potential reasons your laptop isn’t charging through the docking station:
- Your laptop’s charger has the wrong wattage
- The charging cables are loose
- BIOS issue
- Improper connection
To diagnose the issue, follow these steps:
- Check if the docking station is working.
- Unplug the charging cable.
- Plug it back into the docking station.
- Check if your laptop is charging.
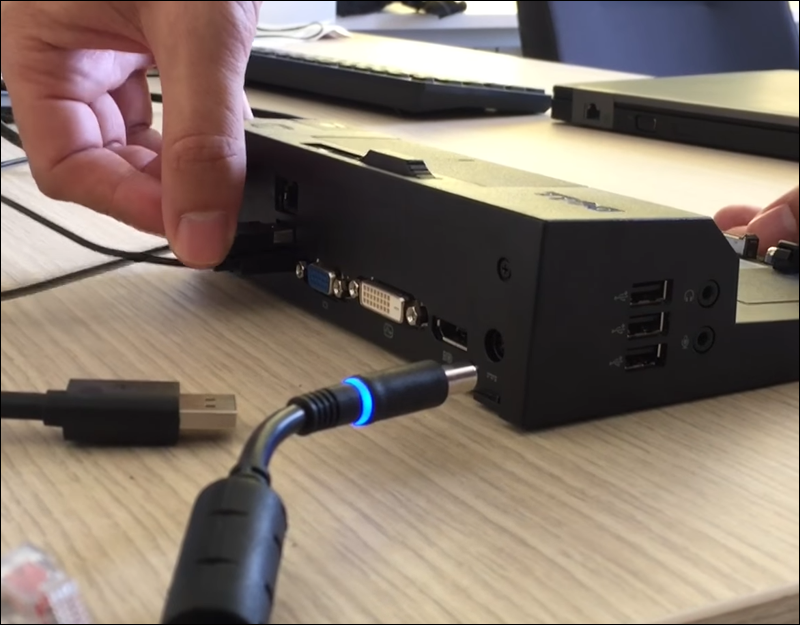

Since you don’t need the charging brick, it doesn’t come into play here.
Using different wattages will prevent charging, and you’ll have to use another docking station if that’s the case. Of course, loose cables and an improper connection can be fixed by following the steps above. Reattaching everything tends to solve loose connections.
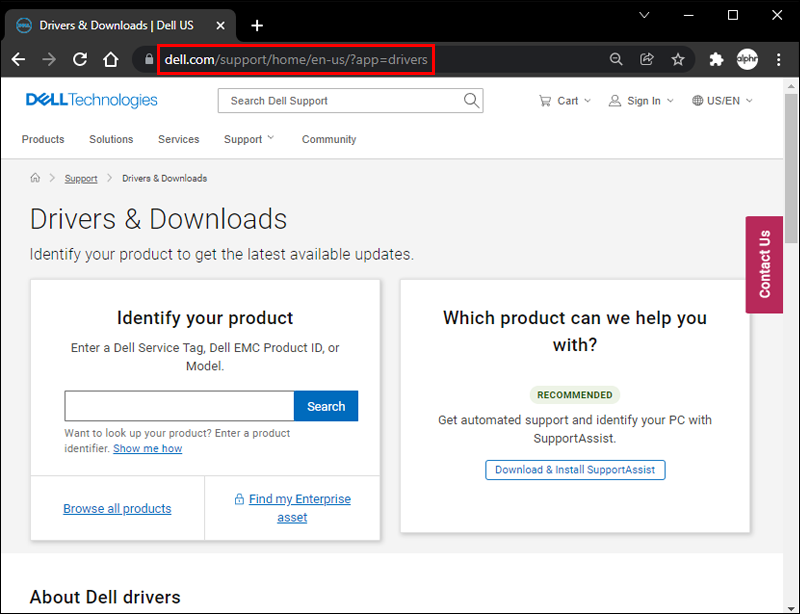
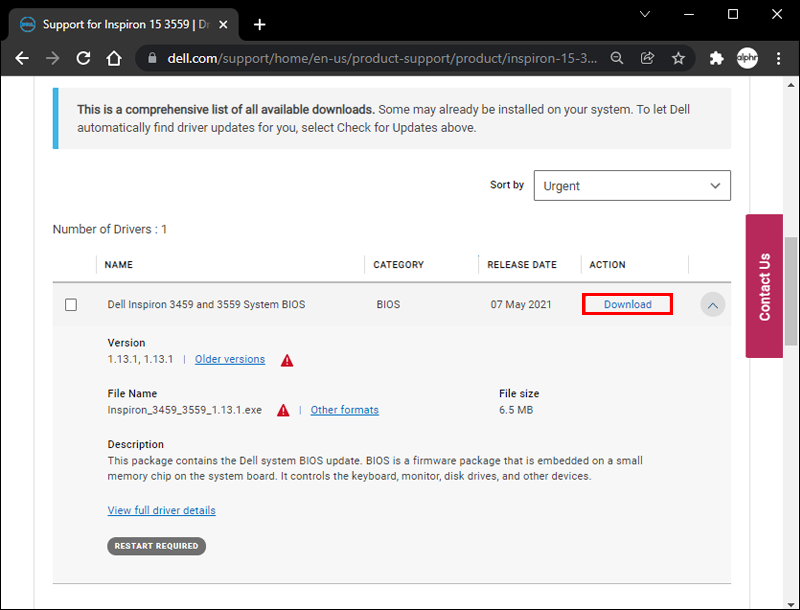
In other cases, a BIOS update can cause issues with the charger, making it impossible for your laptop to detect it. Should that happen, you may have to perform a BIOS update. These are the steps to perform a manual update:
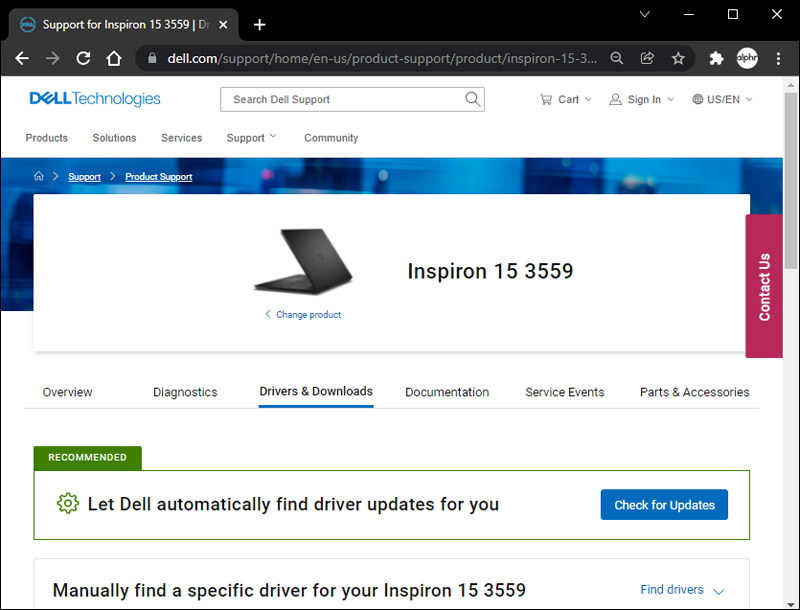
- Go to the official Dell website.
- Find your Dell laptop model.
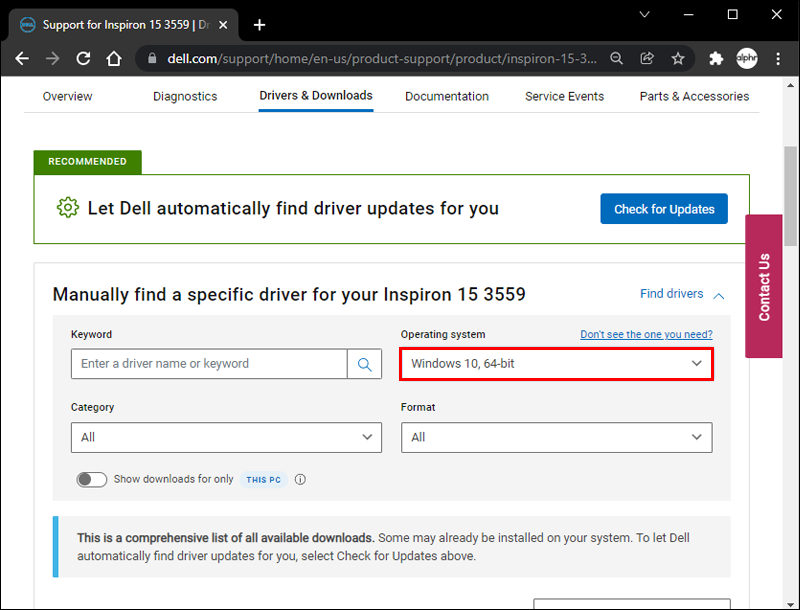
- Pick your operating system.
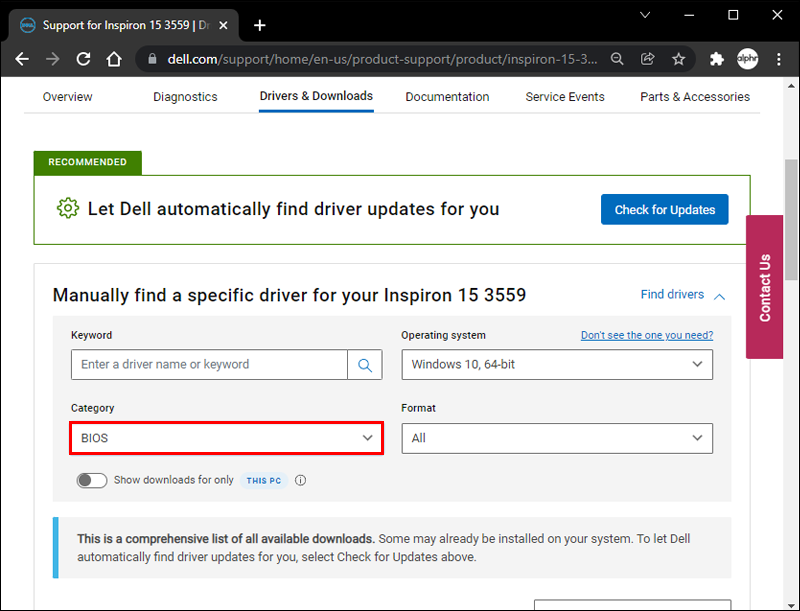
- From “Category,” select “BIOS.”
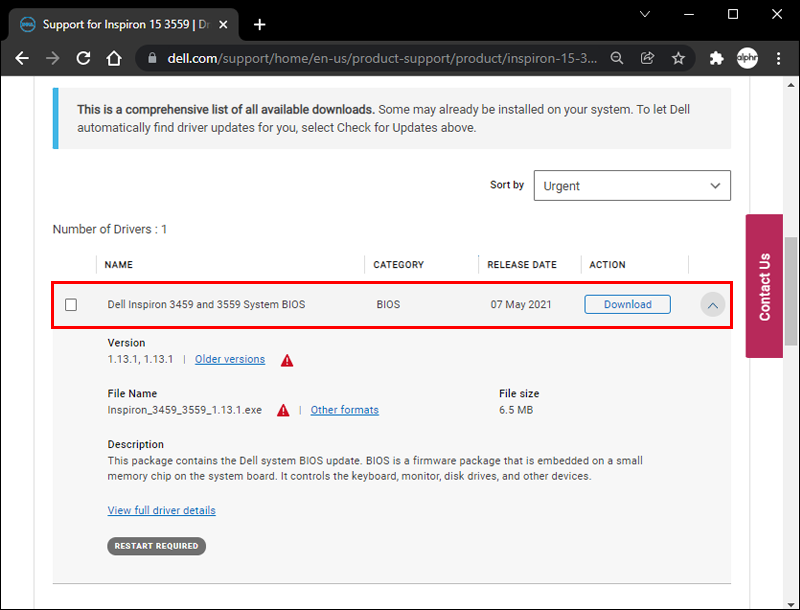
- Find the latest System BIOS version.
- Download the file.
- Locate and run the installer.
- Follow the installer’s instructions.
- After your computer restarts, your BIOS should be updated.

BIOS updates can solve driver issues but won’t fix hardware. If this solution doesn’t work, it’s most likely any of the options mentioned above.
Dell Laptop Not Charging When Turned Off
You expect your laptop to charge when plugged in, especially when it’s turned off. However, some users experience situations where they can’t start their computer without using the charger. And when it turns on, it may display 0% battery remaining.
One possible culprit may be the microchip Dell uses to detect genuine batteries. The chip may malfunction and not detect the battery. Fortunately, there’s a fix for this situation.
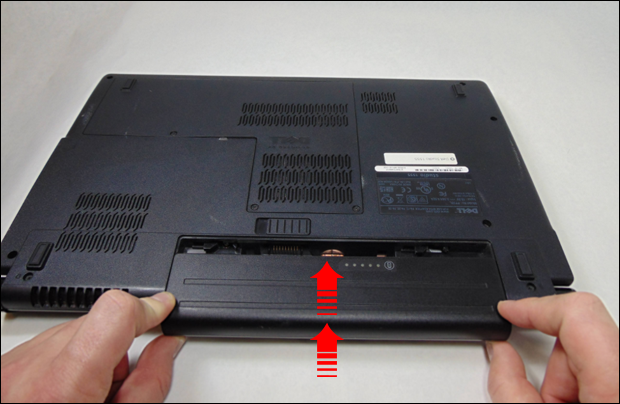
Depending on your laptop model, you may need tools, but the solution will take less time if you can remove the battery immediately.
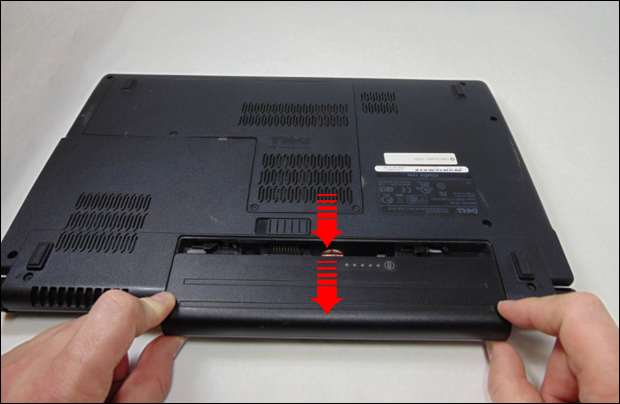
- Drain the battery by pressing and holding the power button for 30 seconds.
- Remove the laptop battery.
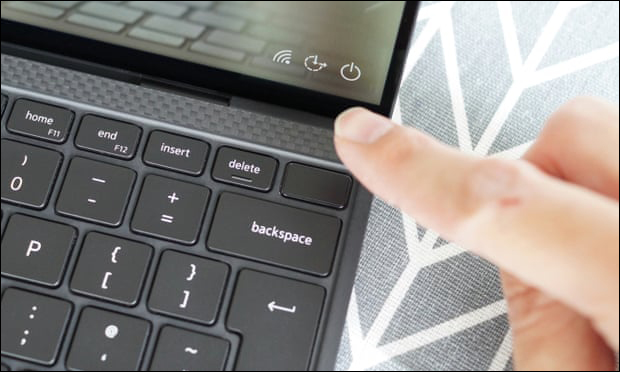
- Turn the laptop on after plugging in the charger.
- Shut the laptop down and remove the power cord.
- Reinsert the battery.
- Plug the charger in again.
- Reboot the computer.
If done correctly, you’ll reset the microchip inside your Dell laptop. However, if you’re not confident in doing this yourself, especially with a fixed battery, you can bring it to a store for repairs.
Dell Laptop Not Charging to 100%
A fully-charged battery is what people would expect after several hours of charging, but sometimes problems arise from extended use. A laptop battery used often will wear out eventually, and one symptom is not reaching a 100% charge after a long time.
It might only reach 90% or more, but never full. Thus, you’re missing out on about half an hour of battery life.
Fortunately, there’s an easy fix for this scenario. Here are the steps:
- Drain your laptop battery until it’s less than 10%.
- Shut down.
- Charge your laptop.
- After several hours, come back and turn the laptop on.
- It should reach 100%.
Sometimes, the battery is not at fault but the driver. A quick uninstall and reinstall may solve the problem in this case:
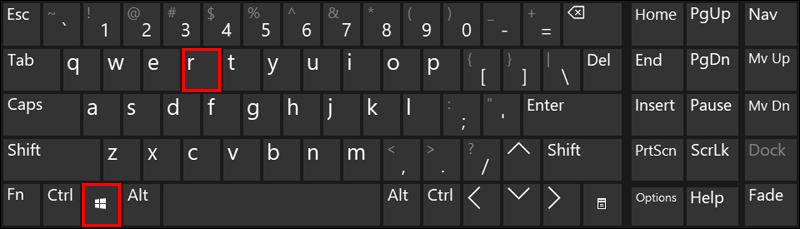
- Press Windows + R keys.
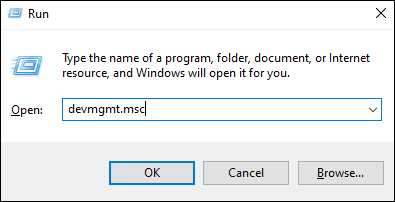
- Type “
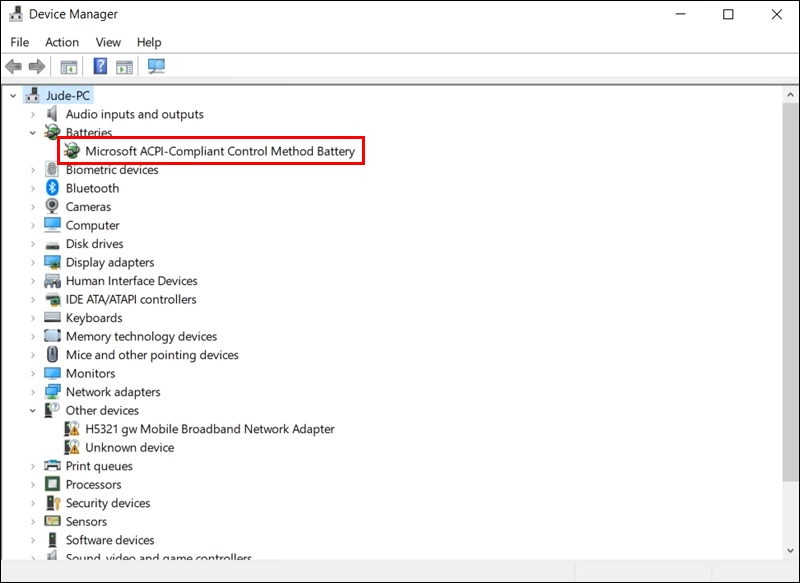
devmgmt.msc” in the dialog box and press Enter. - In the Device Manager, look for the Batteries option.
- Click on the “>” or “+” sign.
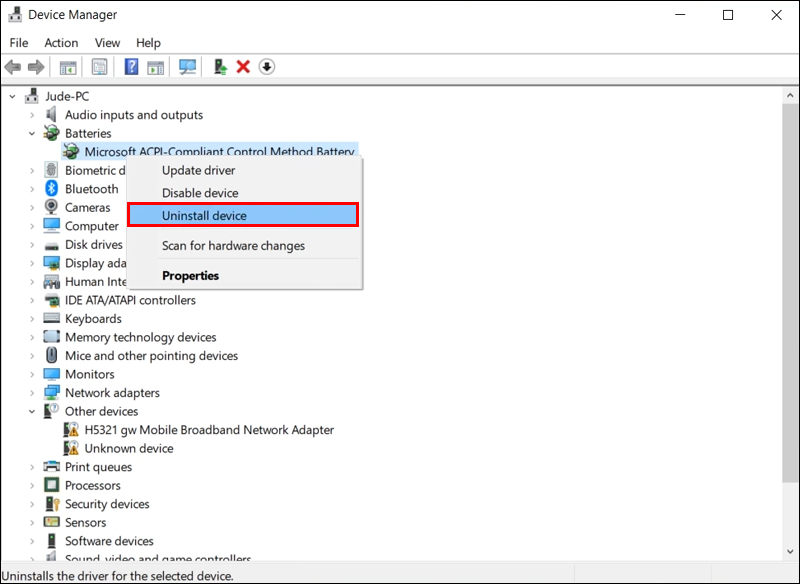
- Right-click on “Microsoft ACPI-Compliant Control Method Battery.”
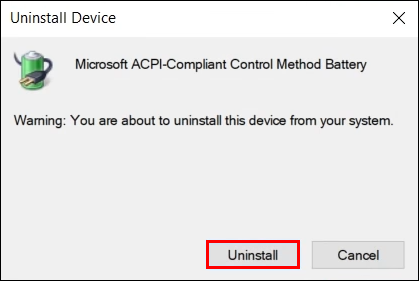
- Click “Uninstall.”
- Confirm the choice.
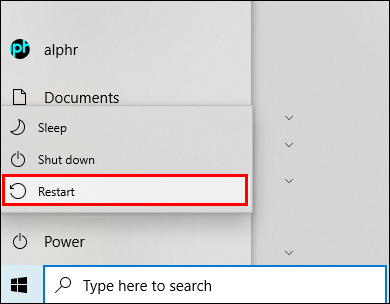
- Restart your laptop.


Of course, there are other causes, such as problematic AC adapters and more. You can always troubleshoot to pinpoint the exact cause of the issue.
Say Goodbye to Battery Issues
Most of the time, battery and charging issues require replacement chargers or hardware. In the best cases, some problems can be addressed at home with the help of tools. However, always consult a professional for the best course of action when in doubt.
Have you ever encountered any of these problems? Which solution worked best? Let us know in the comments section below.
Disclaimer: Some pages on this site may include an affiliate link. This does not effect our editorial in any way.


