Device Links
If you get the dns_probe_finished_nxdomain error, your browser will tell you it can’t locate the server IP address. So what does this mean?
DNS (Domain Name System) maps domain names to specific server IP addresses. In other words, it takes alphabetic domain names and converts them to numeric IP addresses. A dns_probe_finished_nxdomain error means there was an issue with this process and the domain appears non-existent (nxdomain).
Despite the complex tech slang, this error usually has an easy fix. Let’s see how to resolve it on different platforms.
Universal Solutions
Before you start changing your device’s settings or using any complex methods, you should try some quick fixes that should work regardless of the device you’re using:
1. Check the Domain Name
When you see a DNS error message, your browser will probably advise you to see if there are any typos in the domain name. If so, the DNS server can’t translate the domain into an IP address.
Double-check to see if you’ve spelled out the domain name correctly. If you have, and it’s still not working, you can check if the name is still registered. There are lots of online tools that will let you do this so that you can make sure the domain name hasn’t expired.
2. Check Your Connection
More often than not, a DNS issue can stem from connection problems. Even though your device might be showing it’s connected to the Internet, the connection might be unstable.
Try switching your Wi-Fi or mobile data off and on again to see if anything changes. If you notice that you can’t access other services like social media apps, your connection might be temporarily down.
3. Turn Off VPN or Antivirus Software
If you use a VPN to browse the web, the private connection might have trouble accessing some websites. In this case, you should try opening a web page without a VPN turned on.
Similarly, antivirus software can block certain websites to protect you from malware. If you trust the website you’re trying to open, you can switch off antivirus temporarily to see if it’ll open without it.
dns_probe_finished_nxdomain Android
If you’re seeing a DNS error on your Android device, you should be able to fix it through your browser or device settings. Here are the most effective solutions:
1. Update Your Browser
DNS errors may happen because you’re using an outdated browser version. In this case, all you have to do is update it. Let’s say you use Google Chrome. In this case, you can update the browser like so:
- Go to the Play Store.
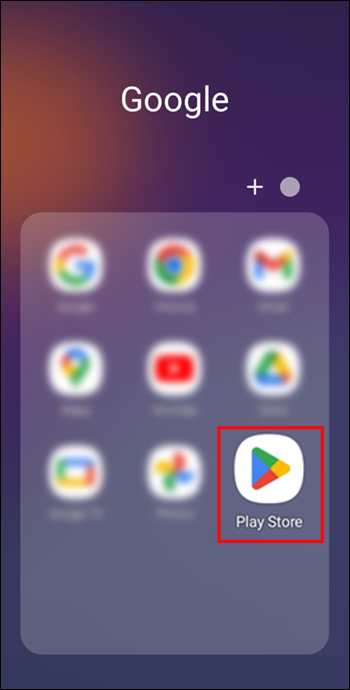
- Search for Google Chrome.

- If an update is available, you’ll see a green Update button, so click on it.
- Once the update’s complete, restart Chrome and try accessing the website you wanted to reach.


2. Clear Browsing Data
Another staple method for resolving many browser issues is to clear its cache and data. Doing so refreshes the browser, frees up storage, and removes potentially corrupt cached files that might be causing the problem.
Here’s how to clear browsing data on the Android Google Chrome app:
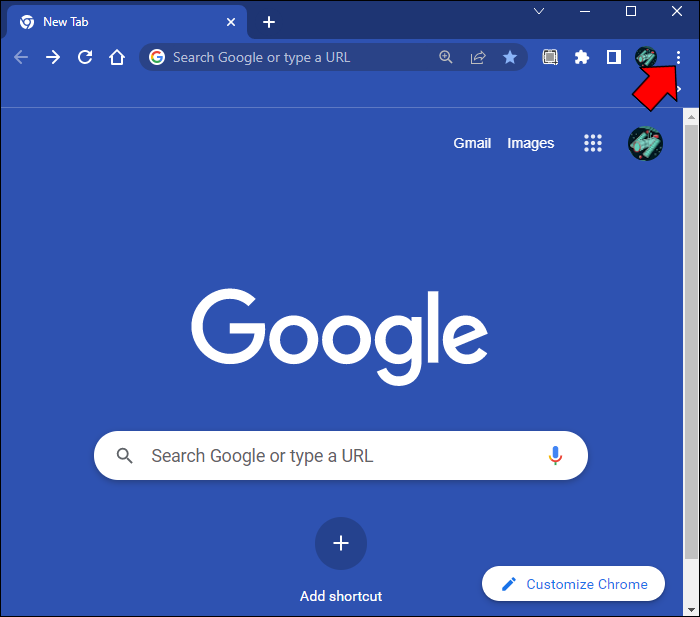
- Open Google Chrome, and tap the three-dot icon in the upper-right corner.
- Go to Settings > Privacy > Clear Browsing Data.
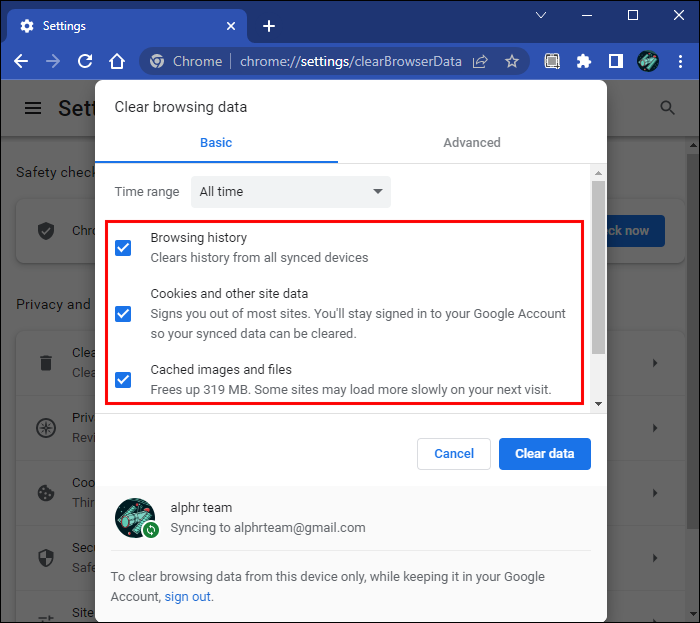
- Check the boxes next to the data you want to delete. These include Cookies and site data and Cached images and files.
- Tap Clear data.
- Restart the Chrome app.
3. Change DNS Settings
If none of the above methods work, you can go the extra mile and change your connection’s DNS settings. Note that this only works for Wi-Fi networks, as you can’t change these settings on a cellular network.
Here are the steps to follow:
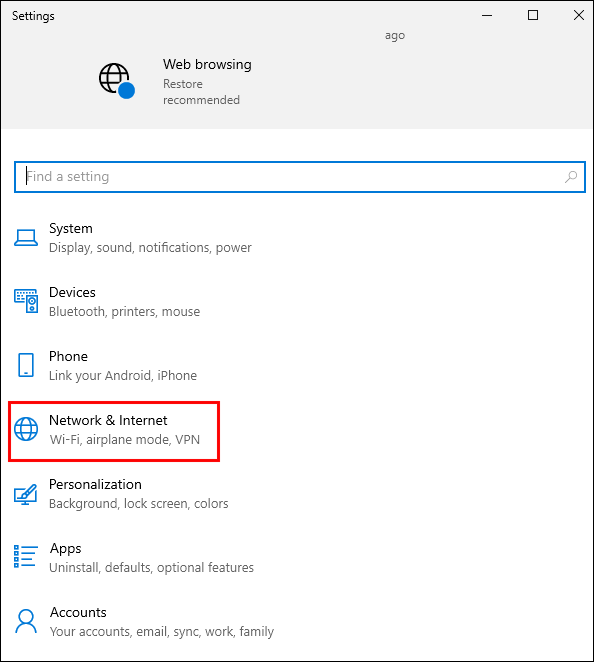
- Go to Settings > Network and internet.
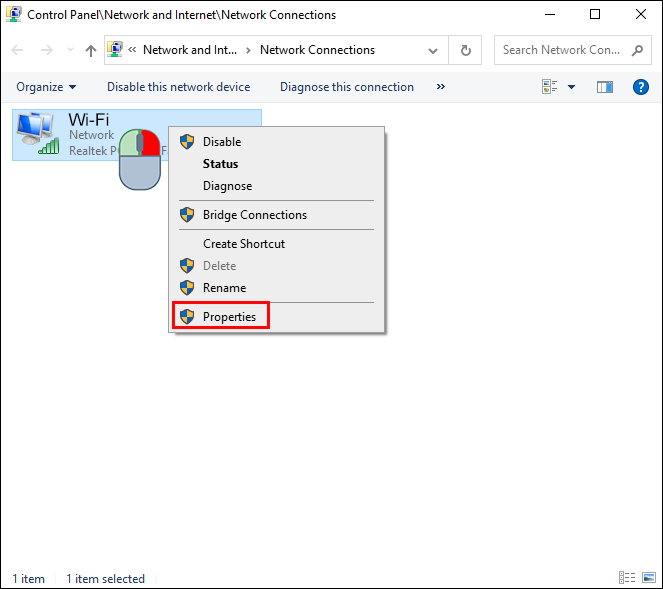
- Tap on your Wi-Fi network, and click Properties.
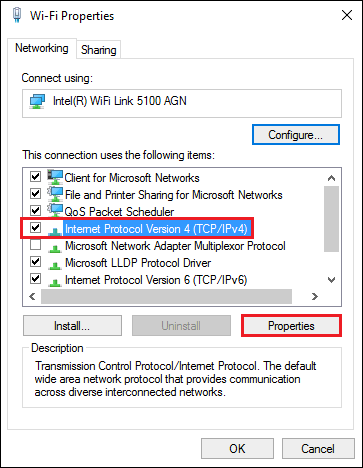
- Click on Internet Protocol Version 4 (TCP/IPv4), and click Properties.
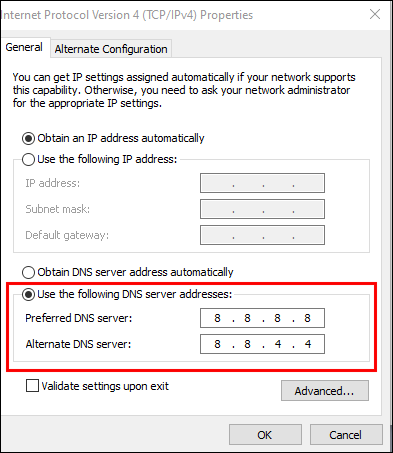
- Type in 8.8.8.8 under DNS 1 and 8.8.4.4 under DNS 2.
- Tap OK.
- Open your browser and try accessing the website.

Note that any DNS changes are specific to the Wi-Fi connection you changed them on. When switching networks, you might have to change these settings again if you keep getting the dns_probe_finished_nxdomain error.
dns_probe_finished_nxdomain Mac
Even though Macs are highly reliable, it’s not uncommon to encounter DNS errors on them. If this happens, there are a few things you can do. Let’s start with the simplest one:
1. Restart Your Mac
If there are any damaged temporary files causing a DNS error, a quick restart will do the trick. It will clear all those files and refresh your Mac and the browser you’re using. You can restart your Mac in two quick steps:
- Click the Apple icon in the upper-left corner.
- Click Shut down…


You can also use the Restart… button, but it’s usually recommended to fully shut the device down and then turn it on manually. So once your Mac is turned off, wait a couple of minutes, and then power it on.
2. Clear DNS Cache
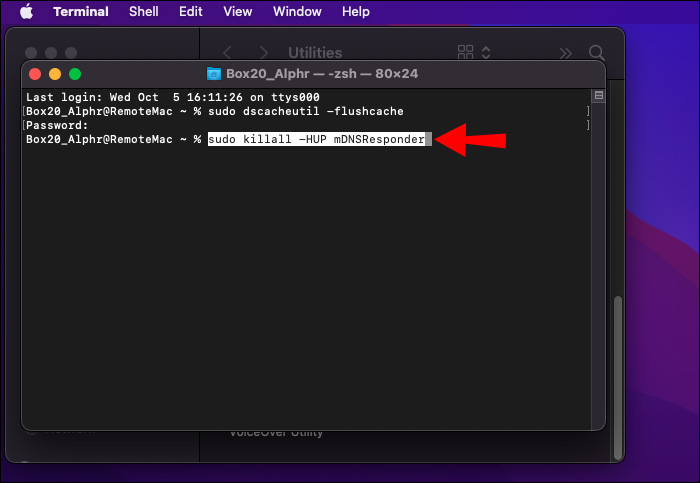
By default, macOS saves all cache during a session. It won’t get deleted until there’s a need for that. That’s why your Mac has a terminal that lets you override these default options and manually delete the cache. Here’s how:
- Go to Utilities within the app library.
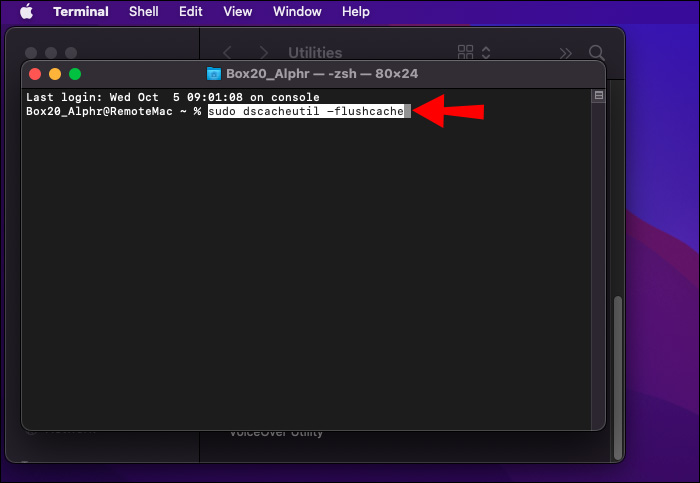
- Open Terminal.
- Paste
sudo dscacheutil -flushcache, and press Enter to execute the command. - Paste
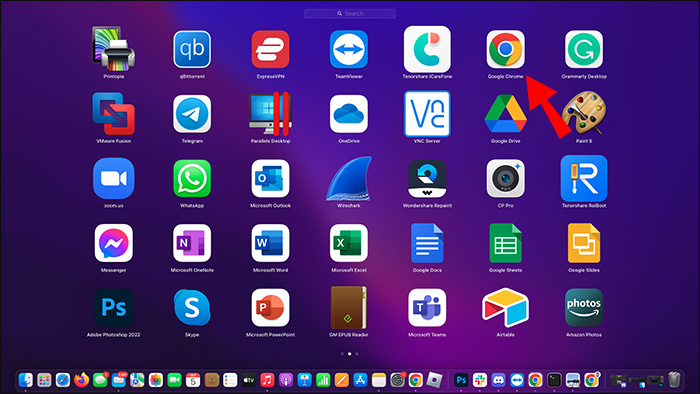
sudo killall -HUP mDNSResponder, and press Enter again. - Open Google Chrome.
- In the address bar, paste
chrome://net-internals/#DNSand press Enter. - Got to DNS > Clear host cache.


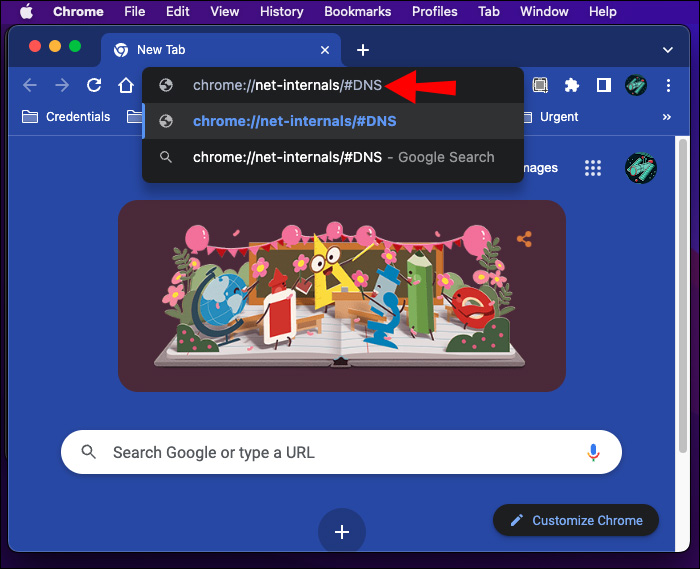

This way, you’ll flush all DNS cache from your Mac and the Chrome browser. Note that you won’t get any notification from Chrome that cache is clear, so wait about 10 seconds, and then restart Chrome. You should be able to access the website you’re trying to reach.
dns_probe_finished_nxdomain Windows 11
Windows offers a variety of ways to deal with DNS issues and get your browser back on track. Some might be a bit involved, but we’ll break them down into simple steps anyone can follow. Here are some common options you can explore:
1. Renew Your IP Address
Your IP address is like an online ID. Every network uses it to identify your device and connect it to the website or service you want to reach. If there are issues with your IP address, you might not be able to browse the web properly, and the best way around this is to renew it. Here’s how:
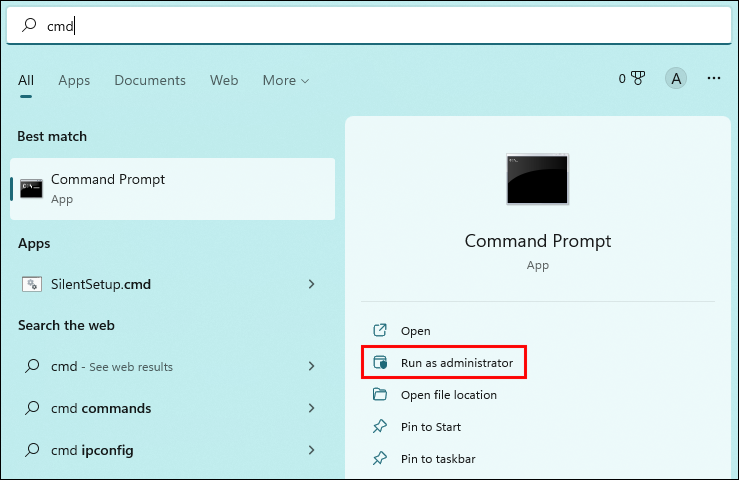
- Open the Start menu, and type cmd in the search bar.
- Click Run as administrator.
- In the Command Prompt, type
ipconfig /release, and press Enter. This will release your current IP address. - Type
ipconfig /renewand press Enter to request a new IP address.


If your IP address was behind the DNS error, you should now be able to browse the web normally.
2. Restart DNS Client Service
DNS Client Service is Windows’ native DNS issue resolver. It allows you to manage the DNS cache and servers in case of issues like the one we’re discussing here. You can use the Run function to restart the service; just follow these steps:
- Press the Windows button + R key together to open the Run dialog box.
- Type services.msc and click OK.
- In the list of services, scroll down until you see DNS client.
- Right-click on DNS client, and click Restart.


3. Change DNS Servers
This method is similar to the one you saw in the Android section, except it works a bit differently on Windows. Here’s how to access and change DNS settings:
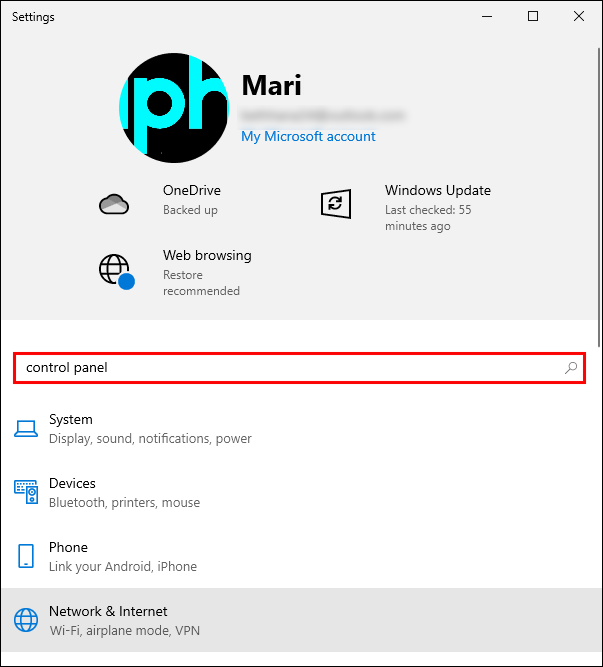
- Click on the Windows button.
- Type Control Panel, and then click Open.
- Go to Network and Internet > Network and Sharing Center > Change Adapter Settings.
- Right-click on Wi-Fi, and click Properties.
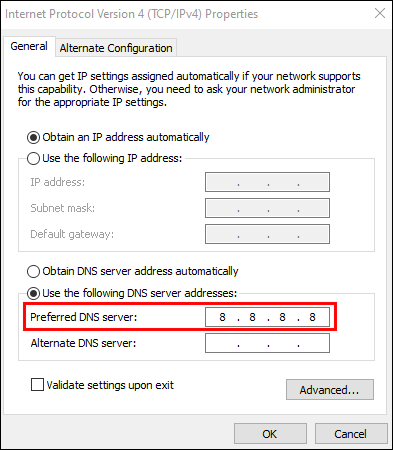
- Click on Internet Protocol Version 4 (TCP/IPv4), and click Properties.
- Choose Use the following DNS server address, and type in the following:
- Preferred DNS Server: 8.8.8.8
- Alternate DNS Server: 8.8.4.4
- Preferred DNS Server: 8.8.8.8


Once you’ve confirmed the changes, restart your browser to see if the DNS issue is still there.
dns_probe_finished_nxdomain iPhone
If your iPhone doesn’t let your reach the website you want to browse, there are two things you can do:
1. Close Your Browser From the App Switcher
When you swipe up from the bottom of the screen (or press the home button on older models), you’ll return to your iPhone’s home screen. However, it won’t close the app, which will keep working in the background. To close your browser completely, follow these steps:
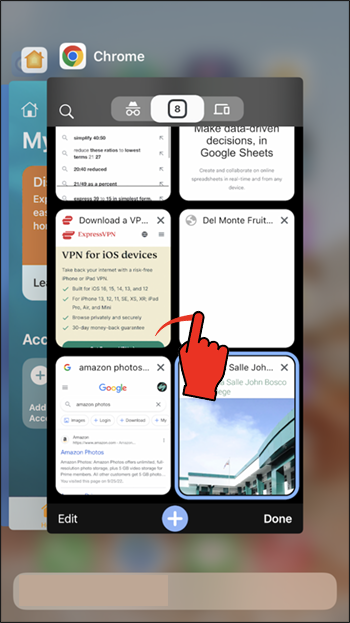
- On iPhone X or newer, slightly swipe up the white line at the bottom of the screen. On iPhone 8 or older, double-click the home button.
- From the app list, swipe up your browser to close it.
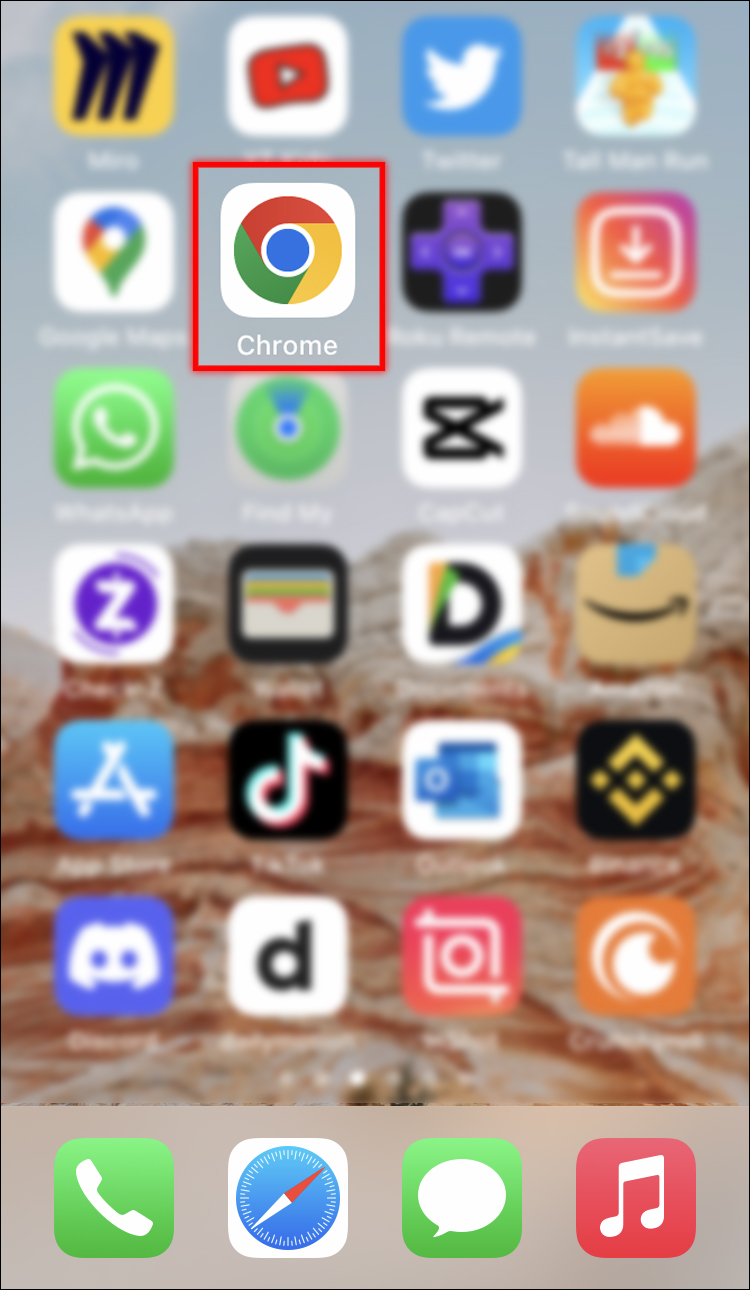
- Reopen the browser from the home screen.

This method is suitable for temporary bugs, so it should resolve the DNS issue if there’s no underlying issue.
2. Change DNS Settings
As mentioned, changing DNS settings refreshes your network and can resolve the dns_probe_finished_nxdomain issue. Here’s how to do it on your iPhone:
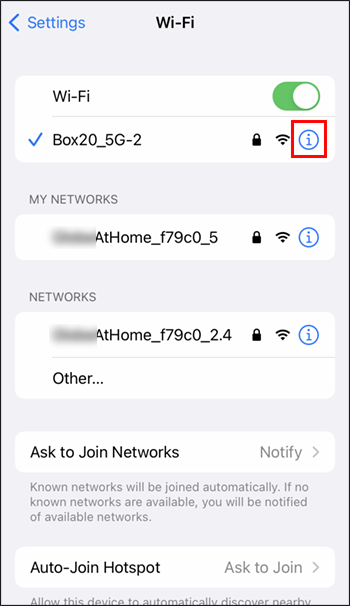
- Go to Settings > Wi-Fi
- Tap the information (i) button next to your Wi-Fi network
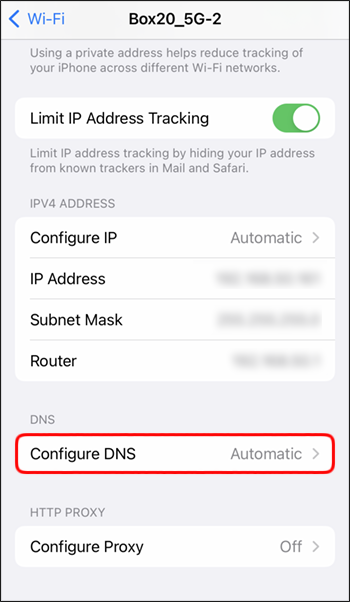
- Go to DNS.
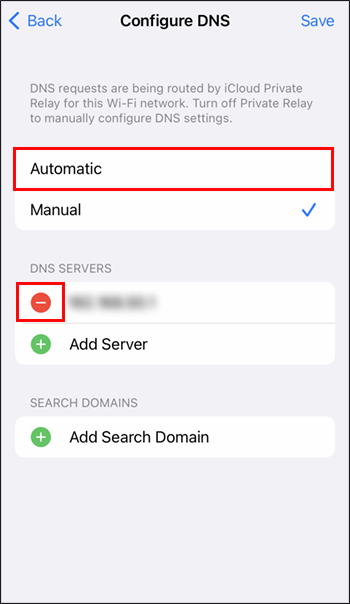
- Switch off Automatic at the top, and delete the existing values under DNS.
- Type in 8.8.8.8, 8.8.4.4 to set the primary and alternate DNS servers.

Access Websites Without Hassle
As annoying as a dns_probe_finished_nxdomain error can be, it’s usually not a major problem. As you can see, there are many ways to overcome it and reach the website you’d like to browse.
Remember to always start with the simplest methods like checking your connection and domain name. Doing so will save you the time and effort involved in changing your device or browser’s settings when there’s no need for that. And if there is, just follow the steps you above, and you should resolve the problem in no time.
What do you usually do when dealing with a DNS error? Do you have any methods beyond the ones mentioned here? Feel free to share your thoughts in the comments!
Disclaimer: Some pages on this site may include an affiliate link. This does not effect our editorial in any way.