Whether you’re looking to export image layers, groups, or frames in a JPG, PNG, or SVG format, Figma has you covered.
But just in case you’re unsure how to export images in various formats or what types of export options you have, this article will present you with some guidelines and tips on how to get a better Figma experience.
Exporting to PNG
Exporting images in a PNG format is probably everyone’s first choice. The process is the same, regardless of what format you want – PNG, JPG, SVG, etc.
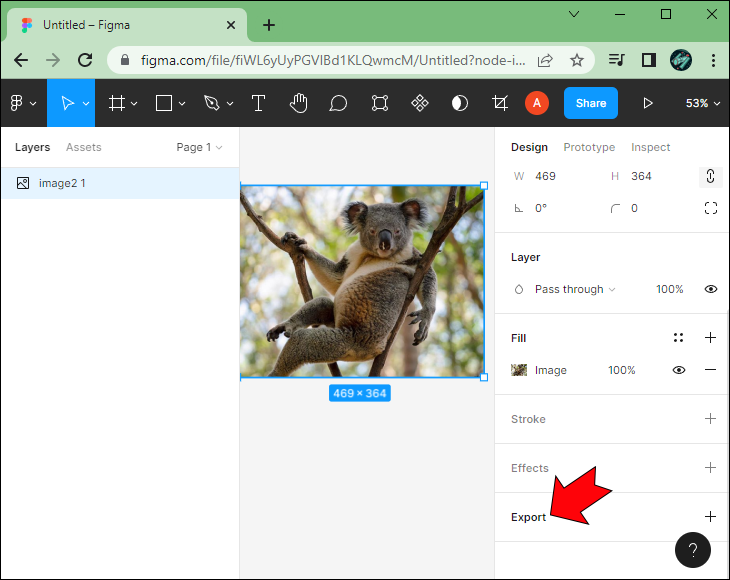
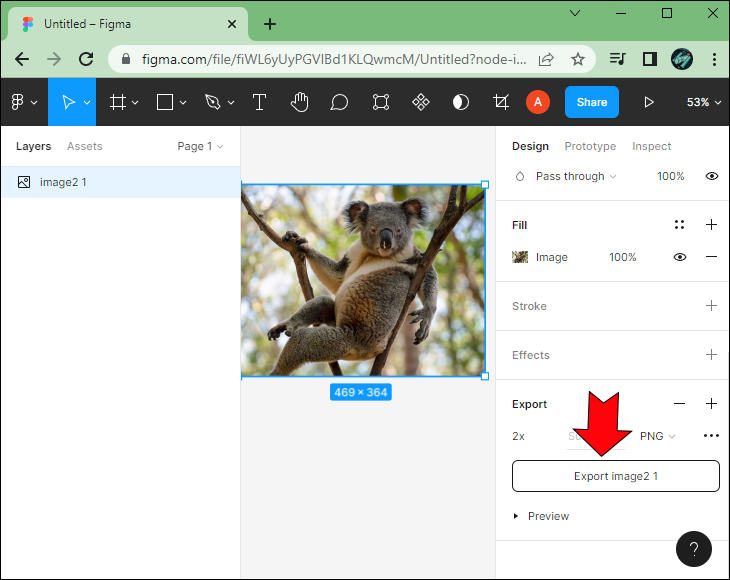
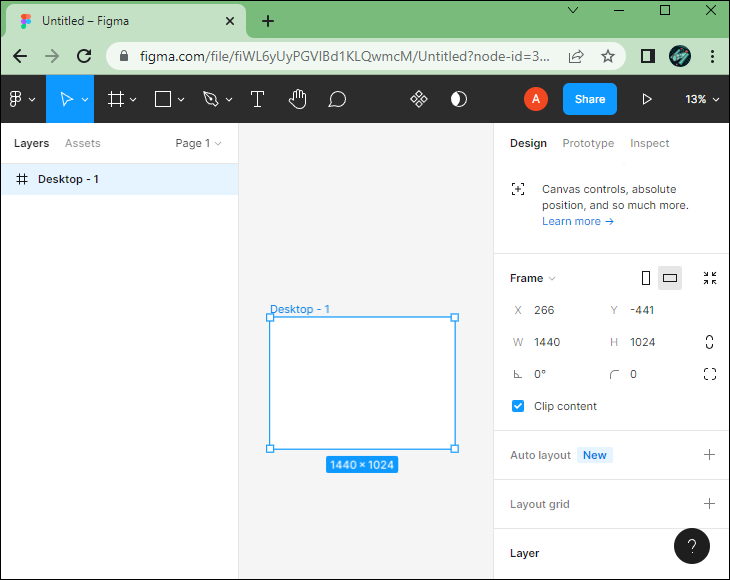
- Select an image.

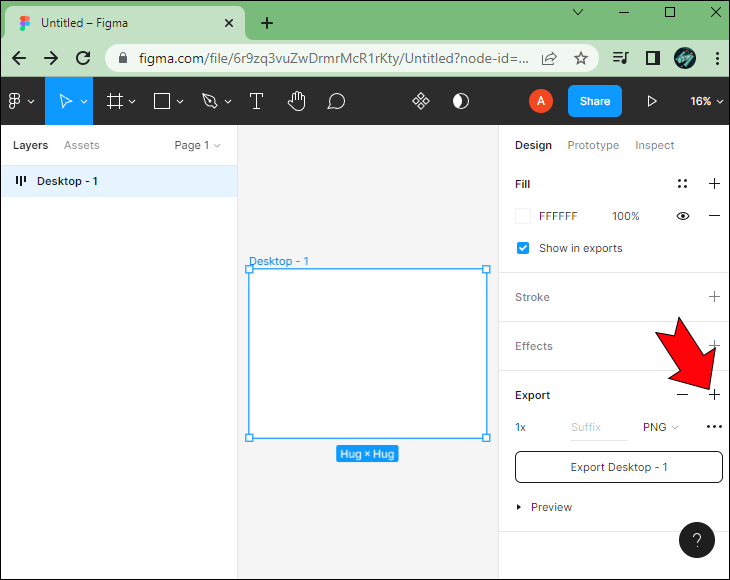
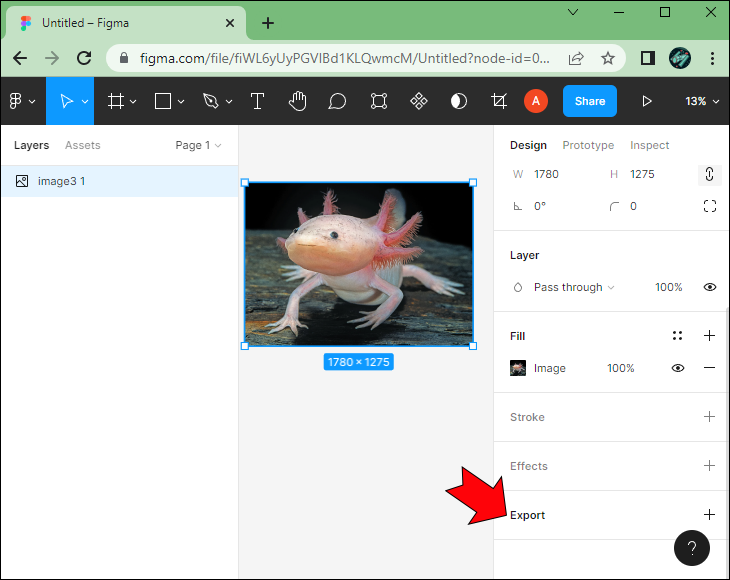
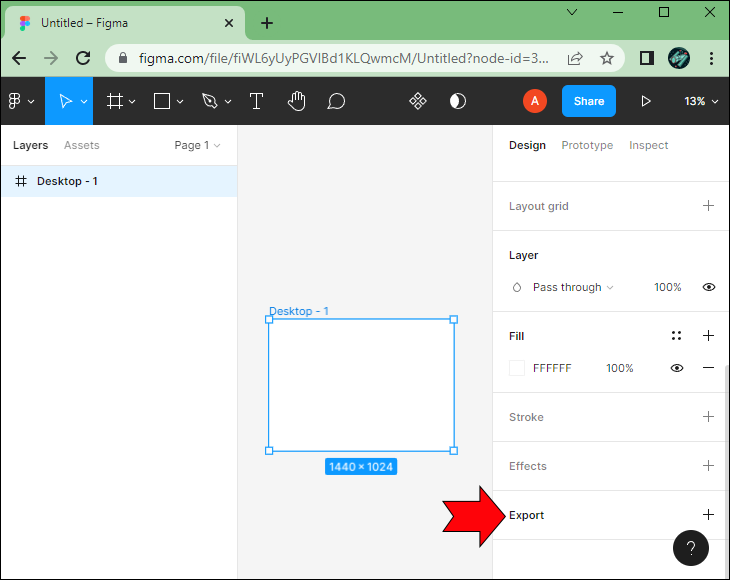
- Select the Export section on the right sidebar.

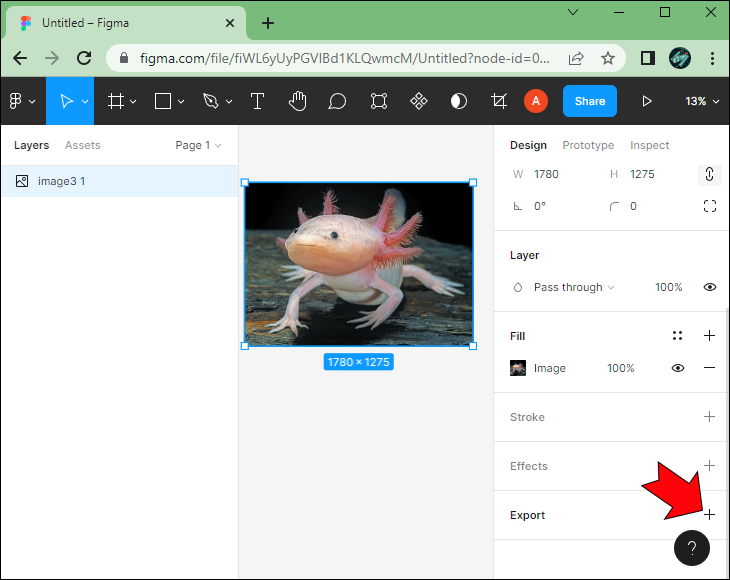
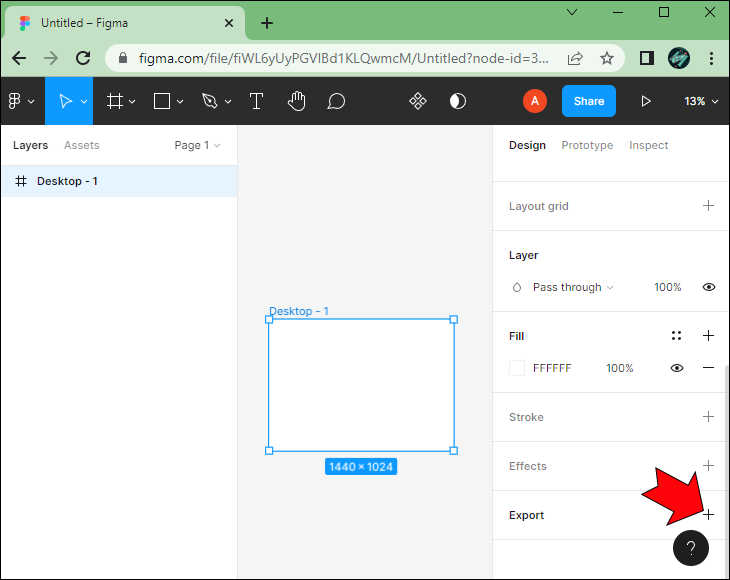
- Click the + icon.
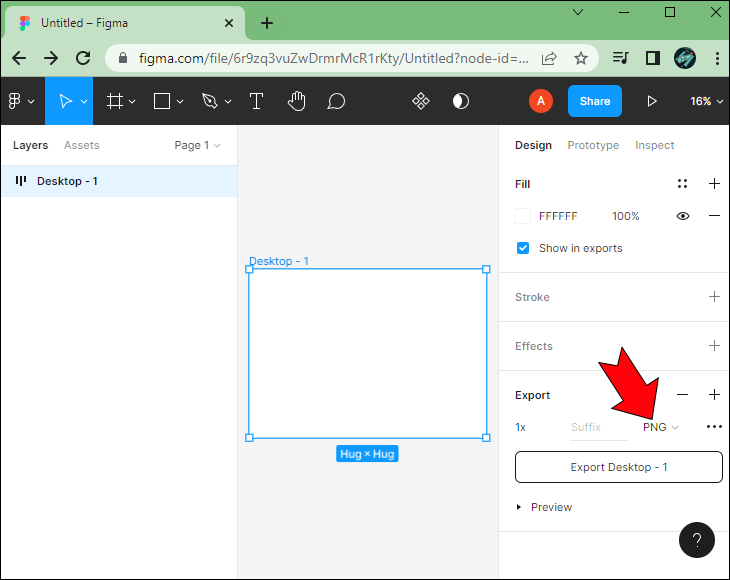
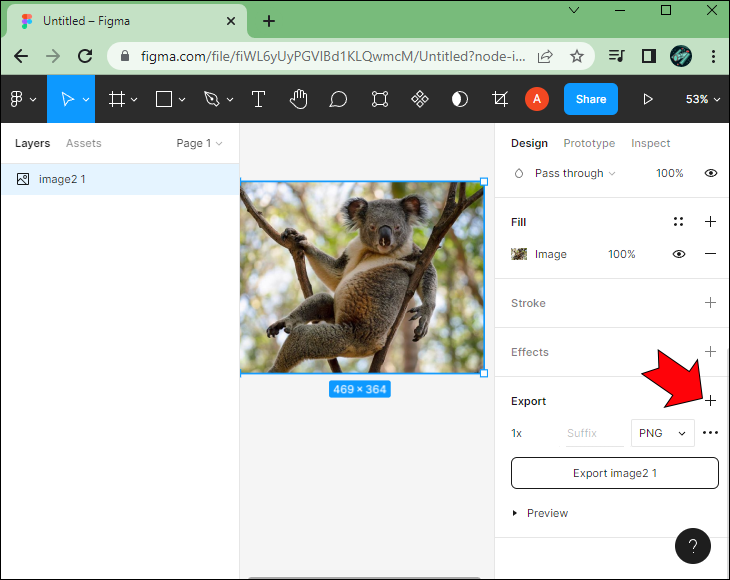
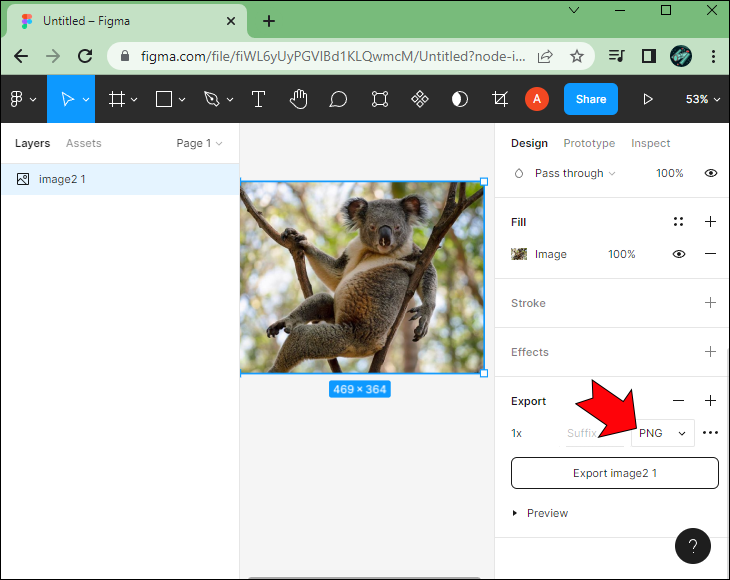
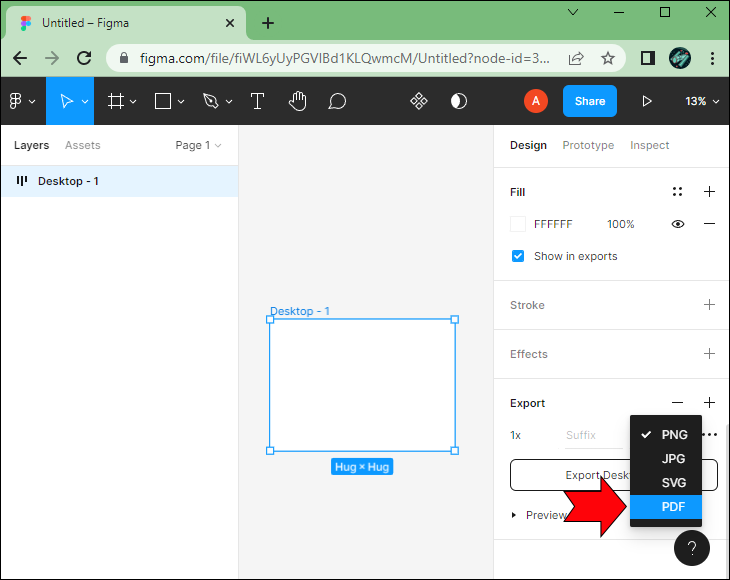
- Select the PNG image format.
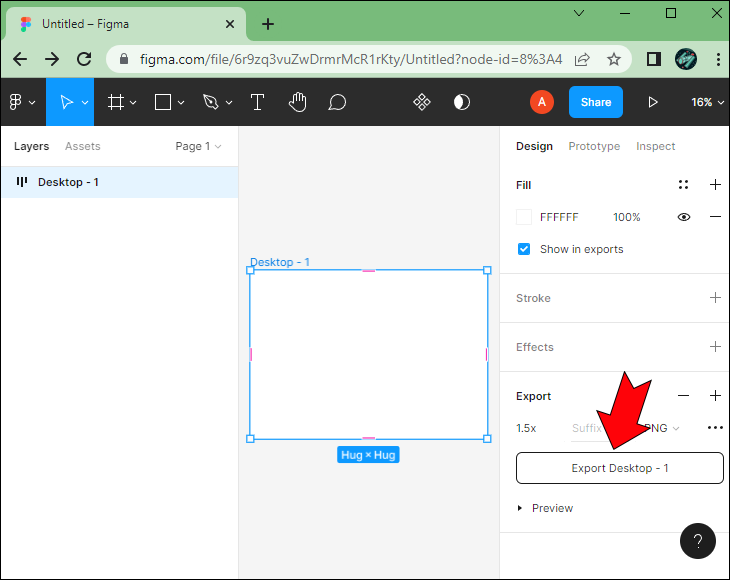
- Click the Export image button.


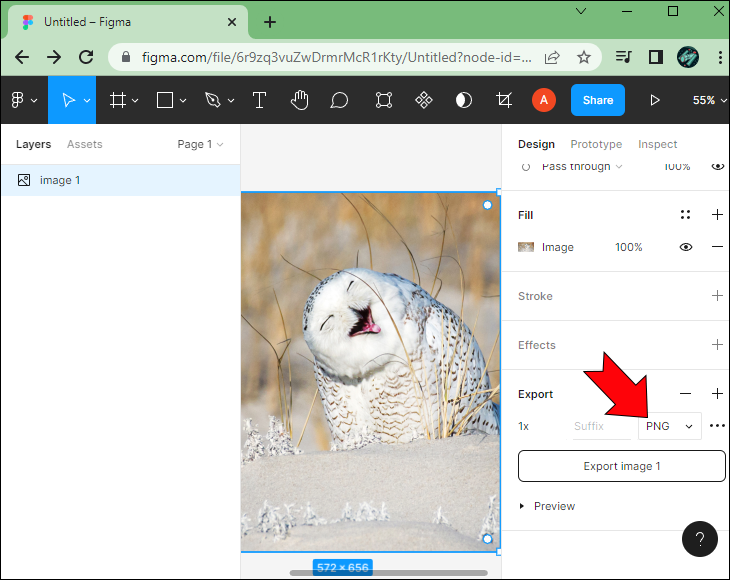

Before you export, make sure you use the Preview feature to ensure you have the right image and it doesn’t need further modifications.
Export Selected to PNG
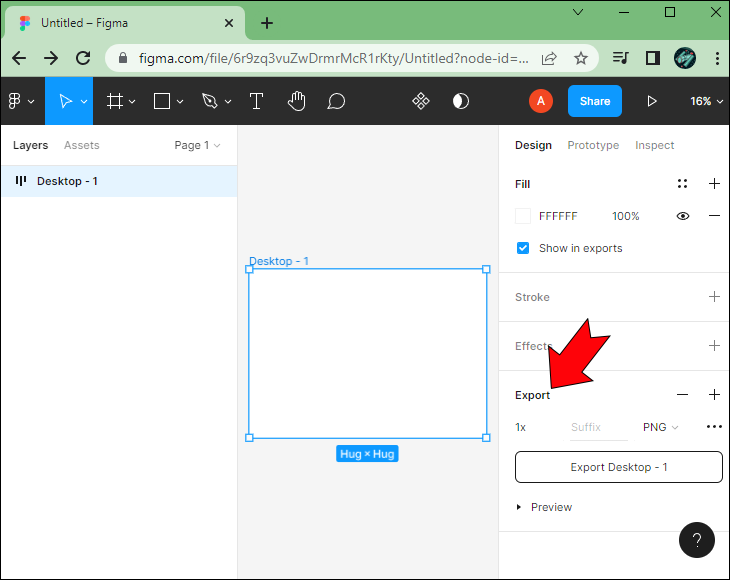
If you want to export a selected element, the process is as straightforward as it gets.
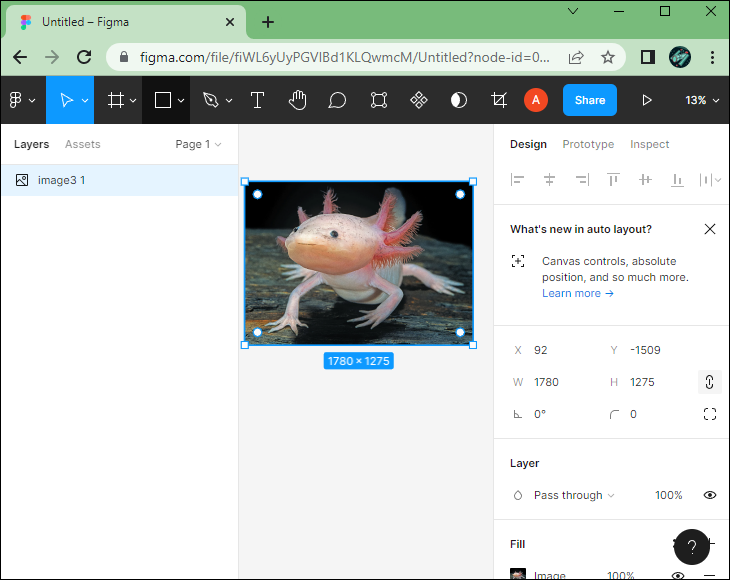
- Select an element or frame to export.
- Go to the Properties panel.
- Scroll down to reach the Export section.
- Click the + icon.
- Select the PNG image format.
- Set a different size for the element, if necessary.
- Export the selected element.


Alternative PNG Export Methods
If you have an image in Figma that you want to share, exporting it from the app isn’t the only method.
One of the best features is the “Copy as PNG” option. Here’s how it works.
- Select an image in Figma.
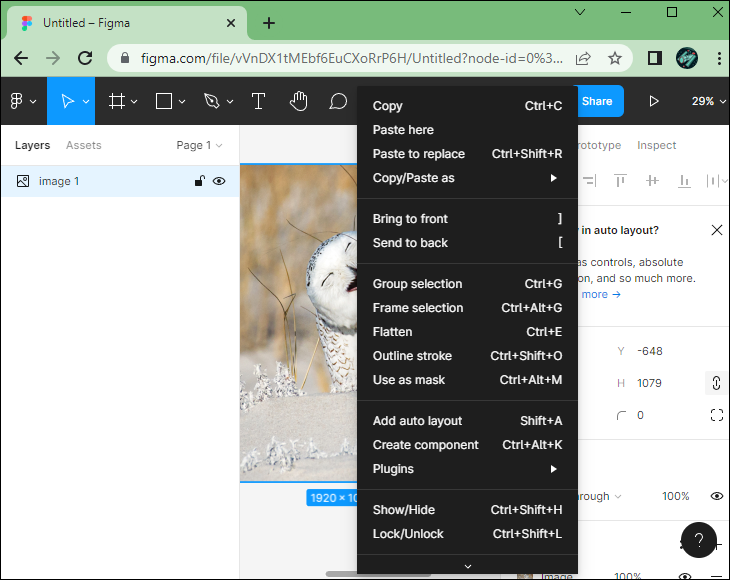
- Right-click the image to bring up the menu.
- Select the Copy as PNG option.
- Paste the image in a different app.

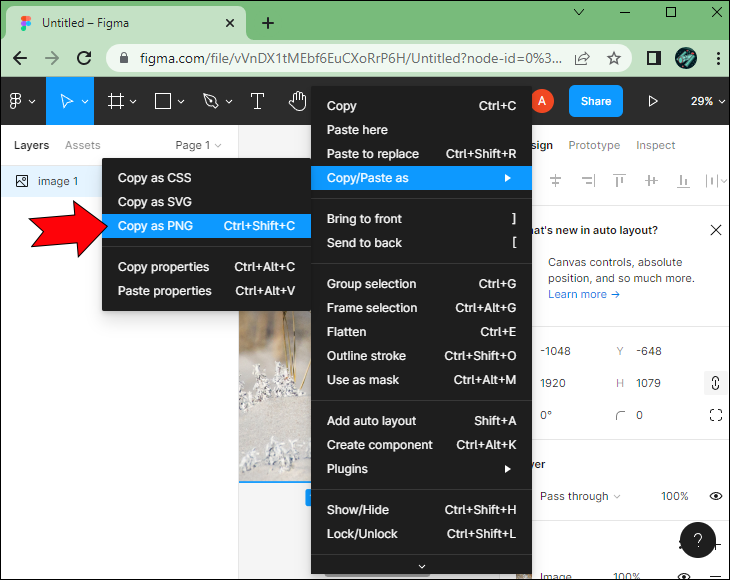
This feature enables you to copy a PNG version of a desired image or object in Figma directly to your clipboard. This will be a 1x version of the image by default unless the object has different export settings.
To make this even easier, you can use the following keyboard shortcuts.
- Ctrl + Shift + C is the shortcut for Windows devices
- Command + Shift + C is the shortcut for Mac devices

Using this method gives you a quicker way to share a PNG copy of an object in Figma. However, exporting an image as a PNG using the classic method will give you more control over the image quality.
Export Multiple Layers as One PNG
If you try to select multiple layers and export them in a PNG format, you’ll get a zip file with each individual layer in a separate PNG format.
While this is great for making multiple exports simultaneously, it doesn’t help users who need all layers merged in a single PNG file.
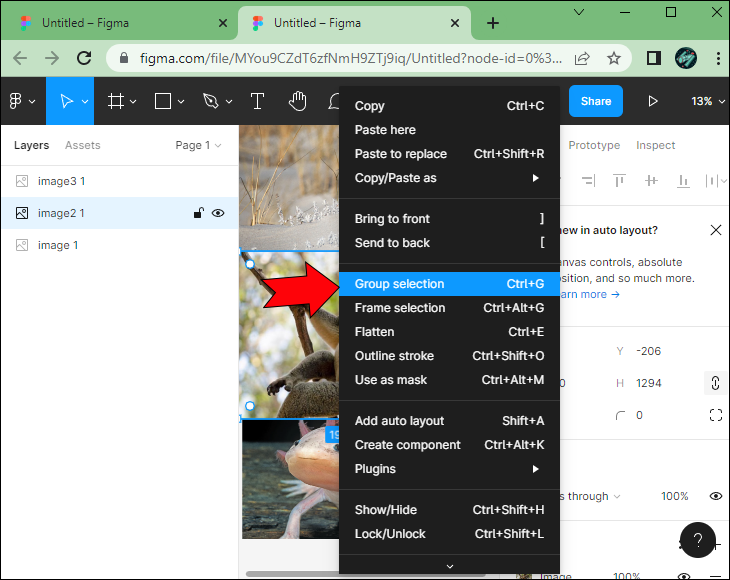
This is where the Group feature comes in. You can select multiple layers in Figma and put them in a group. Then you can choose to export the group as a PNG file, giving you a single file with all your selected layers.
- Select your desired layers.
- Choose the Group option from the menu.
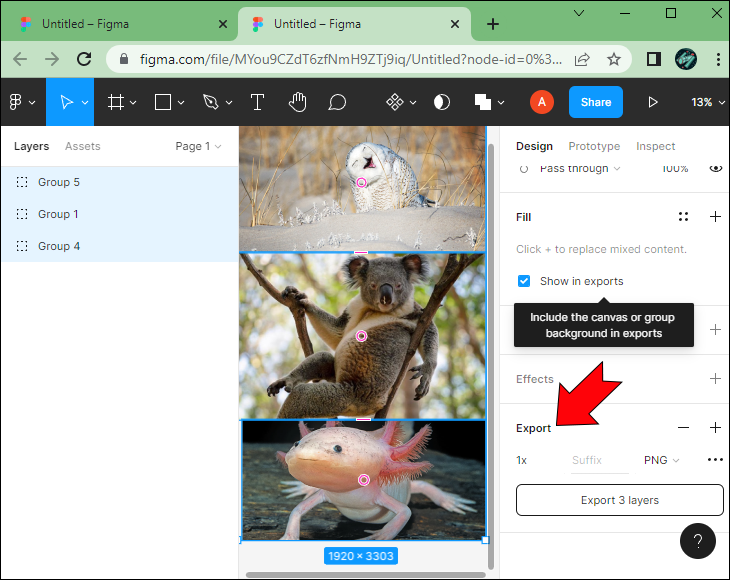
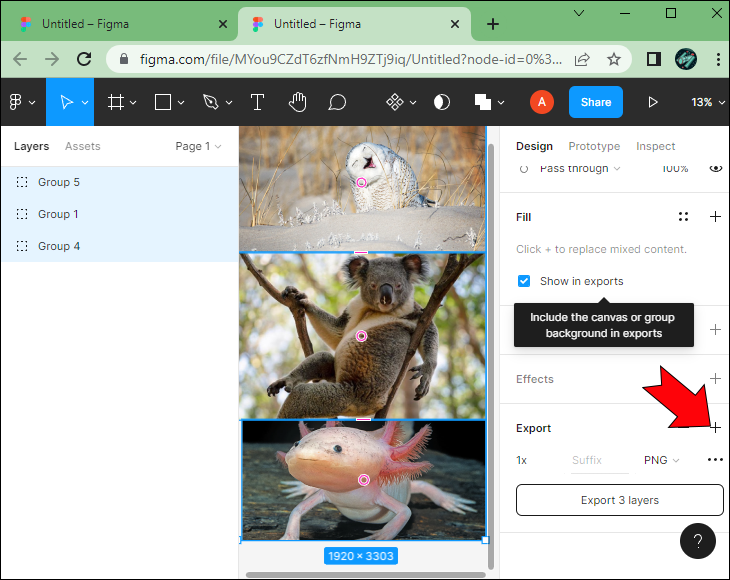
- Select the group and go to the Export section.
- Click the + icon.
- Select the PNG format.
- Export the group.


Like most other actions in Figma, this too can be simplified. For example, you can create a group using keyboard shortcuts.
- Ctrl + G is the shortcut for Windows devices
- Command + G is the shortcut for Mac devices
If you’re unhappy with your layer selection, pressing Shift + Ctrl + G or Shift + Command + G will ungroup your selection.
Adjusting PNG Export Quality
By default, Figma supports 32-bit PNG files with an RGBA color model. This is useful because it allows opacity control over pixels.
The PNG format is often preferred because the image quality doesn’t suffer when the asset is compressed. This doesn’t mean you can’t run into issues. Many Figma users complain that the PNG quality suffers when they upload their photos online. But this isn’t necessarily a Figma issue. It often has to do with the compression made by the servers handling your upload.
There is something you can do to adjust the quality so your image won’t suffer as much when compressed on a different server.
- Select an image.
- Select the Export section on the right sidebar.
- Click the + icon.
- Select the PNG image format.
- Choose the 2x size.
- Click the Export image button.

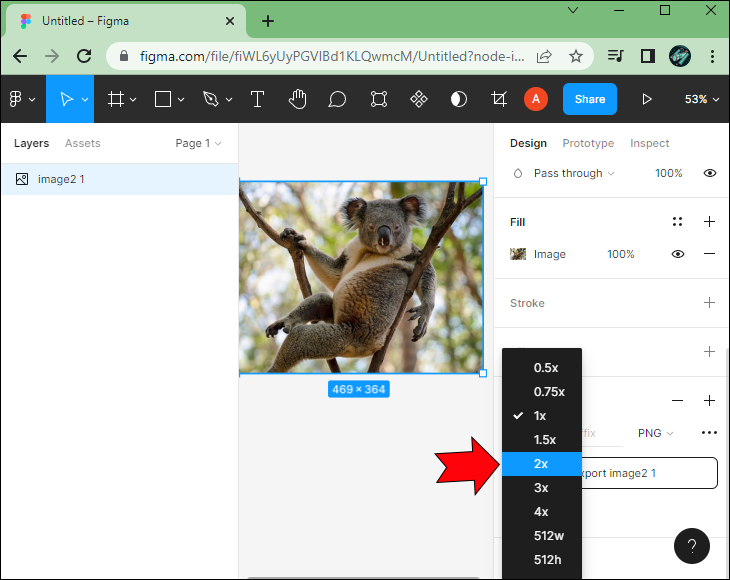
Exporting in 2x will result in a higher-resolution PNG. This will reduce the chances of your photos becoming blurry or losing quality when you upload them on social media platforms.
If you’re a more advanced user or have particular image requirements, don’t hesitate to customize the pixel multiplier value before exporting an object as a PNG.
How to Export in Other Formats From Figma
You may also be interested to know how to quickly export objects in Figma to different file formats that you can save on your device.
Exporting as JPG
Use the following method to export image layers or frames as a JPG file.
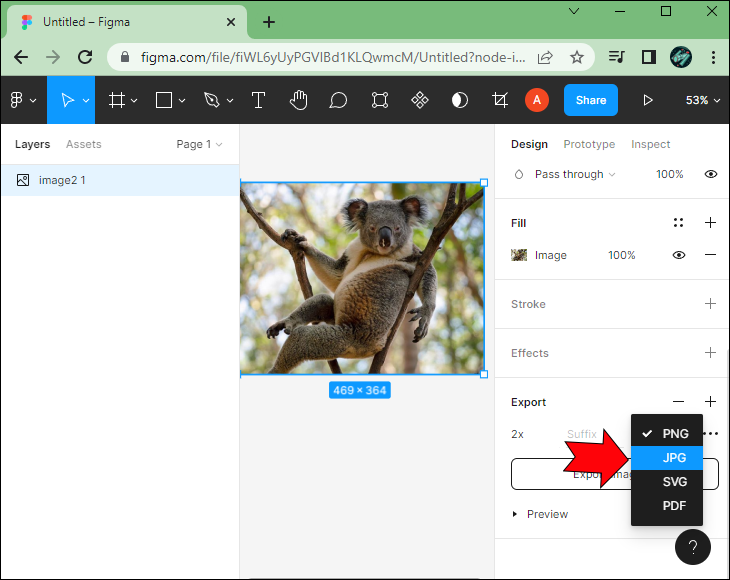
- Select the object in Figma.
- Click the + icon in the Export section.
- Select the JPG format underneath PNG.
- Click the Export button after making your modifications, if needed.

Exporting as SVG
Exporting a file in an SVG format can be very useful for many users. Here’s how it’s done.
- Select one or more assets in your Figma file.
- Go to the Export section.
- Click the + icon.
- Select SVG from the list.
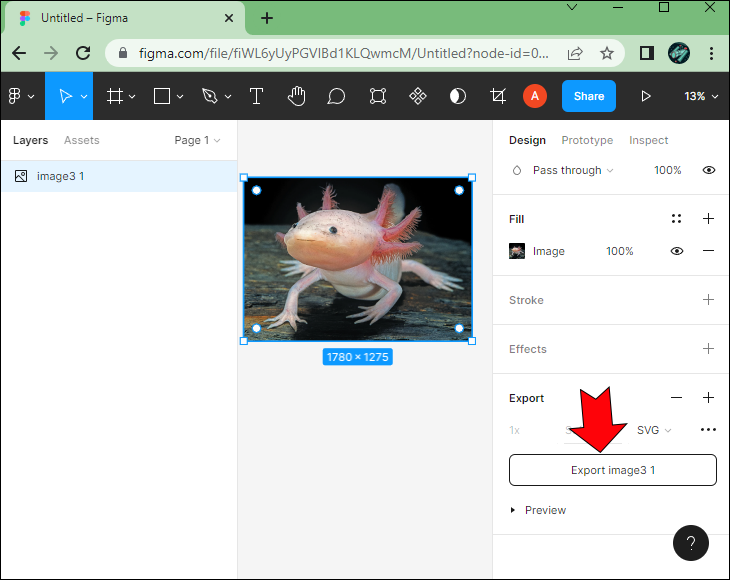
- Hit Export.
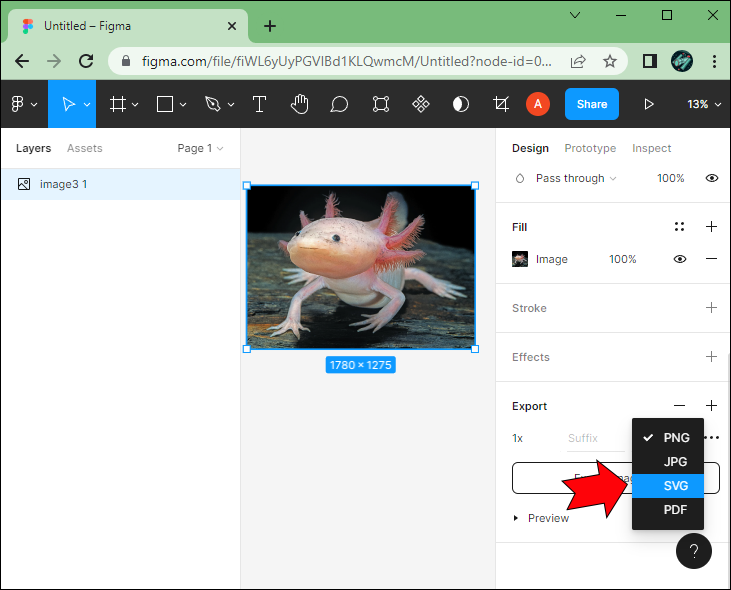
You can also do this by clicking on the already selected file format. Figma remembers the last file format you exported.
This means you can click the prepared file format to open the drop-down menu and select SVG from there. The “+” icon and file format buttons are close to each other, so either method works just as fast.
Exporting as PDF
If you’re working on a booklet or presentation, you can quickly export your work in a PDF format directly from Figma.
- Select the frames you want to include in the PDF.
- Go to the Export section.
- Click the + icon.
- Select PDF from the drop-down menu.
- Hit Export.

Note that Figma sometimes won’t put your frames in the proper order. So to avoid this, you can use an image compressor.
It’s a beginner-friendly tool for downsizing and compressing images from Figma and exporting them into various formats like PNG, JPG, PDF, GIF, WebP, and more.
Software That’s Easy to Use
Figma is a pretty straightforward, web-based design tool. If you’ve used a couple of photo editors before, figuring Figma out shouldn’t be difficult.
The simplistic UI makes the software intuitive. In addition, you have complete control over the output quality with Figma, allowing you to set custom pixel multipliers to prevent losing quality during off-site compressions.
Have you used any of these Figma tips for your own images? Tell us how it went in the comments section below.
Disclaimer: Some pages on this site may include an affiliate link. This does not effect our editorial in any way.