Arrows are a basic shape in Figma. Like regular lines and shapes such as rectangles and ellipses, an arrow serves as a building block for creating more elaborate designs.
Arrows in Figma aren’t challenging to produce, but even something as simple as a pointed line has various styles and features you can change and adjust. This article will explain where to find arrows in Figma, how to create them in different styles, and change their appearance.
How to Create a Straight Arrow in Figma
Creating a simple, straight arrow in Figma couldn’t be easier. You don’t have to use multiple tools or do more than a few clicks. It’s even simpler than drawing an arrow on a piece of paper.
Follow these steps to create a basic arrow in Figma:
- Press the “Rectangle” drop-down menu at the top toolbar.
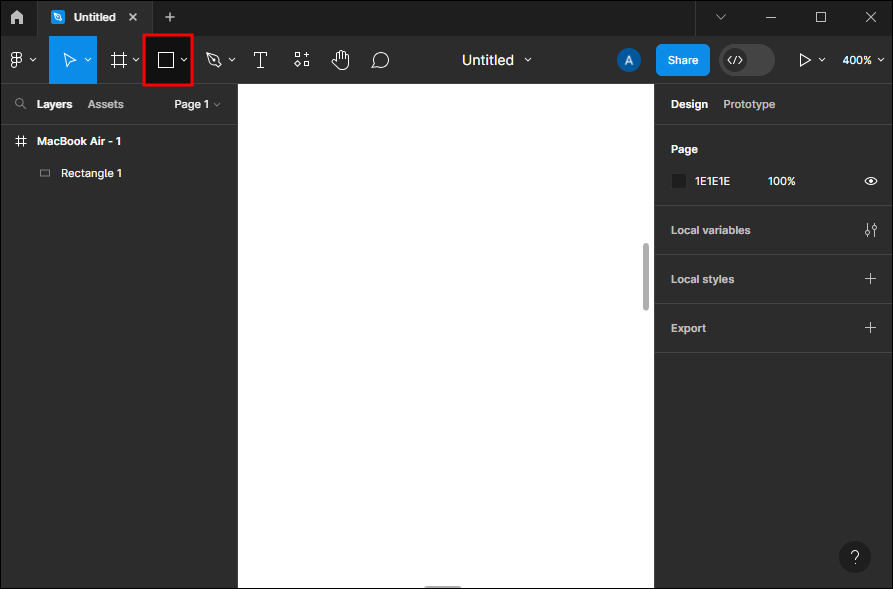
- Select “Arrow.”

- Click anywhere on the canvas.


And there you have it – a simple arrow. You can even shorten these four steps by pressing the “Shift” and “L” keys on your keyboard and then clicking somewhere on the canvas.
Once you create the arrow, you can change its color under “Stroke” or change the arrow style. The default style is the so-called “line arrow,” but there are also triangle arrows, reversed triangle, circle, and diamond-shaped arrows.
You can make the arrow double-pointed by selecting an arrow style for both ends under “Stroke” or change the start and end points with the swap button. The end point can be either square or rounded. You can change the arrow color, thickness, and layer and add a gradient.
How to Create a Curved Arrow in Figma
Curved arrows are useful for various designs where you need to indicate rotation, switching, swapping, etc. In Figma, you can create an arrow that goes in a half circle or bends just slightly.
Here’s how to create a slightly bent arrow with the “Pen” tool:
- Tap the “Pen” tool in the top toolbar and select “Pen” or press the “P” keyboard shortcut.
- Click anywhere on the canvas to create a starting point.
- Double-click on the created line.
- Under “Stroke” in the right panel, click on three horizontal dots to open the “Advanced stroke” options and select the arrow style.


How to Create a Wiggly Arrow in Figma
A wiggly arrow line in Figma can be created by using the “Pen” tool again. This time, you’ll need to create multiple curved strokes. Then add the arrow point and change the arrow’s appearance however you want.
How to Create a Thick Arrow in Figma
Figma doesn’t offer a straightforward way to create a thick and short arrow. Of course, you can increase the thickness of an arrow in Figma to whichever value you want. But the final result might not be what you envision. Because there’s no way to increase the line thickness separate from the pointer, it may look slightly out of proportion.
However, you can still get a thick, short arrow with several simple steps using the “Rectangle” and “Polygon” tools.
Here’s what you need to do to create a thick arrow in Figma:
- Go to the “Shape tools.”
- Select the “Rectangle” tool.
- Add it anywhere on the screen, ensuring the height is larger than the width.
- Go back to “Shape tools.”
- Choose “Polygon.”
- Create a triangle on the canvas and position it so it aligns with the rectangle, creating an arrow.
- With the “Move” tool, drag the cursor over both shapes, capturing them both.
- Right-click on the selection and select “Group selection” or press the “Ctrl” and “G” keys.


Now you can move the arrow around as a whole and customize it to your liking.
FAQs
Can you add a shadow to an arrow in Figma?
You can find the shadow effect in the “Effect” section on the right panel in Figma and add it to any object, including arrows.
Can you turn the arrow line in Figma into dashes?
You can make an arrow with a dashed line in Figma by clicking on the three horizontal dots in the “Stroke” section and switching from the “Solid” to “Dash” stroke style.
Can you make a curved thick arrow line in Figma?
You can create any kind of thick arrow line in Figma by making shapes with the “Pen” tool.
Point Your Skills in the Right Direction With Figma
Knowing how to create arrows is beneficial in presentations, tutorials, step-by-step instructions when working with your team or collaborators, etc. You can create unique and smart designs for your projects with various arrow types in Figma. Since arrows require the knowledge of other tools, you also automatically upgrade your Figma skills.
Have you already tried making an arrow in Figma? Which arrow style did you create, and what did you use it for? Tell us in the comments below.
Disclaimer: Some pages on this site may include an affiliate link. This does not effect our editorial in any way.