Auto Layout is an essential tool for every designer and Figma user. This feature allows you to make changes such as resizing or repositioning frames and objects. Auto Layout will enable you to adjust an element’s height and weight, for example, with an automatic setting, cutting your work in half.
Since the screen size changes based on the device or browser the user will use to access the website, Auto Layout makes the elements inside the frames adjust to those changes. This makes the layout and structure look more precise and in synergy. Read on to learn how to use Auto Layout in Figma and its features.
Using Auto Layout
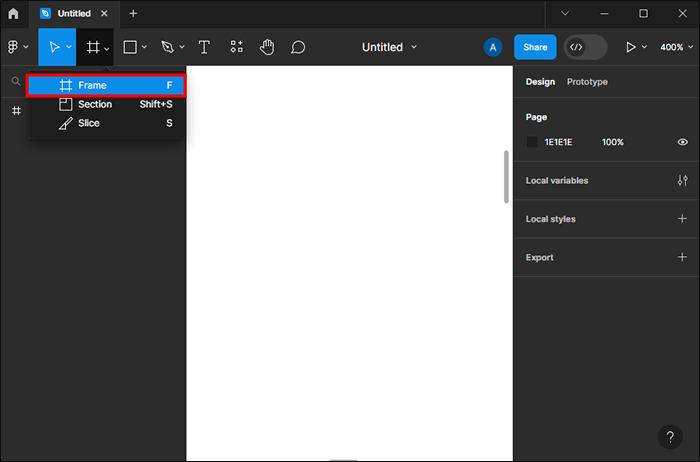
To use Auto Layout and all its features, you must first add it to a frame you’re working on, which can be a new frame or one with content, objects, and components. After you select the frame or objects, this is how to add Auto Layout to it:
- Press “Alt + A” your keyboard (Works on Mac and Windows).
- Right-click on the objects or components and click on Auto Layout (You must add this feature to each component since it’s impossible in bulk).
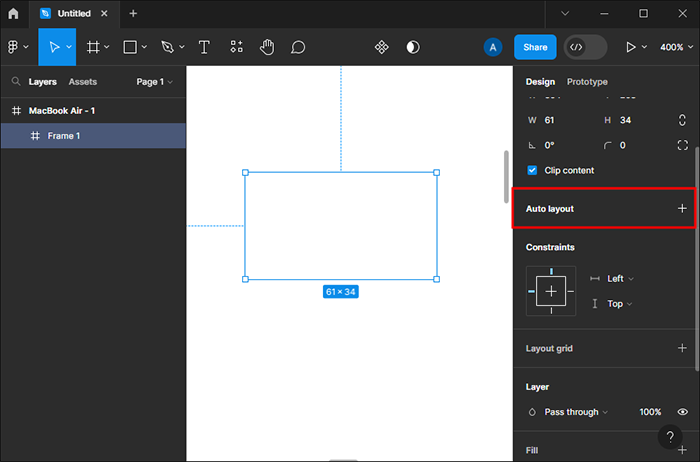
- Tap the plus icon next to the “Auto Layout” option in the menu on Figma.
Besides adding Auto Layout to your frame, you can do various things, from stacking frames to duplicating, arranging, and removing objects.
Adding and Removing Objects
Adding objects to your frame is pretty straightforward. You only need to grab the object you want to add and follow the indicator. And if you’re going to remove one, drag it back out and press delete. If you choose to add a larger object than the parent frame, you will need to avoid Figma default settings to be able to do it. You can do this by holding the “Ctrl” button for Windows and “Command” for Mac.
Duplicating Objects
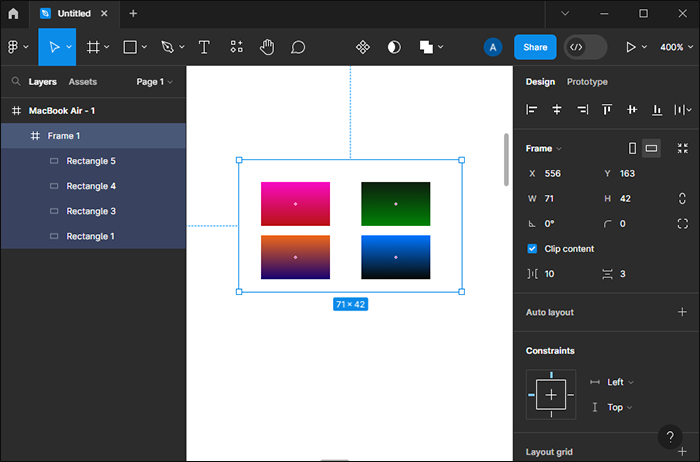
If you want to add two or more identical objects to the frame, you can duplicate them, which is a useful Auto Layer feature. This is how you can do it:
- Tap the object you want to duplicate.

- Hold the “Ctrl” and “D” buttons simultaneously if you have Windows.

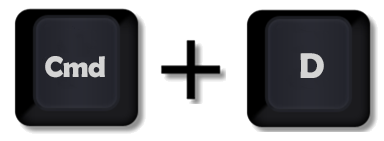
- For Mac, duplicate by holding the “Command” and “D” buttons.

Arranging Objects
If you don’t like the look of your frame and the organization of objects and components inside it, you can rearrange them. If you’ve merged two layers, you must bypass the Figma default settings by pressing “Ctrl” for Windows and “Command” for Mac to access the deep select option and move the component from the initial layer. However, if it’s one frame, you can select an object and move it elsewhere, similar to adding objects, or use the arrow key.
Auto Layout Levels
Another feature of Auto Layout is combining more frames into one to create a more complicated interface where you can overlay different Auto Layouts levels like button and button rows, a post, and a timeline. Each level allows you to add a further object to your frame. Button and button row levels are horizontal, while a post is a vertical layer where you can input descriptions, images, etc.
When you stack two frames together, they merge and gain the properties of a parent frame. This allows the user to implement adjustable objects. You can grab one and put it on another to join two frames. To do this, you have to:
- Choose one frame and everything you want to add to it.

- Press “Shift + A” to add an Auto Layout frame.

Auto Layout Functions
The Auto Layout option in Figma has many valuable properties or functions, from a direction and stacking order to spacing, resizing, and aligning. This section will talk about each of these functions in more detail.
Direction
As the name suggests, direction refers to the order of objects in a frame. When using Auto Layout, the objects can be placed:
- Vertically – Objects are placed on the y-axis. This option is suitable for lists, menus, newsfeeds, etc.
- Horizontally – Objects and components on the x-axis (buttons, icons, etc.).
- Wrap position – Objects are set in multiple columns and rows.
Stacking Order
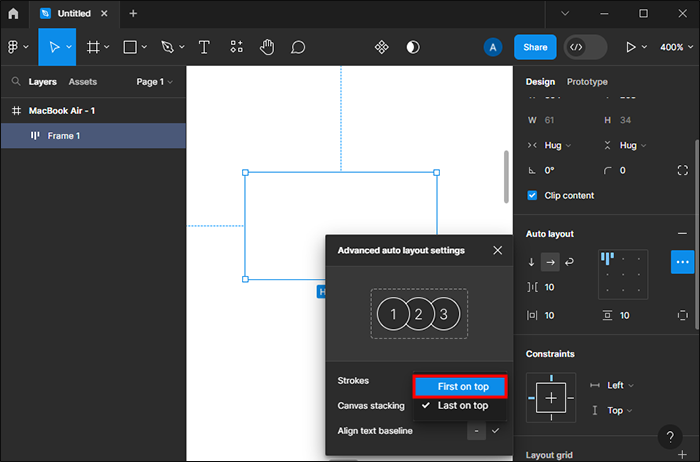
You can choose which stacking order fits your frame the best. This is a visual change only since the stacking order remains the same (if it’s 1,2,3, it remains 1,2,3 but with visual adjustments). When objects are stacked on one another, you can choose which one will be on top. So, for example, if you have three things marked 1, 2, and 3, you can either 1 or 3. This is how you can do this:
- Choose the Auto Layout frame.

- Navigate to the Auto Layout option on the right of your screen.

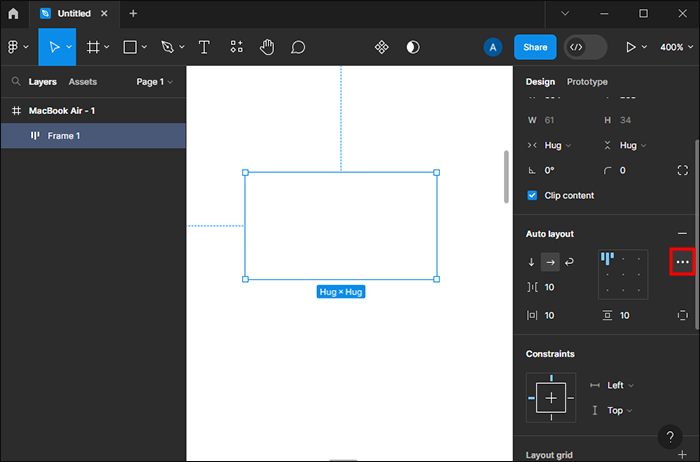
- Tap the three horizontal dots to open advanced options.

- Find the “Canvas Stacking” option.

- Choose “First on top” or “Last on top.”

Absolute Position
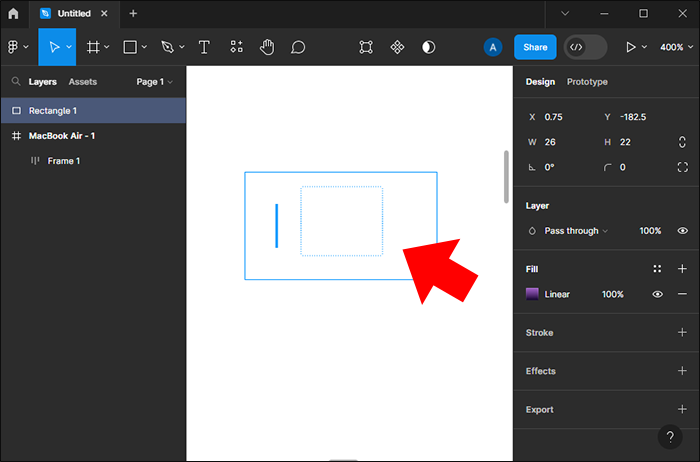
Another “Layer Flow” property is an absolute position, apart from stacking order and direction. This feature allows you to place an object wherever you want, ignoring the frame boundaries. This is how to enable it:
- Grab an object and place it inside the frame.

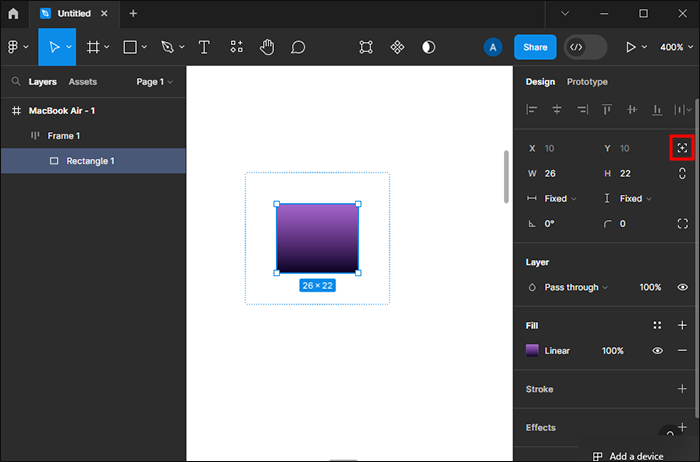
- In the right-side menu, next to values for “X” and “Y,” tap the icon resembling a square without edges with plus inside.

- Move the object along the lines of the frame.

Gap Setting
There are a few features you can adjust when it comes to spacing, such as gap. You have two ways to change the gap: auto and typing in a specific gap. If you want your gap to be as big as possible, then you have to select the auto setting in the Auto Layout menu. But if you’re going to enter your values, type them inside the assigned boxes.
Furthermore, gap setting can be set for all directions. If your icons are only horizontal and vertical, you can select a horizontal gap between them. However, if they are in a wrap position, you can adjust vertical and horizontal gap settings.
Alignment Setting
After you set up direction, padding, and gap features, you can adjust the alignment of the child object in your frame since this feature depends on the spacing settings. You can’t change the alignment of each object, but choose a pattern offered in the menu of Auto Layout. You can click on the 3×3 grid in the menu and select which alignment you want. This can be done with arrow keys or WSAD buttons on your keyboard.
Furthermore, you can choose the auto setting here to switch horizontal and vertical alignments as a row. With specific values, you can have all nine options (top left, bottom left, left, right left, bottom right, etc.).
You can also adjust text alignment by enabling this option from the menu and holding the “B” button.
Resizing
Resizing options of Auto Layout have many additional properties such as hug content, fill container option, adjusting width and height, dimensions, etc. You can select the auto option if you want your values to be fixed, but that limits the possibilities. For resizing, it’s recommended to set your values.
You can select a fixed value or set it to the maximum or minimum possible dimensions for width and height. Hug content allows you to adjust the size of a frame based on the child object, while the fill container option resizes an object according to the parent frame.
Creating Unique Frames With Auto Layout
Auto Layout, as one of the essential Figma features, can adjust your frame and objects and compartments inside it to your preference. Its properties and features are multiple, allowing you to create a proper and neat product. Auto Layout is a fundamental tool you must master before working in Figma.
Which Auto Layout function do you use the most? Let us know in the comments section below.
Disclaimer: Some pages on this site may include an affiliate link. This does not effect our editorial in any way.

