The “Read-only” option is a valuable feature when you want to protect your folders from accidental or intentional tampering. However, it can be frustrating when a folder keeps reverting to “Read-only” despite disabling this feature. This can significantly slow down your work or stop you from accomplishing your tasks altogether.
If you’re unsure what to do about this issue, you’ve come to the right place. Keep reading to learn why your folder keeps reverting to “Read-only” and what to do about it.
How to Fix Folders Reverting to Read Only
When a folder keeps reverting to “Read-only,” several potential culprits exist. The issue might lie in one of the following:
- The user’s account
- The folder itself
- A third-party app
- The Windows system
Unfortunately, there isn’t a way to diagnose the issue and cut straight to the solution. So, we suggest trying out these methods one by one until you find the one that works for you.
Access the Folder Using the Administrator Account
Permissions are an important Windows feature that can allow or block certain operations. Users with Admin permissions typically have unlimited access, while others are restricted in what they can do.
Check your permissions if there’s more than one account on your PC. A folder created by the administrator account can’t be modified by a guest account. So, make sure to log in using the Administrator account. Here’s how:
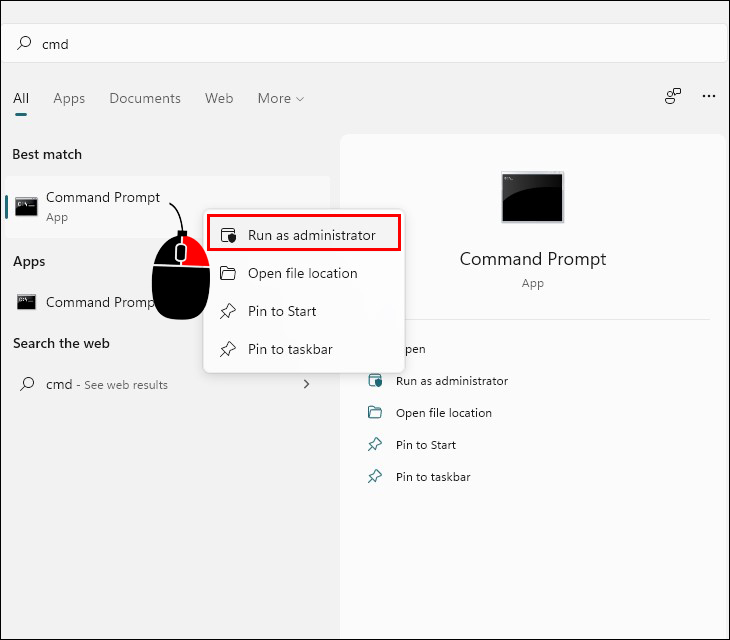
- Navigate to the Command Prompt by typing “
cmd” in the search box.
- Right-click the Command Prompt and choose the “Run as administrator” option.

- Type the following command:
net user administrator /active:yes
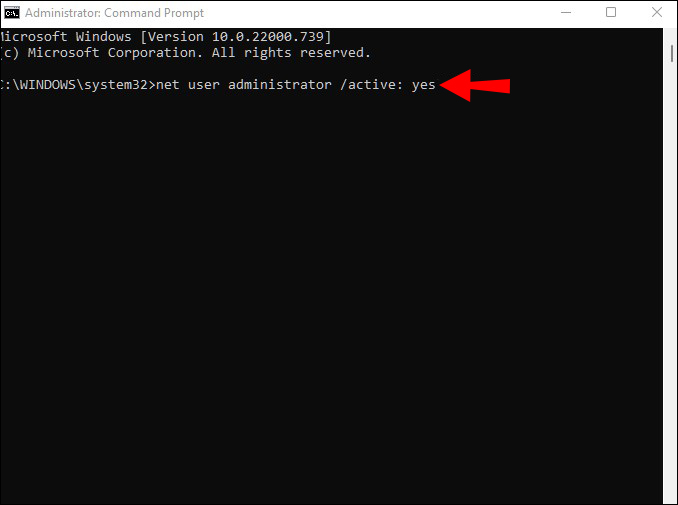
Once you’re active as an administrator, try re-accessing the folder.
Change User Permissions
The permission settings can sometimes get altered without your knowledge, causing issues accessing and modifying specific folders. Luckily, you can quickly grant yourself the necessary permissions, regardless of the number of users.
If you’re the only user on your PC, follow these steps to change permissions:
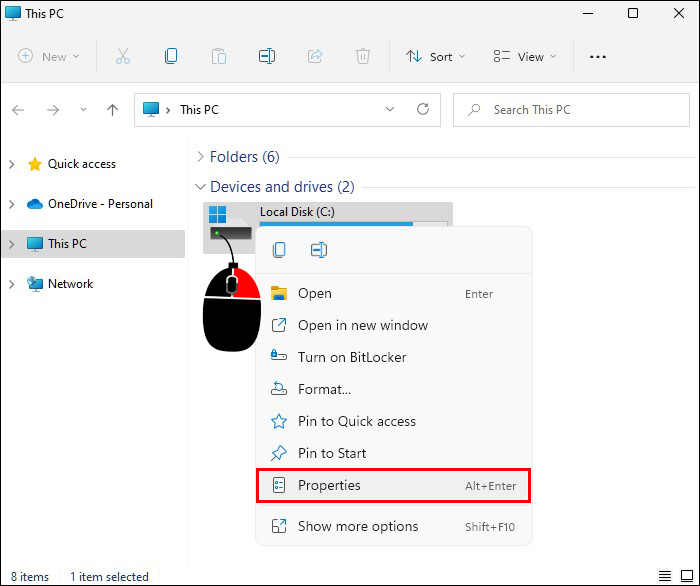
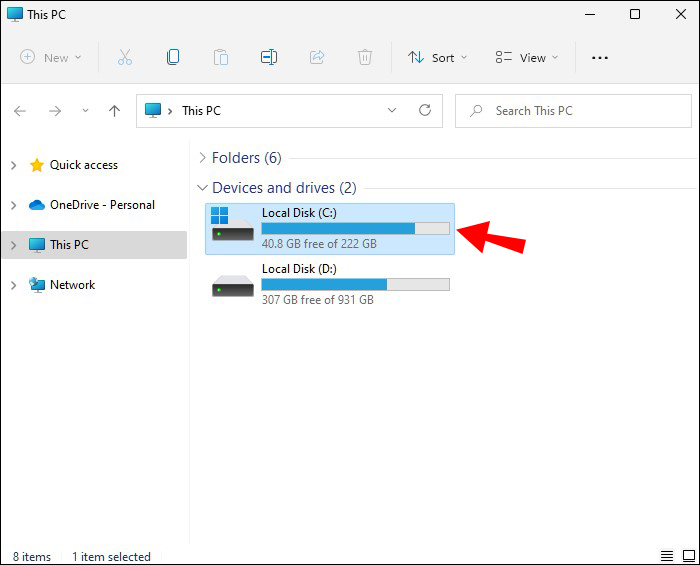
- Double-click the “This PC” icon on your desktop.
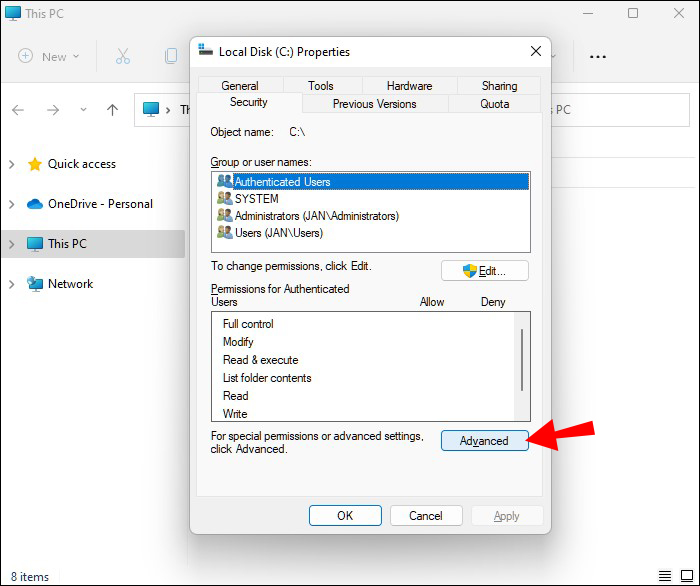
- Right-click the “Local Disk (C:)” folder and select “Properties” at the bottom of the menu.
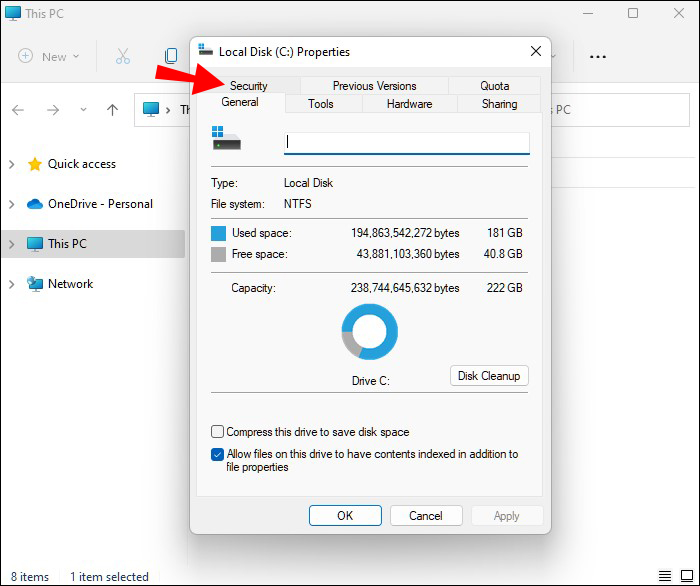
- Go to the “Security” tab.
- Click on the “Advanced” button in the bottom-right corner.
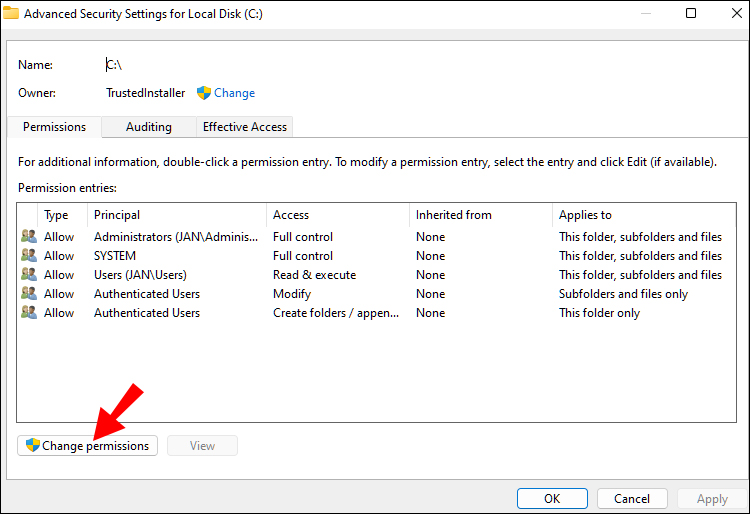
- Tap the “Change permissions” button.
- Select the user whose permissions you want to change.
- Press the “Edit” button in the bottom-left corner.
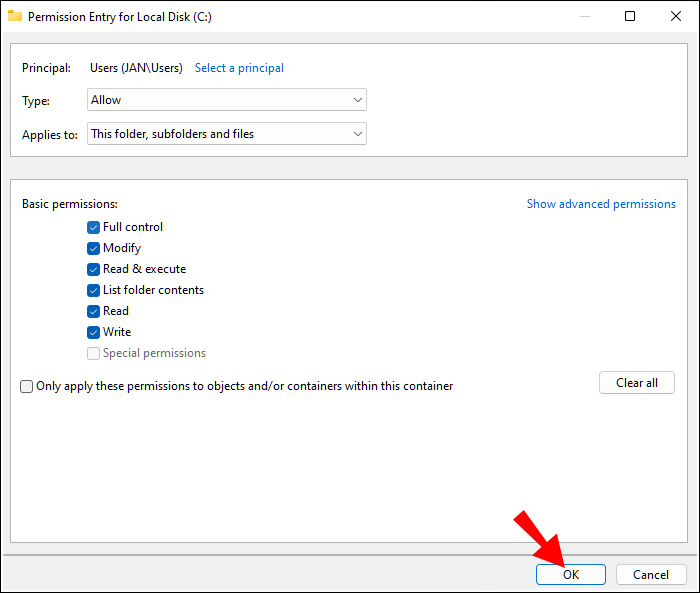
- Check the “Full control” box under “Basic permissions.”
- Click “OK” at the bottom right.


When there are more users on a PC, these steps should do the trick:
- Double-click the “This PC” icon on your desktop.
- Open the “Local Disk (C:)” folder.
- Navigate to the “Users” folder.
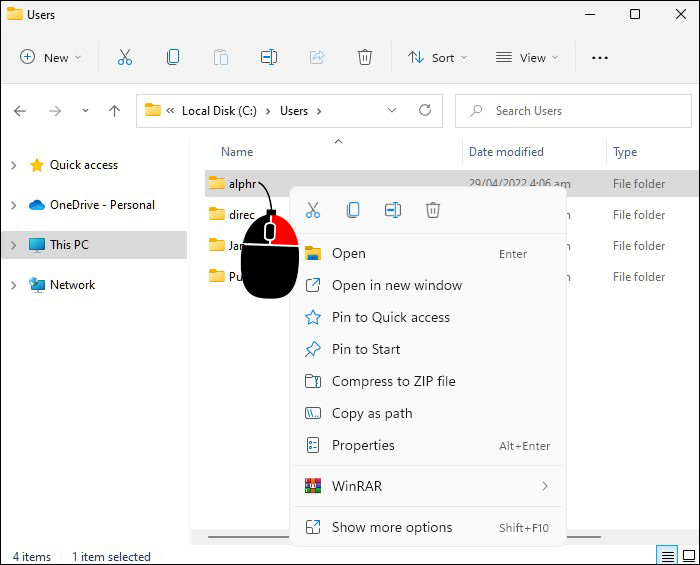
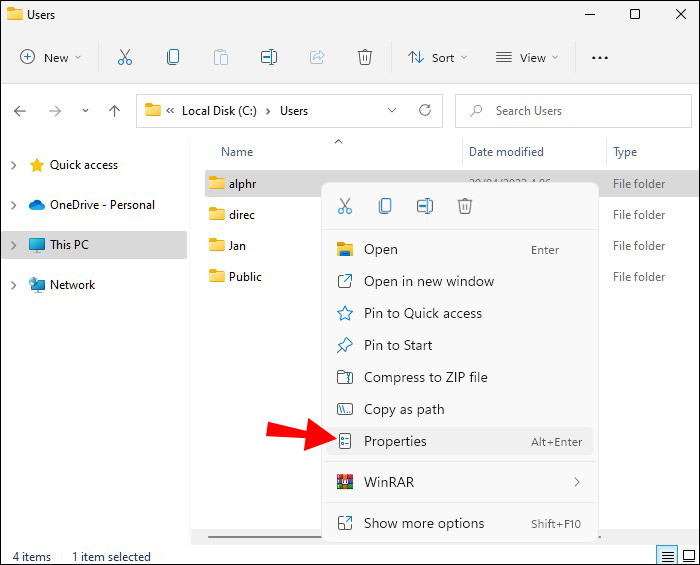
- Locate your user folder and right-click on it.
- Select “Properties” from the drop-down menu.
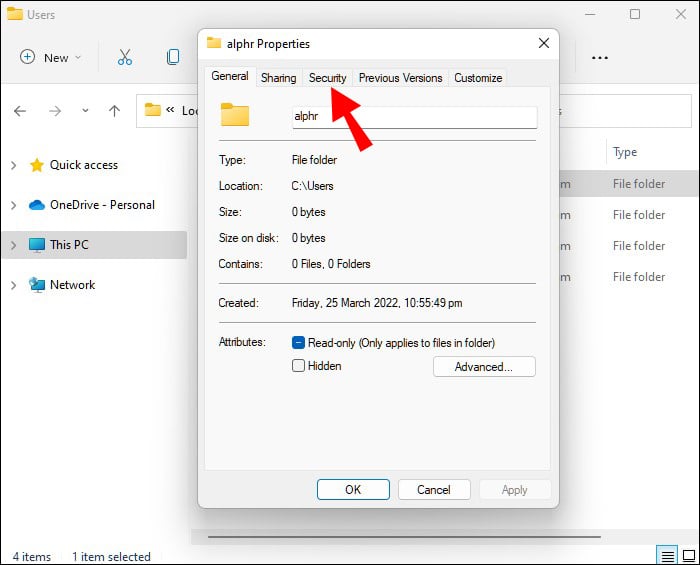
- Tap the “Security” tab.
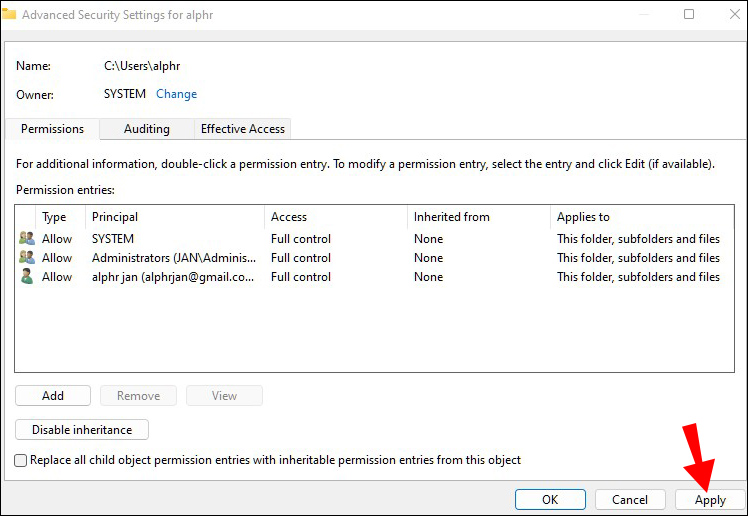
- Press the “Advanced” button at the bottom right.
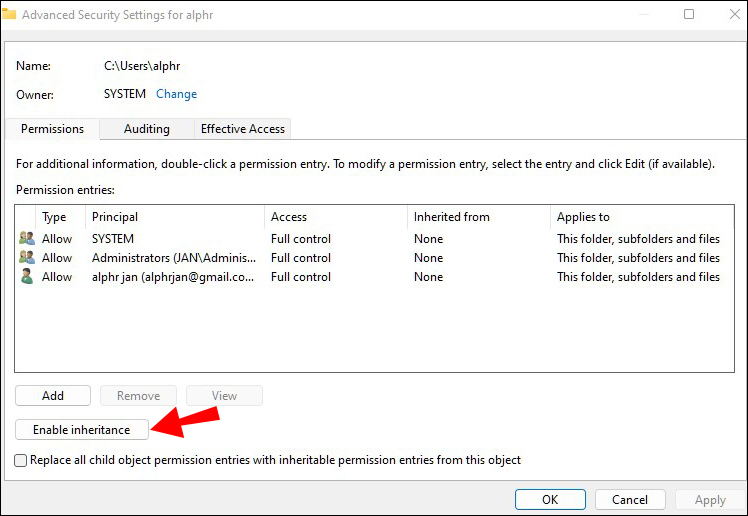
- Click the “Enable inheritance” button in the bottom-left corner.
- Save the changes by clicking the “Apply” button at the bottom right.


Change Folder Attributes
If you’re having trouble modifying a folder, the folder itself might be to blame. The folder you’re trying to access might contain a “Read-only” command in its attribute. As a result, no user can make changes to it or save new files.
Follow these steps to remove the command from the folder’s attributes:
- Type “
cmd” in the Windows search bar. - When the Command Prompt appears in the results, right-click on the icon and select the “Run as administrator” option.
- Remove the folder’s “Read-only” attribute by typing the following command with your profile name and folder name:
attrib -r /s C:\Users\[profile name]\Desktop\[folder name]attrib -r /s drive:<directory path><folder’s name>

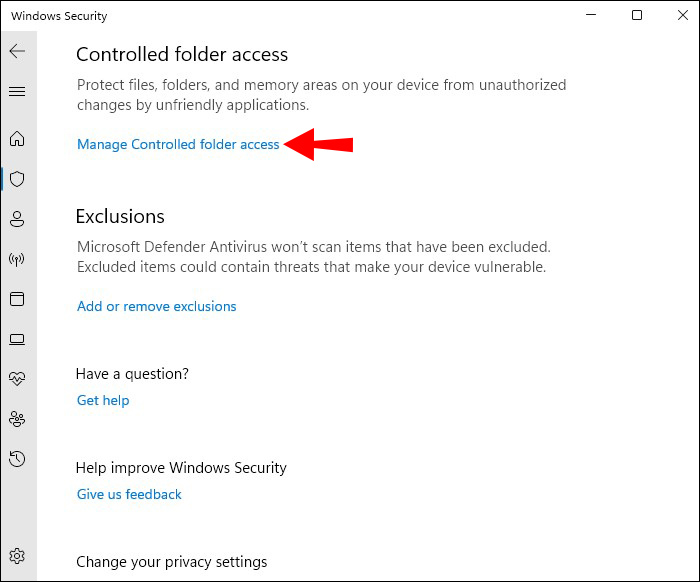
Disable the Controlled Folder Access Feature
Sometimes the directory you’re trying to change has the Controlled Folder Access feature enabled by default. This feature sets restrictions on actions you can take within a folder.
To disable the Controlled Folder Access, do the following:
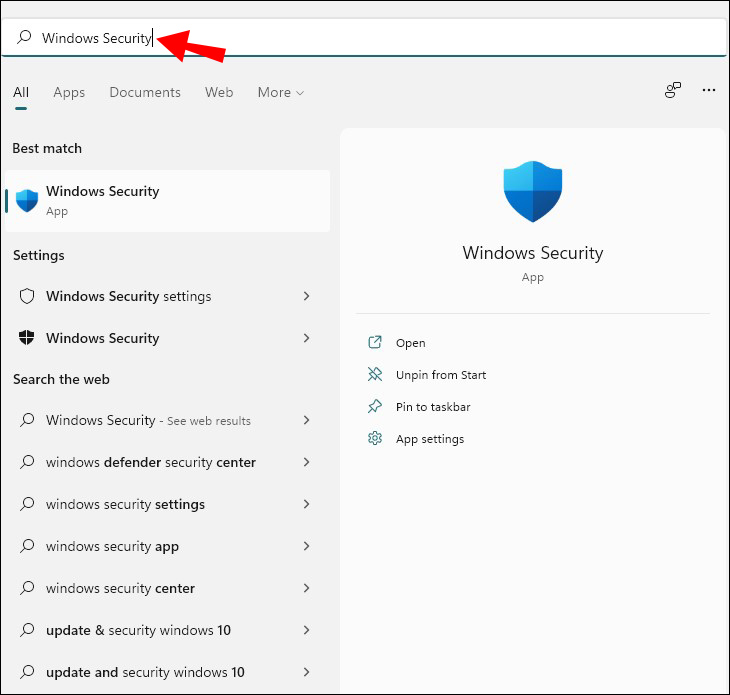
- Type “Windows Security” in the search bar and click on its icon.
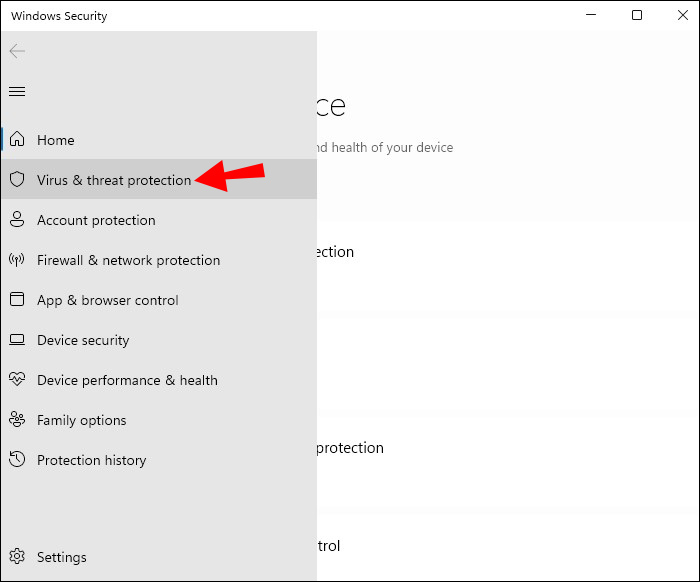
- Select the “Virus & Threat Protection” from the left pane.
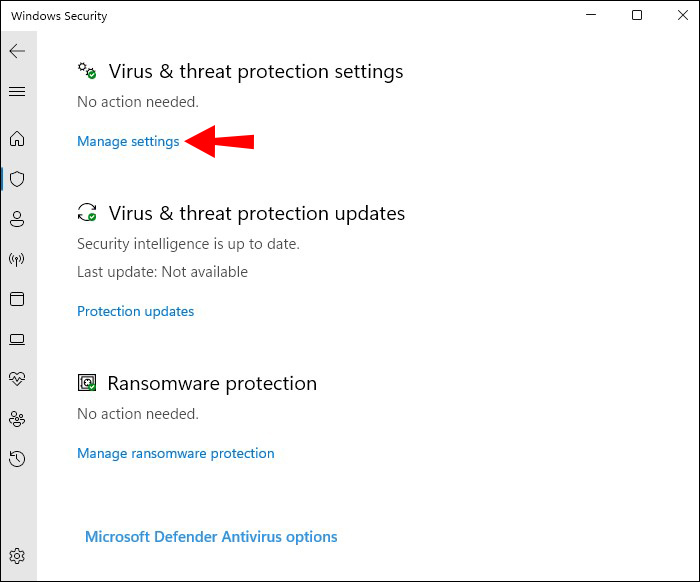
- Click on “Manage Settings.”
- Navigate to the “Controlled folder access” section.
- Tap the “Manage Controlled folder access” option.
- Switch the “Controlled folder access” option to “Off.”
- Restart your PC.


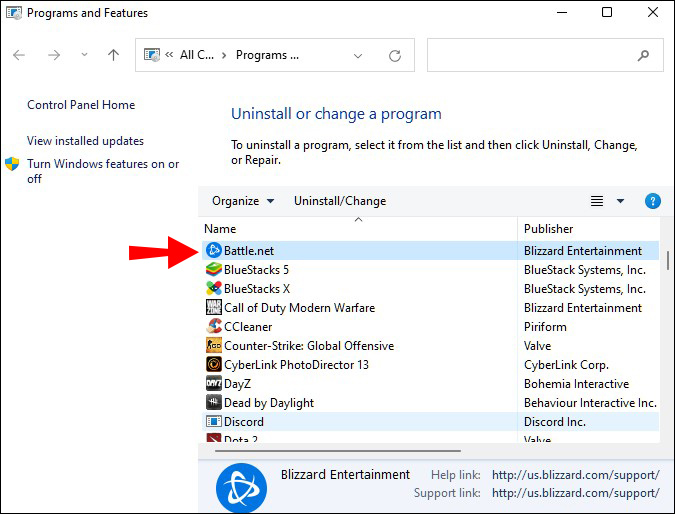
Uninstall Third-Party Security Applications
It’s not uncommon for third-party anti-virus software or security apps to change a folder’s settings if they perceive it as a threat. As a result, the folder can keep reverting to the “Read-only” status every time you boot up your PC.
To prevent this, you should uninstall any unreliable third-party security apps.
- Press the “Windows + R” shortcut to launch the Run dialogue box.
- Type “
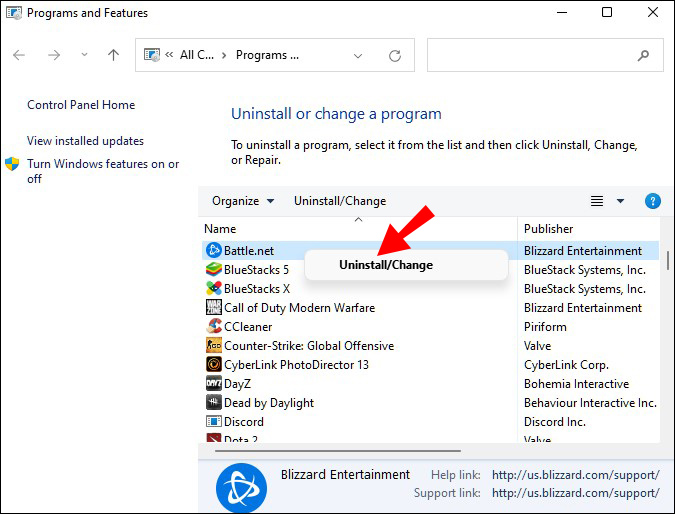
appwiz.cpl” and hit “Enter” to open the “Uninstall a Program” list. - Locate the app you want to uninstall.
- Right-click on the app and select the “Uninstall” option from the drop-down menu.
- Follow the on-screen instructions to complete the process.
- Restart your system.


Repair Corrupted Files
Corrupted files can lead to a folder constantly reverting to “Read-only.” To repair corrupted files and restore your system’s health, you can run an SFC or DISM scan on your system.
An SFC (System File Checker) scan checks and repairs Windows system files. If the scan detects a modified or corrupted file, it automatically replaces it with the correct version.
A DISM (Deployment Image Servicing and Management) scan detects and fixes corrupt files in the Windows system image. This is the most powerful Windows diagnostic tool.
You should do these scans from time to time, even if you aren’t experiencing any problems with corruption.
To run an SFC scan, do the following:
- Open the search bar and type “
cmd.” - Right-click on the Command Prompt icon and click the “Run as administrator” option.
- Type the following command:
sfc /scannow


Don’t close the Command Prompt until the scan is complete. Upon its completion, you’ll get one of the following messages:
- Windows Resource Protection did not find any integrity violations.
- Windows Resource Protection found corrupt files and successfully repaired them.
- Windows Resource Protection found corrupt files but was unable to fix some of them.
The first message signifies your folder issues aren’t related to the system file. The second message means that your problem has potentially been solved. Go to the desired folder again to quickly check if that’s the case.
If you see the third message, it’s time to do a DISM scan:
- Repeat steps 1-3.
- Type the following command:
Dism /Online /Cleanup-Image /CheckHealth - If the first scan doesn’t identify any corruption, run a more advanced scan by typing the following command:
Dism /Online /Cleanup-Image /ScanHealth

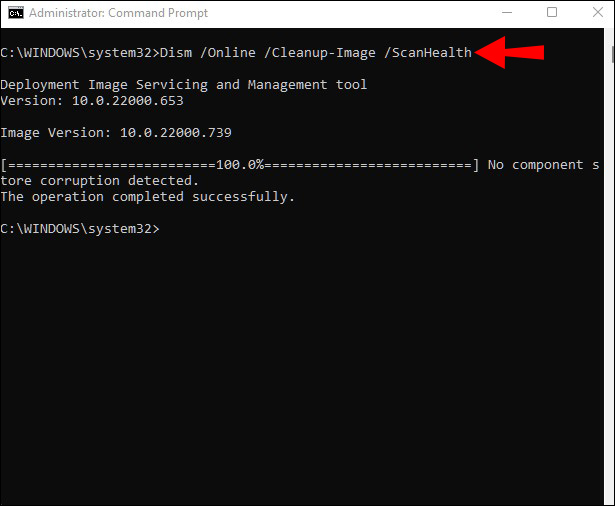
Suppose any of the scans identify a problem with the system image. In that case, you can repair these issues by typing the Dism /Online /Cleanup-Image /RestoreHealth command.
After the scans and the repairs are complete, restart your system and re-run an SFC scan. Hopefully, you’ll receive the second message and solve your folder problems.
Reading Less and Doing More
Making a folder ”Read-only“ is perfect for protecting its integrity. Beyond that, this option can only make your life difficult if you try to work using the files within that folder. Luckily, you can try the simple fixes outlined above, and you’ll be able to get back to business in no time.
Have you ever had problems with the Read-only attribute? How did you fix it? Let us know in the comments section below.
Disclaimer: Some pages on this site may include an affiliate link. This does not effect our editorial in any way.