During a Google Slide presentation, you should time how long you stay on one slide or give your audience the chance to engage in discussions or answer any questions. You may also need to use a screen countdown during activities or breaks.
Adding a timer to your Google Slides helps you do this seamlessly. In this article, we’ll tell you everything you need to know.
Add a Video Timer to Your Google Slides Presentation
Here are detailed steps for inserting a timer into a Google Slides presentation and how to format the settings.
Select Your Slide
You might want to insert a timer into a slide with content. Alternatively, you might want to create a separate timer slide if you plan on doing a timed activity in your Google Slides presentation. If you need one timer for several slides, insert the video in each slide and adjust the settings individually.
Go to the Video Selection Page
Follow these steps to navigate to your video selection page in Google Slides:
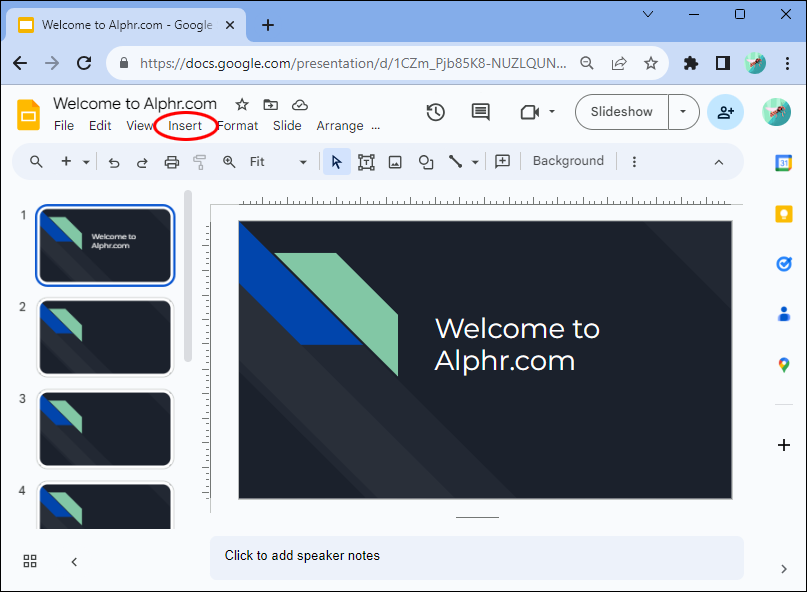
- In your Google Slides presentation, click on the “Toolbar.”

- Select “Insert.”

- Choose “Video.”

Your video selection page with three tabs will open, and you can select a video timer to insert on your page.
Choose a Video Timer
In the video selection page, choose a video timer for your Google Slides presentation by selecting from these options:
- Look for a video on YouTube
- Paste a YouTube video URL
- Upload a video timer from Google Drive

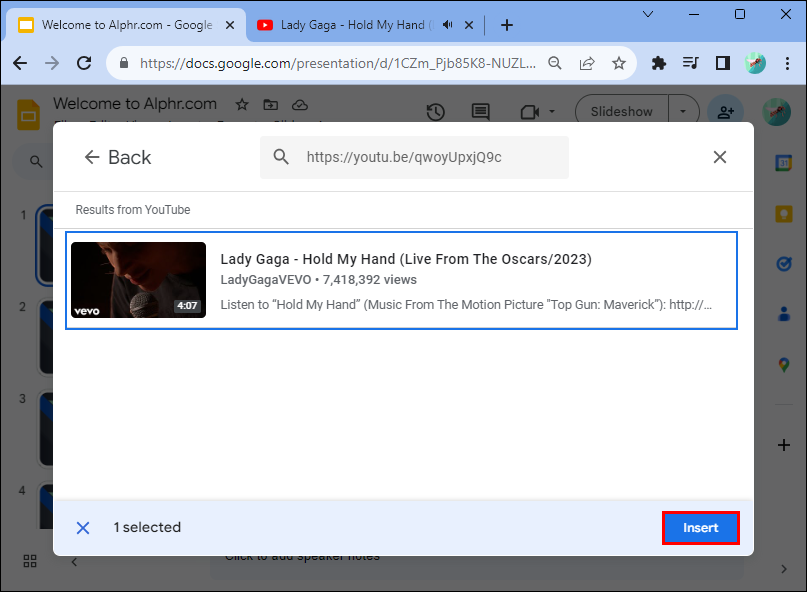
When looking for a video, search for the timer length you’d like to use, for example, “five-minute timer.“ Note that the video hyperlinks to a third-party account when you use the URL or search option. If the uploader deletes the video, you won’t be able to use the timer in a Google Slide presentation.
Using a video timer you’ve uploaded to your Google Drive is a more reliable way of having one for your Google Slides presentation.
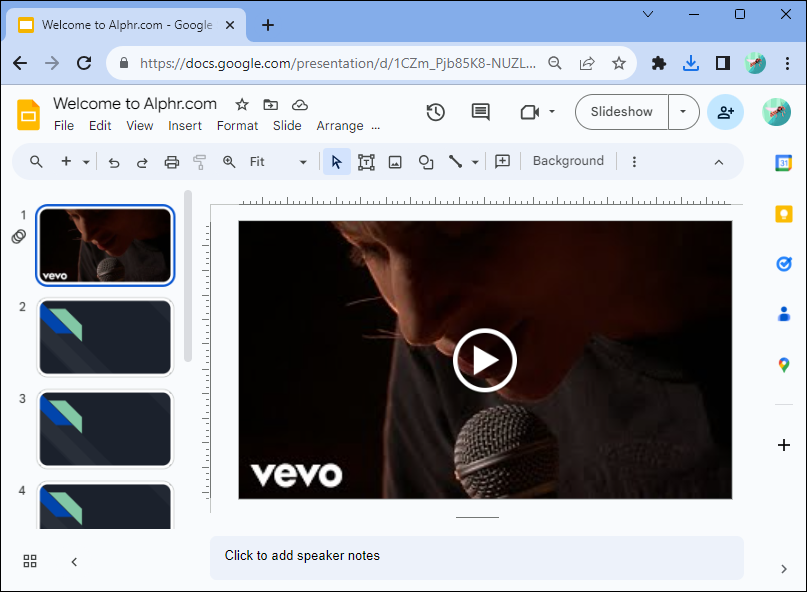
Reposition and Resize Your Video
To move your video to a different position or resize it in your Google Slide, click on it and use one of these options:
- Click on a corner of your video and drag it to your preferred size.
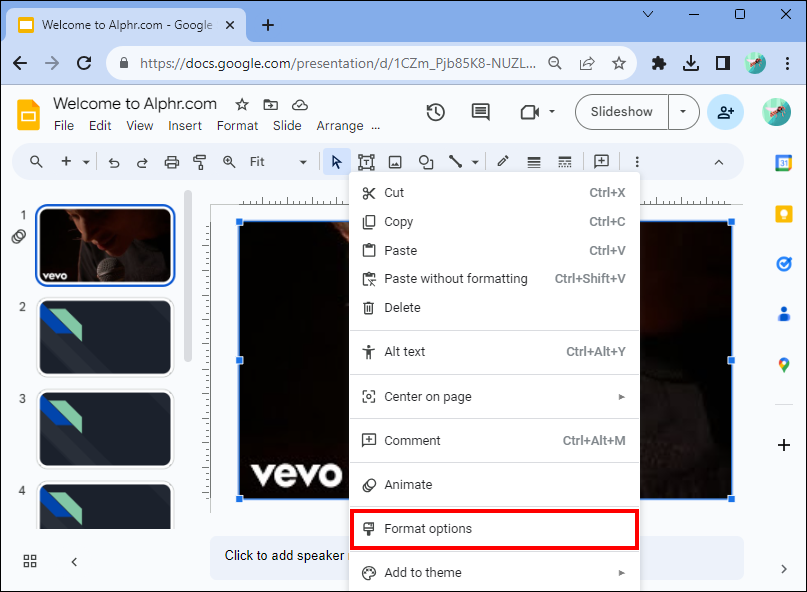
- Right-click on your video and choose “Format Options,” then select “Size and Rotation.” Adjust your video’s width and height by inputting dimensions, scale, and aspect ratio.

Edit the Video’s Playback Options
You can set your video in Google Slides to start playing as soon as you switch to a slide, or you can edit when a video plays. Here’s what you need to do:
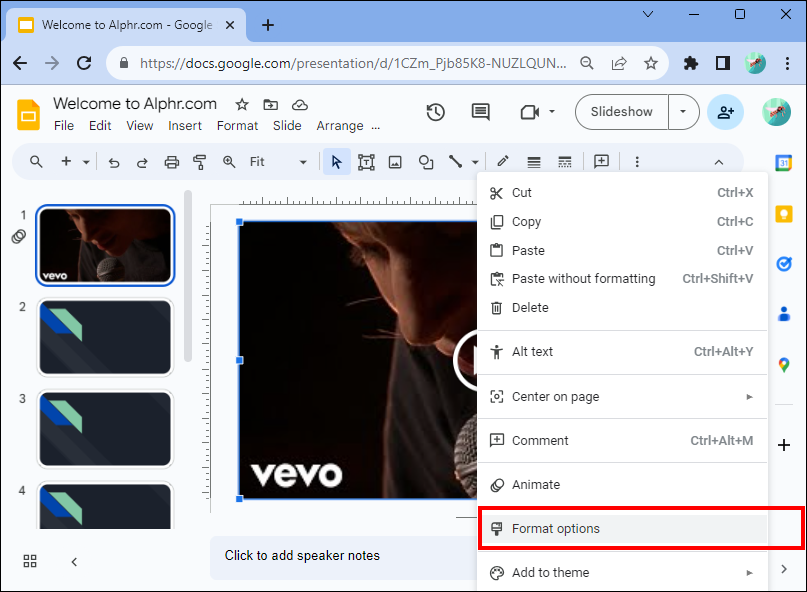
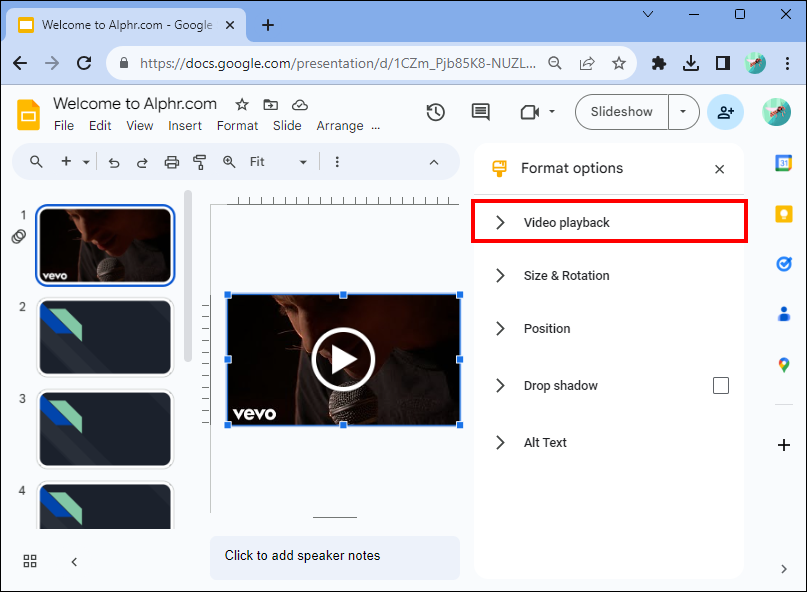
- Right-click on the video.
- Select “Format Options.”
- Choose “Video Playback.”
- Go to “Play on Click” to play the video when clicked.
- Alternatively, select “Play Automatically” to play the video as soon as you go to the next slide.

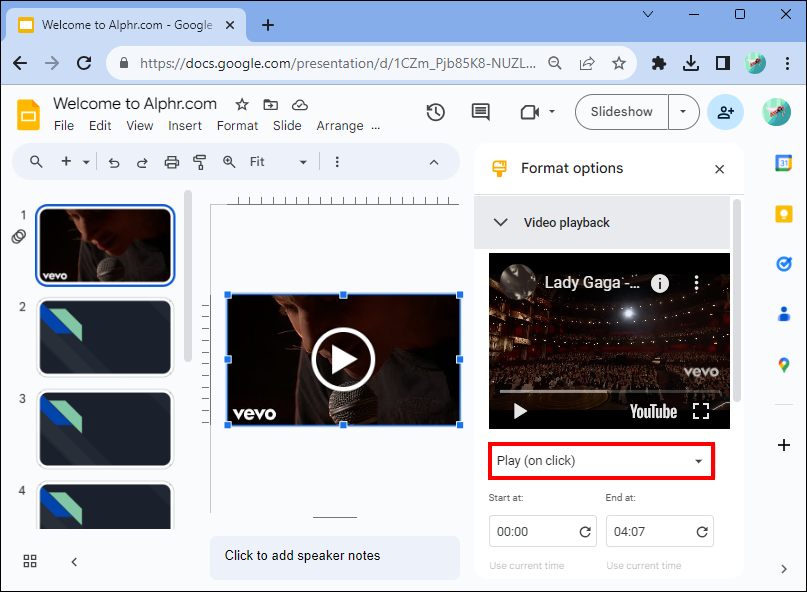
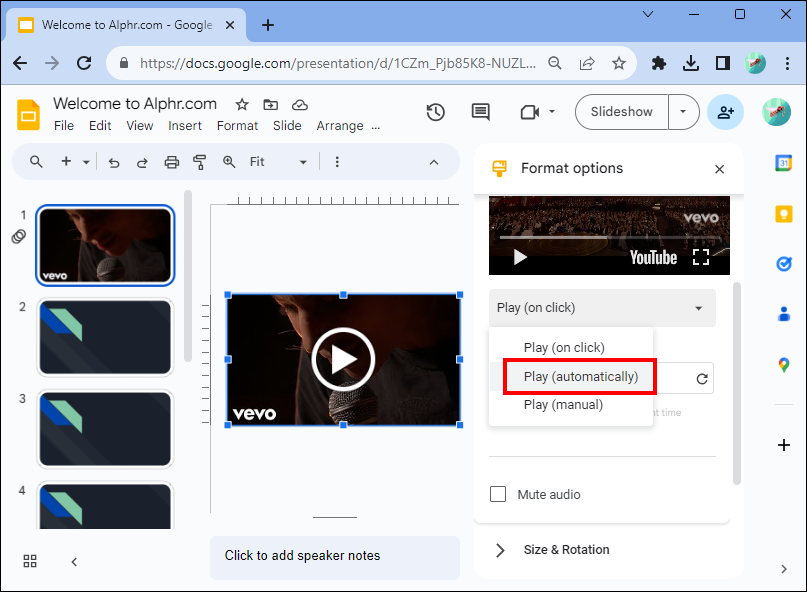
In the video format options, you can also adjust more playback settings, like muting the audio in the video. if you can’t source a timer with specific requirements, you can make your video timer start and end at a particular time. For example, if you need a 50-second timer or a 10-second timer.
Add a Google Slides Timer Using the Slides Timer Extension
If you’re not keen on adding a video timer to your Google Slides presentation, or if you’d like a more customizable timer, you can try the Slides Timer Google Chrome browser extension. This add-on allows you to input a text-based code which it converts to a function.
- Click on “Add to Chrome” next to the Slides Timer extension in the Chrome Web Store.
- Select “Add Extension.”
- Open your Google Slides presentation.
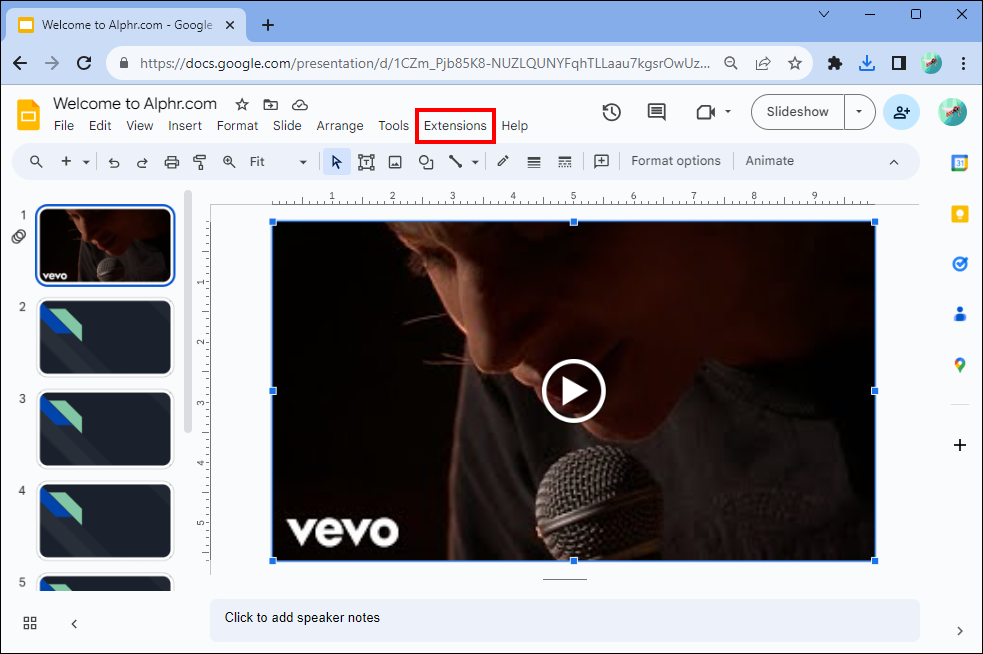
- Choose “Extensions.”
- Go to “Slides Timer.”


Uses of the Slides Timer Extension
You can use several useful features with the Slides Timer in your Google Slides presentations.
Countdown
Here are steps for creating a countdown timer with the Slides Timer:
- Go to the “Text box” icon in the toolbar under the menu.
- In the text box, input “<<“specified time”->>”. For instance, if you want a 3-minute countdown, you’d type “<<3:00->>” in the text box.
- Select “Slideshow” or “Present,” and your text is converted automatically into a countdown timer.
Count Up
To add a stopwatch or count-up timer using the Slides Timer, input “<<“specified time”+>> in a text box where you like to insert the timer.
Here’s an example: If you need a stopwatch to begin at zero seconds, input “<<00:00+>>.” This automatically turns it into a stopwatch on the “Present” screen.
Time
The Slides Timer Chrome extension can display the current time in a local time zone. To display this, add a text box to your Google Slide, then input “<<time>>.” This shows the time in AM/PM format on the “Present” screen.
Date
To insert the date in a Google Slides presentation slide, add a text box, then input “<<date>>.” This formats the date into “mm/dd/yy” in the “Present” screen. This continuously displays the current date if you present it with no manual adjustment.
Move to the Next Slide
You can also use the Slides Timer to move onto another slide automatically when the time is up. For instance, if you’d like to move to another slide after five minutes, you can add a text box and input “<<05:00-+>>.”
Benefits of Using a Timer in Google Slides
When you’ve mastered how to use timers in your Google Slides presentations, you’ll experience some of these great benefits.
Pace Your Presentation
A video timer in your Google Slides presentation can help you track the time you take to discuss each slide. If your presentation time is limited during a meeting, allocating the time you’d like to take on each slide and using a timer helps you pace yourself. Additionally, you can include everything you need to discuss within your time frame.
There’s also the option to set your timer to automatically advance by moving to the next slide after a specified time so you remain on schedule.
Respecting Other People’s Time
Using a timer in Google Slides ensures your presentation doesn’t infringe on another speaker’s time. Timers also show your audience how much time they have to ask questions or prepare for a transition to the next speaker.
Provides Flexibility
In Google Slides, you can stop a timer early if you’re ready to move to the next slide and have the flexibility to adjust your timer. For example, if you’ve provided time for questions but didn’t get many requests. Or if you’re asked an interesting question that might take longer to answer, or have thought of another idea you’d like to incorporate into your presentation.
Using Visual Aids for Activities
If you’ve incorporated activities in your Google Slides presentation, timers help your audience remain focused as they can see how much time they have to complete an activity.
Timing Breaks
Timers in Google Slides presentations let your audience know how long breaks are, which is especially useful for teachers giving long online lessons.
Organize Your Presentation With Ease
Using a timer in your Google Slides presentations helps track your time on each slide and the time given for activities that your audience can see. Inserting a timer using the steps outlined above includes using the Video and Insert options, and the Slides Timer Google Chrome browser extension. Once you’ve inserted your video in Google Slides, you can resize and position it and edit its playback settings.
Have you ever used timers in your Google Slides presentations? Did they help you keep your presentations well organized? Let us know in the comments section below.
Disclaimer: Some pages on this site may include an affiliate link. This does not effect our editorial in any way.