Google Slides allows you to create fun and exciting presentations for school projects, business meetings, social events, and more. Furthermore, Slides are connected to other Google apps to make linking all aspects of projects even more seamless. And with customization options like the ability to change the shape of an image, you can take your projects to another level.
For instance, you can change the shape of an image frame to a circle or an oval shape. This can highlight the content and make it appear more noticeable
Read on to learn how to make your image round in Google Slides.
How to Crop Image Into Circle Shape
If you need the images you plan to use to have a circle shape for your presentation, there isn’t a straightforward way to choose this shape. Instead, you have to crop the image into a square, adjust the size and then choose an oval frame.
First, upload the image you want to shape. This is how you can do that:
- Open Google Slides on your PC.
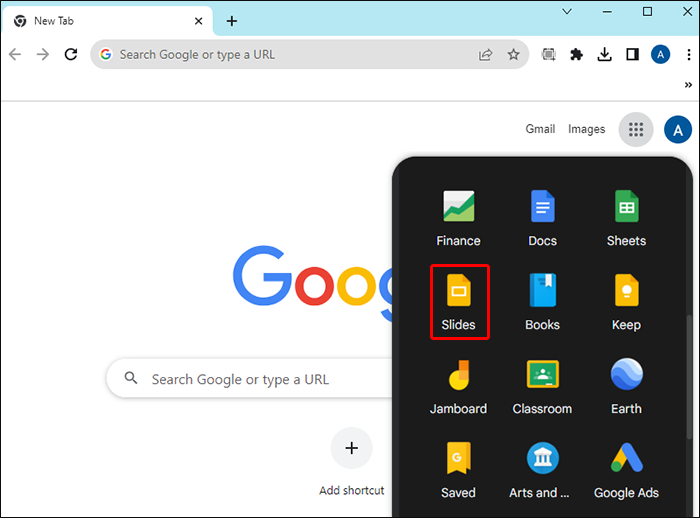
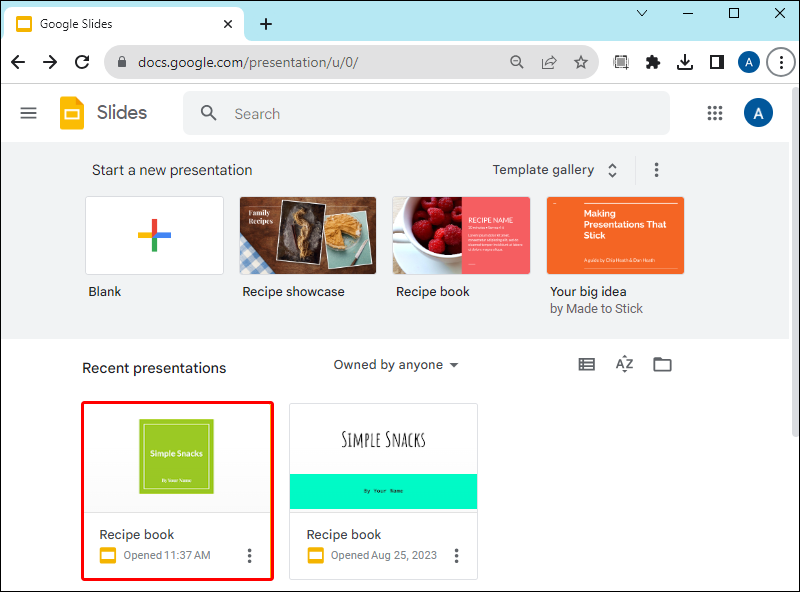
- Find the presentation where you want to make adjustments.

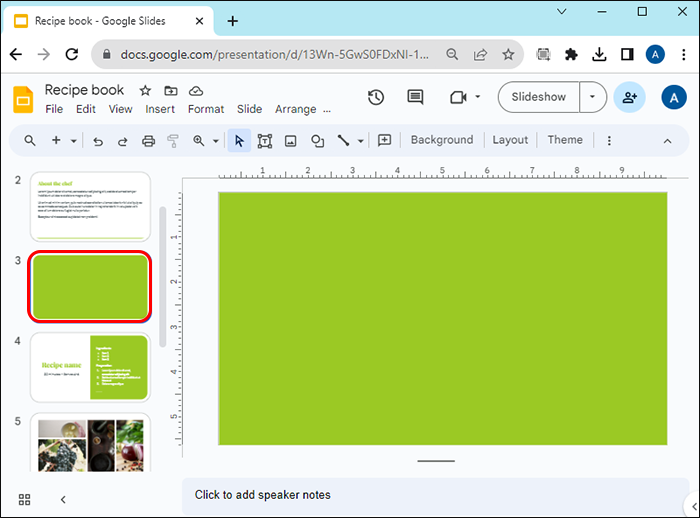
- Click on the slide where you need to add the circle image.
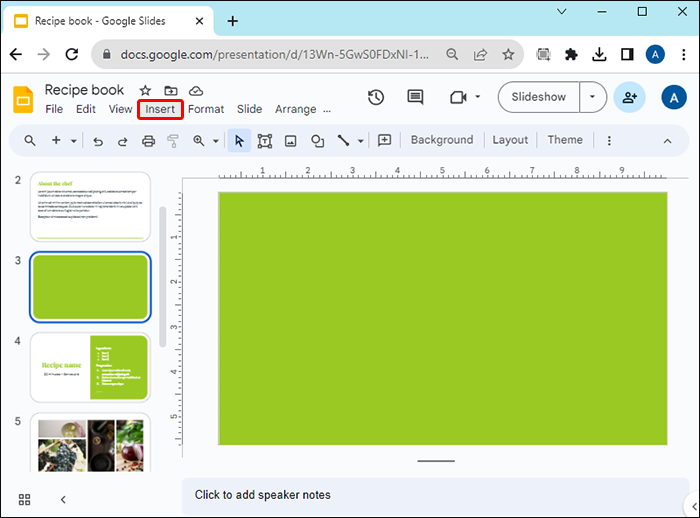
- Tap on the “Insert” option in the top corner of your screen.
- Click on “Image.”
- Choose from where you want to add the image, whether from the PC or another source.
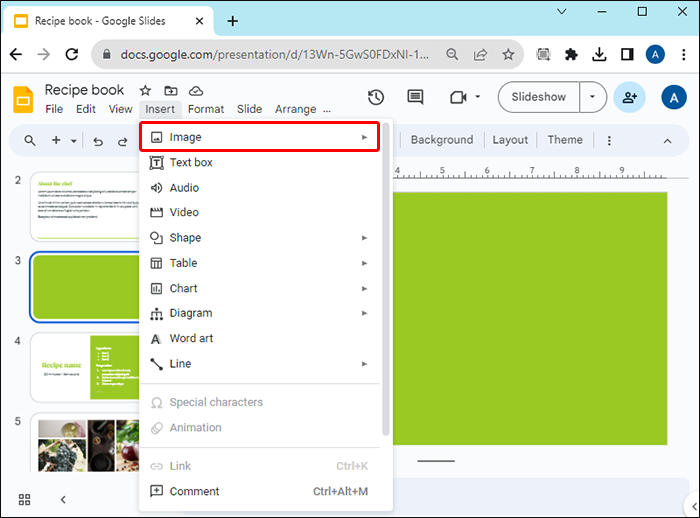

The options for adding the image are to upload from a computer, search for the image on the web, insert one from Google Drive, Google Photos, by URL, or from a camera.
Now that you’ve added the image to your slide on this Google app, you have a couple of ways to access the cropping feature:
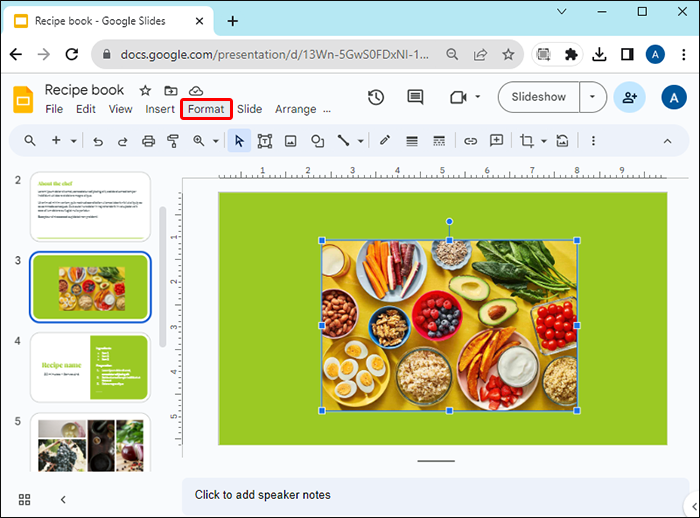
- You can use the “Format” option in the menu in the top right corner of the screen.
- Click on the crop icon in the toolbar.
- Right-click on the image you want to crop to access the menu.
- Double-click on the image and automatically enter the cropping feature.
Follow the steps below to begin cropping the picture into a round shape:
- Navigate to the “Format” option.
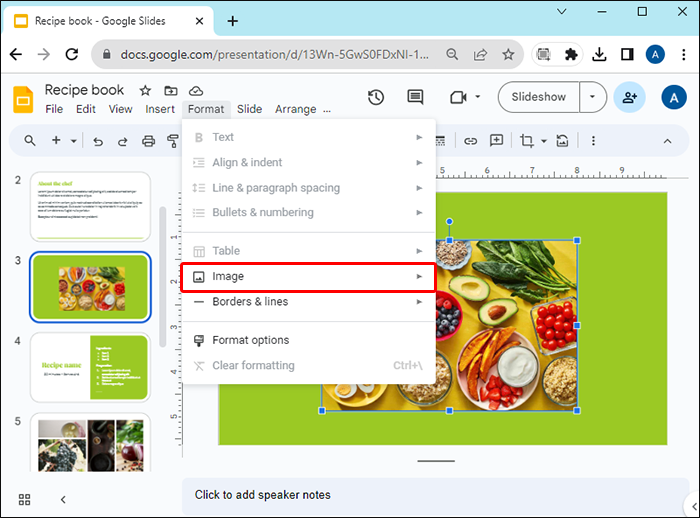
- Tap the “Image” option in the menu.
- Click on the “Crop image” option.
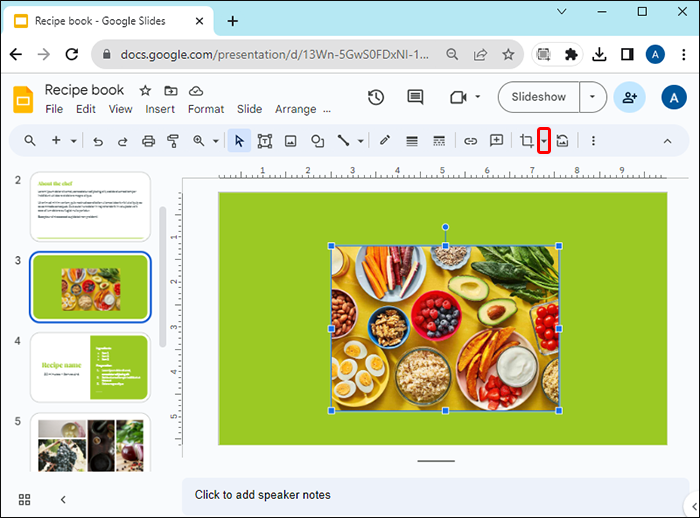
- Move the cropping borders until you have an image with a 1:1 ratio.
- Click anywhere outside of the image.
- Navigate to the Crop icon in the toolbar.
- Tap the arrow pointing down next to the icon.
- Click on the “Shapes” option.
- Choose an oval shape.


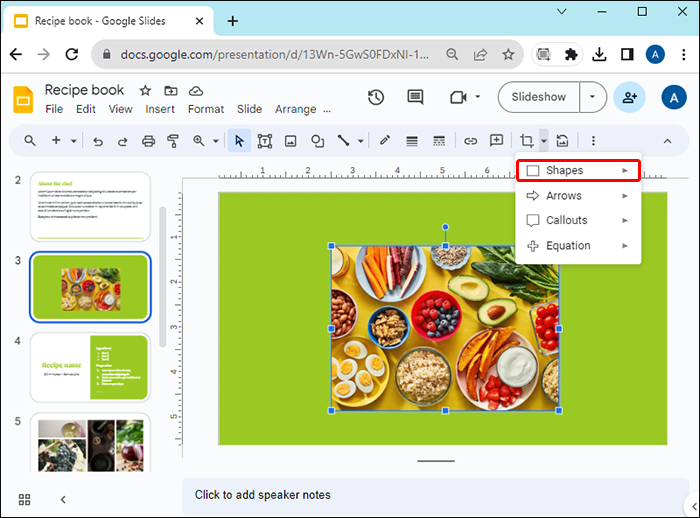

After Step 7, you have the option to choose many different shapes and features. The available options are Shapes, Arrows, Callouts, and Equations. You can use all these to adjust and customize your images and parts for your presentation.
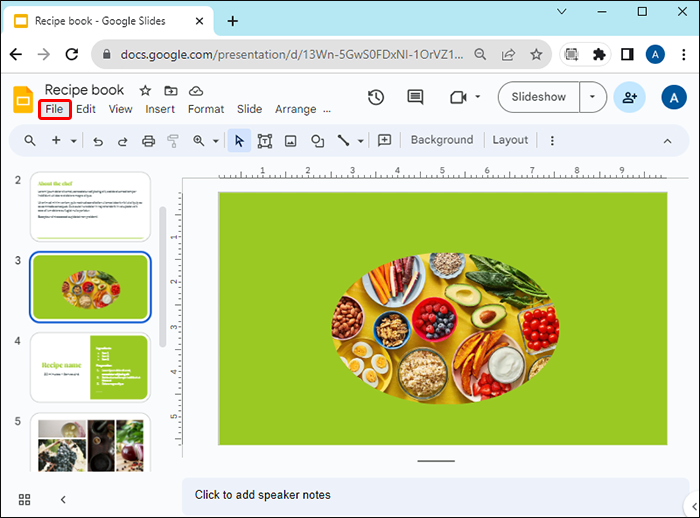
Furthermore, if you’ve set the image to the desired ratio when you click on the oval shape, the picture will have a perfect round shape.
Saving Cropped Round Image
If you like how the image is shaped and you want to use it for something besides the slideshow on Google Slides, you can save the image. There are a few ways to save your photo: on your PC or by taking a screenshot. You can also save the cropped image on Google Keep, but you can’t do it if it is round-shaped.
The most straightforward way to save your cropped photo from Google Slides is by downloading it to your computer. This is how you can do that:
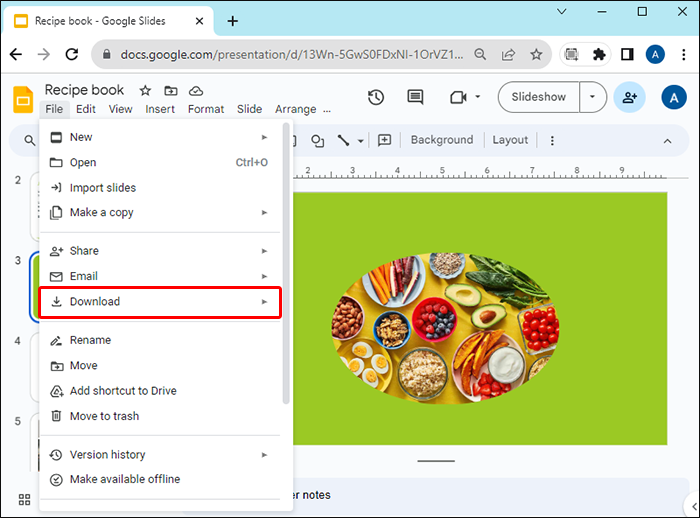
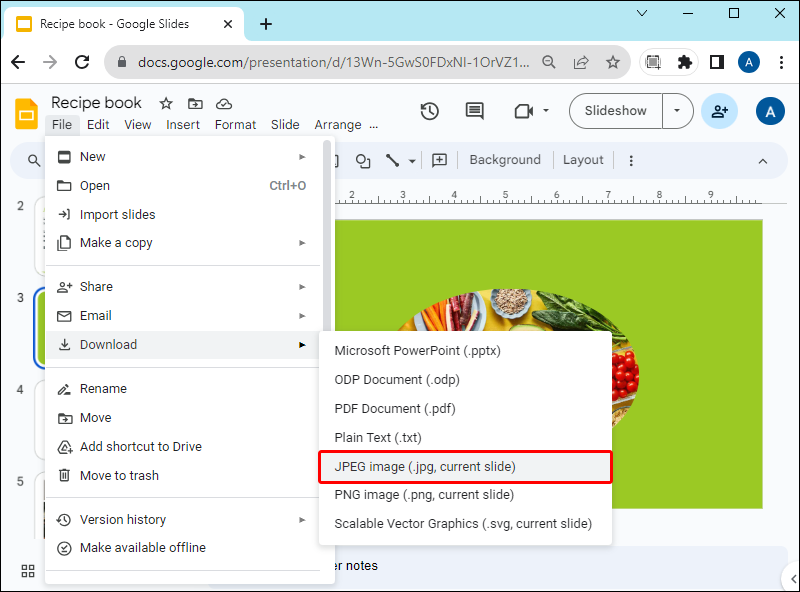
- Tap the “File” option in the top menu bar in Google Slides.
- Select “Download.”
- Choose the format (Recommended options are PNG and JPEG, depending on what you want to use the picture for).
If you want to take a screenshot of your cropped round image, follow the steps below:
- Tap the “Print Screen” button on your keyboard if you’re using Windows. For Mac, simultaneously press the buttons “Shift,” “Command,” and 4.
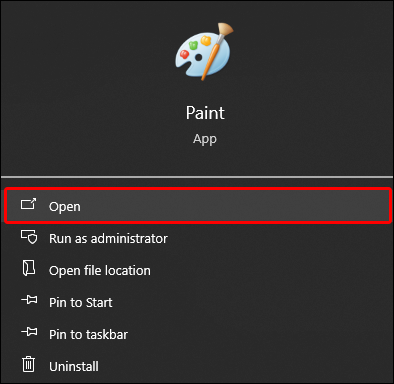
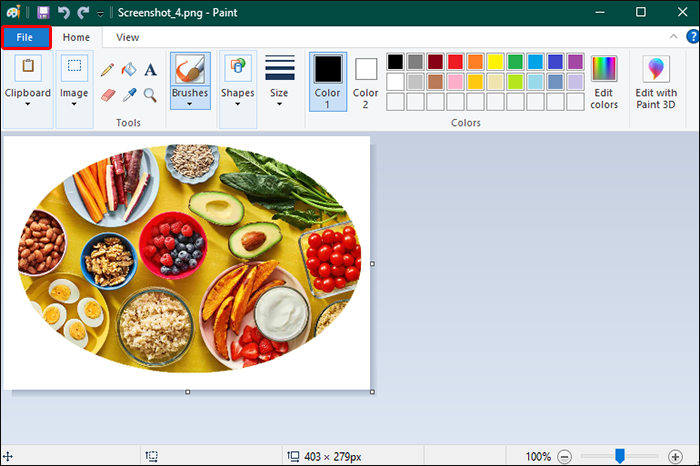
- Open an image editor, like Paint.
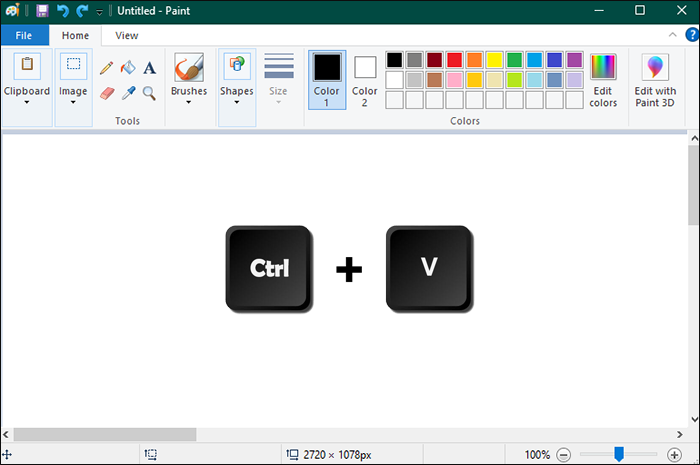
- Paste the photo there.
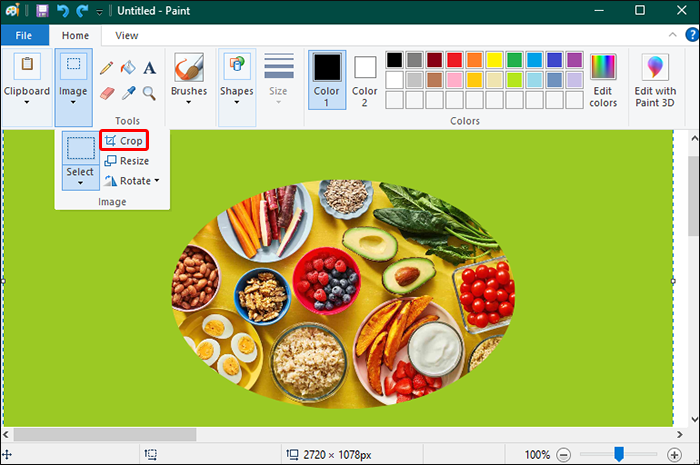
- Crop it.
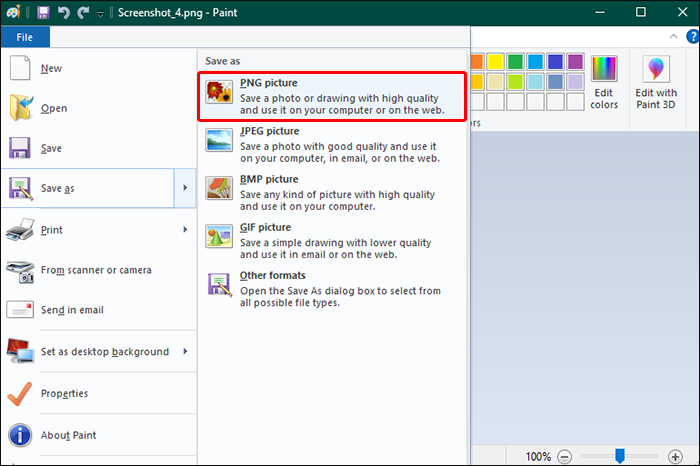
- Navigate to the save icon in the top left corner of Paint or click on the “File” option and choose “Save as.”
- Select the format.
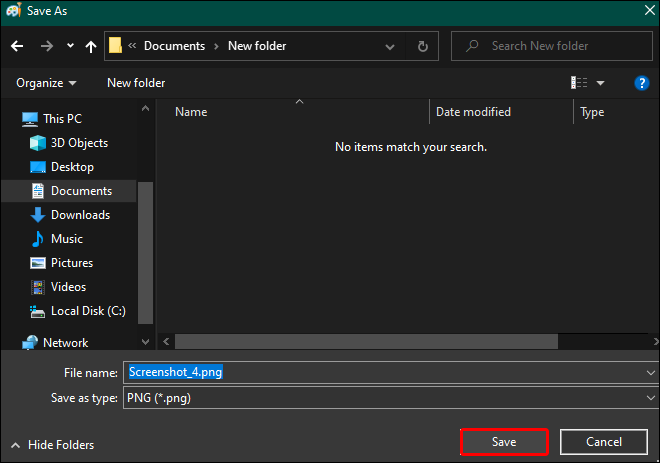
- Choose the file location.
- Click on “Save.”


Cropping Images for Presentations Using Slideshow Maker Apps
If you feel like Google Slides aren’t fulfilling your editorial needs, and you need more shapes and options to customize your presentation, try using free online slideshow makers or apps for your PC such as iMovie, Movavi Slideshow Maker, DaVinci Resolve 18, FlexClip, Vimeo Slideshow Maker and more.
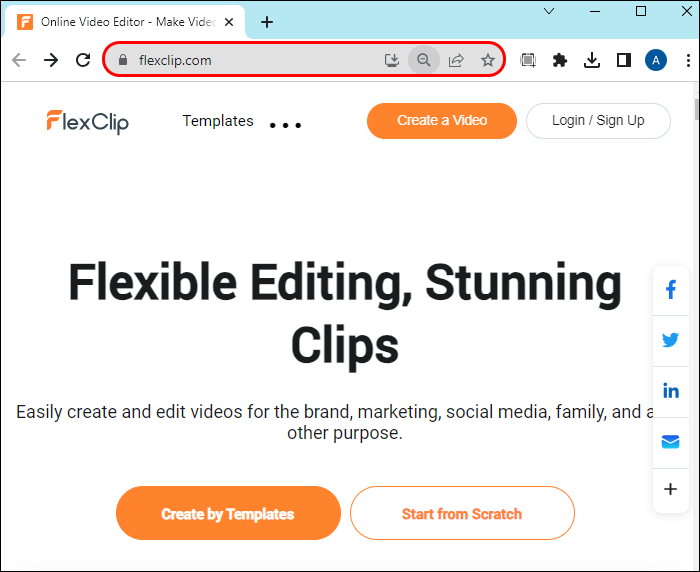
For example, follow the steps below to see how to make a circle image with FlexClip:
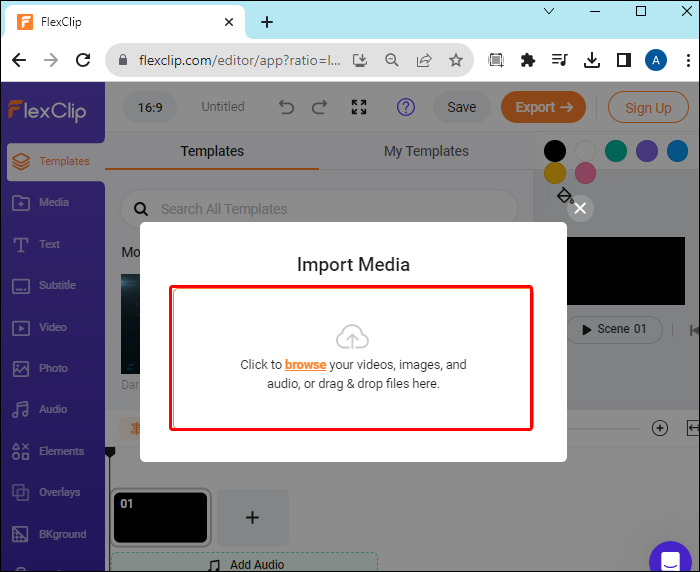
- Open the FlexClip.
- Choose a background (Plain monochrome background, import an image from your PC, choose from the editor’s gallery).
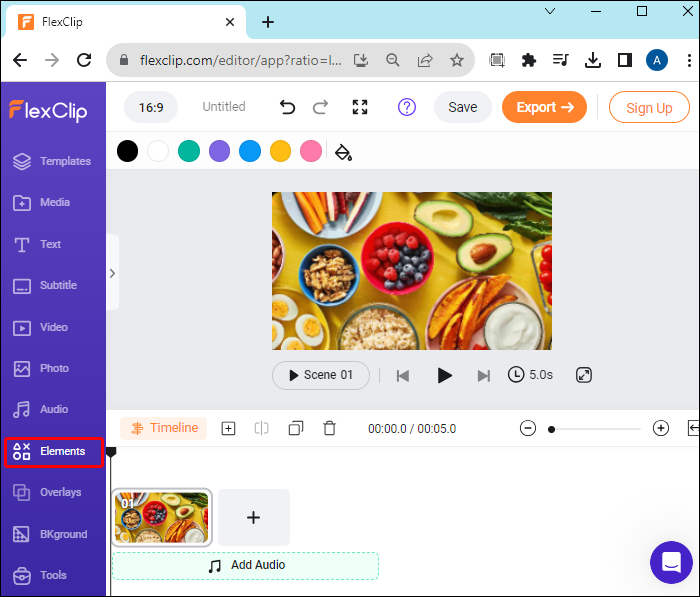
- Tap the “Elements” option in the left toolbar.
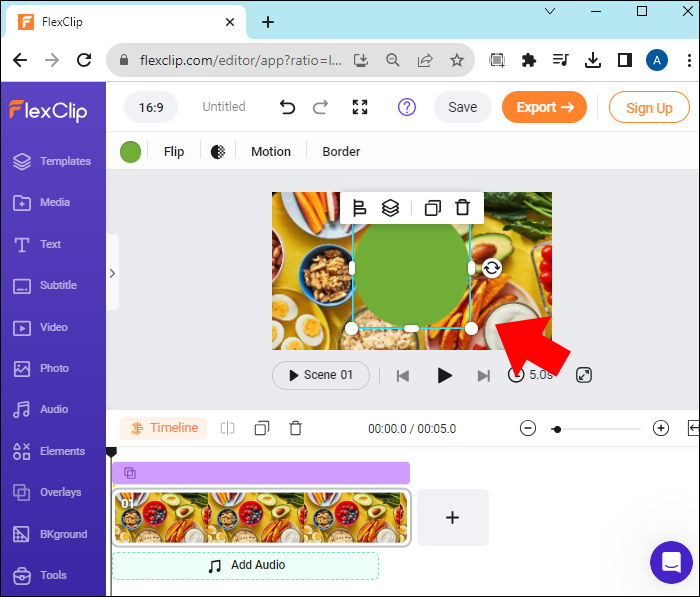
- Click on the circle shape.
- Make size adjustments if needed.
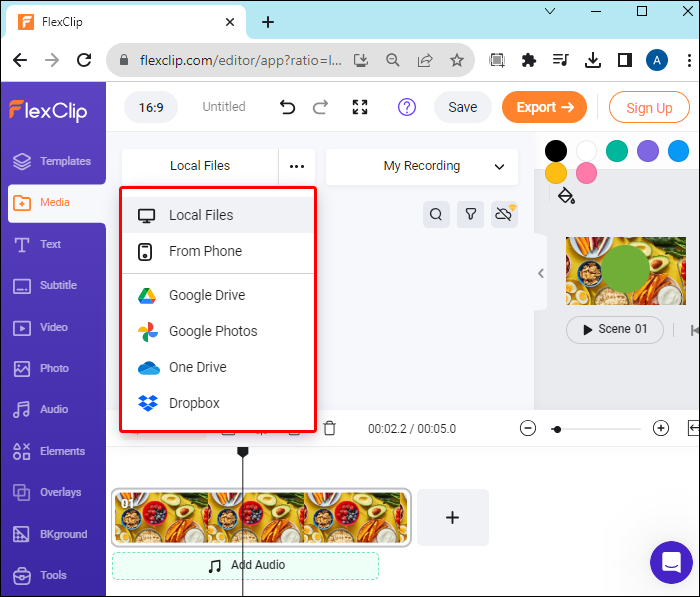
- Select the “Media” option from the left sidebar.
- Upload the image from your PC or a different source like Google Drive.
- From the left part of the screen, drag the image to the shape on the right side.

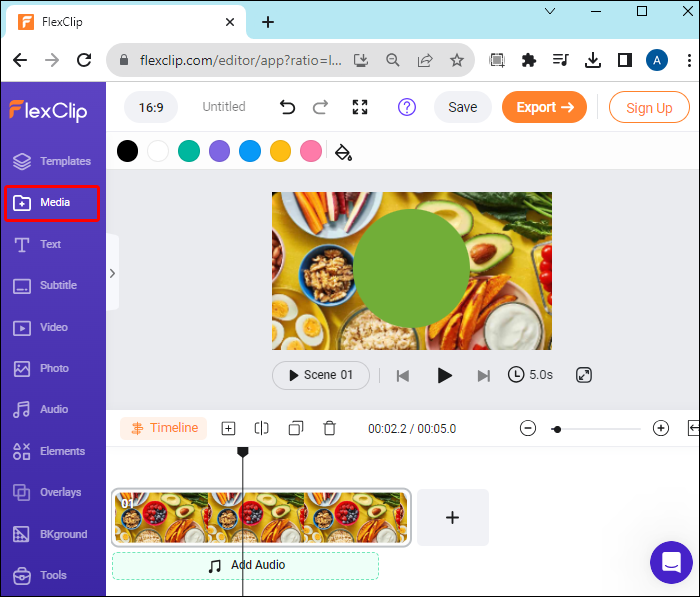
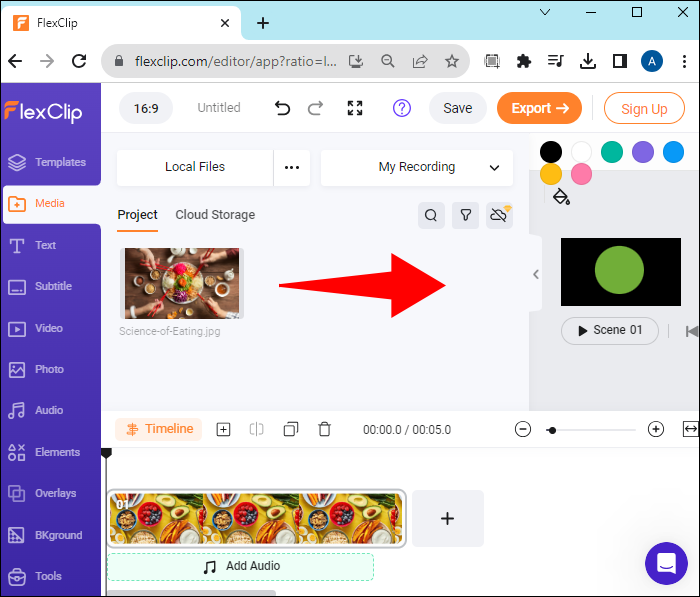
You don’t have to perform any additional actions to fit the image into your desired shape. As you drag it toward the circle shape, the image automatically fills the space.
Furthermore, with these apps, you can do more than just shape the pictures; you can add animations, effects, overlays, filters, and more.
FAQs
Can I add audio to Google Slides?
Yes, apart from adding and cropping pictures, you can also add audio for your presentations. All you need to do is open the presentation where you want to add the audio and navigate to the “Insert” option at the top of your screen. Then you have to find the “Audio” option and tap on “My Drive” to insert your desired audio. You can add audio to one slide or all of them.
What features can I use on Google Slides?
There are various features Google Slides allows you to use. You can create a master slide, use templates for presentations, insert audio and audio playbacks, create a theme for your presentation, share it, add YouTube videos, regular videos, and more.
Create Unique Slide Shows
Cropping images for your slide shows are just the basic features Google Slides contains. Besides round shapes, you can crop your pictures to various shapes, not only geometric, and make various adjustments. And if you can’t find enough customizing options on Google Slides, try using slideshow maker software online or download it for Windows or Mac.
Which image shapes do you most frequently use for highlighting content in your Google Slides presentations? Let us know in the comments section below.
Disclaimer: Some pages on this site may include an affiliate link. This does not effect our editorial in any way.