GIMP is a free design tool that everyone can use to express their creativity and slowly build their portfolio. It has a wealth of featuring such as the ability to add shadows to objects. Adding shadows might sound simple at first, but every experienced designer knows that it takes some time and skill to do it right.
If you were wondering how to add shadows to your text using GIMP, continue reading. In this article, we’ll explain how to create backdrop shadows in GIMP and another free graphic design platform, Canva, and share a few useful tricks on creating custom designs.
How to Add Shadow to Text in GIMP
Adding shadows to any text is not an easy job for GIMP users. Since there’s no simple solution that allows you to easily apply shadows to any text, we’ll explain the entire process. What’s more, if you follow them meticulously, you’ll manage to do it even if you’re a newbie. Here’s what you need to do:
- Open GIMP (if you don’t already have the program, you can download it from the official website).

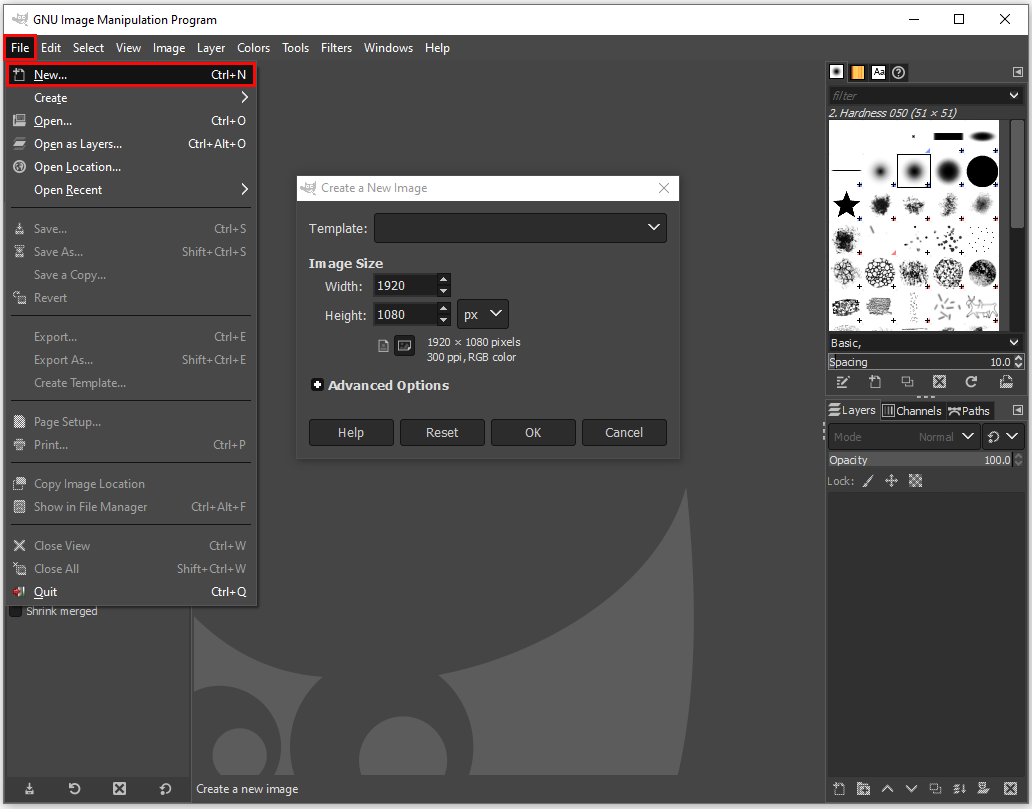
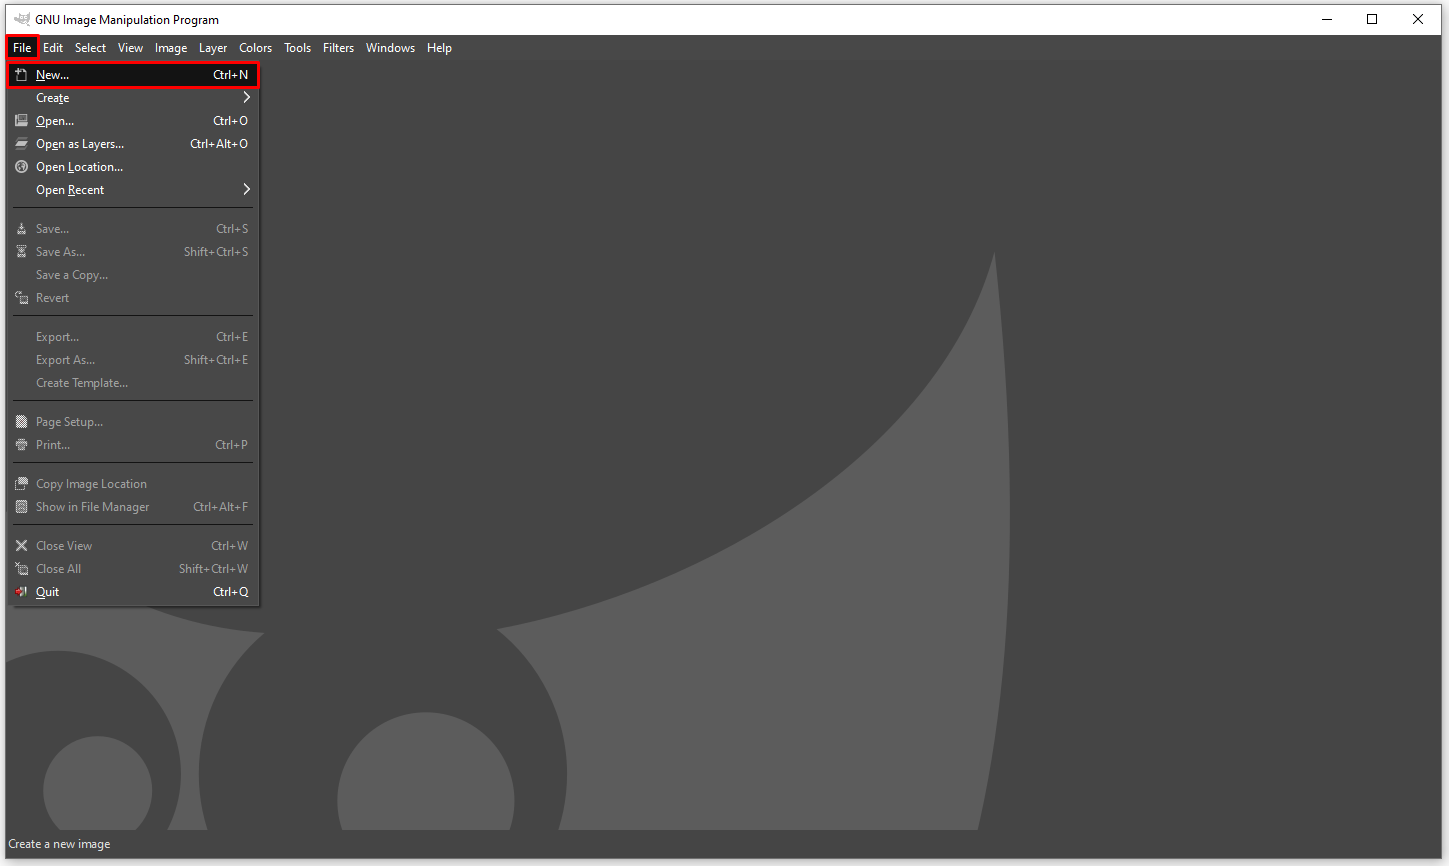
- Click on “File,” “New,” and “Create a New Image.”

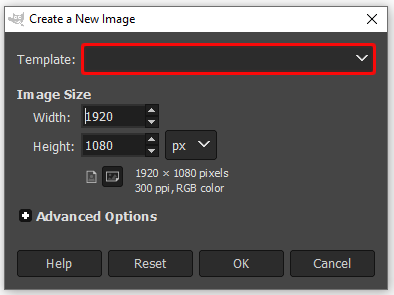
- Customize the image size or use a template.
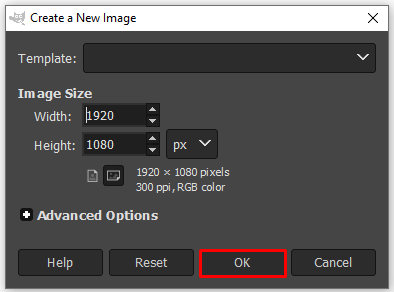
- Click “OK” to confirm.
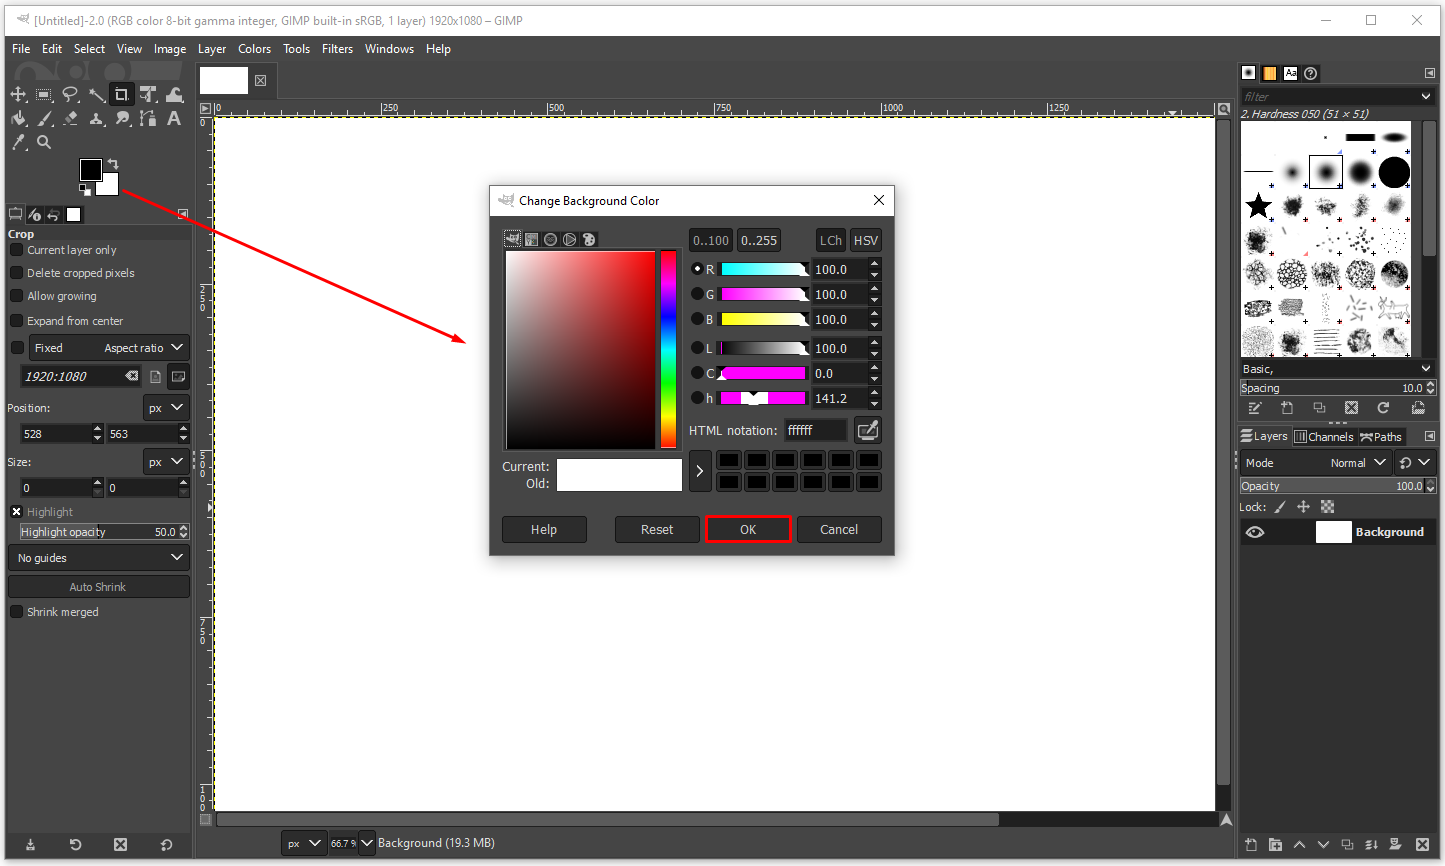
- Choose the color of your background and click “OK” to confirm.
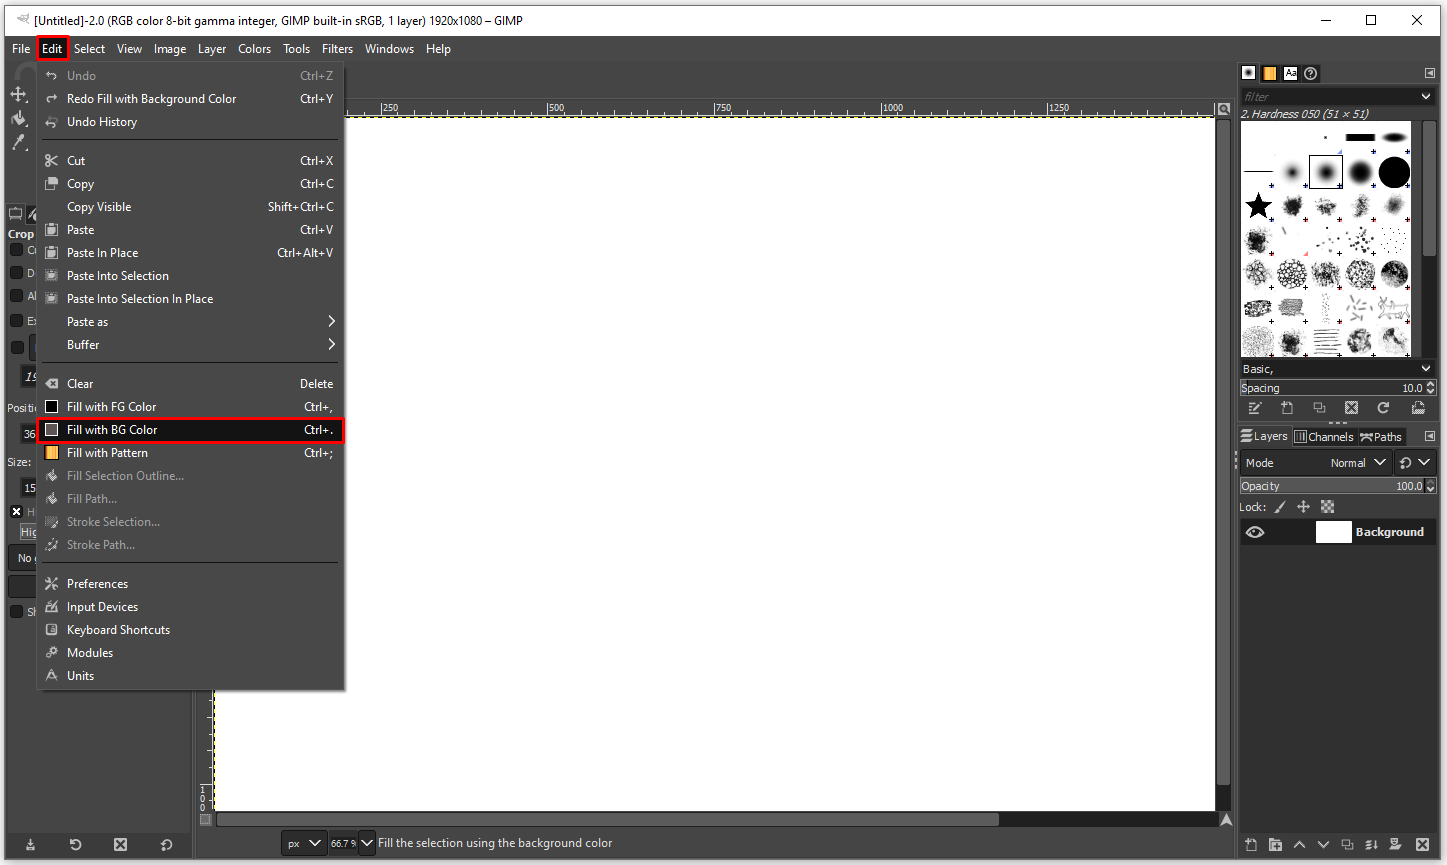
- Open “Edit” and “Fill with BG Color” to color the background.
- Decide on the color of the canvas background.
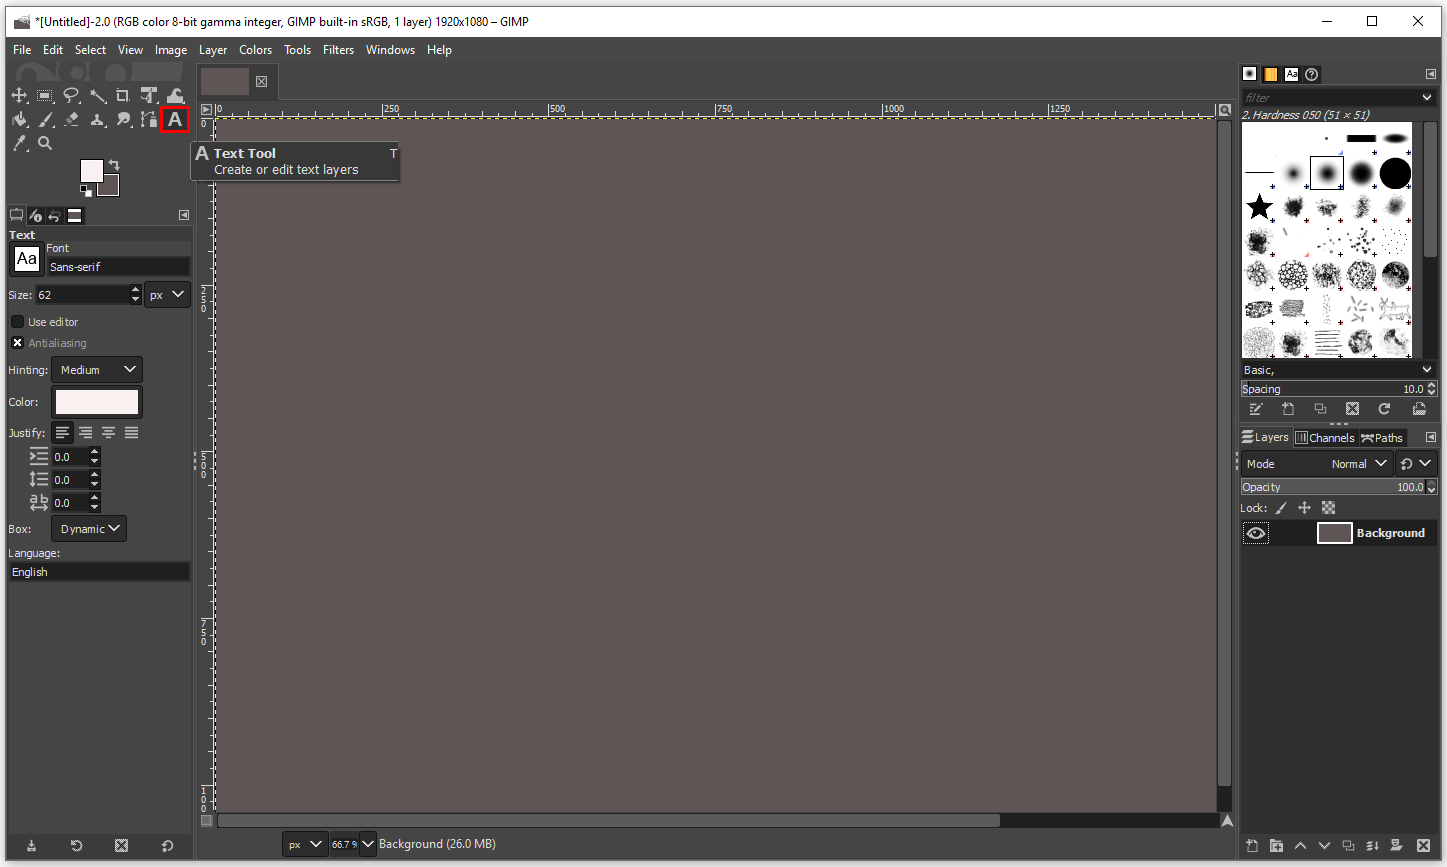
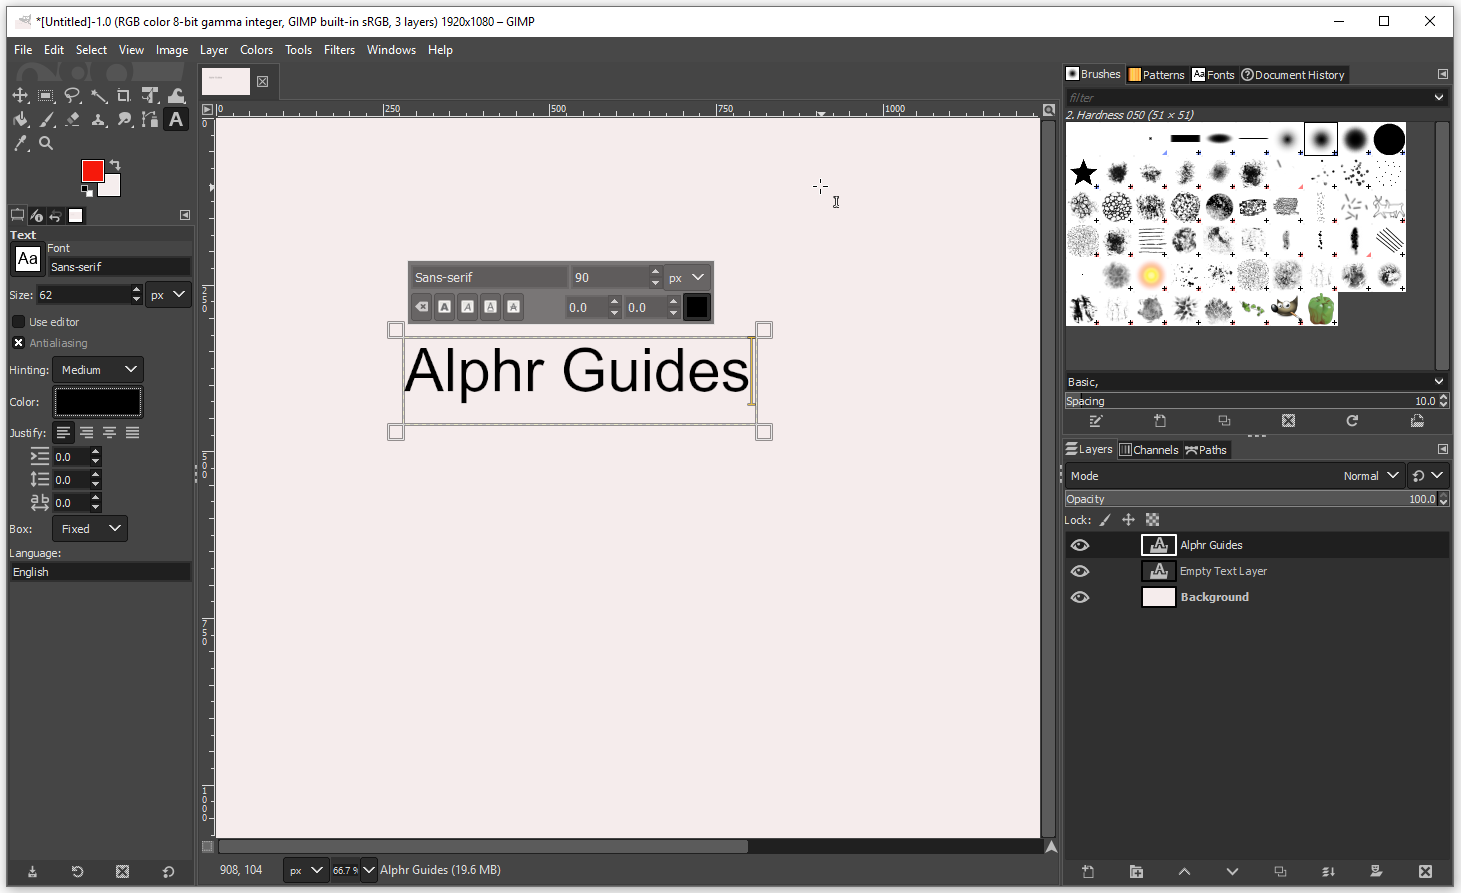
- Click on the “Text” tool from the left menu.
- Type any text you want and, in the editor, change the font size and text color.

The aforementioned steps were to prepare the canvas and text. Now, the next few steps will focus on adding shadows to text:
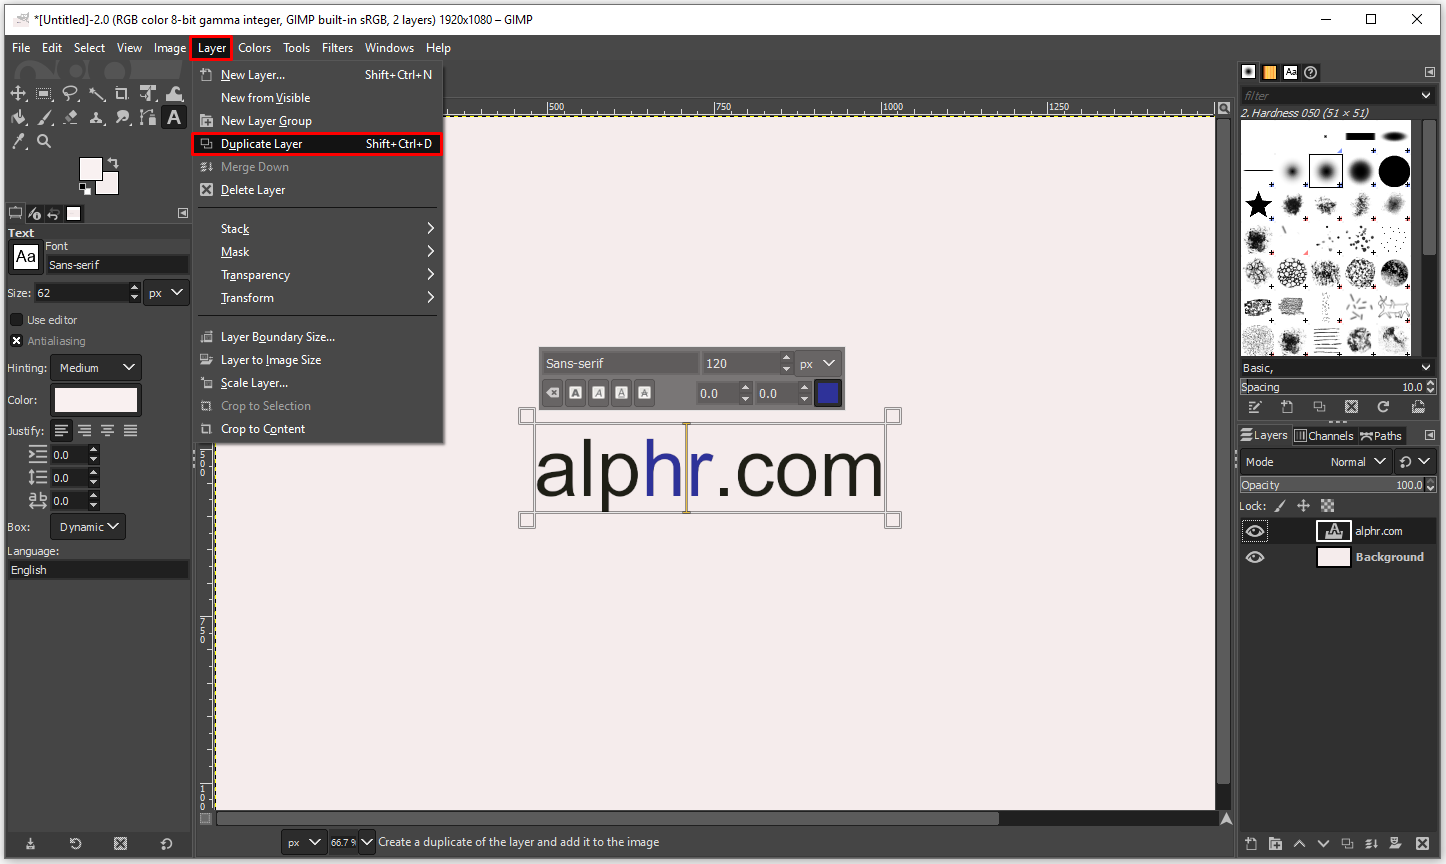
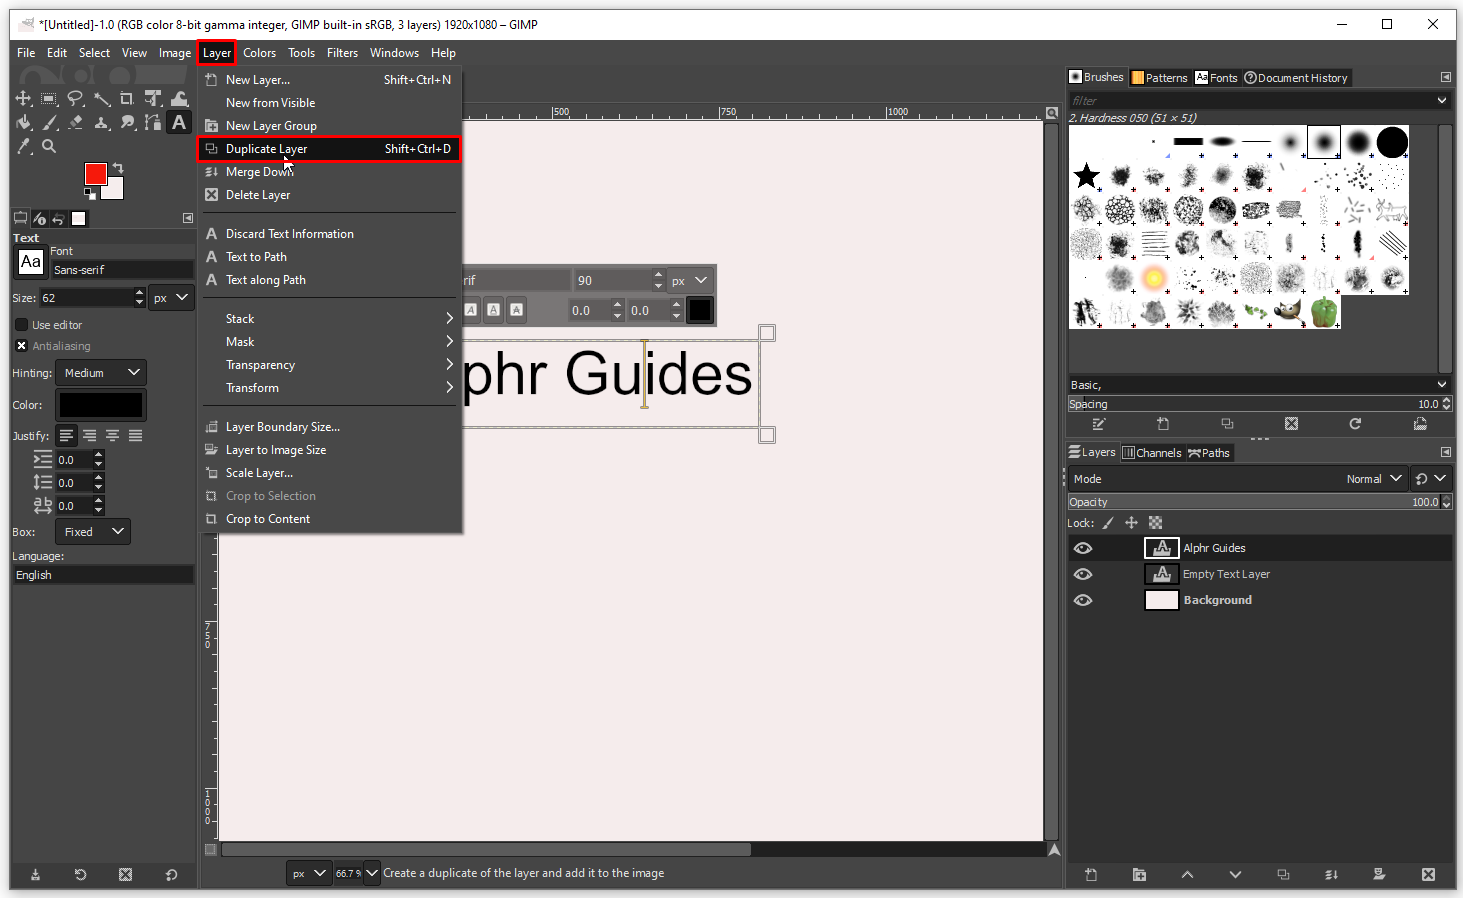
- Open “Layer” and select “Duplicate Layer.”
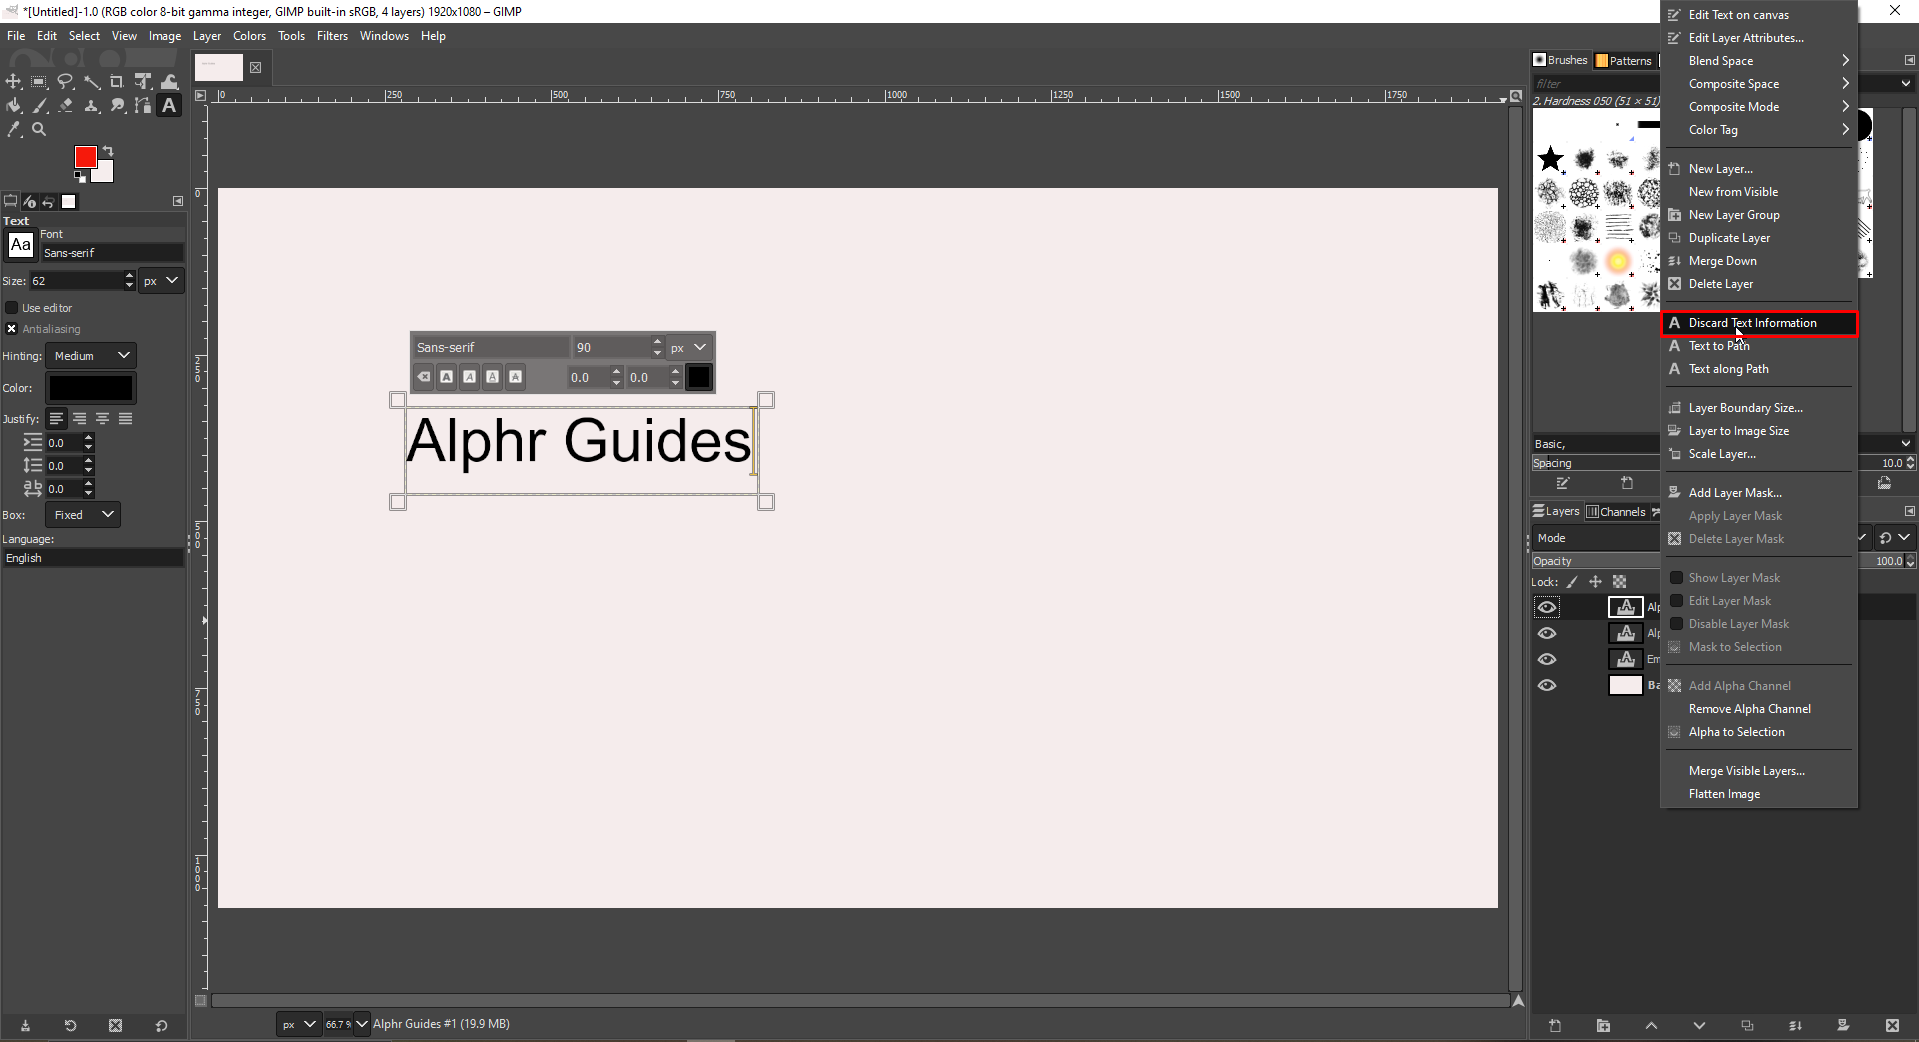
- Right-click on the new layer to select “Discard Text Information.”
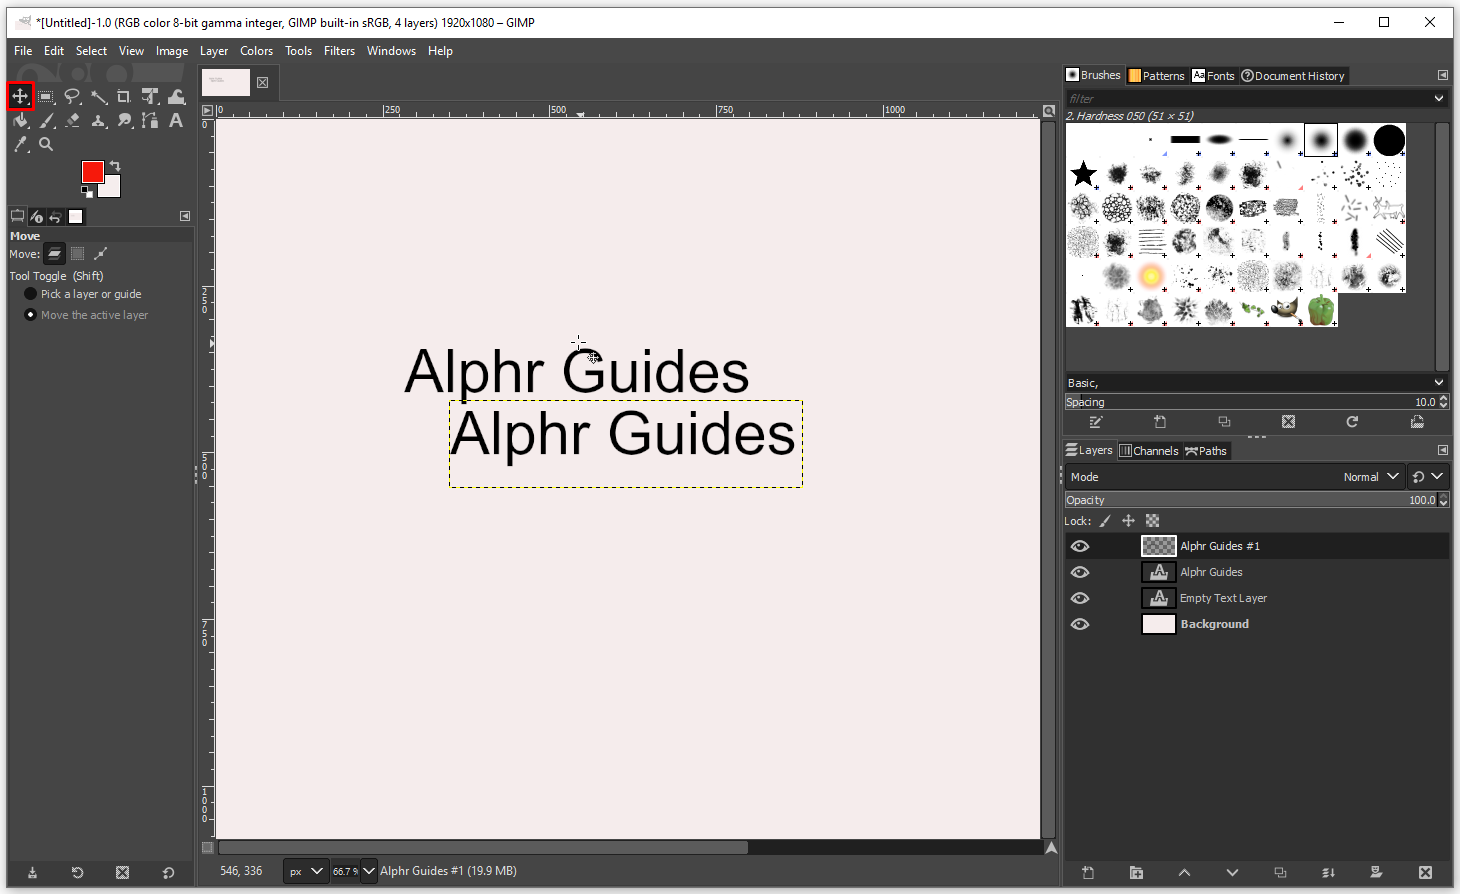
- Now, you’ll have to move the upper text a few pixels left, right, down, or up, depending on your preference. Using the “Move” tool, you can move the text in any direction until it has enough room for the shadow to be visible.
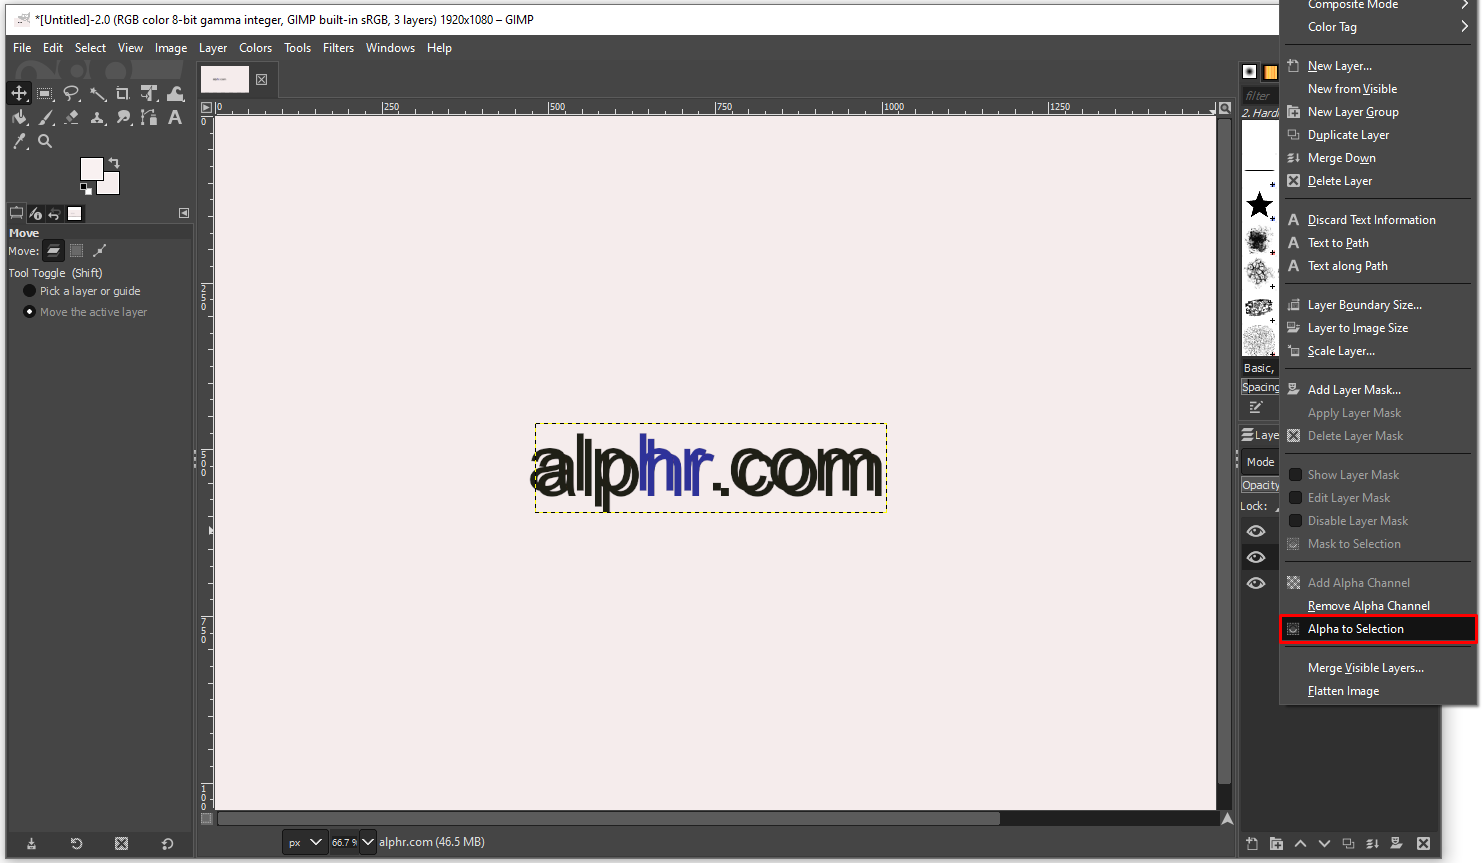
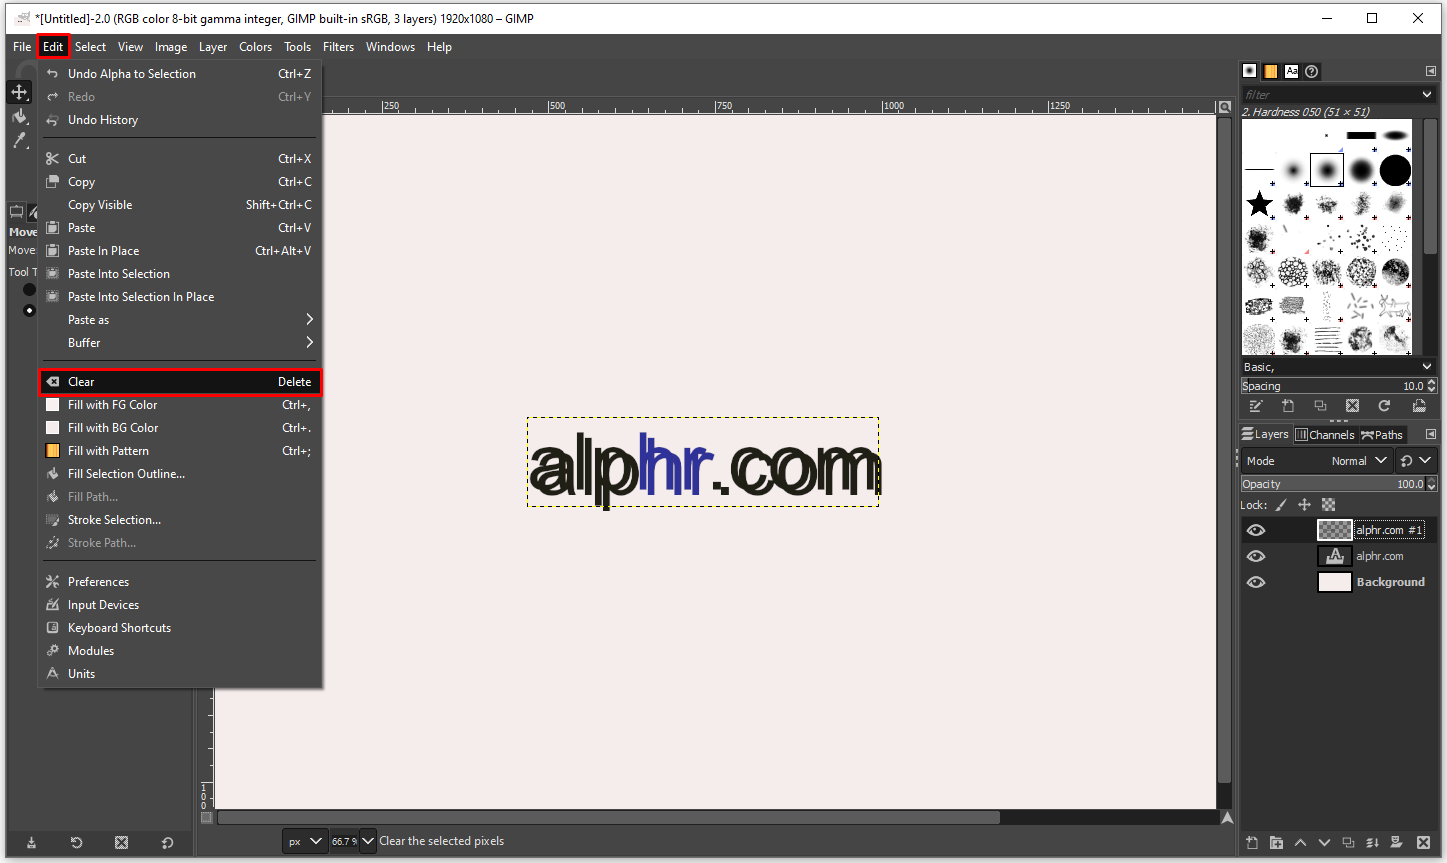
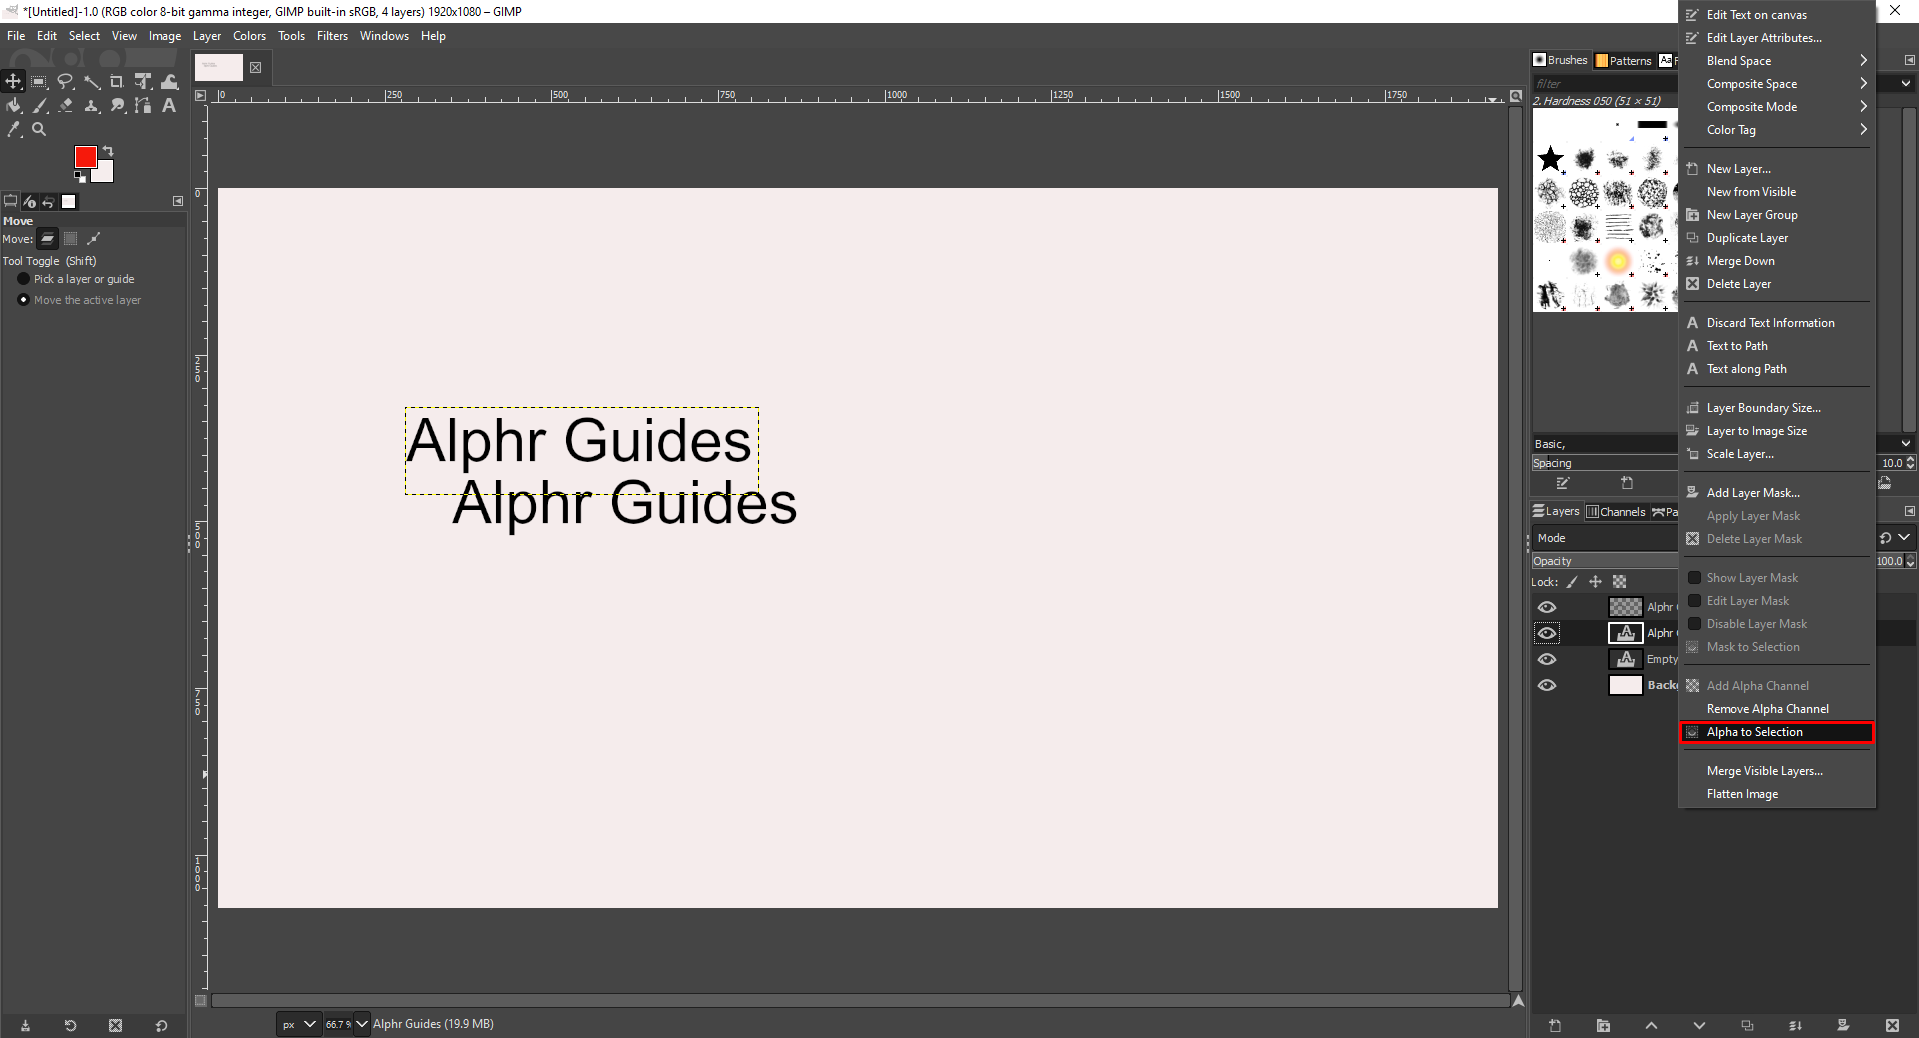
- Right-click on the lower text layer and choose “Alpha to Selection.”
- When you see “marching ants” (a dotted border that appears to move) around the text, click on the upper text layer and click on “Edit” and “Clear.”
- Now that you’ve deleted the majority of black text, click on “Select” and “None” to remove the marching ants.
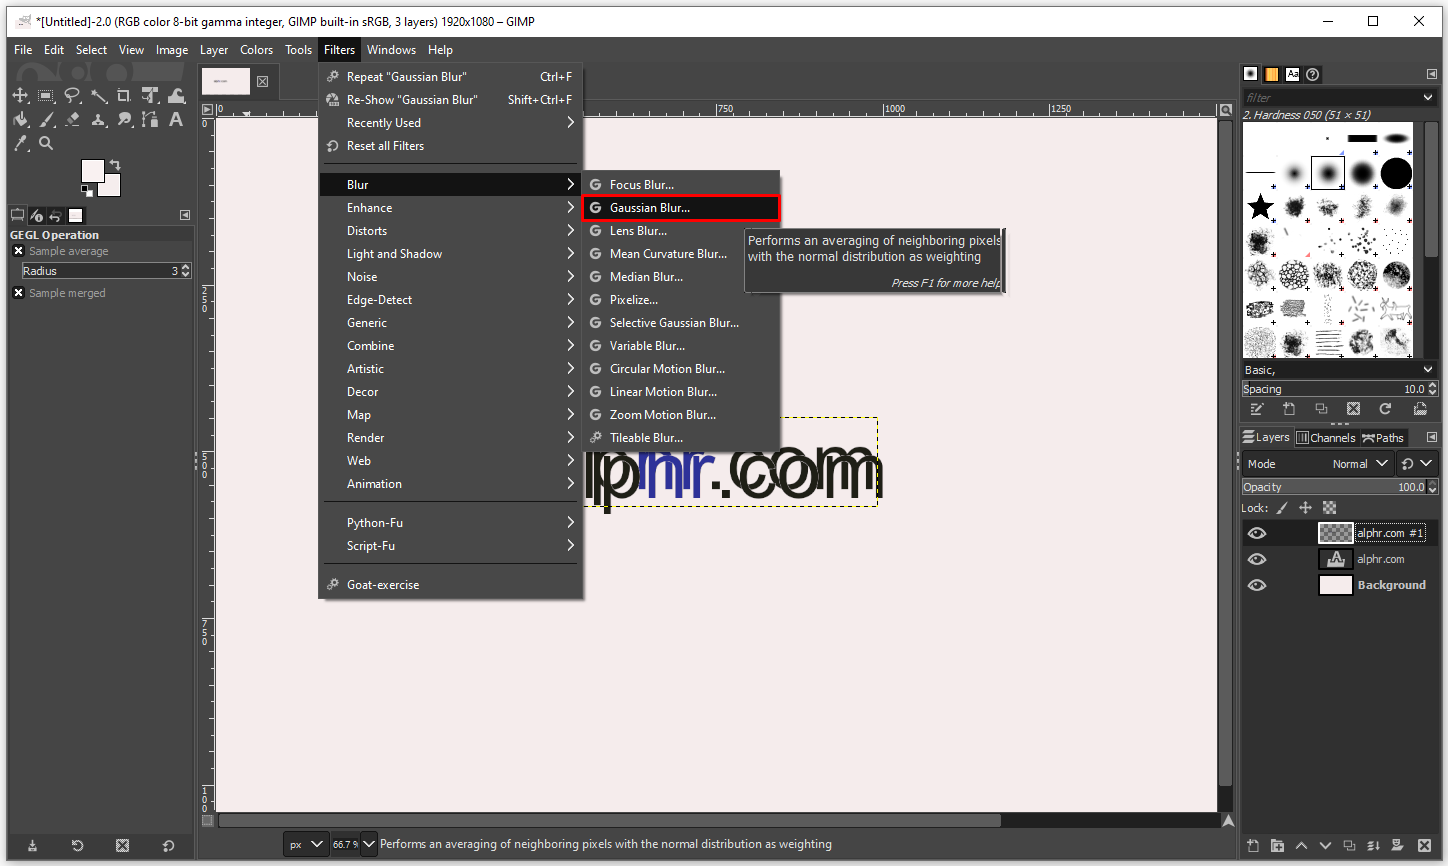
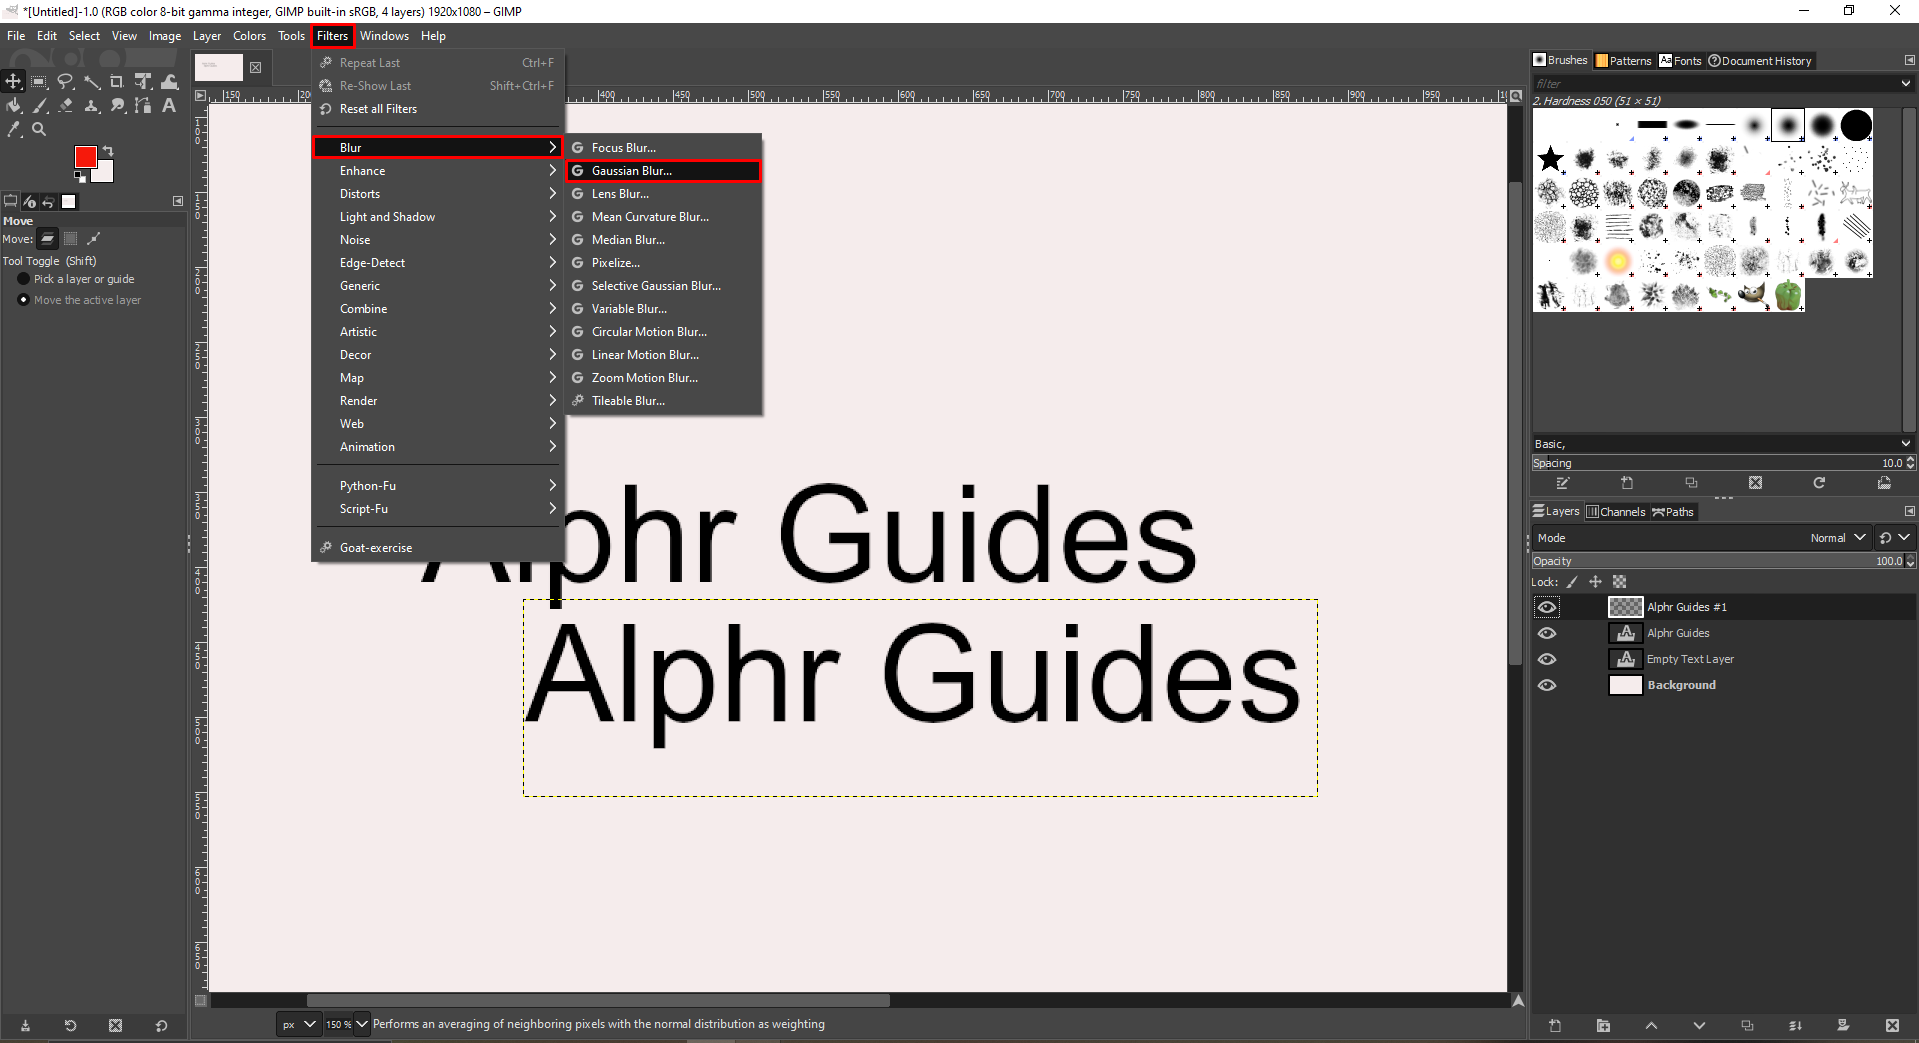
- Select the upper layer, go to “Filters,” “Blur,” and “Gaussian Blur.”
- When you see a new dialog box, you can use it to control the amount of blur with arrows. If your text is small, one pixel will do. However, if you’re using large text, three pixels would suffice. Once you’re done, confirm with “OK.”
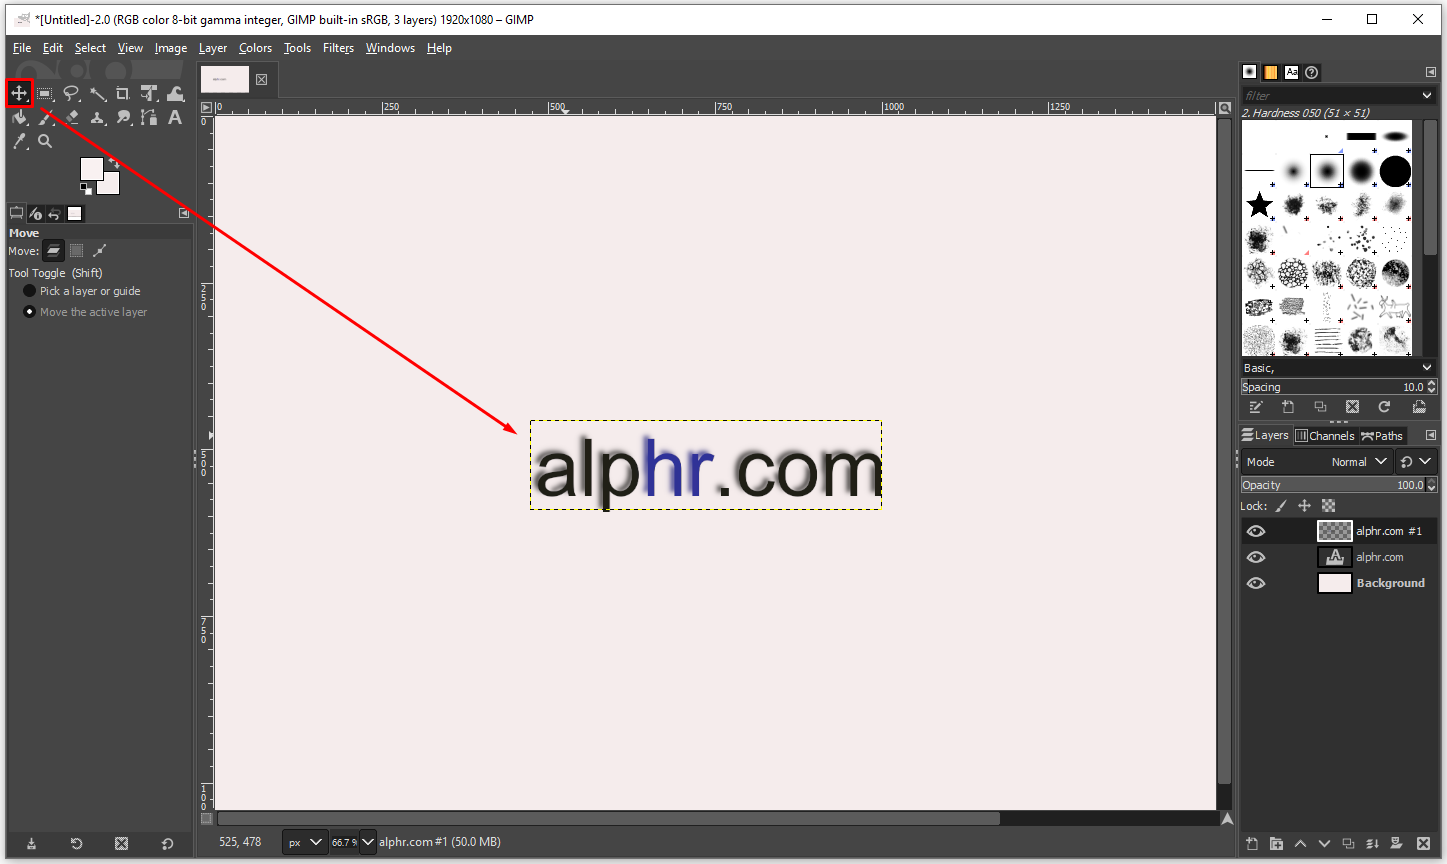
- Use the “Alpha to Section” to make the other layer look like a text shadow.
- Use the “Move” tool to relocate the blurred layer and make sure the shadow is visible.


As you can see, the process is a bit lengthy, but if you follow the steps, you’ll be able to do it successfully.
How to Add a Drop Shadow to Text in GIMP
The “Drop Shadow” tool can help you with text editing, especially if you’re creating a logo or designing a poster. You can use this tool to add shadows to the borders of various objects. This feature works best with large objects and bold text headlines with simple lines, as they provide room for impressive shadows that make the object pop. The “Drop Shadow” tool is not a particularly complex GIMP tool, so here’s how you can use it to easily add a drop shadow to any text:
- Open GIMP and create a new file.
- Type the text you want to emphasize.
- To select any text from your canvas, click on the “Text” tool in the left toolbar.
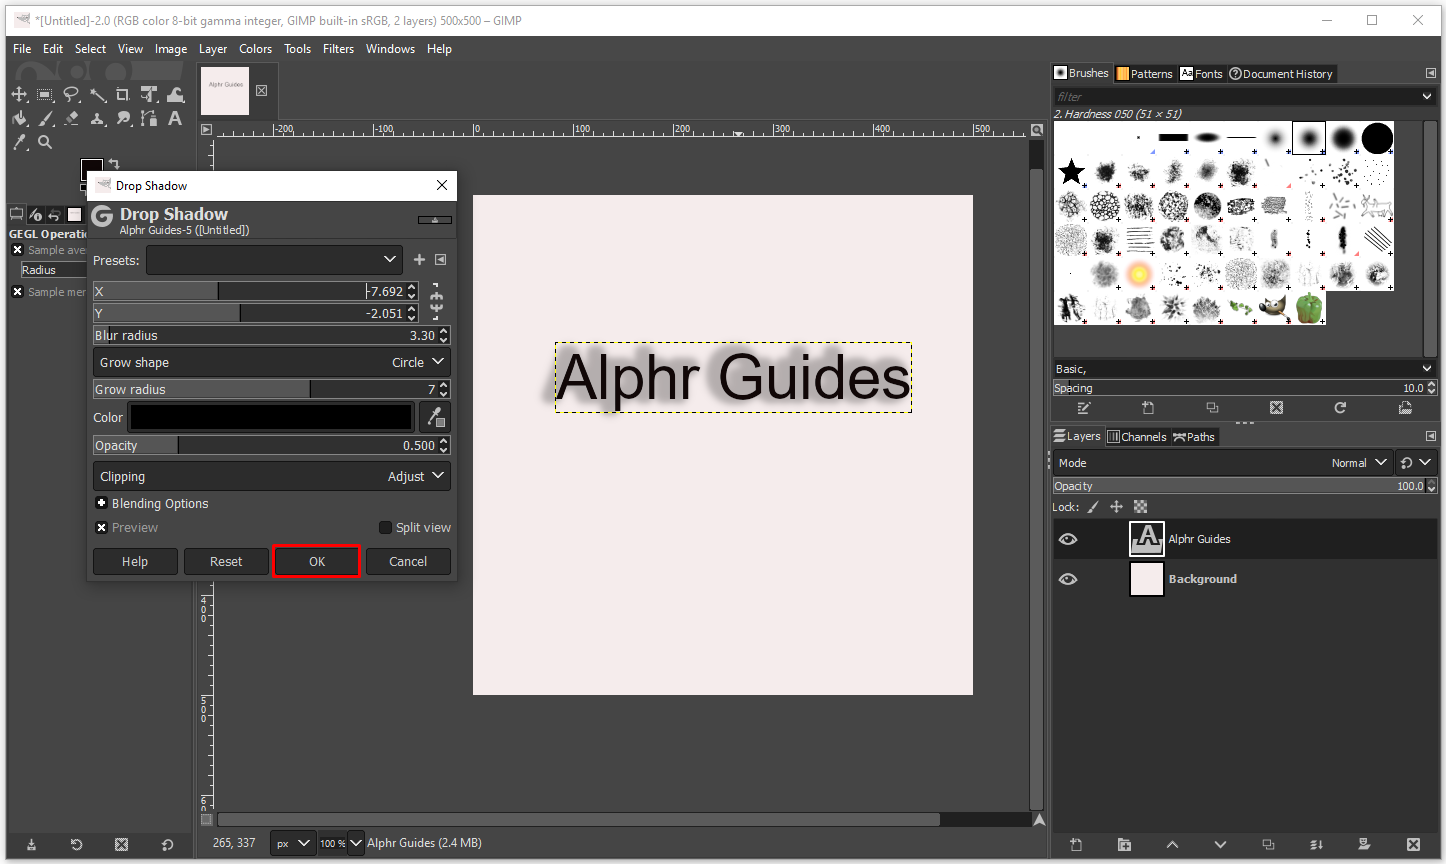
- Click on “Filters,” then “Light and Shadow,” and “Drop Shadow.”
- Now that you have your “Drop Shadow” tool open, you can adjust your settings to get the best possible outcome.
- When you’re done, confirm by tapping on “OK.”


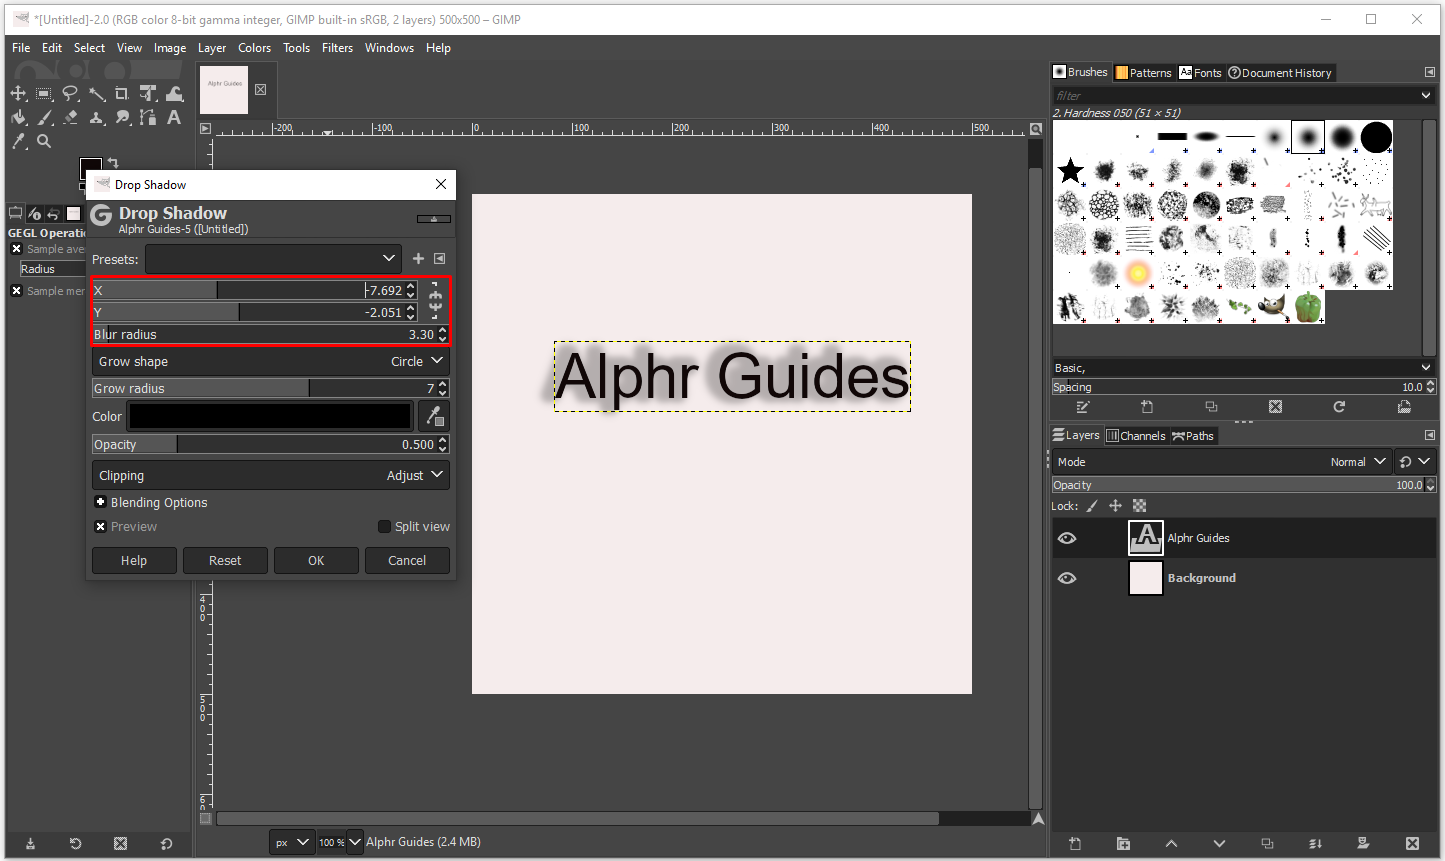
In the “Drop Shadow” pop-up, you can adjust several aspects of the dropdown shadow to make it look more professional.
Preset
The first option is to decide whether you want to use a preset with a subtle shadow. However, if you’re going to change the shadow’s position, you’ll have to play with the offset X and Y-axis to move it until you find the position you like most.
Blur Radius
Adjusting the blur radius is another useful tool as it allows you to change the shadow’s size and clarity. A large blur radius can significantly stretch the shadow, while if you make it too small, it will become almost invisible. You can also decide what kind of shape your drop shadow will have to fit the design parameters.
Color
Another important section in the “Drop Shadow” menu is the color of the shadow. GIMP allows you to choose any color and shade, depending on the color palette of the object you’ve shaped or the text with which you’re working.
Opacity
Opacity comes in handy when working with shadows, as it controls their intensity. By default, GIMP has an opacity of 60 percent. If you want to increase the opacity, the shadow will become more visible, while if you adjust it to, say, 30 percent or less, it would be significantly less visible.
How to Create a Text Border in GIMP
Adding a text border in GIMP is a reasonably uncomplicated process. Even if you haven’t used GIMP before, you’ll be able to add borders to any text you’ve created by following these steps. Here’s what you need to do to generate letter outlines:
- Open GIMP and create a new file.
- Type any text using the “Text” tool.
- Right-click on the text and click on “Path from Text.”
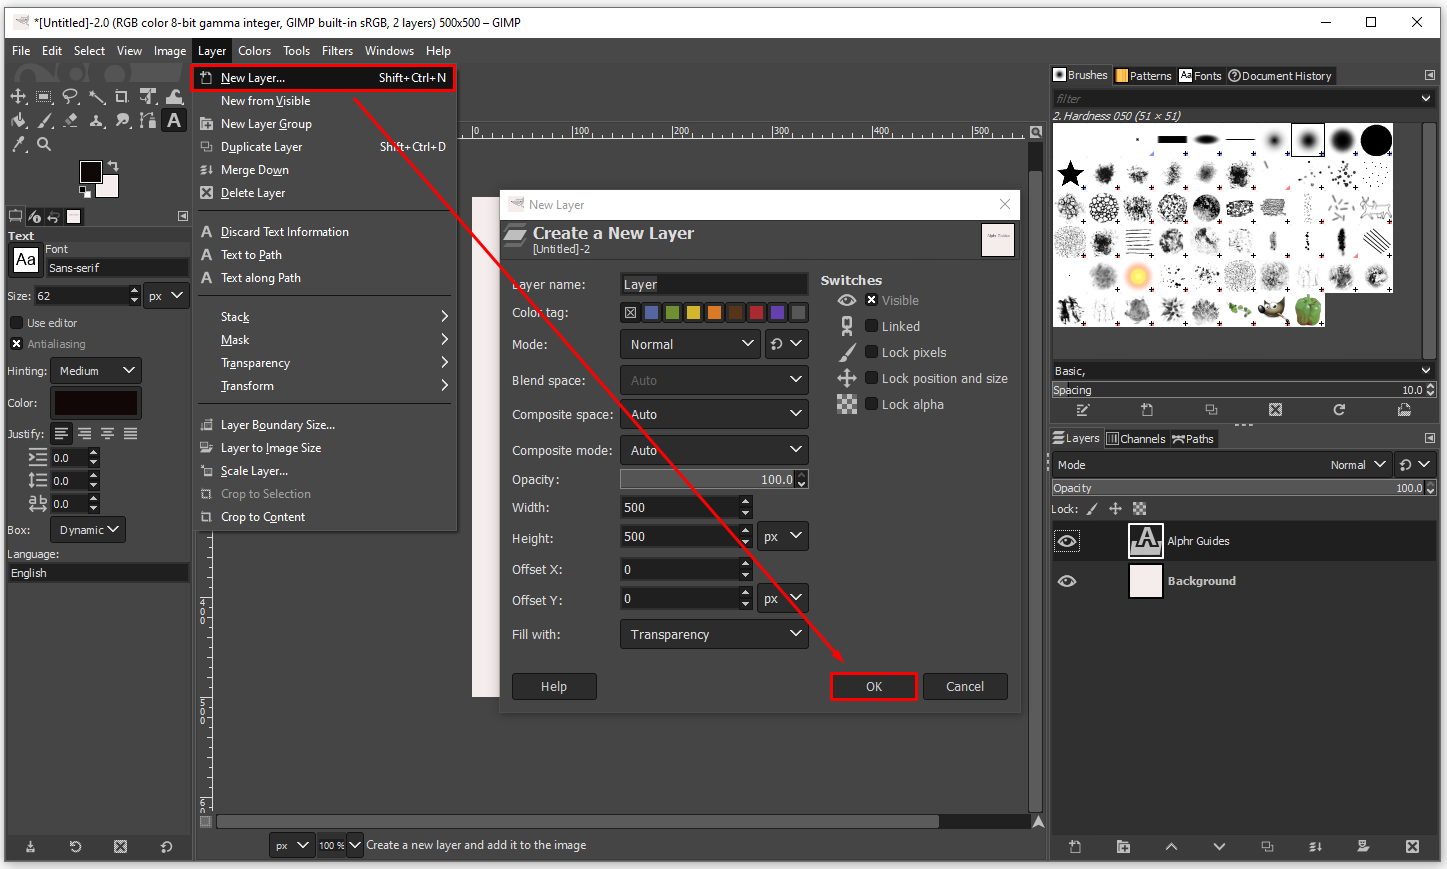
- Add a new layer by clicking “Layer” and “New Layer” and click “OK” to confirm.
- Click on “Select” and “From Path” to see the highlights of your text.
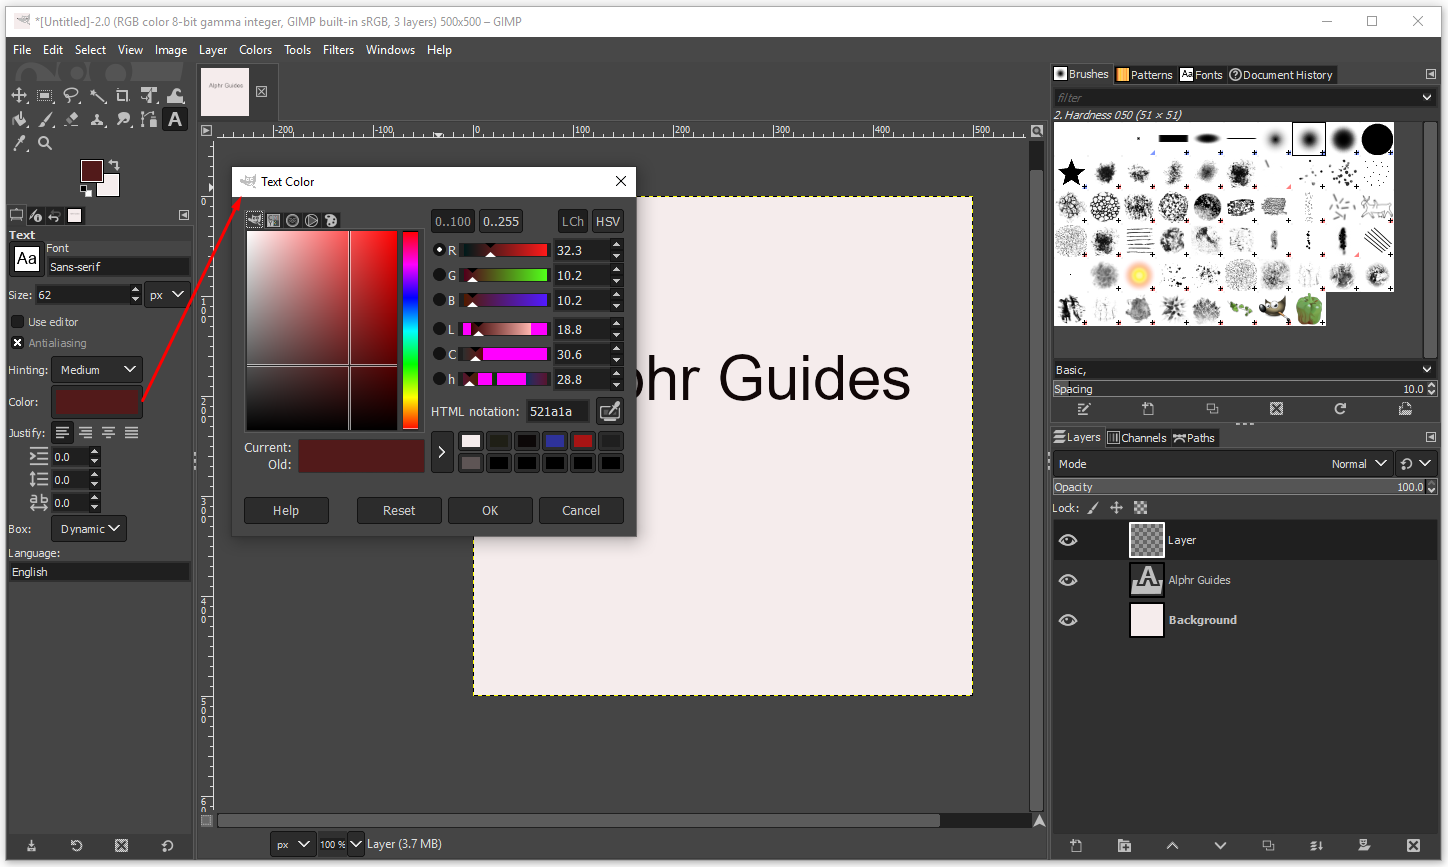
- Since you now have a transparent layer with the same text, you need to add color and customize it.
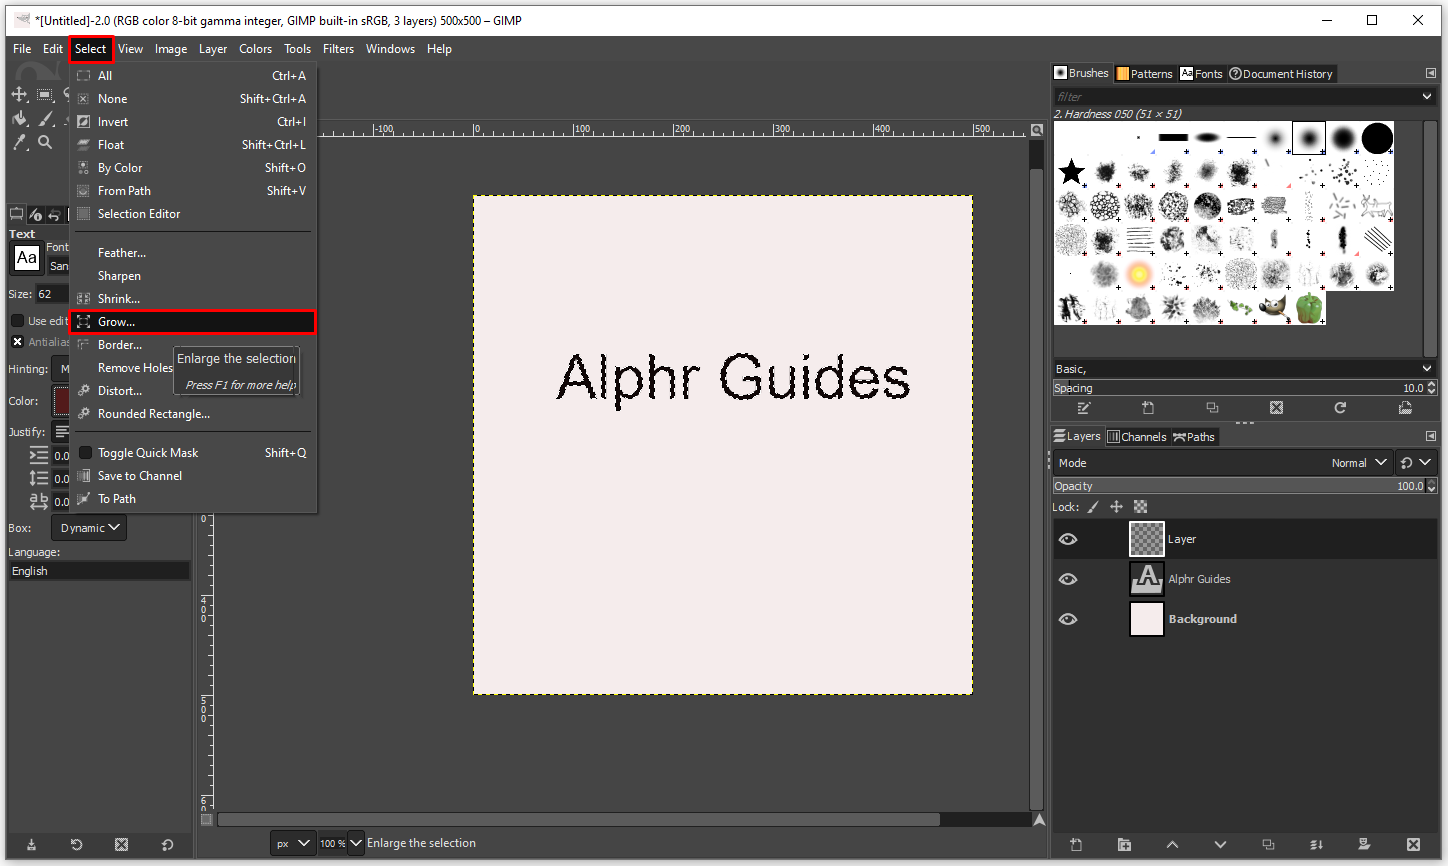
- To create an outline, you’ll need to increase the text’s size in the transparent layer. Click on “Select” and “Grow.”
- Choose 5 or 10 pixels, depending on whether you want a thin or thick outline.
- To choose the color for the outline, click on the “Bucket” fill tool and select the outline color.
- Click on the outline to color it.


When you finish your design, you can decide whether you want to save it with a white, black, or transparent background. You can save it in various file types, but a PNG file would be the best choice if you’re creating a logo or a poster.
How to Add a Shadow to Text in GIMP Using Two Layers
When you use a “Drop Shadow” effect in GIMP, it’s recommended to use it in two layers, as it will give you more space to get creative with the shape, color, and opacity of the shadow itself. Here’s how the process works:
- Open a new GIMP file and type any text.
- Open “Layer” and select “Duplicate Layer.”
- Right-click on the new layer to select “Discard Text Information.”
- Now, you’ll have to move the upper text a few pixels left, right, down, or up, depending on your preference. Using the “Move” tool, move the text in any direction until it has enough room for the shadow to be visible.
- Right-click on the lower text layer and choose “Alpha to Selection.”
- When you see “marching ants” around the text, click on the upper text layer, and then click on “Edit” and “Clear.”
- Now that you’ve deleted the majority of black text, click on “Select” and “None” to remove the marching ants.
- Select the upper layer, then go to “Filters,” “Blur,” and “Gaussian Blur.”
- In the new dialog, you can control the amount of blur with arrows. If your text is small, one pixel will do. However, should you be using large text, three pixels would suffice. Once you’re done, confirm with “OK.”
- Use the “Alpha to Section” to make the other layer look like a text-shadow. Use the “Move” tool to move the blurred layer around and make sure the shadow is visible.


Additional FAQs
How Do You Remove Shadow from Text in GIMP?
Since the “Drop Shadow” is a separate layer on your image, text, or logo, you can use the “Move” tool to change its position or delete the layer and remove it from the canvas.
Can You Add Shadows to Text in Canva?
Canva is currently one of the most popular online tools for text editing and design. With an abundance of tools and effects, you can create almost any design you want. Plus, you can quickly develop shadows and backdrops to make your posters or logos more impactful. There are two ways to create shadows, and we’ll give detailed instructions for both.
How to create shadows using the duplicate option:
• Go to canva.com and click on “Create a New Design.”
• Click on the textbox on the left and type any text or use one of the many font combinations.
• In the upper right corner, you’ll see a duplicate icon.
• Click on it to copy the text.
• Hover with the cursor above the duplicate and click on it.
• Now, you can change the transparency, font size, and color of the text-shadow.
• Use the cursor to move it and place it in the right position.
The second way to do it is to use “Effects” in Canva. Here’s what you need to do:
• Go to canva.com and click on “Create a New Design.”
• Click on the textbox on the left and type any text or use one of the many font combinations.
• From the menu at the top of the page, select “Effects.”
• In “Effects,” you’ll find several shadow types for any font.
• Additionally, you can customize the offset, direction, and color of the shadow.
How Do You Change the Font in GIMP?
Using the “Text” tool, any GIMP user can add or change any text they type. As soon as you start typing, there’s a pop-up where you can customize fonts by changing the size of the letters, making your text bold and/or italic, or change text color.
Edit Your Texts with Flare
Creating contemporary designs can be exciting, especially when you have an unclouded vision of how you want them to look. In that regard, one of the best tools to instantly improve any design is to add a backdrop shadow as it makes elements stand out.
Hopefully, we’ve helped you better understand how to add shadows in GIMP and Canva. Now that you’re familiar with these free design tools, you can create your designs and let your creative spirit out.
Have you tried creating backdrop shadows in GIMP? Did you try using a duplicate in Canva? Which design tool do you prefer?
Share some of your experiences in the comments section below.
Disclaimer: Some pages on this site may include an affiliate link. This does not effect our editorial in any way.


