Whether you’re a content creator that goes through a lot of text daily, a student taking lecture notes, or a professional who needs to transcribe meetings, using an AI speech-to-text generator can significantly speed up your work. Gone are the days of manually typing out every word, as modern AI tools can accurately transcribe speech in real-time or convert audio files into transliterated (and proofread) text.
But how to choose an AI dictation tool? In most cases, you will need to balance between budget, accessibility, and use cases. Here are some of the most popular tools that can generate text from speech with AI and when they’re used best.
Microsoft Word Dictate for Word Documents
If you’re already using Microsoft 365 or have purchased Word 2021 or later versions, Word’s Dictate feature is probably the most convenient option available. This AI dictation tool is integrated directly into the Word environment and works excellent for putting text in documents, owing to the fact that Microsoft often partners or buys out emerging AI technologies to improve its services. It’s also one of the few fully hands-free and real-time options without additional subscriptions.
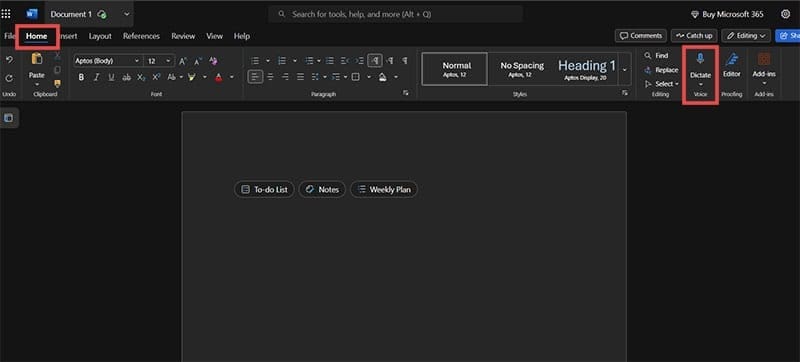
Step 1. If you have a Word 365 subscription, open Microsoft Word and navigate to the “Home” tab in the ribbon menu. If you have Word 2021 and later, go to Word for the Web and log in with the account you used when purchasing the license.
Step 2. Click on the “Dictate” button (with a microphone icon) in the Home toolbar.
Step 3. Click to allow microphone permissions when prompted by your browser or operating system.
Step 4. You’ll get a small popup with a dictation toolbar. Click on the microphone in the pop-up and speak clearly and at a moderate pace. Word should begin transcribing your speech in real-time. You can press the cog icon to choose your microphone and set up automatic punctuation.

Step 5. Use voice commands like “period,” “comma,” “new line,” or “new paragraph” to add punctuation and formatting.
Step 6. Click the Dictate button again to stop dictating. If you click away from the browser tab or the app, Word will also stop transcribing.
You can edit the transcribed text as needed, and the AI generally handles different accents reasonably well but not so much with proper nouns, names, abbreviations and neologisms.
QuillBot Speech-to-Text for a Completely Online Environment
QuillBot’s speech-to-text tool offers a standalone solution that works entirely in your browser. This AI speech to text generator can be particularly useful if you’re already using QuillBot for other parts of your work. It’s completely free and doesn’t require an account, unlike many other features.
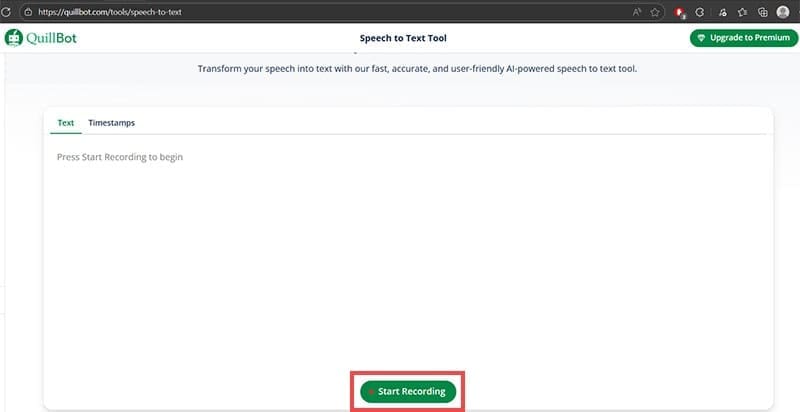
Step 1. Visit QuillBot’s Speech-to-Text tool.
Step 2. Hit the “Start Recording” button to begin.
Step 3. Allow microphone access when your browser prompts you.
Step 4. Speak clearly into your microphone.
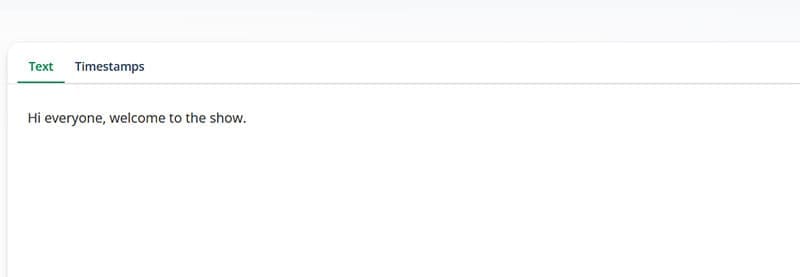
Step 5. Click on “Stop Recording” when you’re finished speaking, and the tool will load up the transcription into the textbox. It also automatically stops after five minutes, so you may need to restart periodically.
Step 6. Review and edit the transcribed text as needed.
Step 7. Copy the text to use in other applications or download it as a text file.
However, the tool might hallucinate text at times, especially if you turn it on and have background noise. And since the tool doesn’t actually transcribe in real-time but waits until the recording stops, you might need to edit heavily.
SpeechNotes
SpeechNotes provides both speech recognition and generation on a freemium model. It strips away the complexity of full-fledged Word processors while allowing you to edit content independently of dictating.
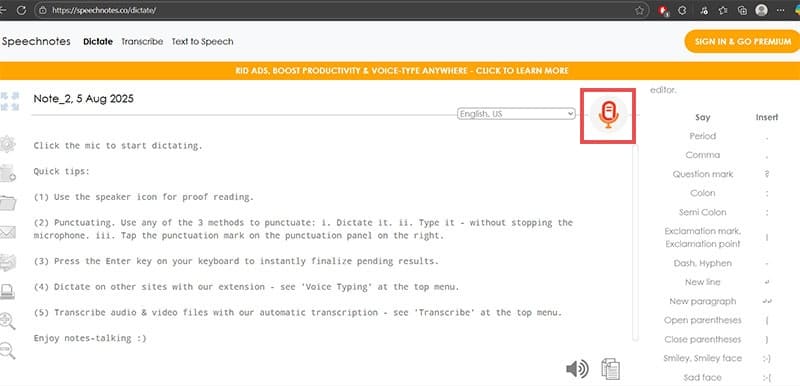
Step 1. Go to SpeechNotes.co and select “Start Dictating.”
Step 2. Click on the large microphone button on the top-right of the textbox to start and allow microphone access when prompted.
Step 3. Begin speaking. The tool will buffer your speech and transcribe it into text, but you need to offload that buffer into the textbox with “Enter,” so hit “Enter” every so often.
Step 4. Click on the on-screen punctuation buttons on the right or say the corresponding voice commands to add specific punctuation marks. You can also type over the generated text on the left to edit it, but the keyboard sounds might interfere with dictation.
Step 5. Hit the microphone button again to pause or stop dictation.
Step 6. Use the built-in editing tools to make corrections or export your text.
The free version includes basic functionality, while the premium version offers features like custom commands and enhanced accuracy. You can also export the content to Drive or Word or save it as a TXT file.
NoteGPT – AI Audio File Transcription
Unlike the previous tools that focus on real-time dictation, NoteGPT converts pre-recorded audio files to text. This allows you to quickly create a transcript of a meeting or video.
Step 1. Visit NoteGPT’s Audio-to-Text Converter.
Step 2. Click “Upload Audio File” or drag and drop your audio file into the designated area.
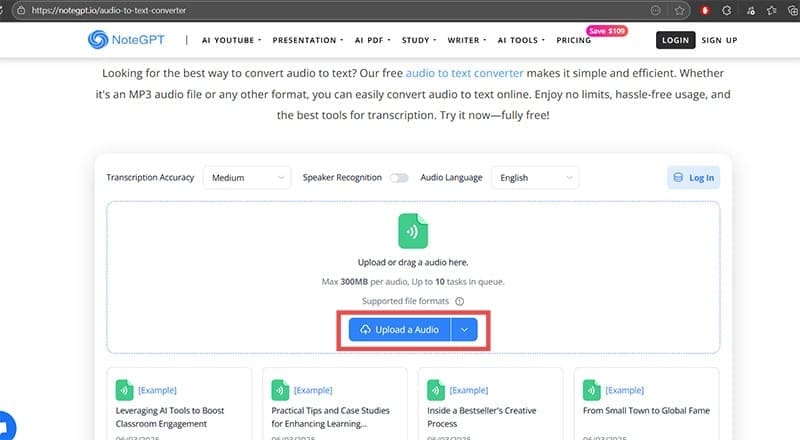
Step 3. Wait for the AI to process your audio file. Processing time depends on file length and server load.
Step 4. Review the generated transcript, which appears in a text editor interface.
Step 5. Make any necessary edits to improve accuracy.
Step 6. Download the transcript as a text file or copy it to your clipboard.
NoteGPT also provides premium options like automatic summarization and key point extraction, as well as increasing the filesize limit. The accuracy is generally high for clear audio, but background noise or having multiple speakers can impact results.


Disclaimer: Some pages on this site may include an affiliate link. This does not effect our editorial in any way.