
Windows 10 has been out for a couple years now. Since then, it’s been through a series of updates, bringing better features and improved UI changes. Users might be getting used to the Windows 10 user interface, since it’s a little more familiar now, but it’s still not quite the same, particularly the Start menu that, for many years, had a Windows XP-esque style. There’s nothing wrong with that, in fact that style seemed to make things more intuitive and seamless for users. Now, many believe that the Windows 10 taskbar goes against that, unnecessarily over-complicating just about everything.
Today, we’re going to show you how to change that by making Windows 10 look a little more like Windows 7. You’ll still get the latest features and security updates, but with a Windows 7 style desktop.
A forewarning
To give you fair warning, Windows 10 doesn’t have anything inside it where we can natively change the way it looks. That said, we have to download a few different programs to help us in this task. These programs are safe to download and install on your computer, and can be easily removed simply by uninstalling the program if you ever decide you don’t want that specific appearance anymore.
The only exception is changing the File Explorer. You might be able to easily get rid of it simply be uninstalling the program, but it’s always good to create a System Restore point just in case. With a Restore Point, you can easily revert to a previous version or state of Windows in just seconds. Find out how here. You can also read our guide on creating the ultimate backup strategy so you have peace of mind, if anything were to ever happen to your PC. We recommend implementing a good backup strategy, but for the purpose of this article, creating something like a Restore Point will work just fine, and is faster to do, too.
Changing the taskbar
In the first version of Windows 10, Microsoft had a crisis on its hands: absolutely no one liked the new Start menu that it came with. The Redmond-based company did some tinkering, and sort-of brought the Start menu back, but it still hardly resembles that of Windows 7 or earlier versions.
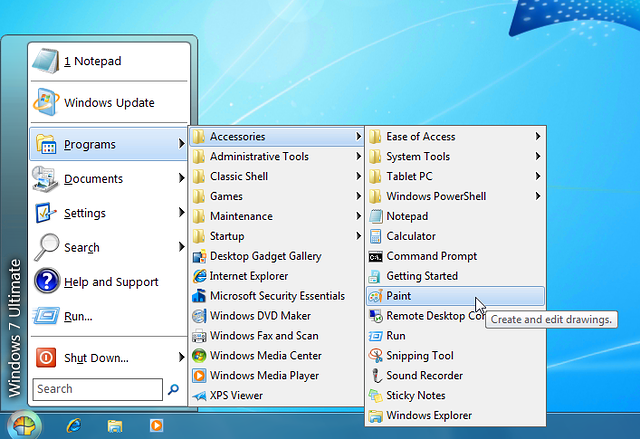
If you want to switch your taskbar out for a Windows 7 variant, download a free program called Classic Shell. Classic Shell’s stated goal is that it “empowers you to use the computer the way you like it.” You can see an example of what it can do to your taskbar above.
Installing Classic Shell on your computer is like installing any other program–download the installation wizard, start the installation wizard, and then follow the installation steps.
Unfortunately, Classic Shell doesn’t come out of the box with Windows 7 logos, but offers a similar-looking logo for copyright reasons. However, if you want an exact replica of the Windows 7 logo for the taskbar, you can get it from the Classic Shell forums for free.
Changing the Start menu logo is simple. Right-click on the Classic Shell Start menu button and select “Settings.” Next, go to the Start Menu Style tab.
Click the “Replace Start Button” box, and select “Custom.” Finally, navigate to where you downloaded your new Start menu buttons and select them. And there you have it! You have your new Start menu buttons!
Get rid of Cortana and Task View

One of the new things with the Windows 10 taskbar is the Task View feature and the Cortana-powered Search box. Both can be easily disabled. To disable the Search box, right-click on the taskbar and deselect the “Show Task View” button. In that same menu, you can head into Cortana > Hidden to disable the Search box.
Disable the Action Center
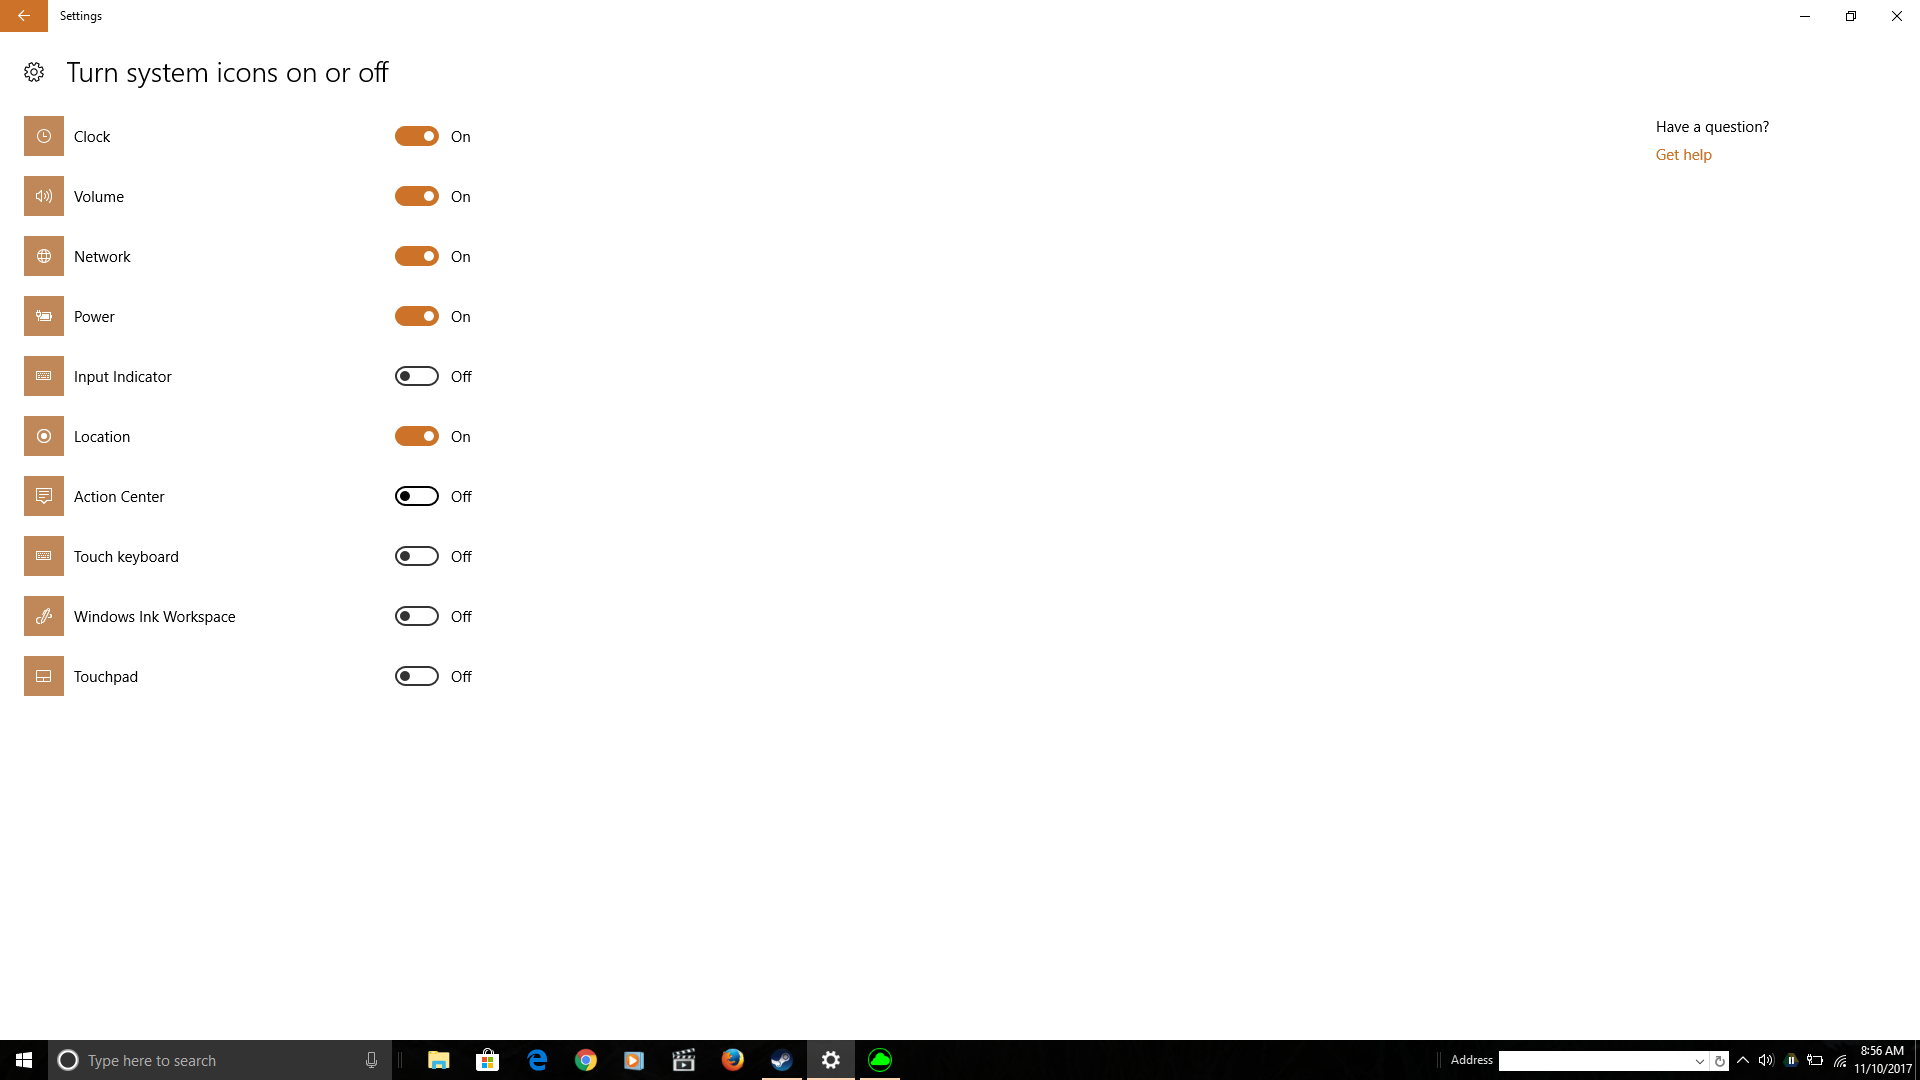
The Action Center is a new feature that came with Windows 10. As such, you can’t find this feature in Windows 7, so if you want a “true” Windows 7 experience, we’ll need to disable it. Simply head into Settings > System > Notifications & Actions. Here, all you need to do is “Turn System Icons On or Off.” Once you do that, a slider will appear where you can choose to disable Action Center entirely.
Changing File Explorer

In Windows 8, 8.1 and 10, Microsoft changed the name of Windows 7’s Windows Explorer to File Explorer. With it, there was a lot of changes to the file management tool that many didn’t like and still don’t like. If you’re not a big of the Windows 10 File Explorer, you can go back to using the Windows 7 Windows Explorer with a free tool called OldNewExplorer.
As a quick reminder and reiteration, we do recommend creating a Restore Point before messing with the File Explorer like this. If there were to be a bug or if something were to go wrong during installation, a Restore Point will have you into your previous state of Windows 10 (i.e. pre-OldNewExplorer changes) in just a few seconds! It gives you some necessary peace of mind.
You can download OldNewExplorer here for free.
To make your File Explorer like Windows Explorer, we’ll need to make some tweaks after you have OldNewExplorer installed on your PC. Once installed, open the OldNewExplorer utility and make sure the following boxes are all checked (we’ll go over some additional, specific ones in a second):

In addition, Windows 7 grouped drives a whole lot differently than both Windows 8/8.1 and 10 handle it. To go back to the Windows 7 version of grouping drives together, simply check the box that says “Use classical drive grouping in This PC.” I will note that I prefer to have this unchecked. Even though this is a new grouping that came with Windows 10, it does feel a whole lot more organized.
You’ll also want to check the box that says “Show details pane on the bottom.” Windows 7 had a “Details Pane” that showed you information about drives, folders and files. This enables that.
You should also select “Use libraries; hide folders from This PC.” Windows 10 shows you mainly folders in the Windows 10 navigation pane, whereas Windows 7 showed you libraries. By checking this box, you go back to the Windows 7-esque library navigation.
If you’ve ever used the Windows 10 File Explorer, you’ll notice that it opens to a Quick Access screen. In Windows 7, Windows Explorer would always open to a “This PC” menu. To change that in OldNewExplorer, you can go into Folder Options, and select Open to This PC in the dropdown, as pictured below.

In Windows 7, the Windows Explorer would have something called “Favorites” in the navigation of Windows Explorer. Instead, Windows 10 has something called Quick Access. If you want to stop seeing frequently used folders under Quick Access, in those same Folder Options we just accessed, uncheck the “Show frequently used folders in Quick Access” option and press Apply.
Apperance
Windows 7’s Windows Explorer also had a completely different appearance than Windows 8/8.1 and 10. To change this back to the glass-esque look that Windows 7 had, we’ll need to download another free program called Aero Glass, but we don’t totally recommend it, as it can be risky, unless you’re an experienced power user who knows what they’re doing.
That said, we recommend going into Settings > Personalization > Colors to change things around the way you would want them. You can get the hue close to Windows 7, but you’ll never be able to get that true glass look that Windows 7 had.
Desktop Wallpapers
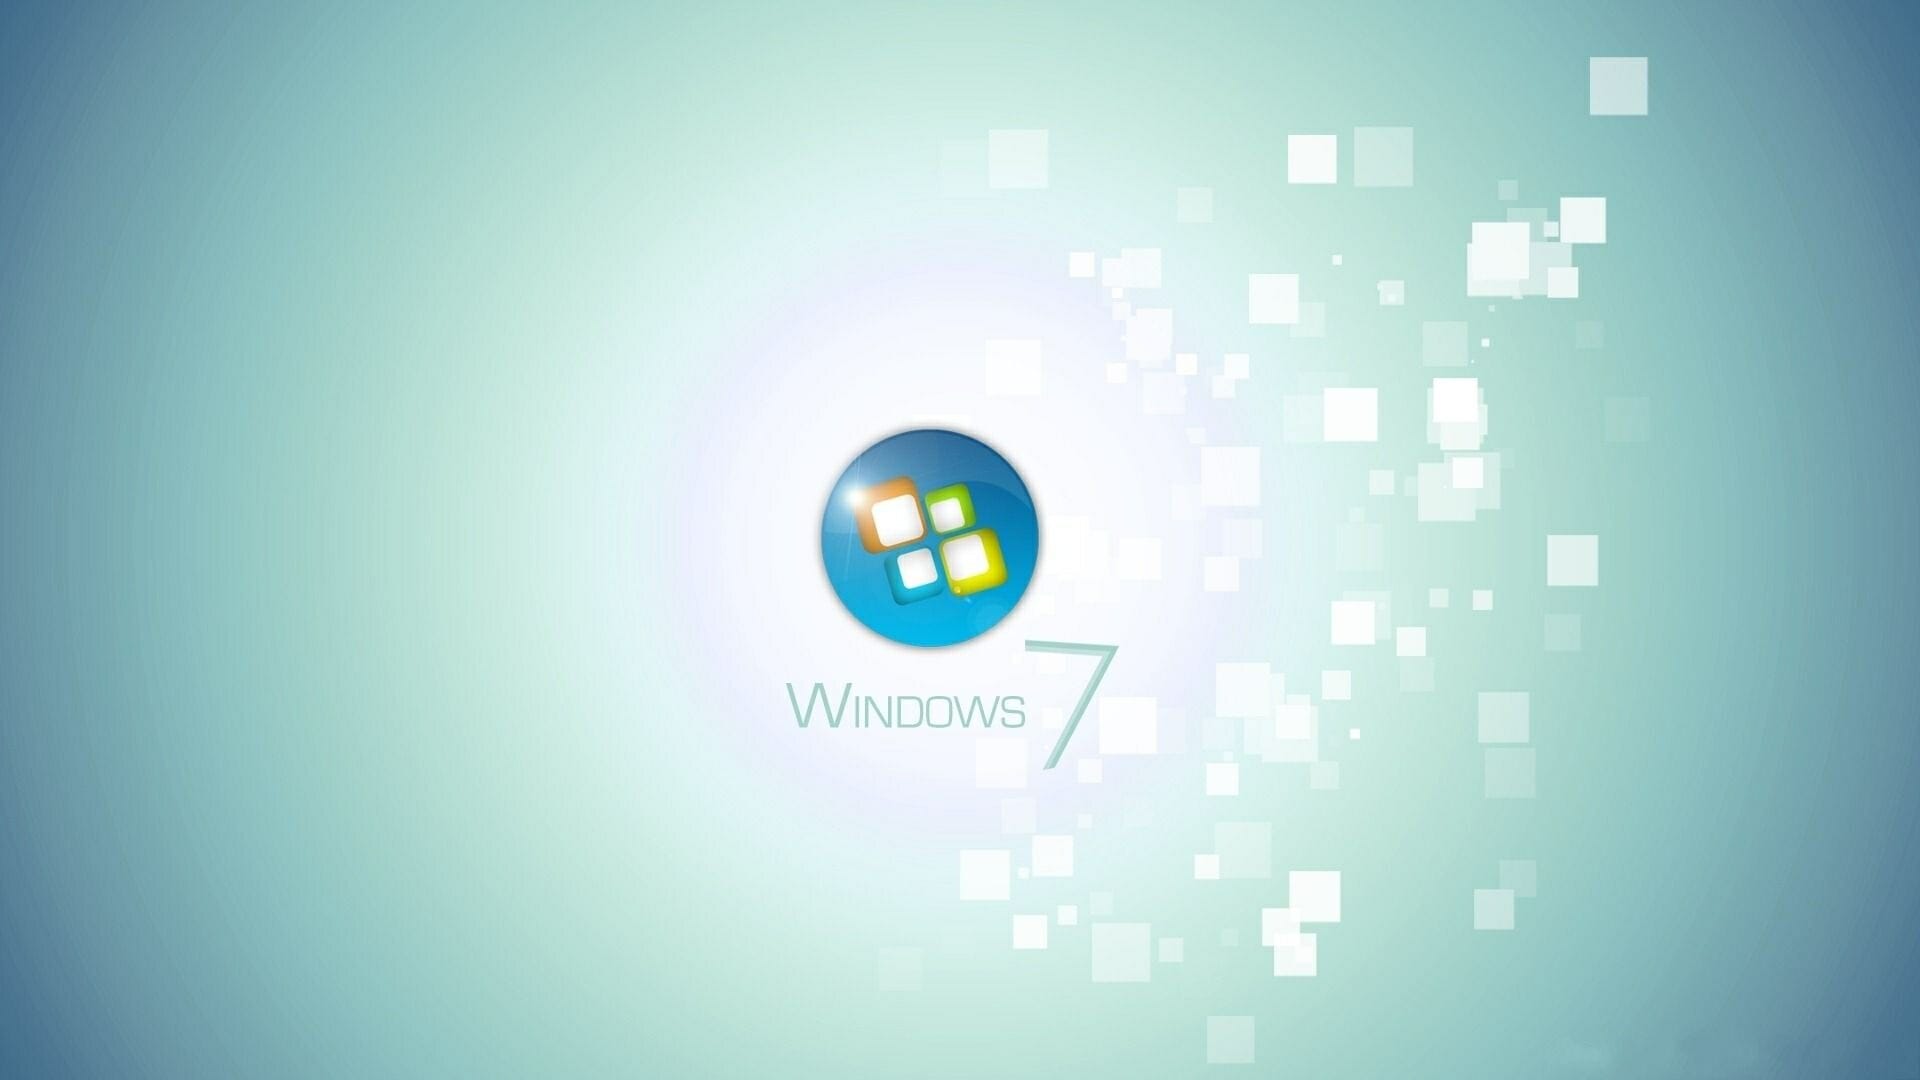
Appearance is everything, and in our journey to make Windows 10 more like Windows 7, we can easily do this by swapping out the desktop wallpapers. Windows 8/8.1 and 10 come with their own updated wallpapers, so you definitely don’t want to use these in trying to recreate the Windows 7 experience. Instead, use Windows 7-esque wallpapers. You can get a bunch for free from here.
Lock Screen
Unfortunately, if you don’t have Windows 10 Enterprise, there’s no getting rid of the lock screen. After the Anniversary Update, Microsoft disabled this for all users. If you do have the Enterprise version, you do have the option of disabling that in Settings.
Local Accounts
One thing that’s new in Windows 8/8.1 and 10 is using a Microsoft account to access your PC. This is something that Windows 7 never had, as it operated solely off of local accounts. If you want a true Windows 7 experience, we recommend that you stop using your Microsoft account to log in and create a local account instead.
Closing
And that’s all there is to it! By following the steps above, you’ve created yourself a Windows 7 experience while still being able to enjoy all of the extra security benefits that Windows 10 comes with. Sure, it’s not a completely “true” Windows 7 experience, as you still have to deal with the authoritarian control over Windows Updates. But, at least you’ll still be able to have that Windows 7 appearance in the event that you don’t like the modern style that Windows 10 brings to the table.
Got any of your own recommendation for making the experience more Windows 7-esque? Be sure to leave a comment in the comments section below, and let us know what you’ve done!
Disclaimer: Some pages on this site may include an affiliate link. This does not effect our editorial in any way.


