As one of the best writing programs in the market, MS Word has no shortage of formatting options. Text alignment falls among the essentials, and you might be surprised by what can be done with lines in that regard.
In particular, it’s possible to align lines in Word in several ways. Notably, you can align one part to the left and the other to the right. This article will teach you how to do just that and step up your formatting game in MS Word.
Aligning a Part of a Line in MS Word
Microsoft Word has default alignment options for complete lines and paragraphs. You can change the text alignment to Left, Right, Centered, and Justified.
However, the software also allows you to create dual alignment for a single line, but that option isn’t as apparent as the mentioned formatting standards. There are two methods for creating two alignments – Left and Right – in the same line:
- Using the Right Tab stop functionality
- Setting the Tab function to right alignment
There’s also a different method that could eventually provide the desired result, but that you absolutely shouldn’t use if you know the right way to create dual alignment. We’ll get to that alternative method later. For now, let’s look at the best ways to right-align part of a line in Word.
While reading the explanations, note that this guide assumes your default text alignment is Left.
Using the Right Tab Stop Functionality
The first method depends on having the ruler toggled on in Word. Here’s how to use the ruler to dual-align a line:
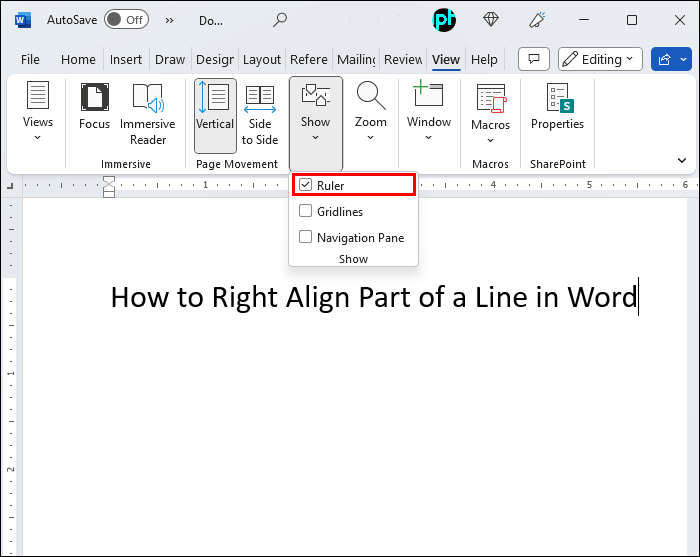
- If the ruler isn’t appearing, enable it by checking the “Ruler” box under the “View” menu.
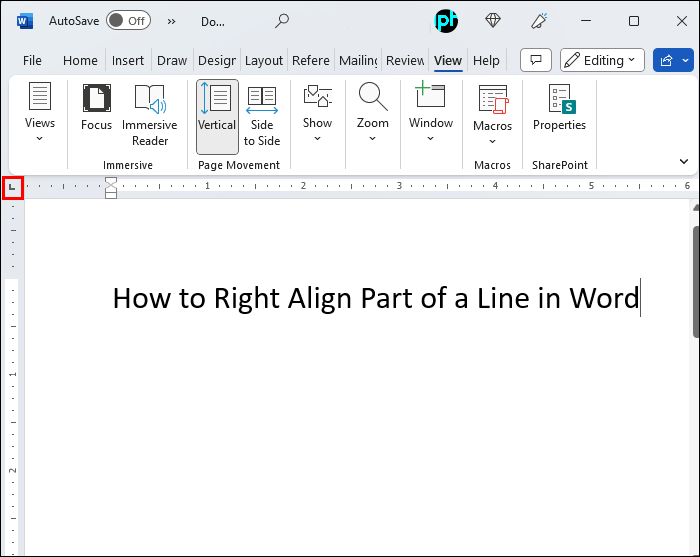
- Locate the Tab symbol on the left side of the ruler – it will either look like a baseball home base or the letter “L.”

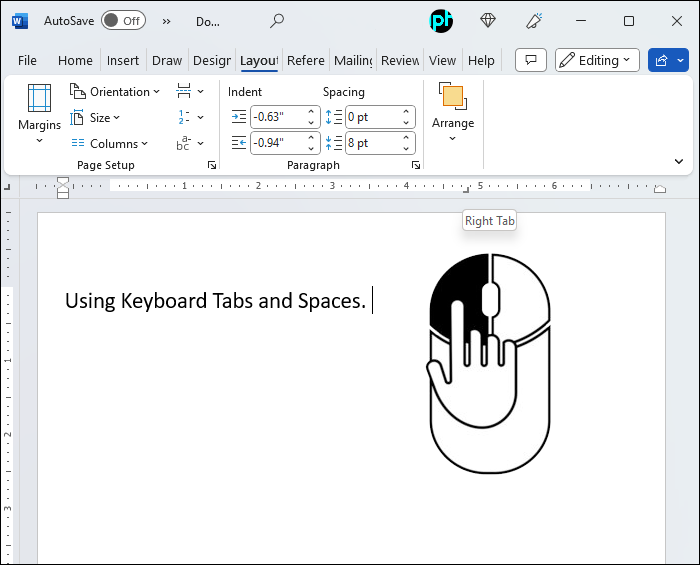
- Click the Tab symbol until you see a shape like the letter “L” in a mirror. This is the Right tab stop.
- On the top ruler, click on the right edge of the white section to place the Tab stop.
- Start typing, then hit “Tab” on your keyboard. The cursor should jump to the right, and the text you type should fill from right to left.


Setting the Tab Function to Right Alignment
Alternatively, you can set up tab alignment via the menu. This technique is more convenient because it doesn’t rely on you clicking on a precise point on the ruler as in step 3 of the previous method.
- Make sure you know the position of the right margin in your document. You can see the exact number on the right side of the top ruler. If the ruler isn’t there, toggle it on by going to “View” and checking the box next to “Ruler.”
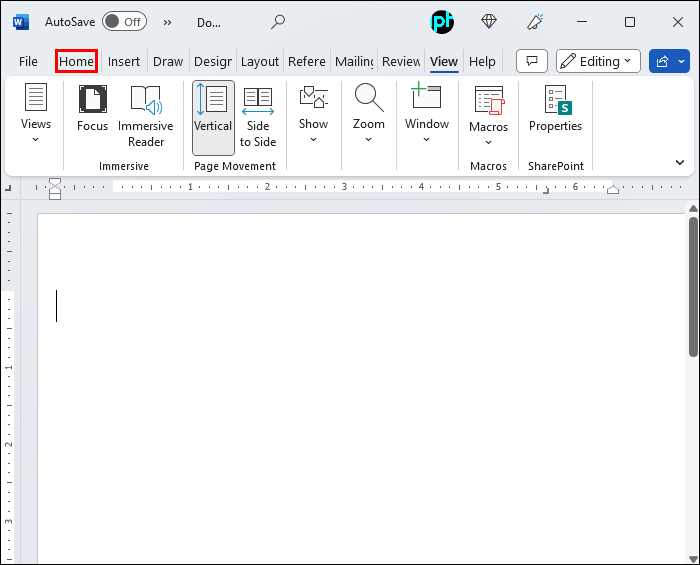
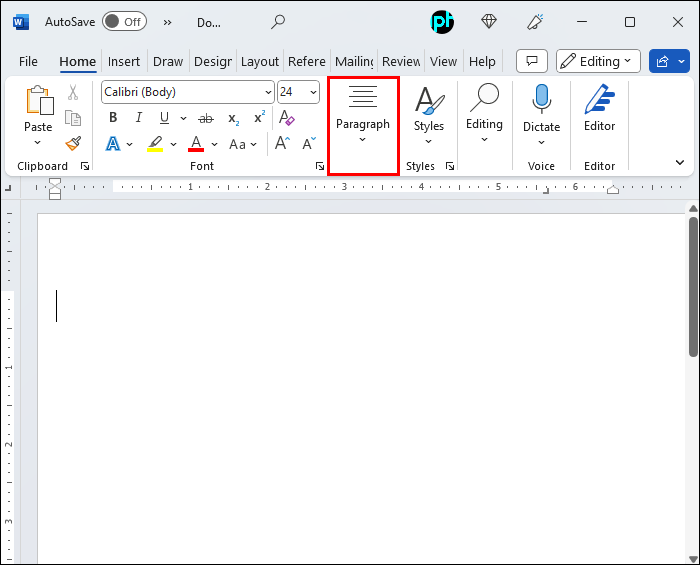
- While positioned on a blank line in your document, go to the “Home” tab.
- Enter the “Paragraph” menu
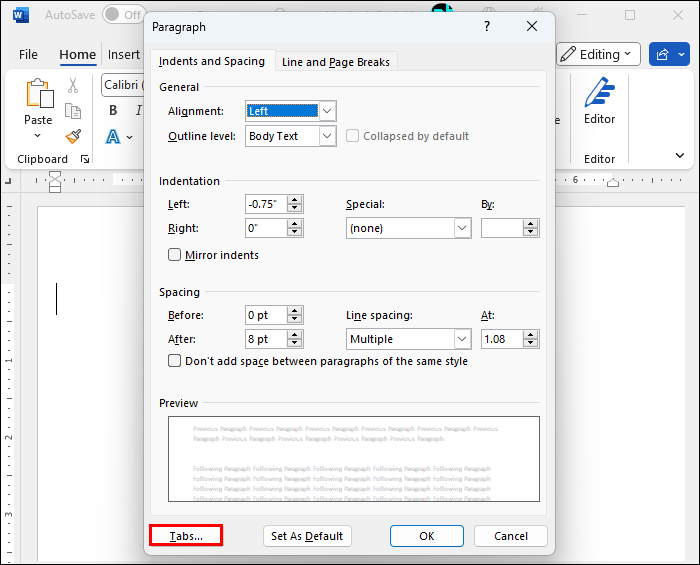
- Go to “Tabs.” You’ll see several options for tab customization here.
- Under “Tab stop position,” enter the exact value of the right margin location that you remembered from step 1.
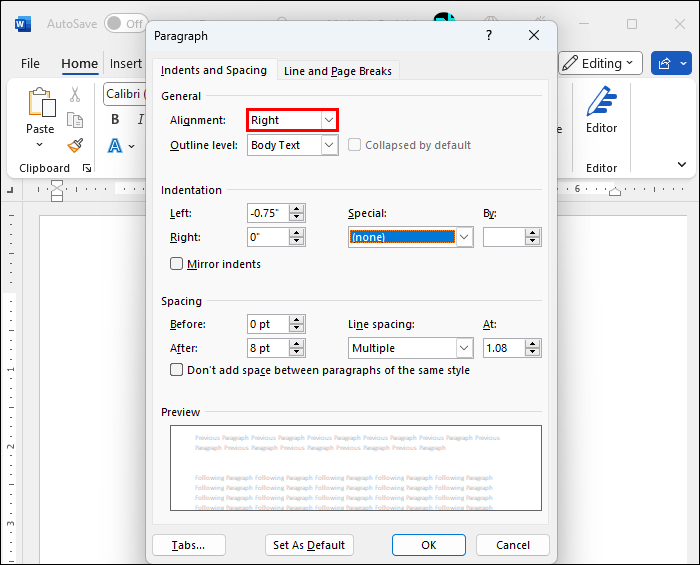
- Under “Alignment,” select “Right,” then click on “OK.”

Let’s explain what happened here.
By entering the right margin location, you’ve set the tab to position automatically at the right edge of the document. This means that, once you hit “Tab” on your keyboard, the cursor will jump to the right.
Selecting the Right alignment means the text will fill from right to left. Note that the actual text will “flow” correctly, from left to right, i.e., your letters won’t come out in reverse order.
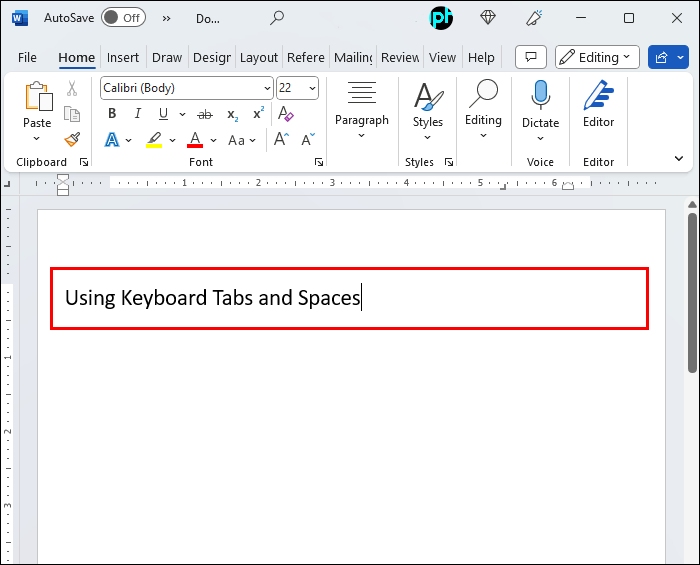
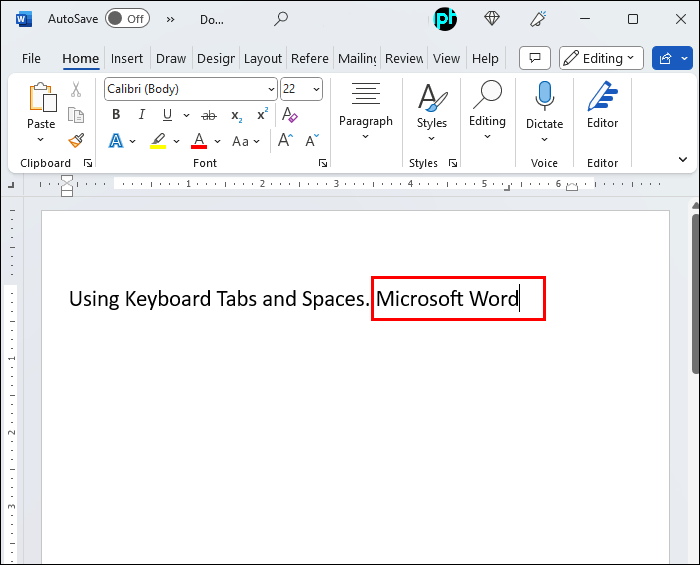
Using Keyboard Tabs and Spaces (What Not to Do)
The following method is inferior to the two we described previously, but may serve as a quick one-time fix for a less important document. However, we’d strongly discourage you from using this method in business or any other official correspondence since it will look unprofessional.
- Start typing the text with Left alignment.
- Enter the text you want to appear on the right without additional actions. At the moment, it will look like a regular continuation of the line.
- Position the cursor before the first letter of the text portion that you want to move to the right.
- Hit “Tab” on your keyboard. You might need to repeat this step several times until the final letter comes as near as possible to the right margin.
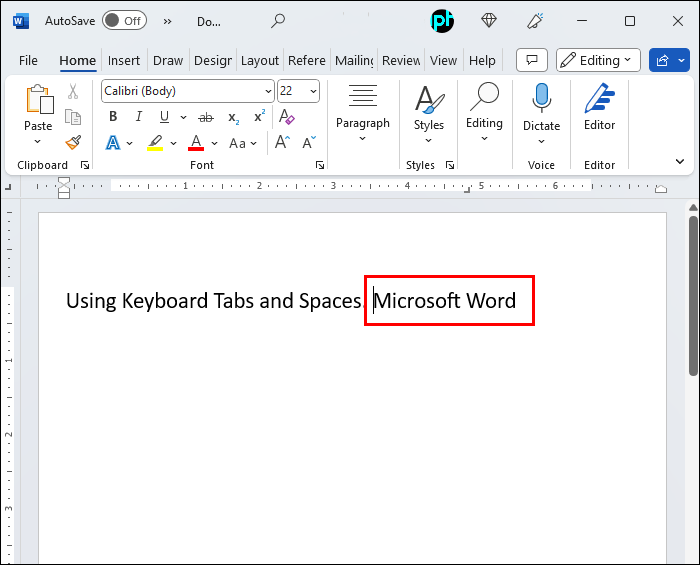
- Using the “Tab” key likely won’t produce ideal positioning. Fine-tune the text alignment using the spacebar.

If you need to dual-align text often in your document, this method will prove tedious quickly. Plus, it may create unnecessary complications. For instance, if you wish to edit a line, chances are the text will get skewed once you enter or delete words or even characters.
But most importantly, this method will become obsolete as soon as you know how to dual-align properly. That’s why you should always use the previously described techniques instead of this one.
Other Tab Options in Word
Besides the Right alignment, you can use the tab functionality to position and align text differently within the same line. The tab options include:
- Left
- Center
- Right
- Decimal
- Bar
The first three options perform similar functions whose meaning is apparent from the name. The Decimal option is different, as it serves for number alignment.
If you need to write a series of lines containing numbers with decimal points, choosing the “Decimal” tab will align those points. The alignment setting will apply regardless of how large the numbers are. For example, if you write “120.5” in one line and “3.4” in the next, “.5” and “.4” will be perfectly aligned.
Finally, the “Bar” tab stop isn’t related to text positioning at all. Instead, this function will create a vertical bar when you select it and click on the ruler. Note that the inserted bar is a genuine symbol which will show up in print.
Clicking on the Tab icon will bring up two more options that don’t affect the tabs. Instead, these functions refer to line indentation.
First, you have the First Line Indent. This option is represented with an upward-facing baseball home base icon. When you position the cursor on a particular line and select the First Line Indent, the first line of the entire paragraph will start at the position you choose on the ruler.
Second, there’s the Hanging Indent option, shown as a downward-facing baseball home base. This option will set the indentation of the rest of your paragraph. However, the first line won’t be affected as it has a dedicated indentation tool.
To conclude this section, let’s look at another important action: removing tab stops from your Word document. Luckily, this is very easy to perform.
If you’ve placed a tab stop by accident or decided that you no longer need alternative alignment, you can remove the stop from the ruler in three straightforward steps:
- Click and hold the tab stop with the left mouse button.
- While holding the left button, move the mouse below the ruler and wait for the tab stop mark to turn grey.
- Release the button.

Become the Master of Text Alignment in Word
With all of the formatting options that MS Word provides, it would be a shame not to use useful tools like tab stops. Now that you know how to right-align your text lines partially, your documents will look much more orderly and professional.
Did you manage to right-align a line partially in Word? Did you try out other tab stop options? Let us know in the comments below.
Disclaimer: Some pages on this site may include an affiliate link. This does not effect our editorial in any way.