Taking attendance in Zoom is very important, especially if you’re a school teacher or organizer of a seminar where the participants get certificates upon completion. You can’t give a certificate to everyone, including people who registered for the event but never attended. Or people who come and then leave after 15 minutes, thinking that no one will notice.
Zoom’s reports allow you to see the exact time someone joined the meeting, as well as the precise time they left. In this article, we’ll show you how to take attendance in Zoom in just a few minutes, no matter how many people participated.
How to Take Attendance in Zoom
The fastest and most accurate way to take attendance is to use Zoom reports. Bear in mind that they’re generated approximately 30 minutes after the meeting has ended. Depending on the number of participants, it could take even longer, up to one hour. However, it’s worth waiting for because once the report is generated, all you need to do is export the data, and you’re done.
Here’s what you have to do:
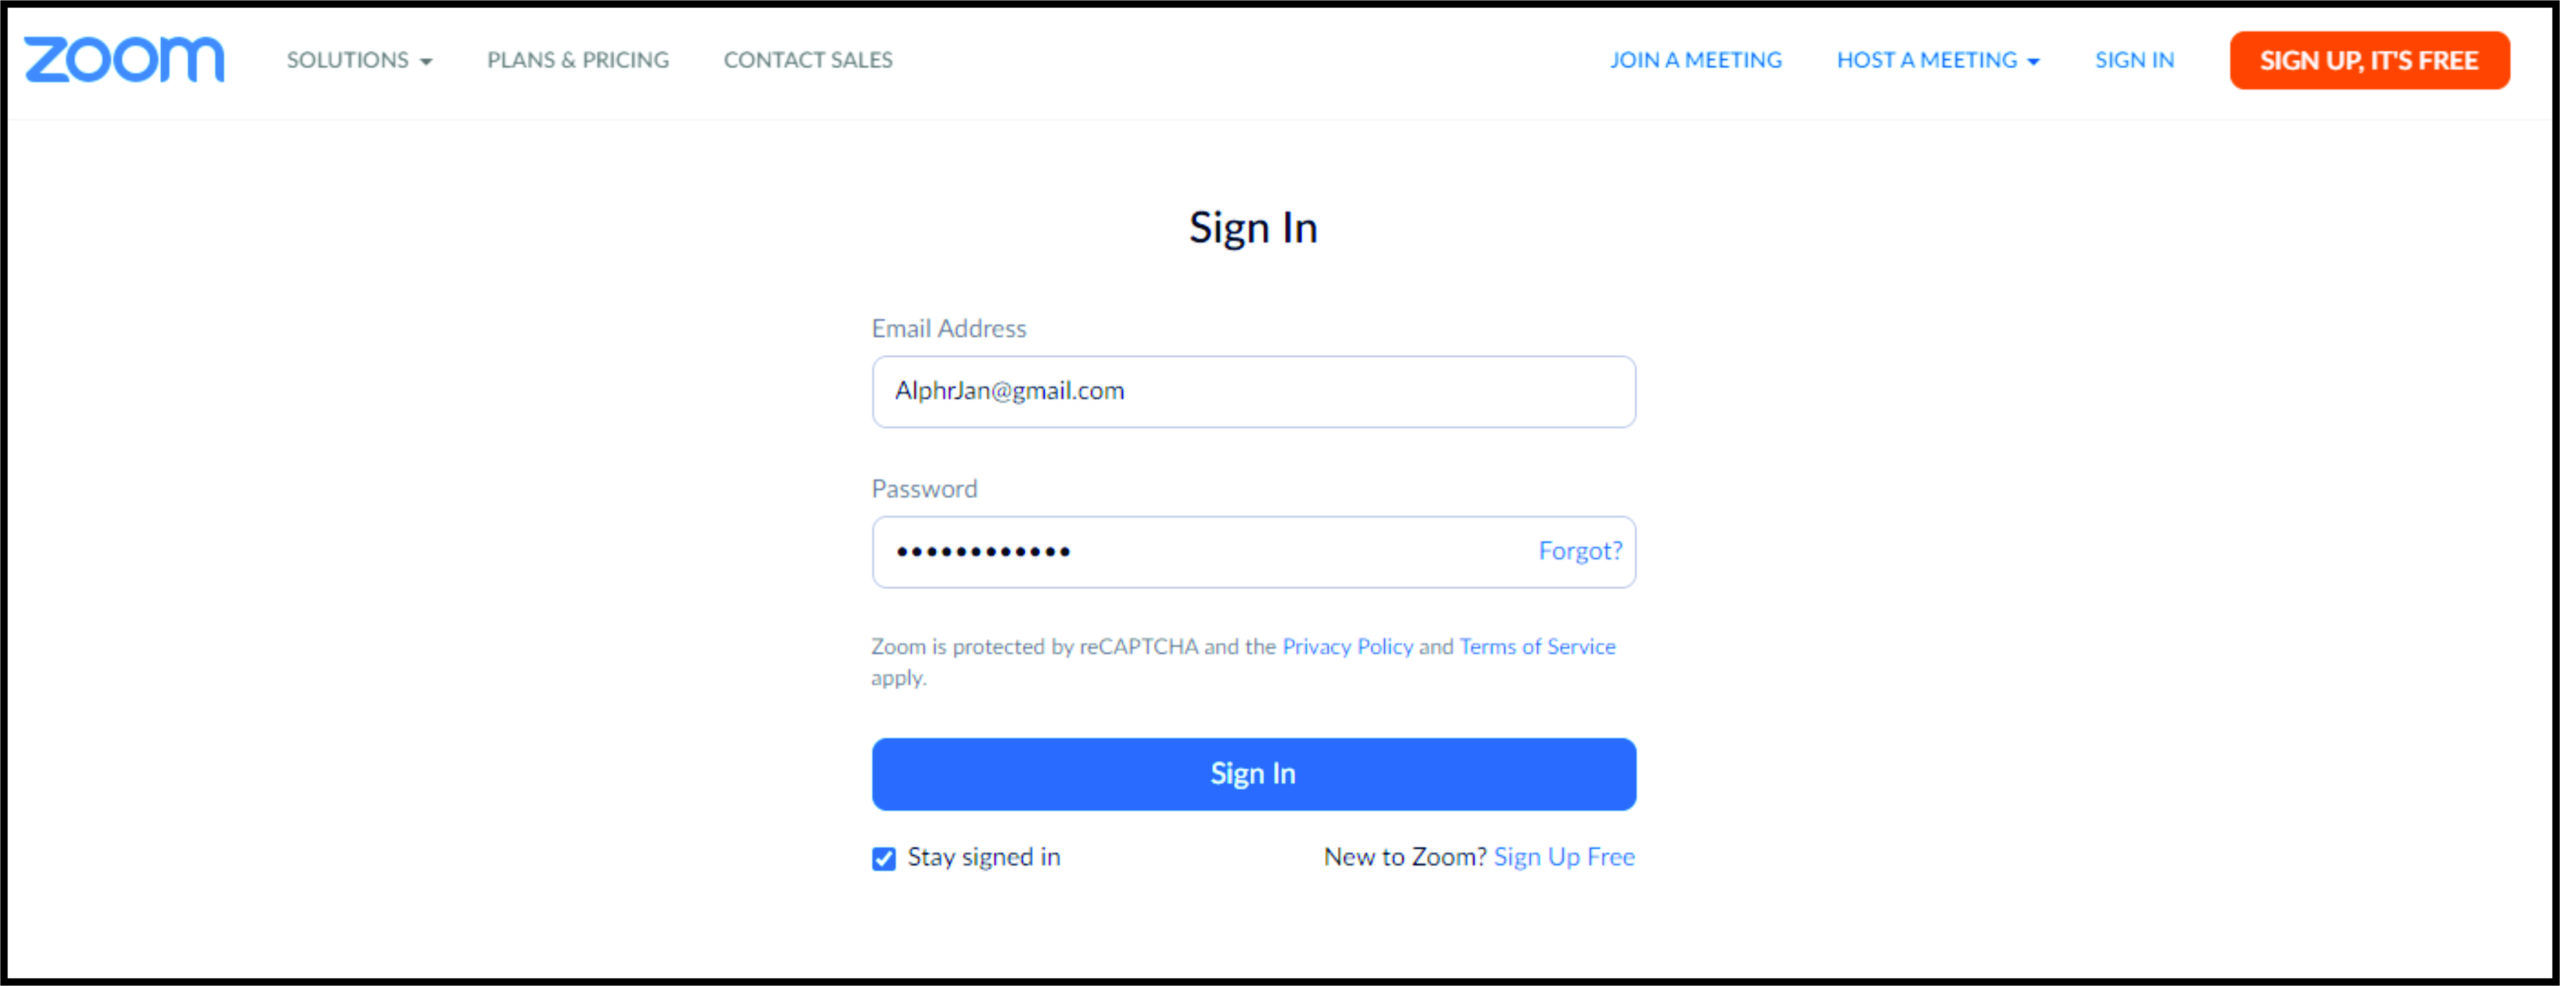
- Log in to your Zoom account.
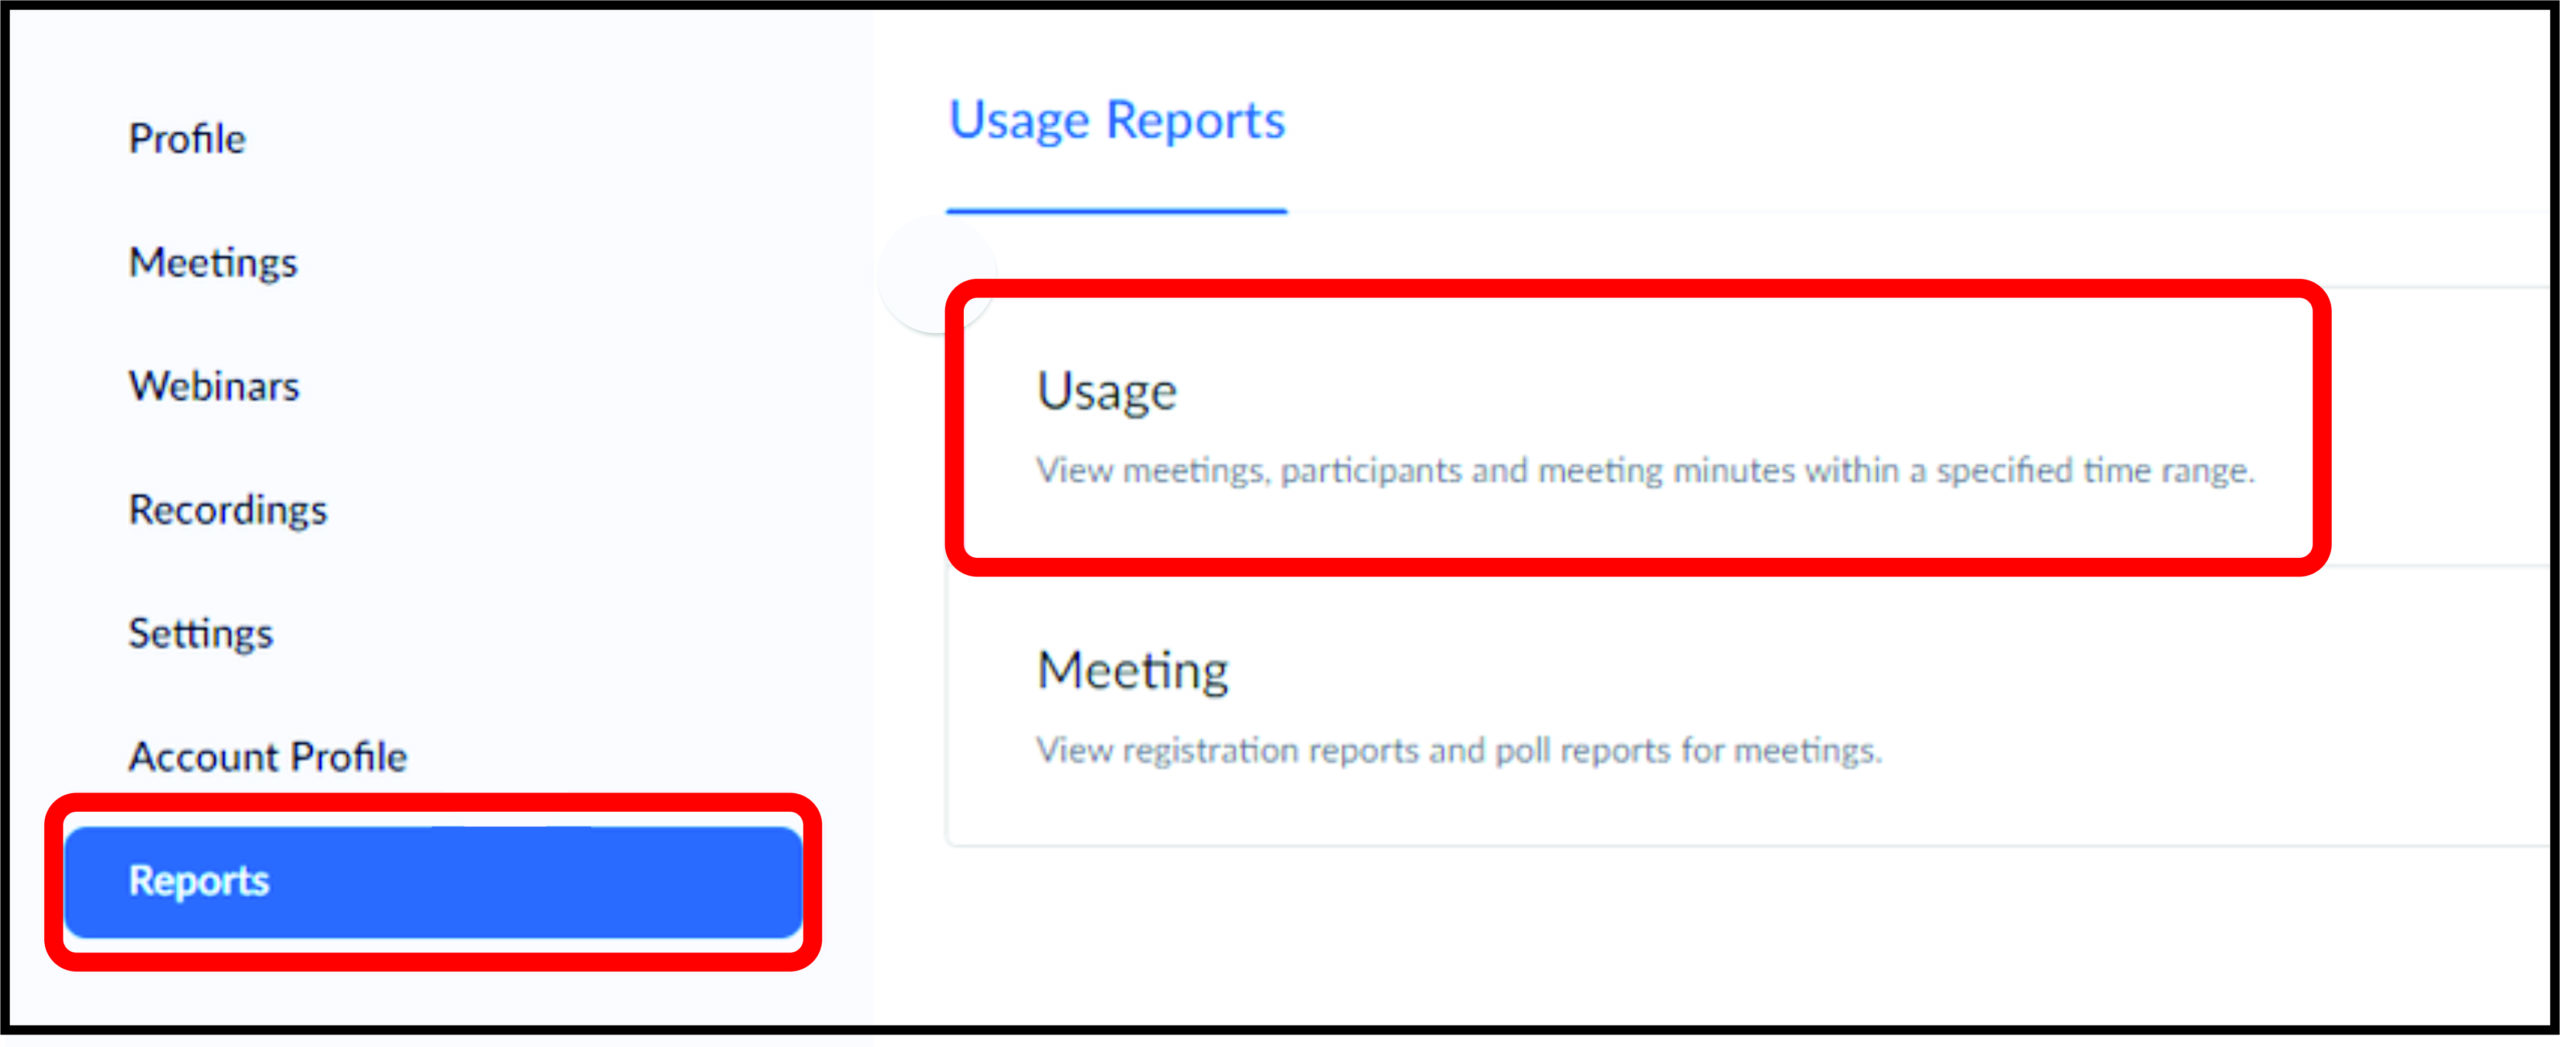
- Select “Reports” and then click on “Usage.”

- If the meeting was held recently, you’ll see the report immediately – you can recognize it by topic, meeting ID, or start time. If you want to take attendance for a past meeting, you may need to adjust the Date Range to show meetings from the period you want to search.
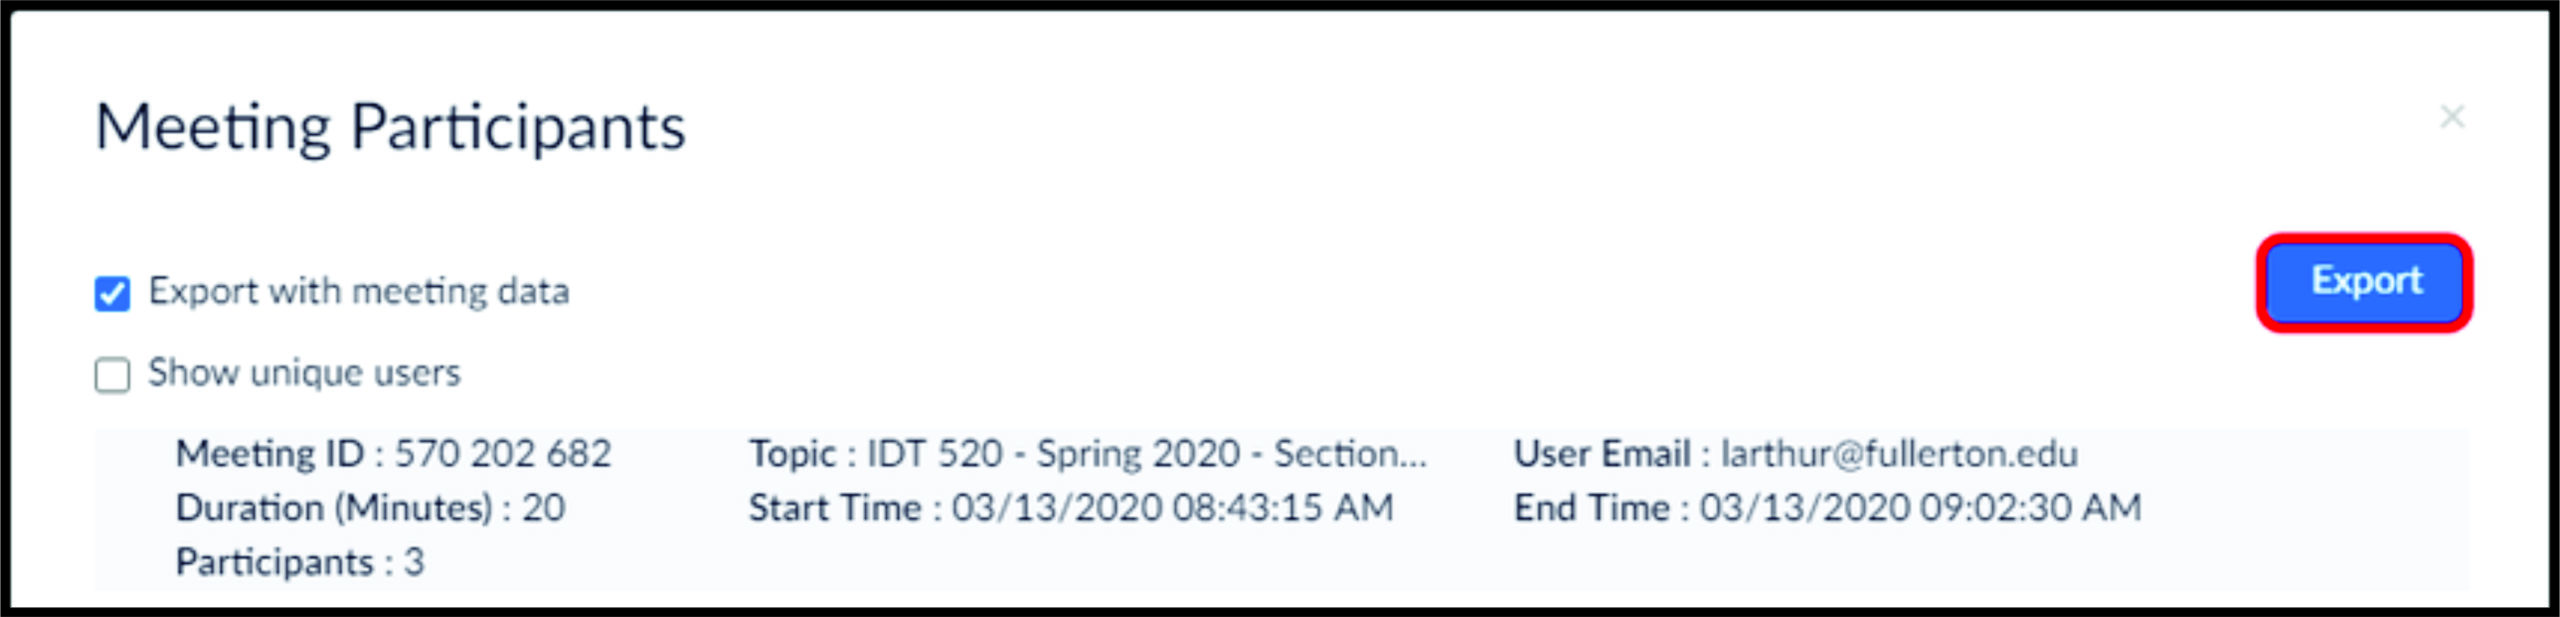
- Once you’ve found the meeting, click on the “Participants” section. You’ll now see the Meeting Report and Review the Report. Click on “Export with meeting data.”
- Click on “Export as Excel” to confirm. Data will be exported in the form of an Excel file.
- Download and save the file to your computer.


There you have it. When you open the file, you’ll be able to see users’ names, and next to them will be the time they entered the meeting and the time they left. You can also see how long each of them were online at the meeting under the “Duration” section. Thankfully, there’s no need to calculate it manually for each user, as Zoom does it for us.
Finally, you can also see each participant’s email, and if you have an email automation program, you can send them certificates or thank-you notes automatically.
How to Take Attendance in Zoom’s Free Version
If you’re using a free version of Zoom, Attendance Reports may not be available to you. Although they’re the most convenient way to take attendance, it doesn’t mean that you can’t have a record of who joined in. Creative teachers have come up with a straightforward and quick method to take attendance even if you have a free version of Zoom.
Here’s what you have to do:
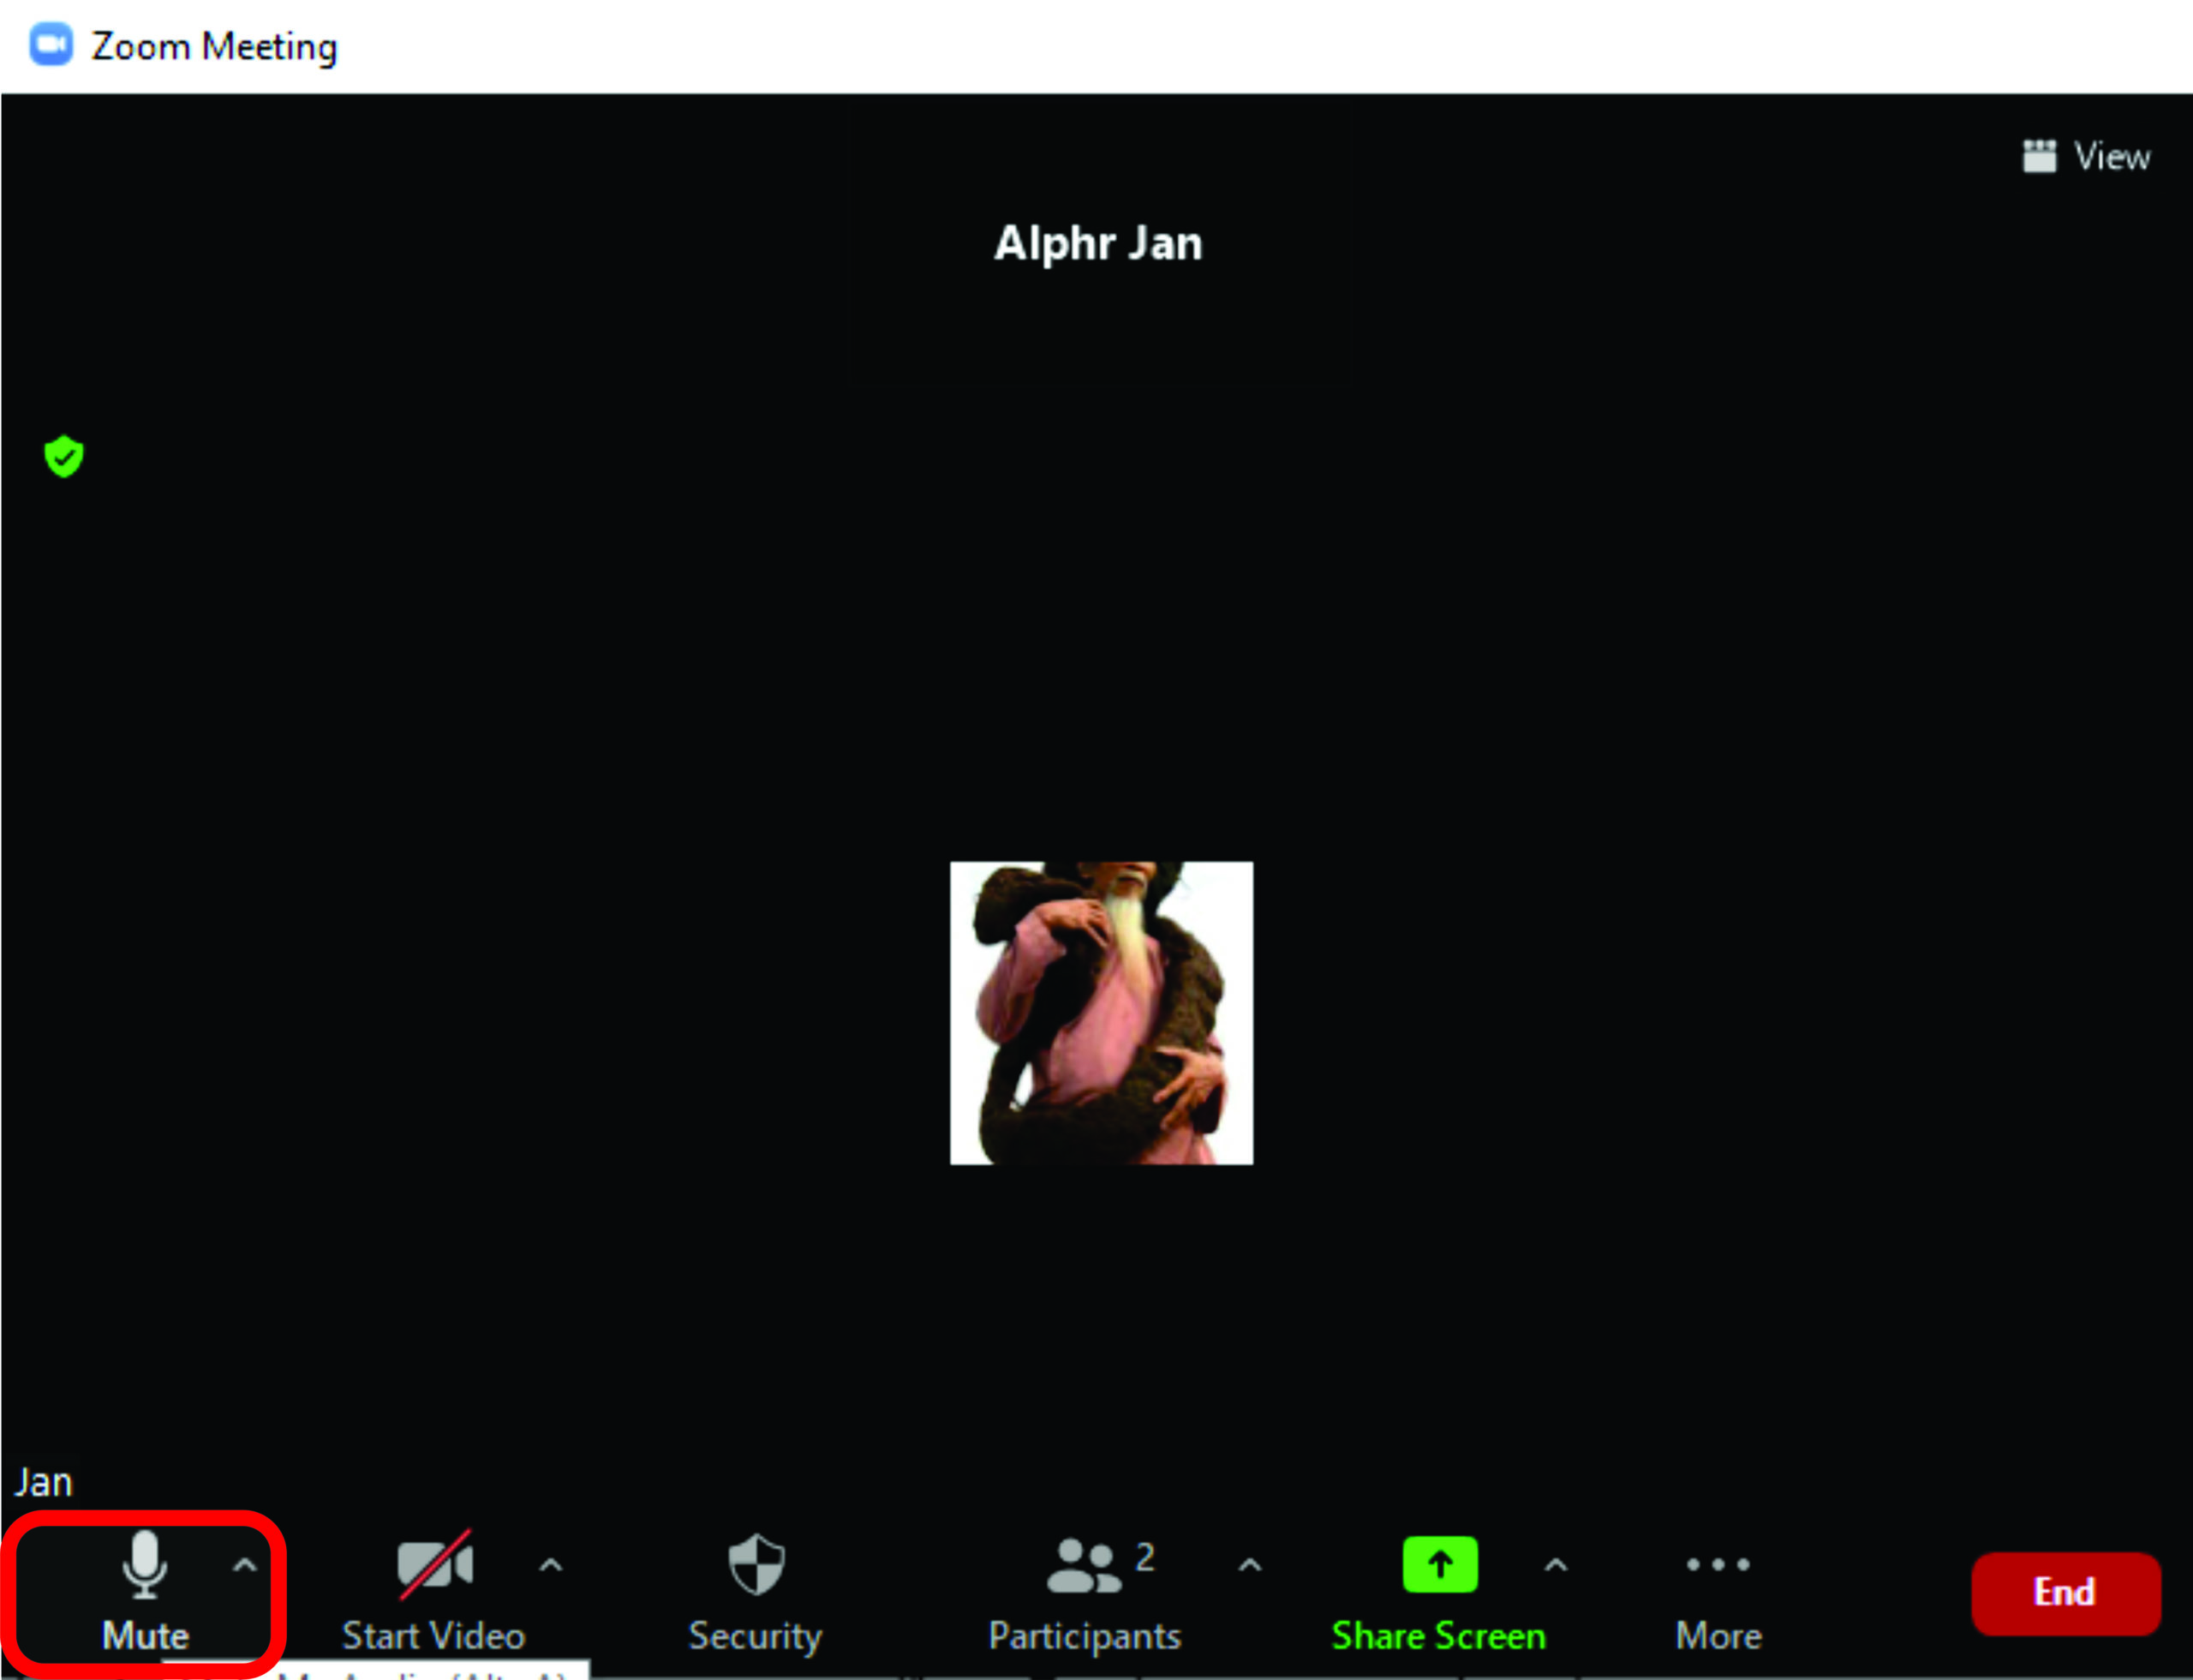
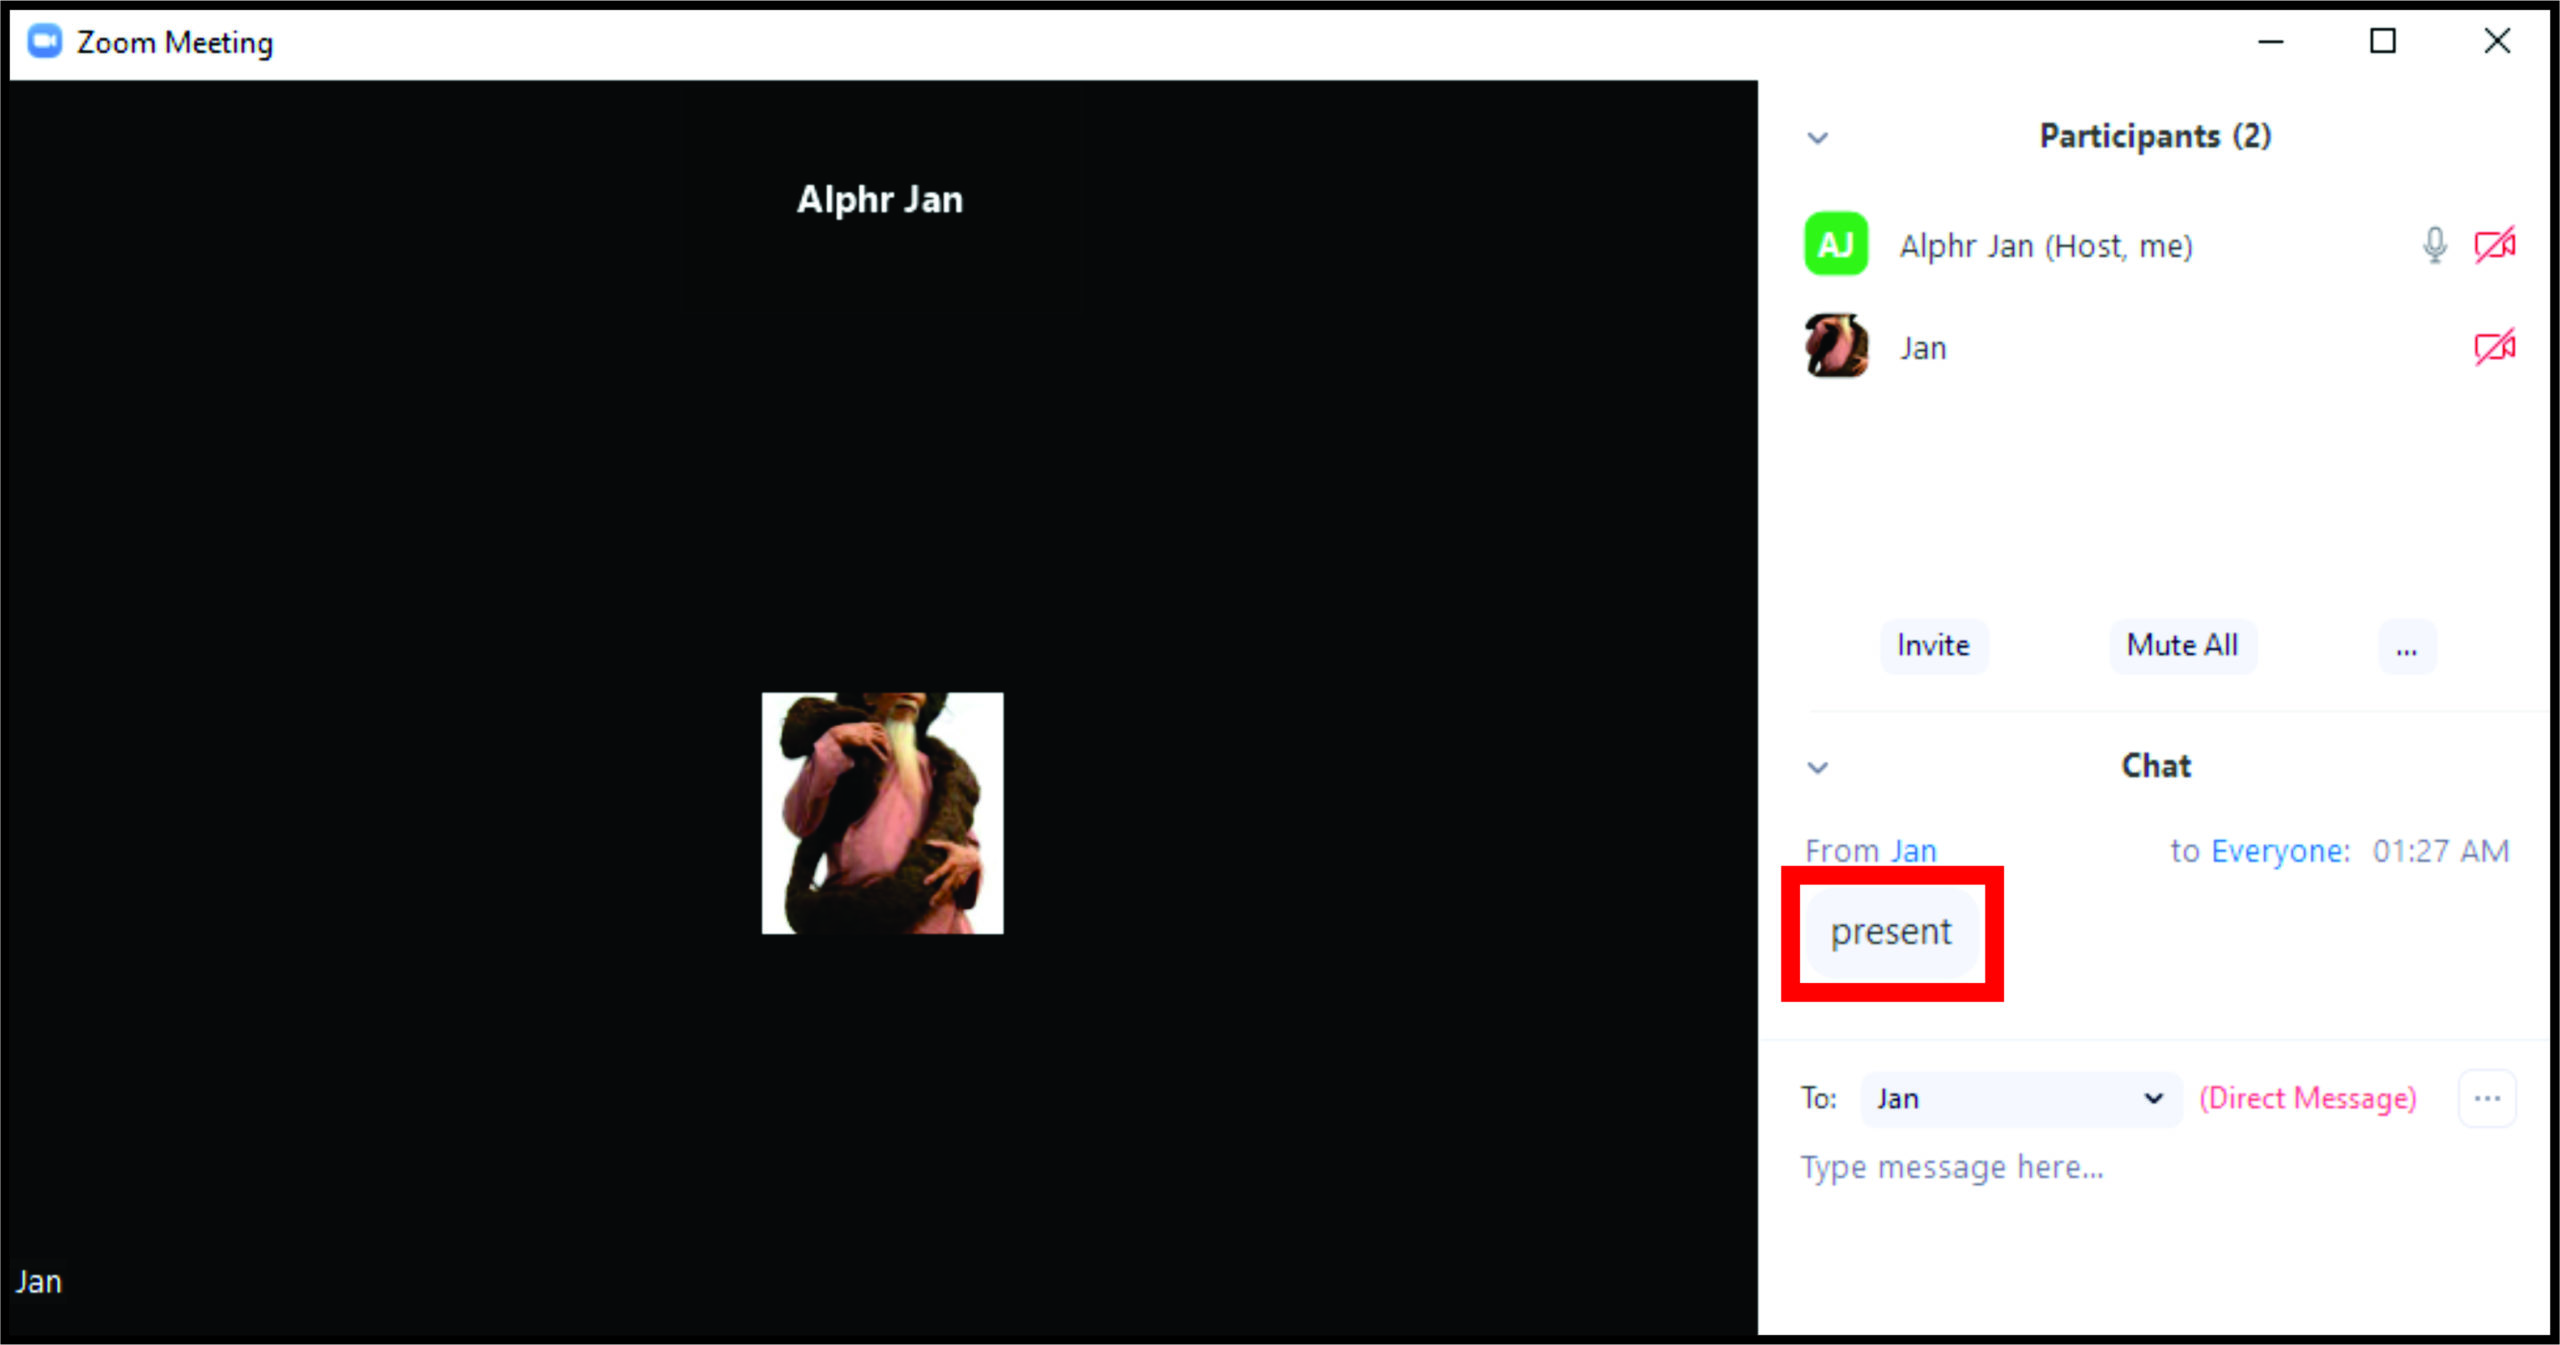
- When the meeting starts, unmute the participants.
- Ask the participants to write “Present” in the chatbox.
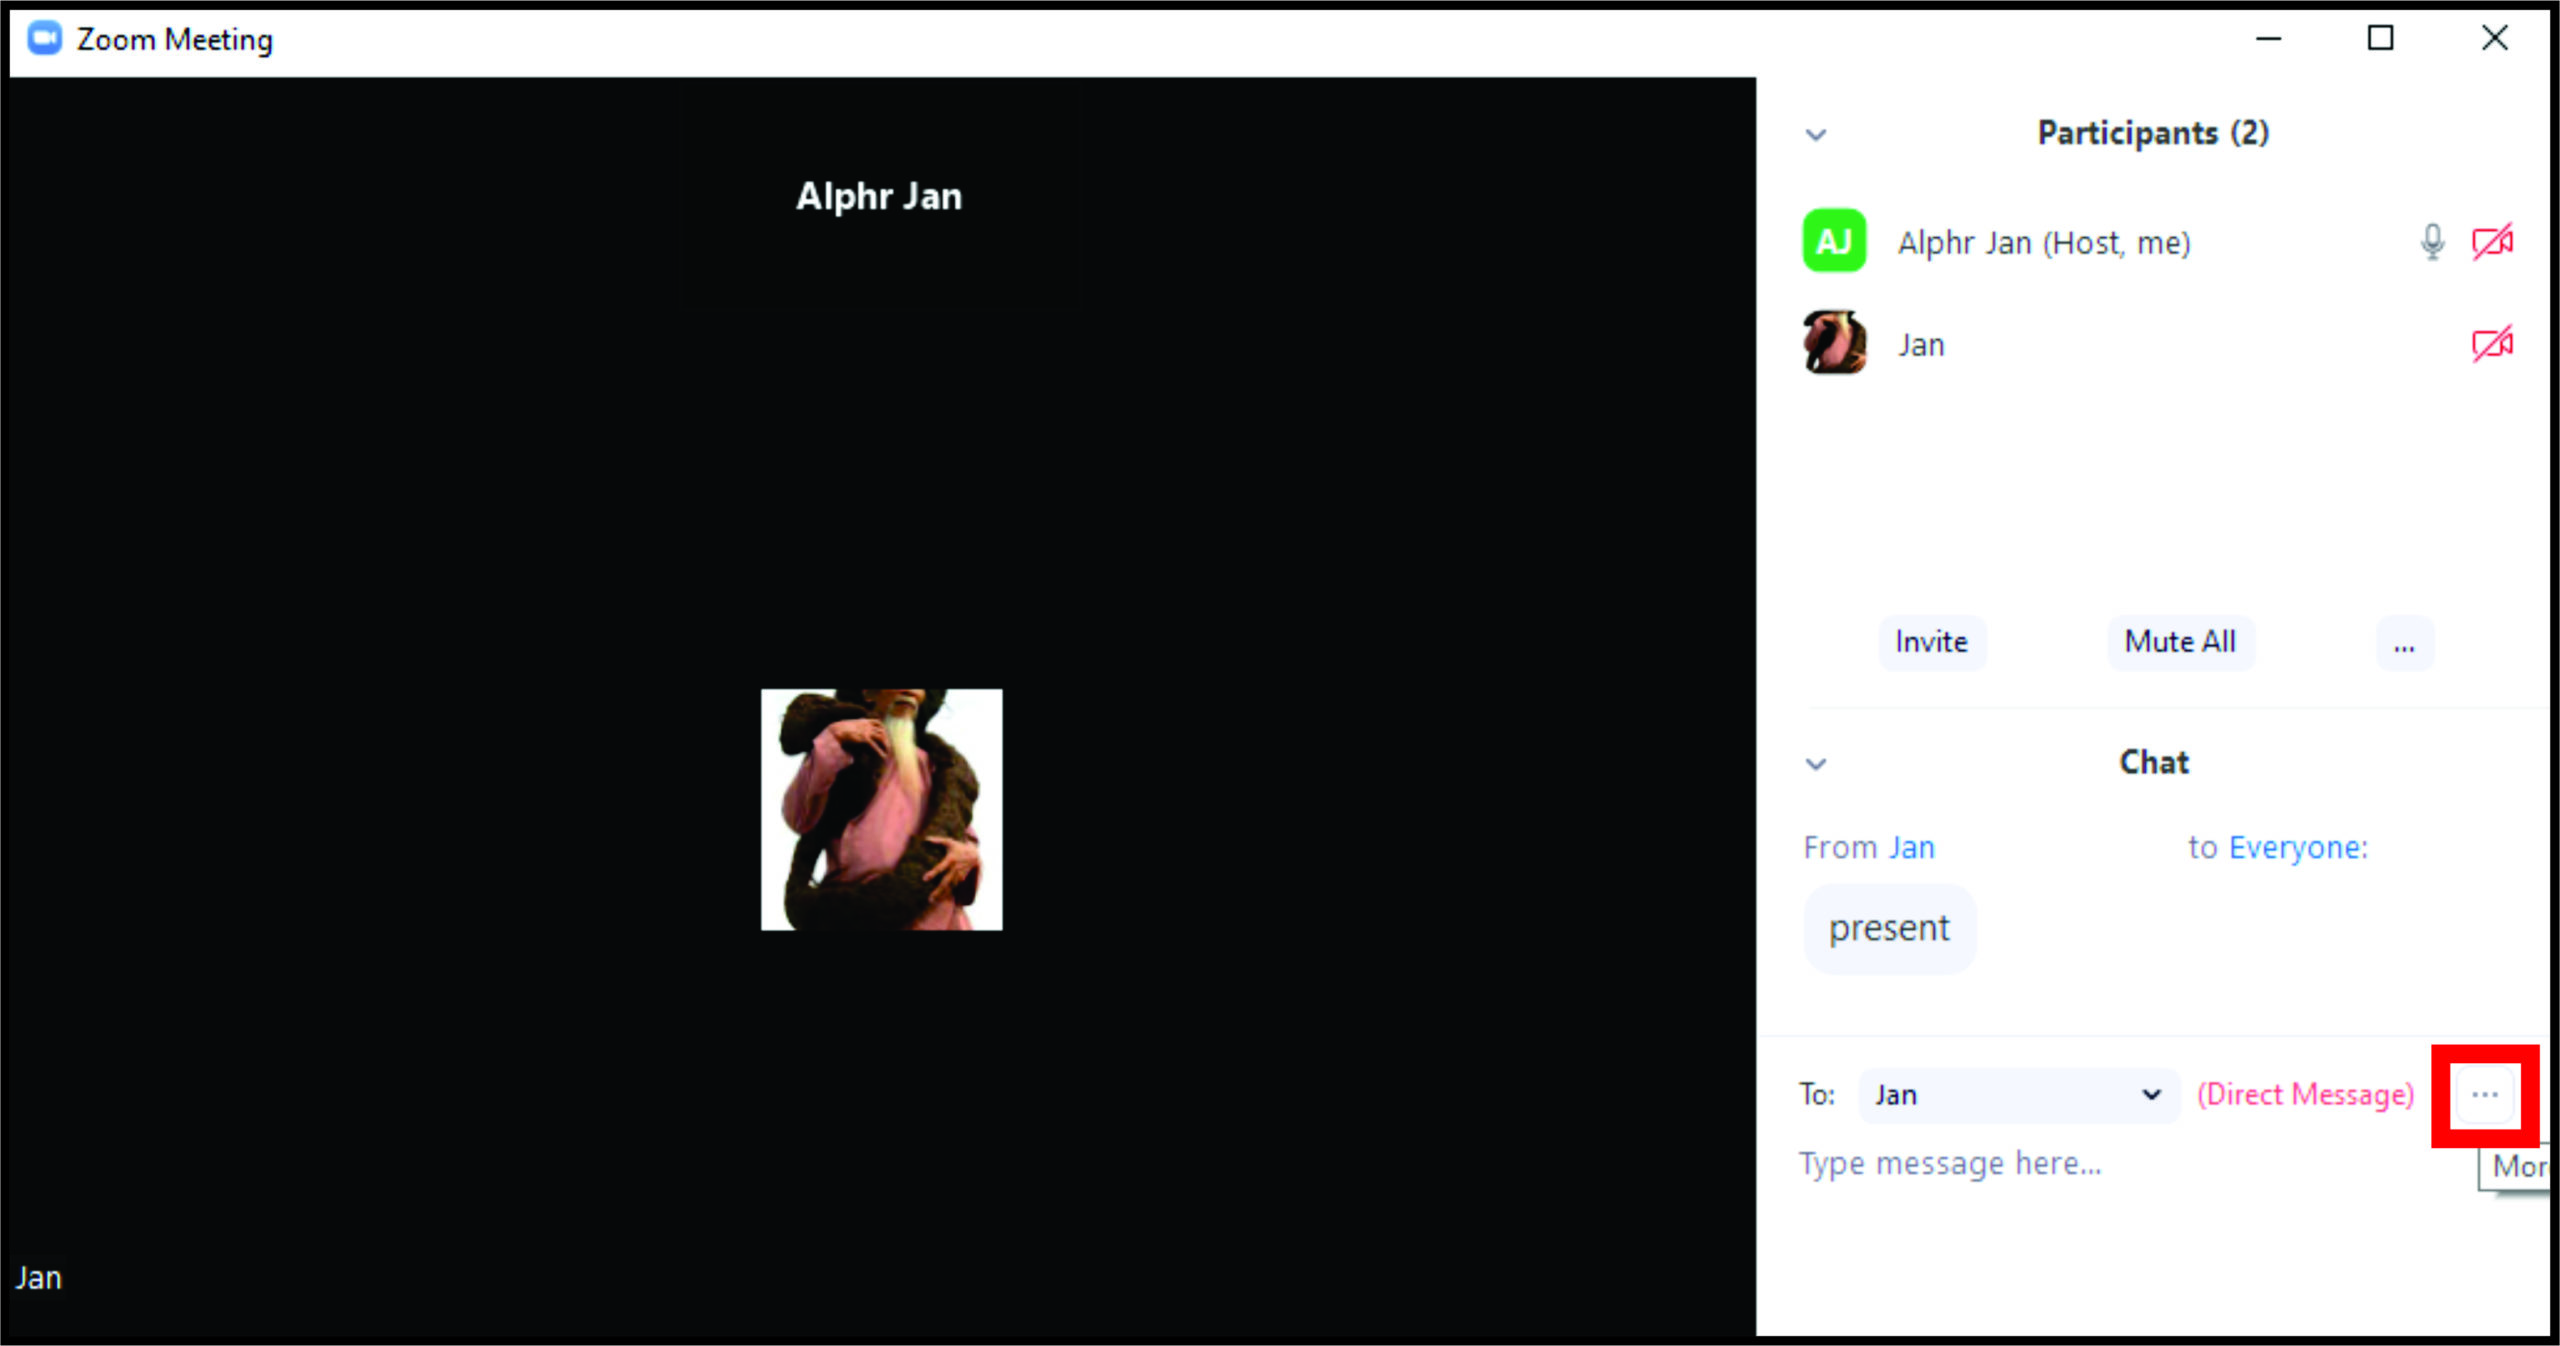
- When they do that, open the chat and click on the three-dot sign.
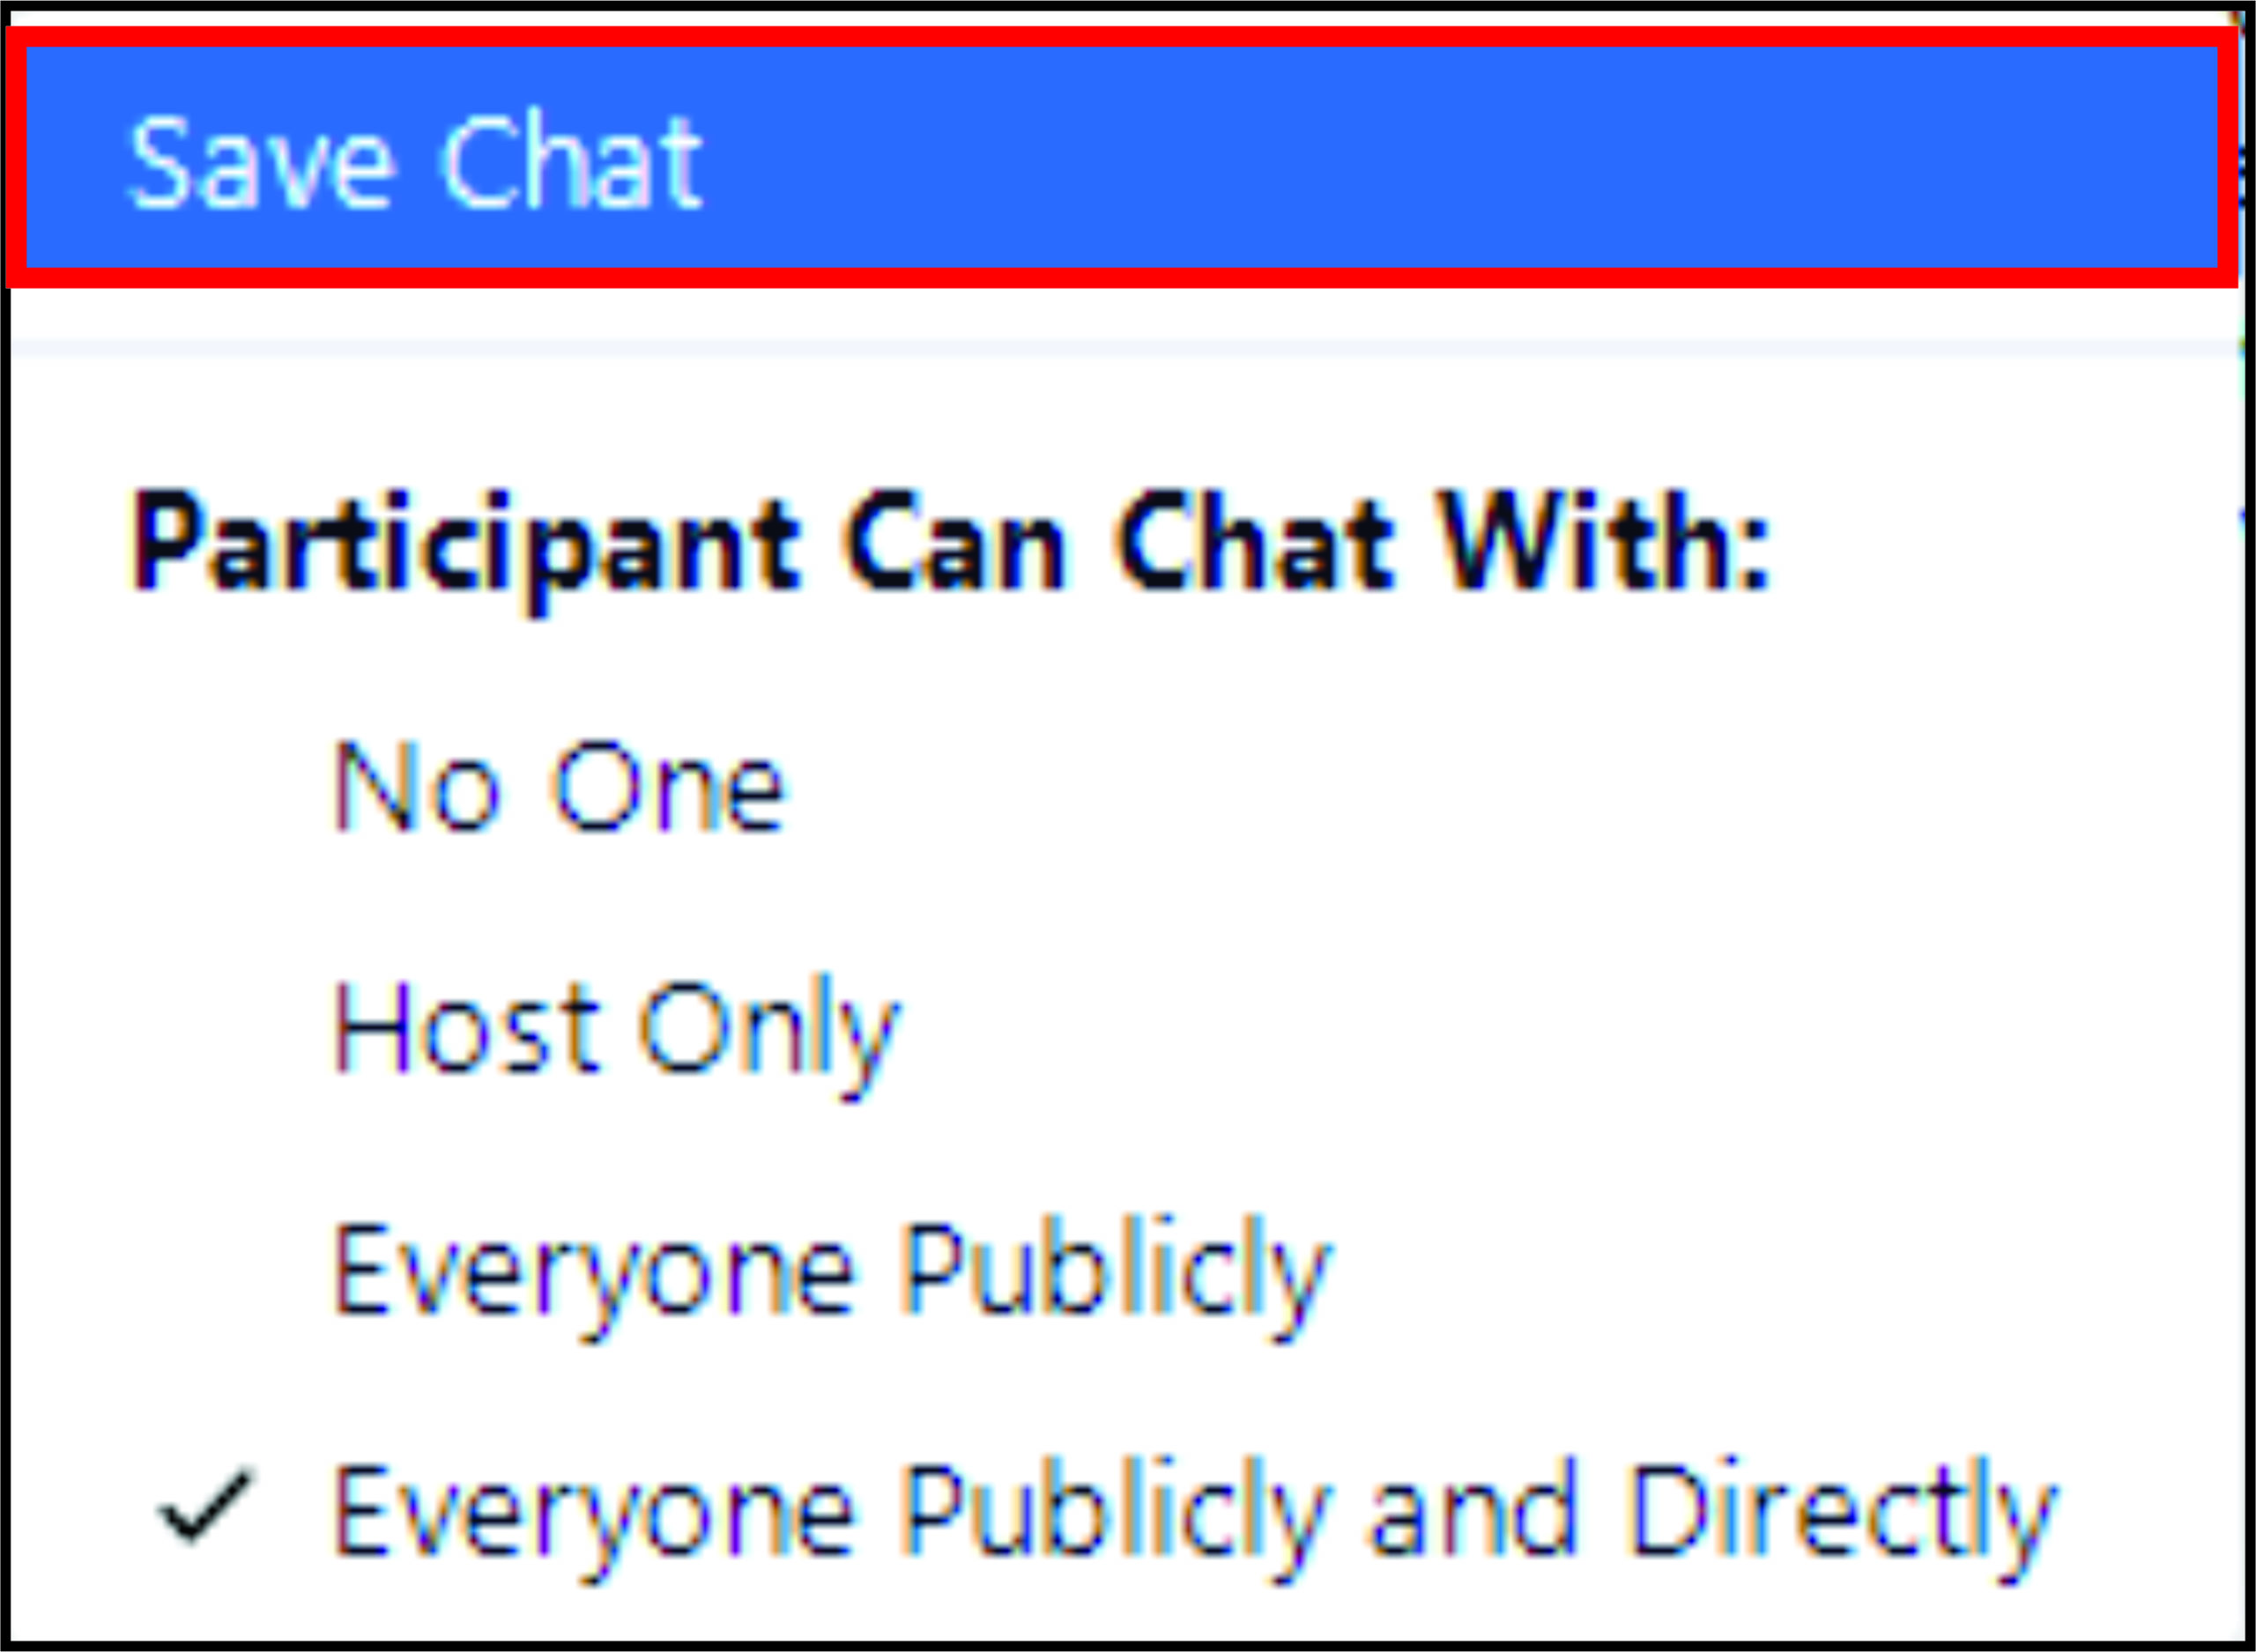
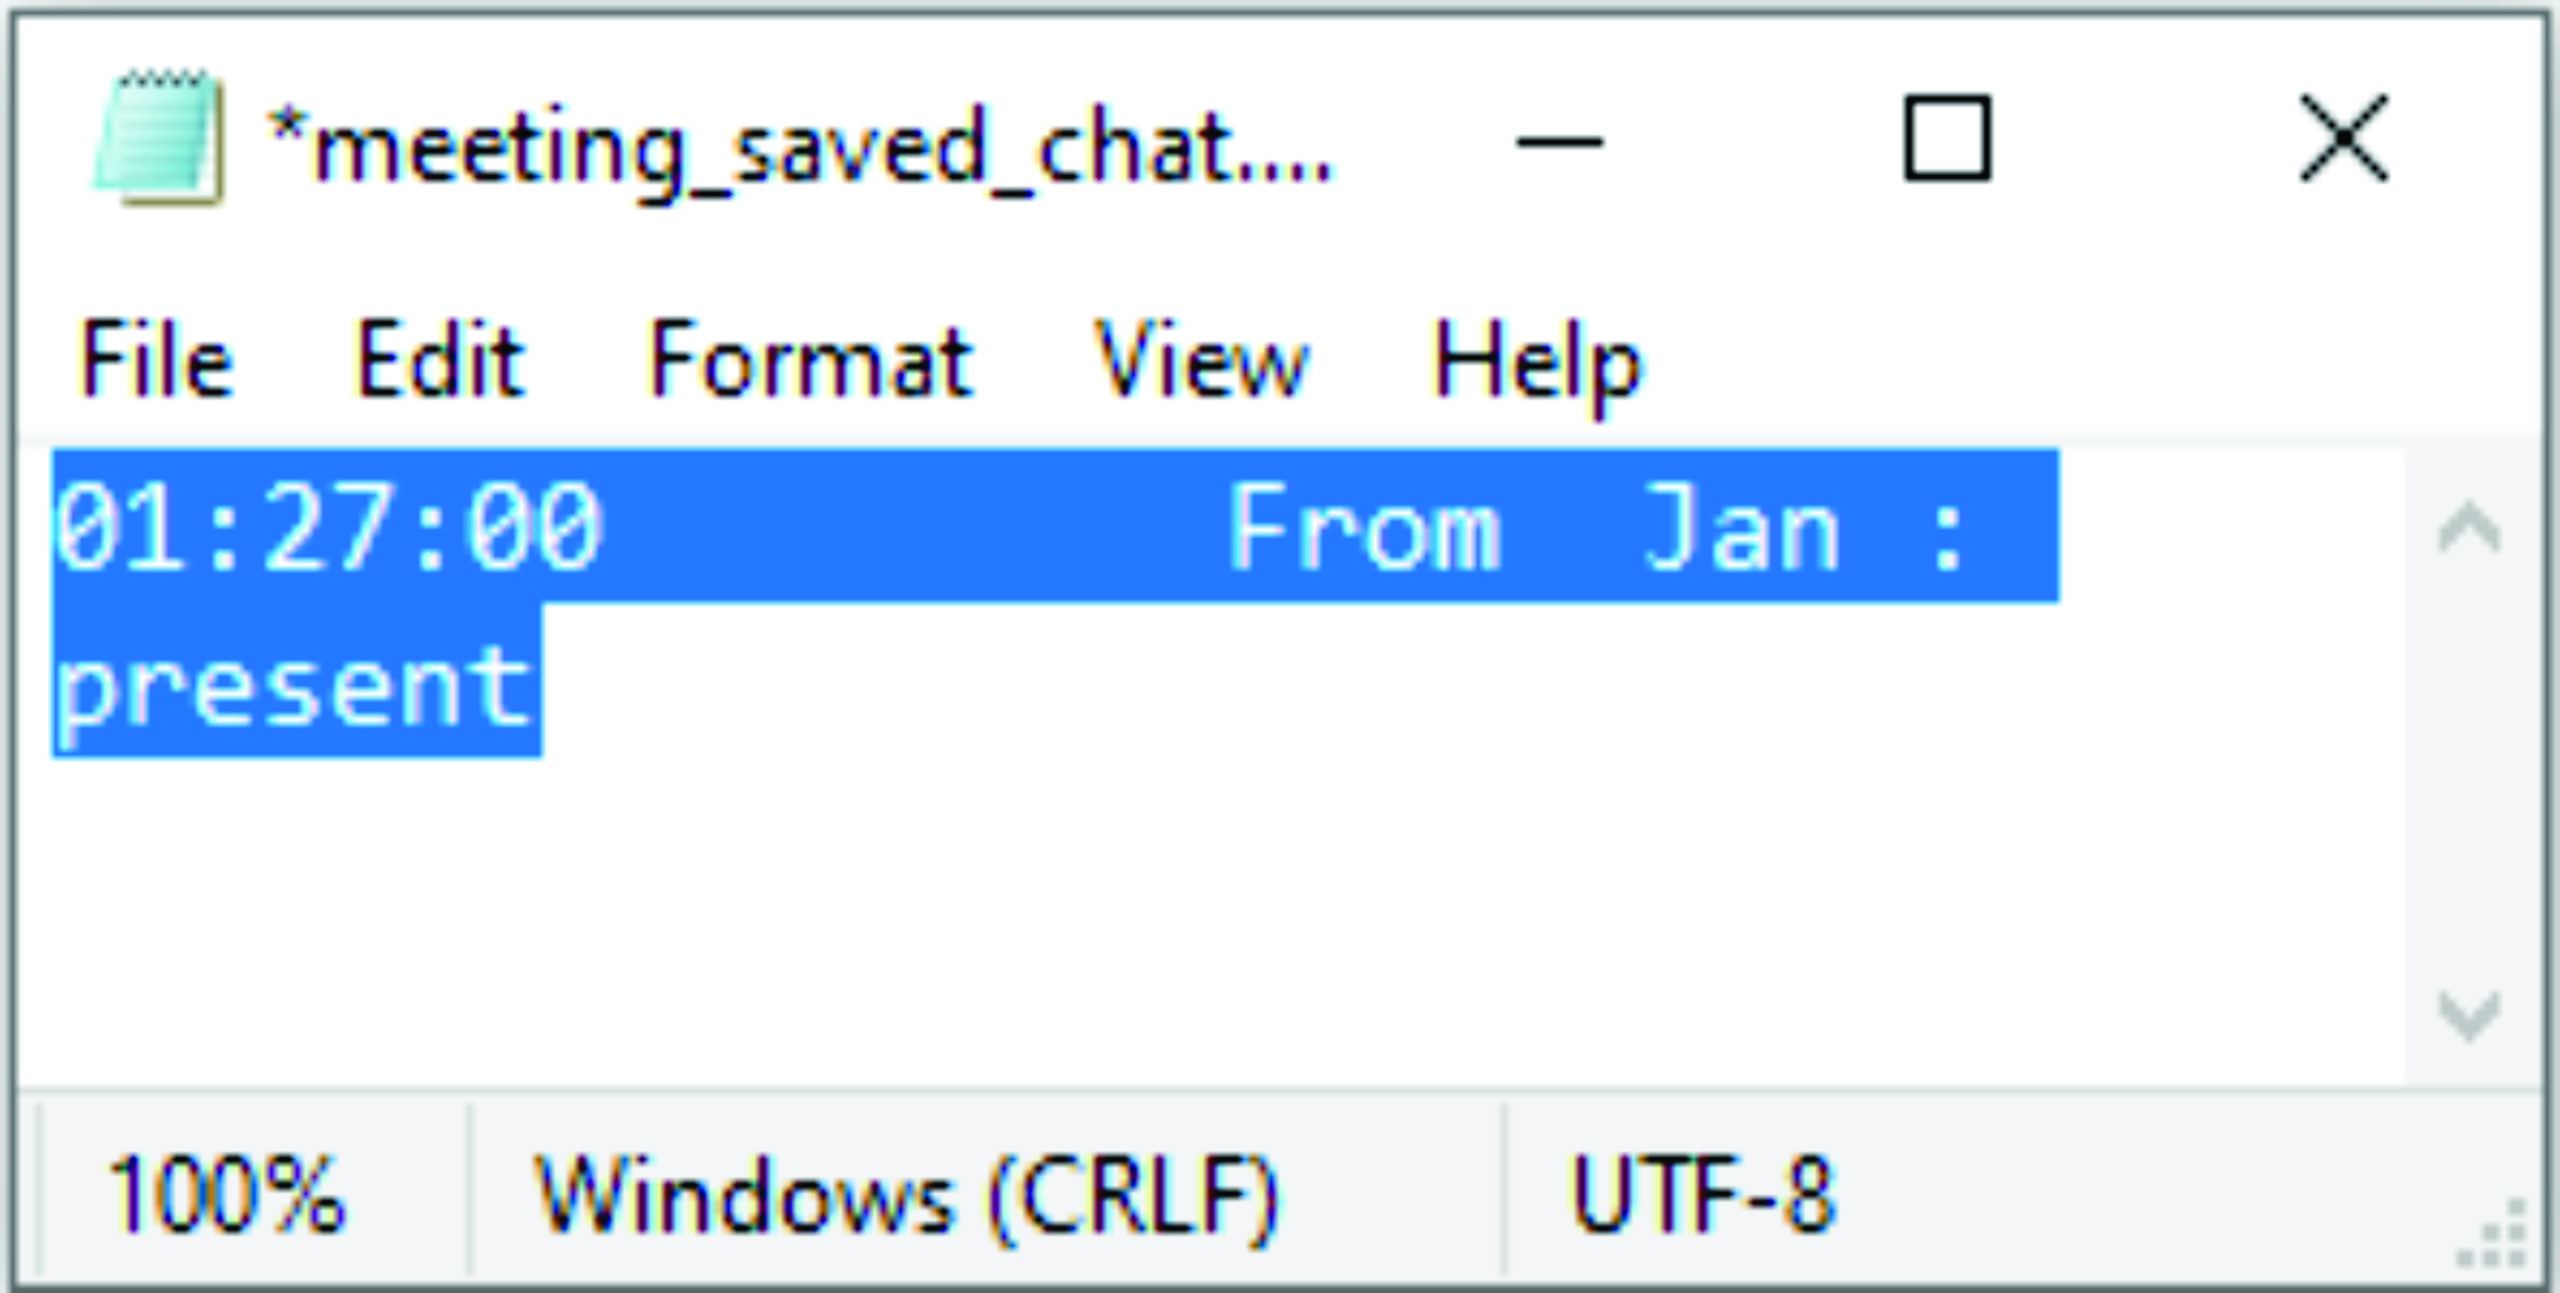
- Click on “Save chat.”
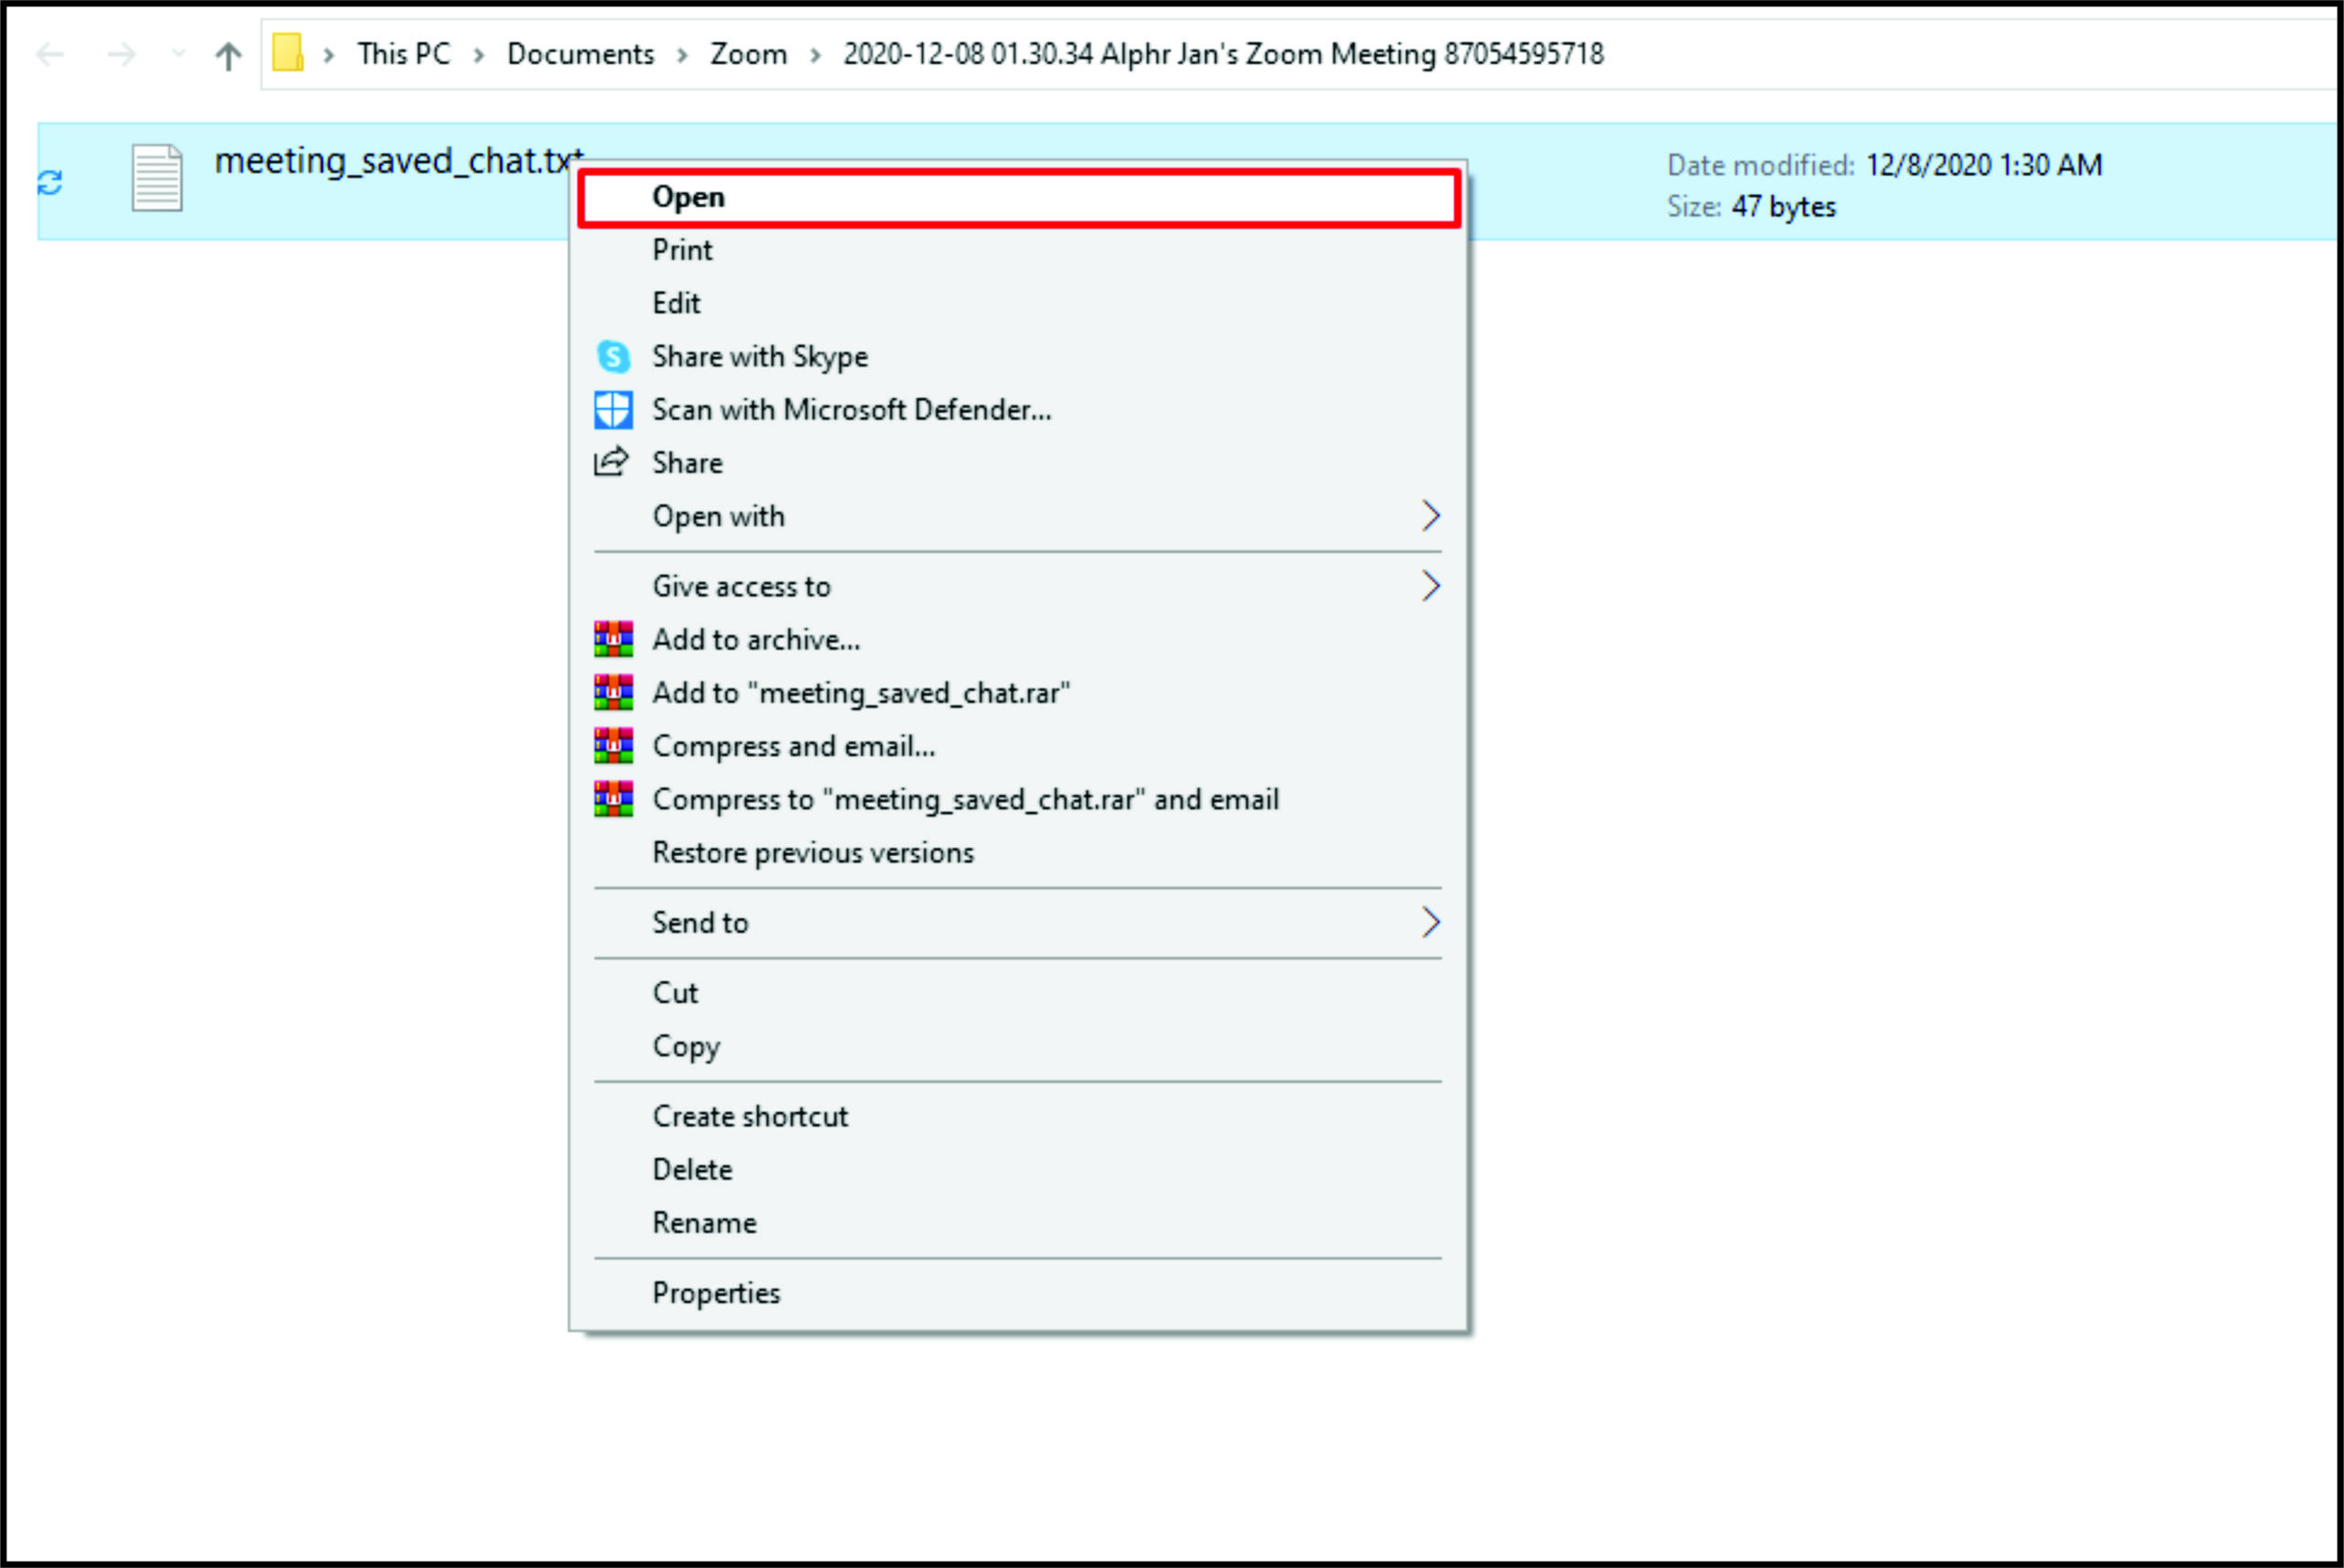
- Go to your documents and find this file.
- Open the file.
- Copy the data.
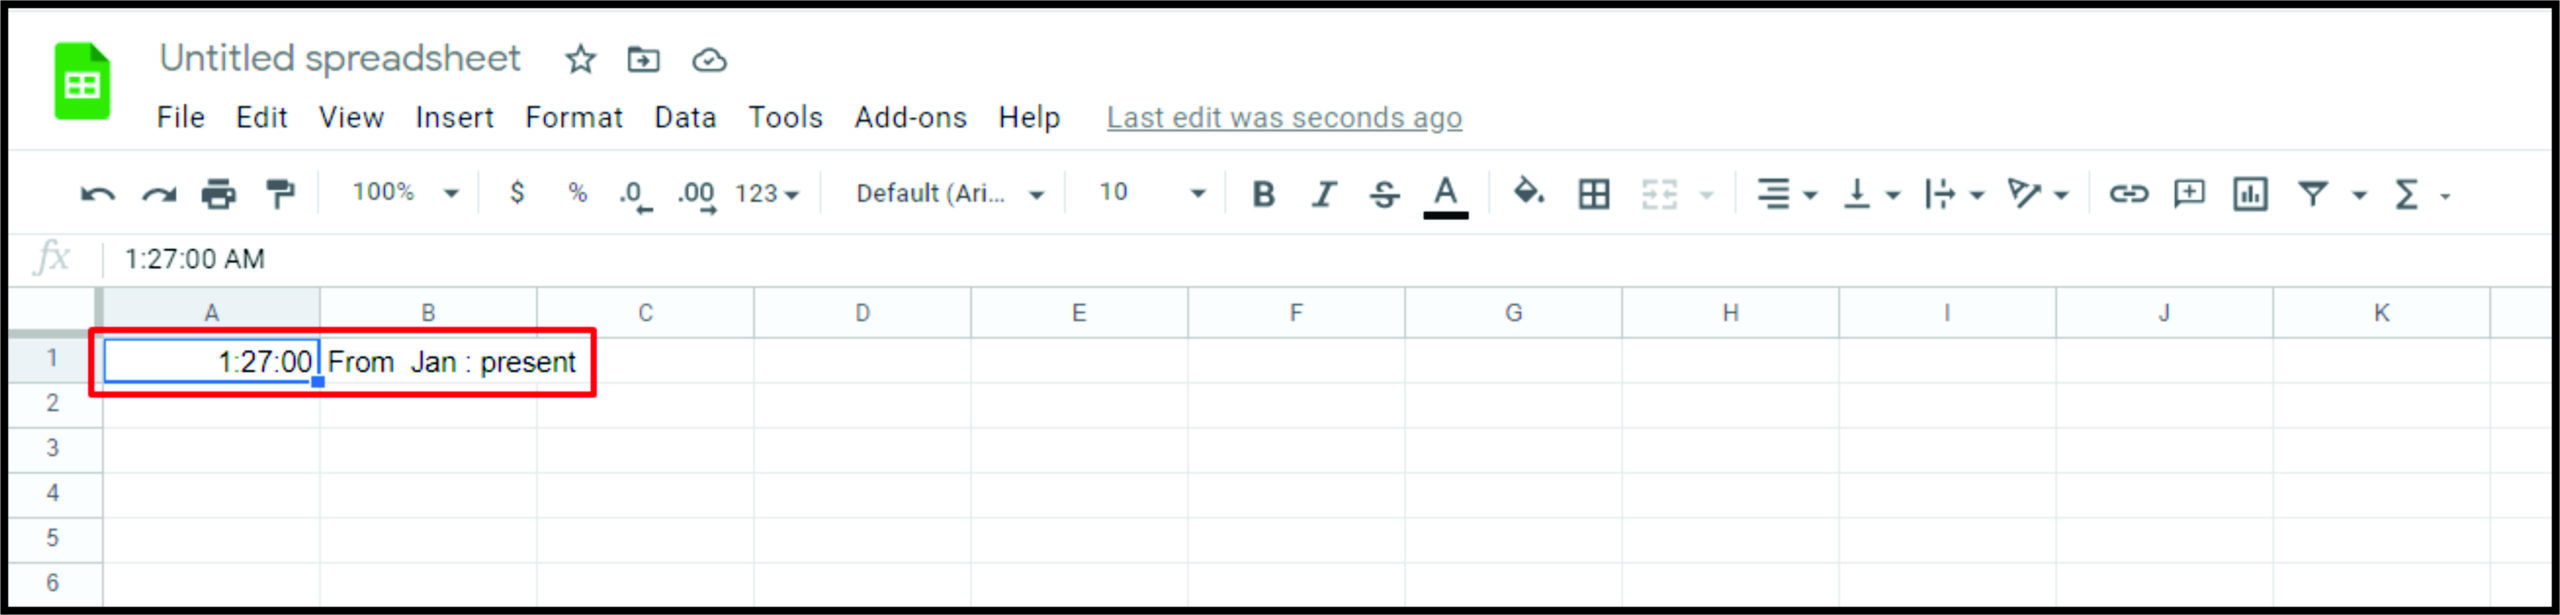
- Paste it to Excel or Google Sheets.

There you have it. However, there’s one problem. Because some participants might be typing at the same time, their names will be in a random order, based on who sent a message first. Don’t worry, as there’s an easy way to sort their names alphabetically. Here’s how to do it:
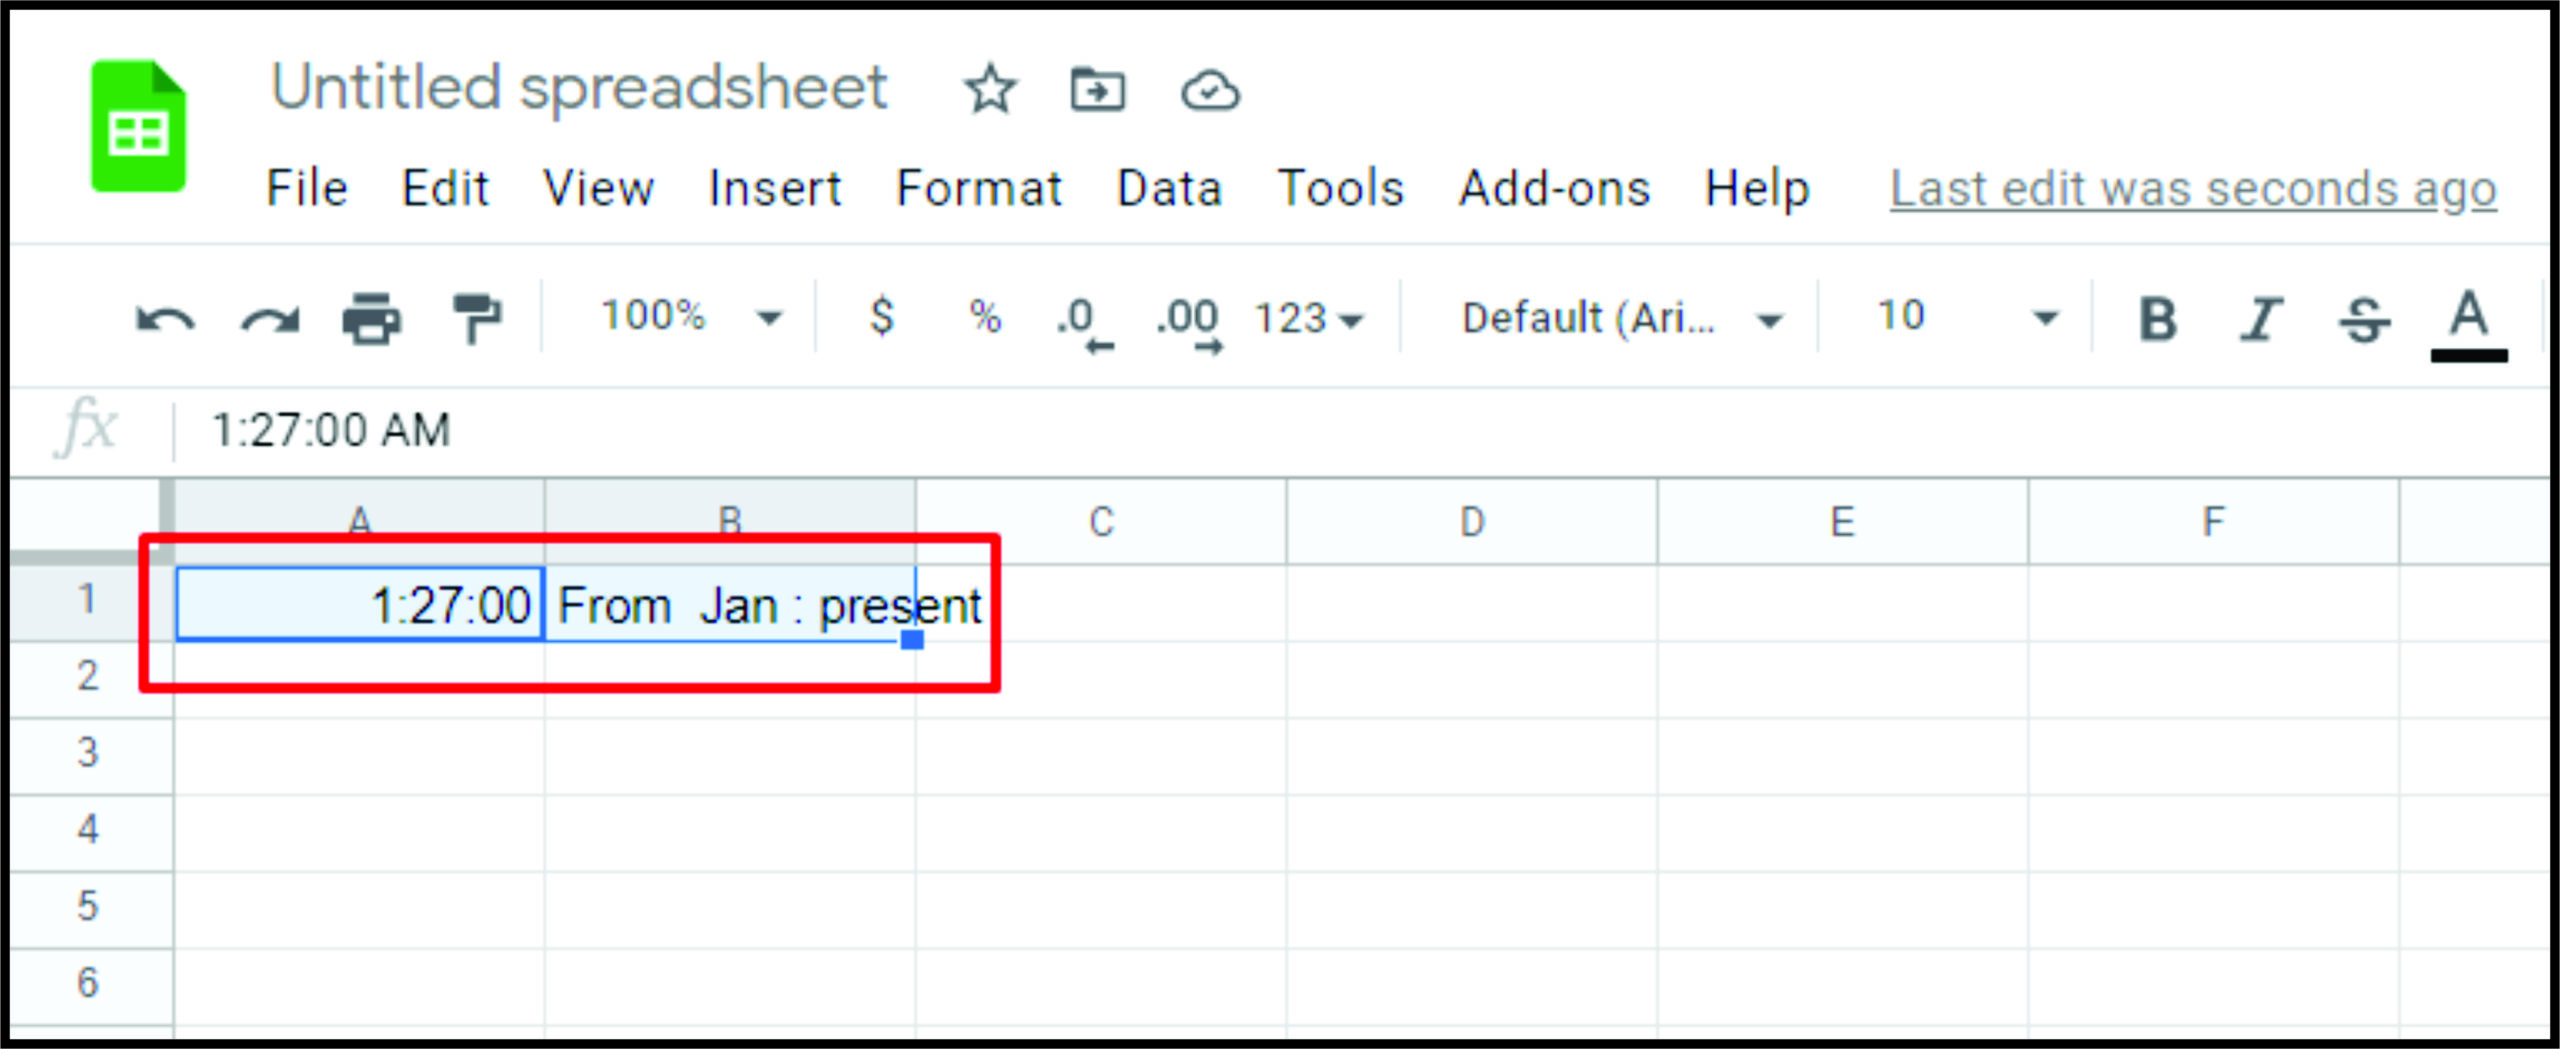
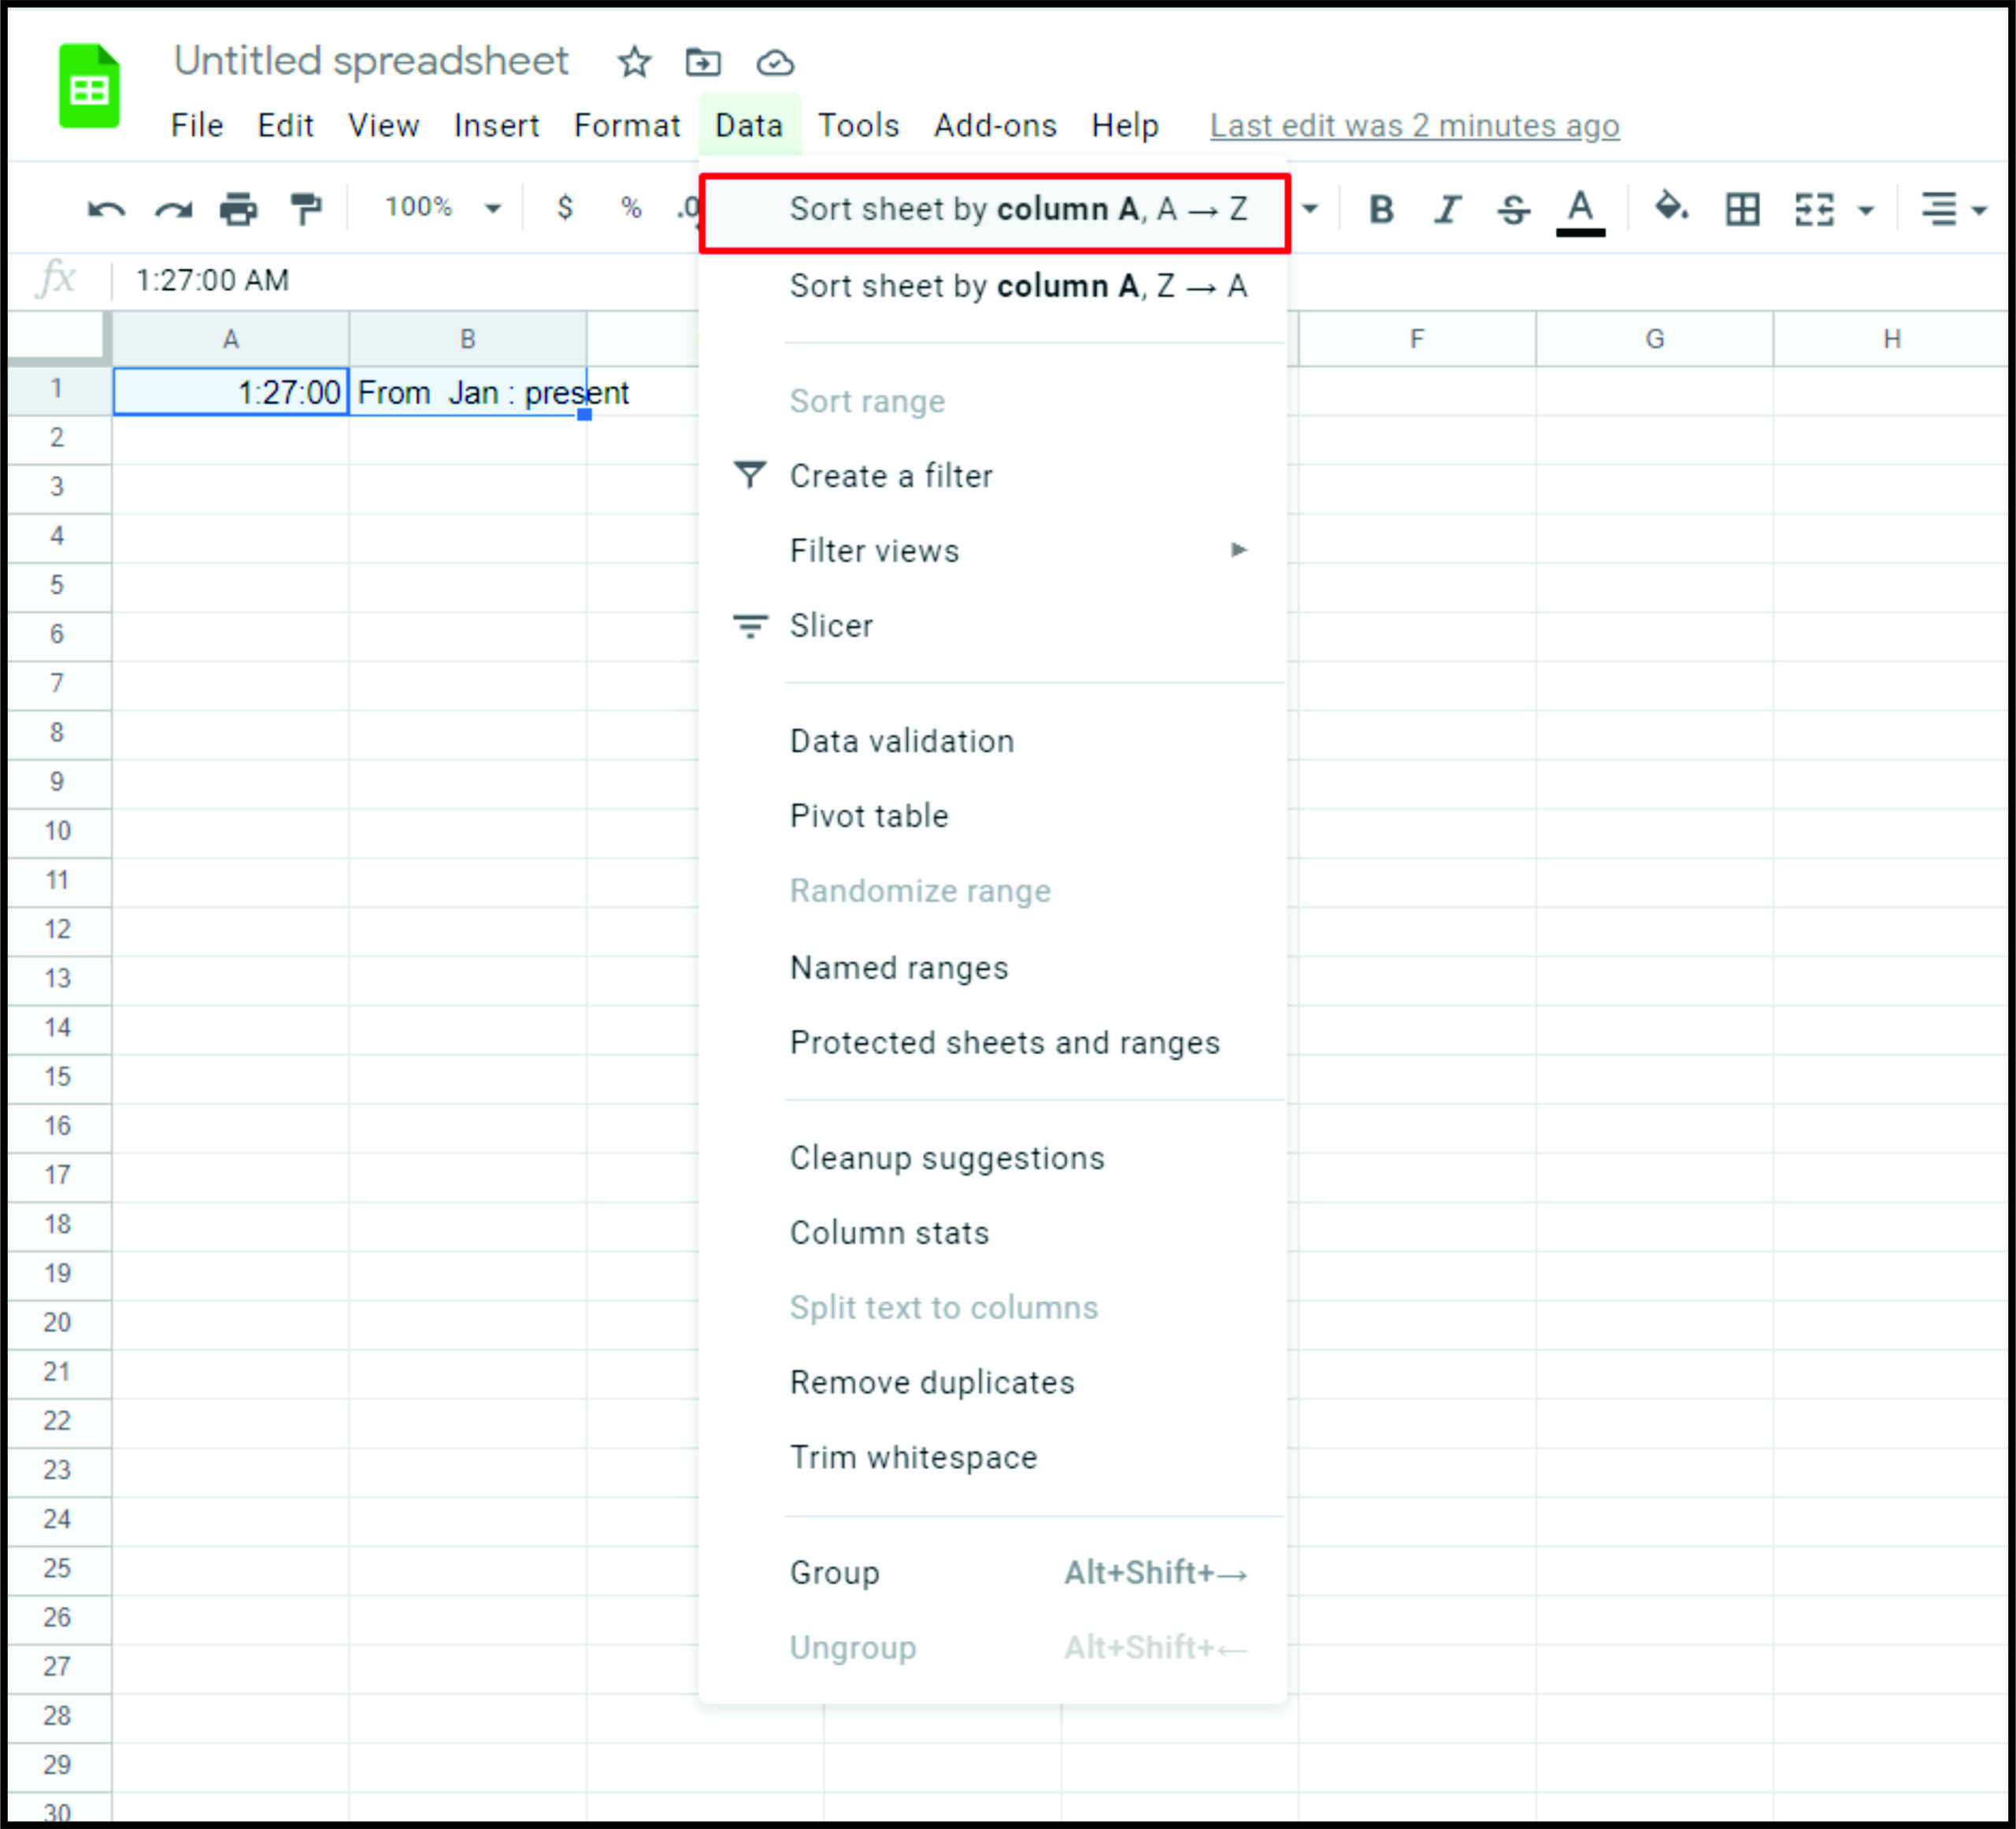
- Select the column containing names.
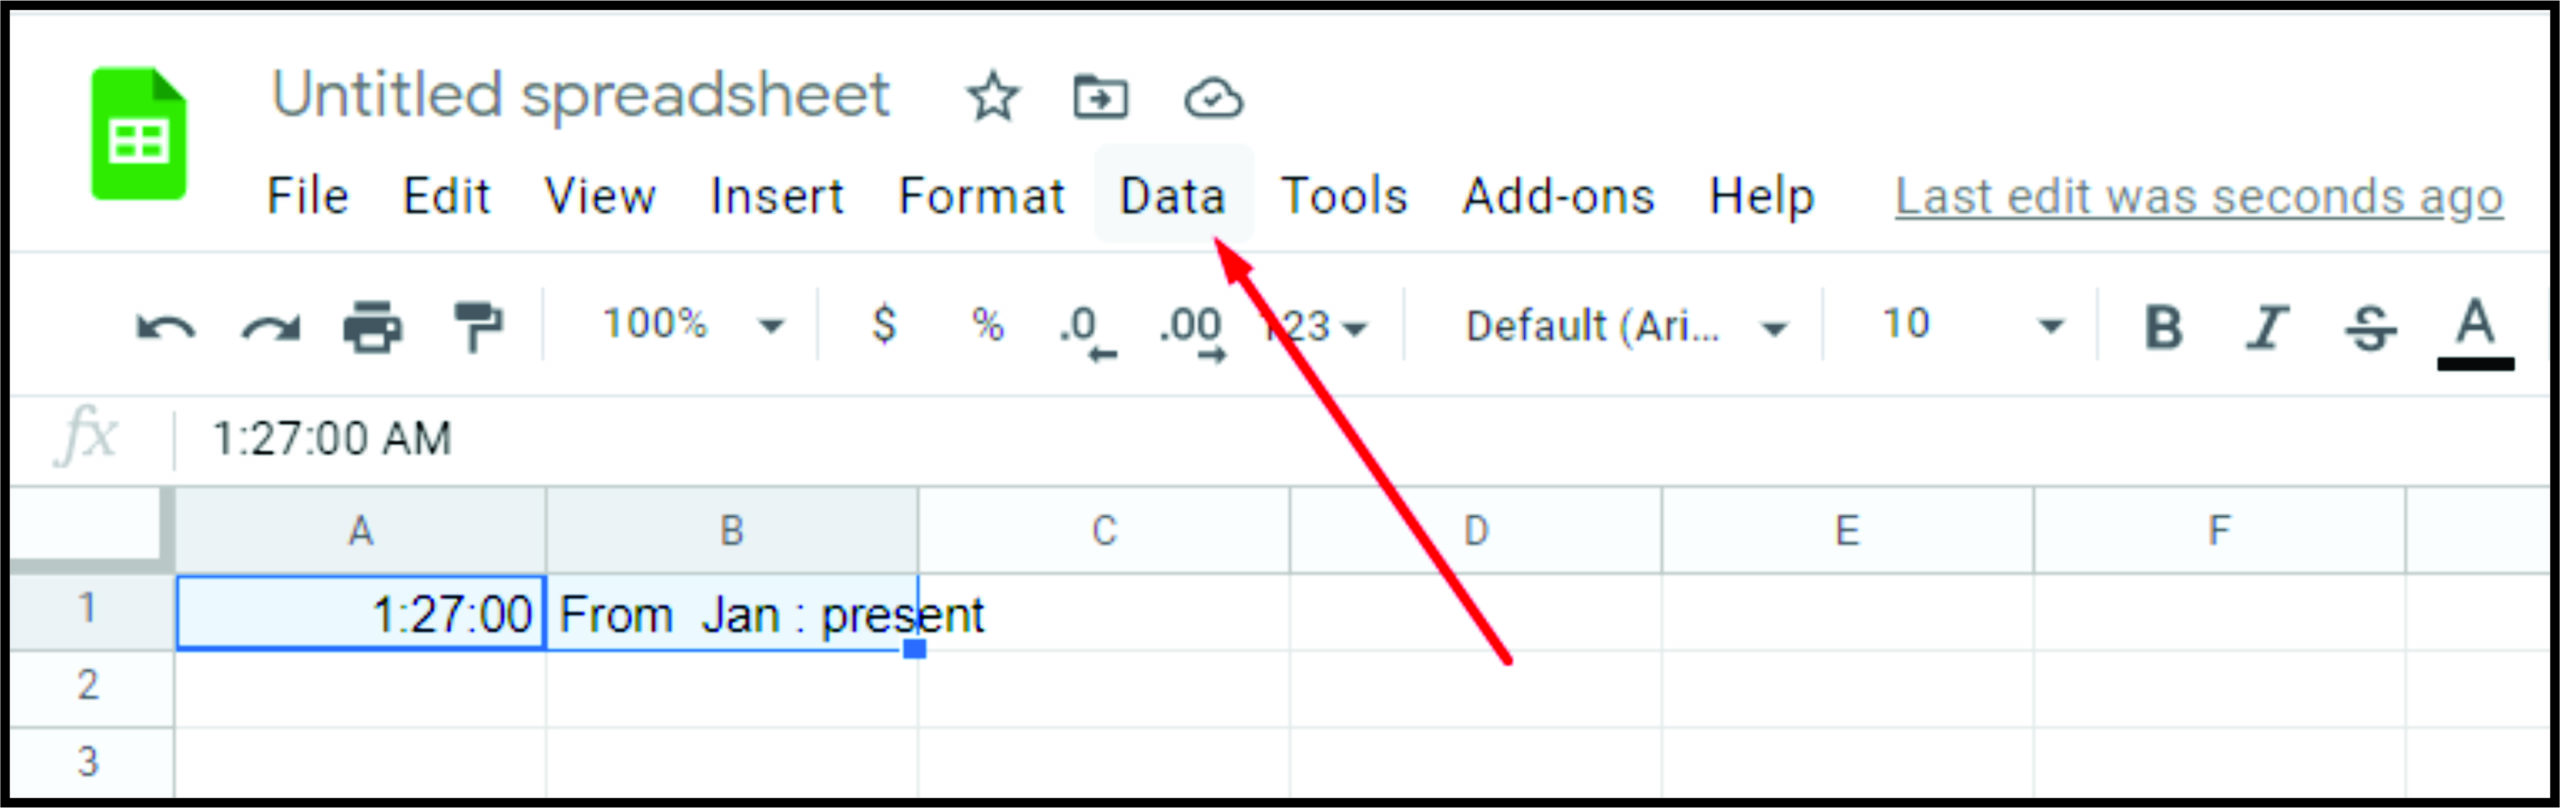
- Click on “Data.”
- Select the “Sort from A to Z” option.
That’s it. It may seem like a lot of work, but in the end, you’ll have a nice and organized list of all the participants. The most important thing is to remember to ask people to comment in the chat, as that’s the only way to get their data. Some teachers do this as soon as they start the lesson, but others do it randomly during the lesson to check who is actually listening and paying attention.
How to Take Attendance in Zoom Without Reports
If your meeting didn’t require registration, you might not be able to get the report afterward, even if you have a Premium Zoom account. Don’t worry, as there’s an easy way to take attendance even when you don’t have a report.
You can launch the poll during the meeting and ask all participants to respond. After the meeting, all you have to do is export the poll and see who was present. We’ll now explain how to create a poll and use it to gather data. We suggest you create a poll before the meeting starts so that you can do it without stress. Just make sure that the meeting is already scheduled.
- Log in to your Zoom account.
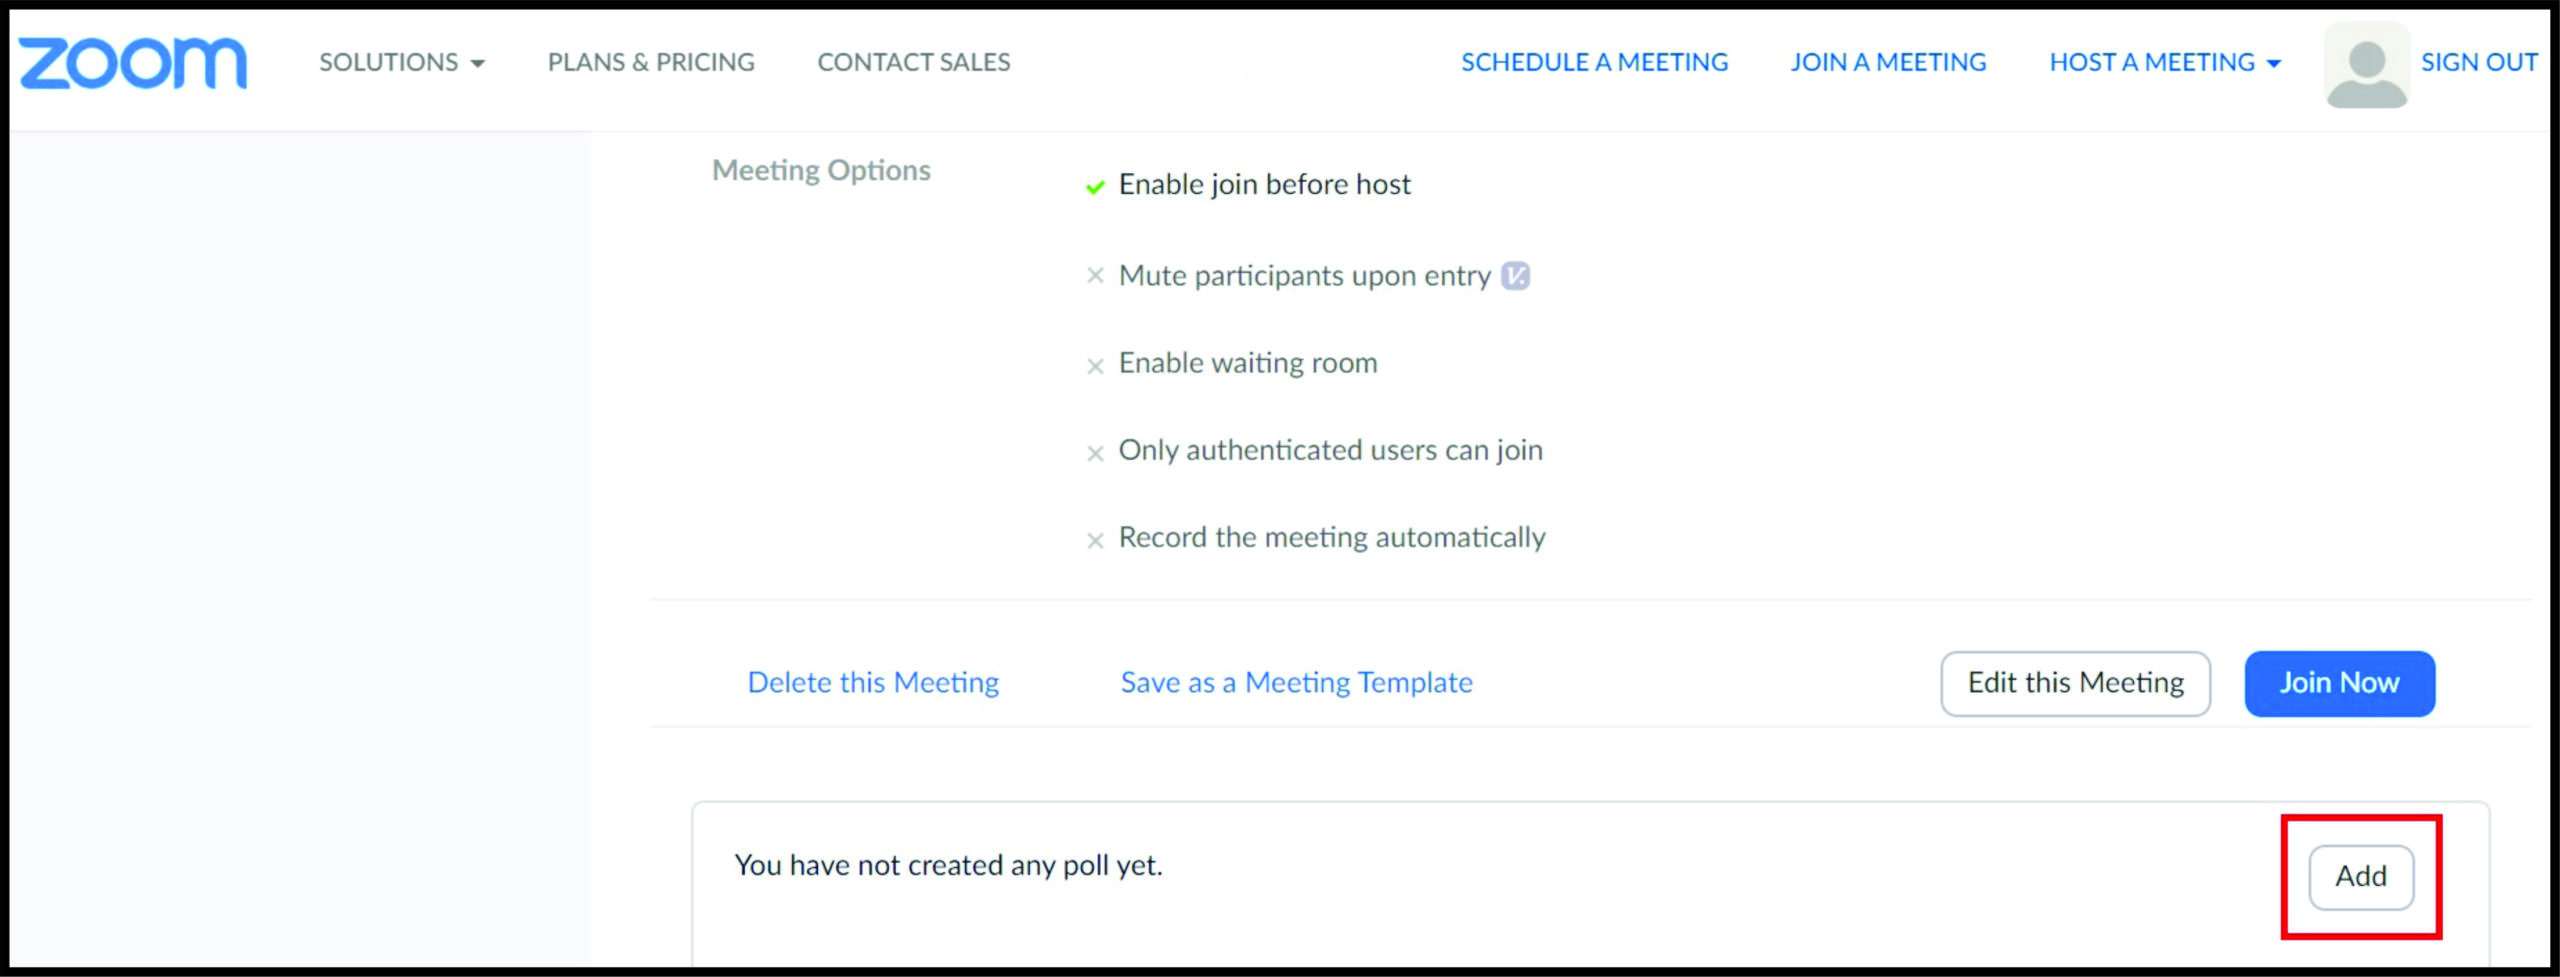
- Select the scheduled meeting and choose “Polling.”
- Select “Add.”
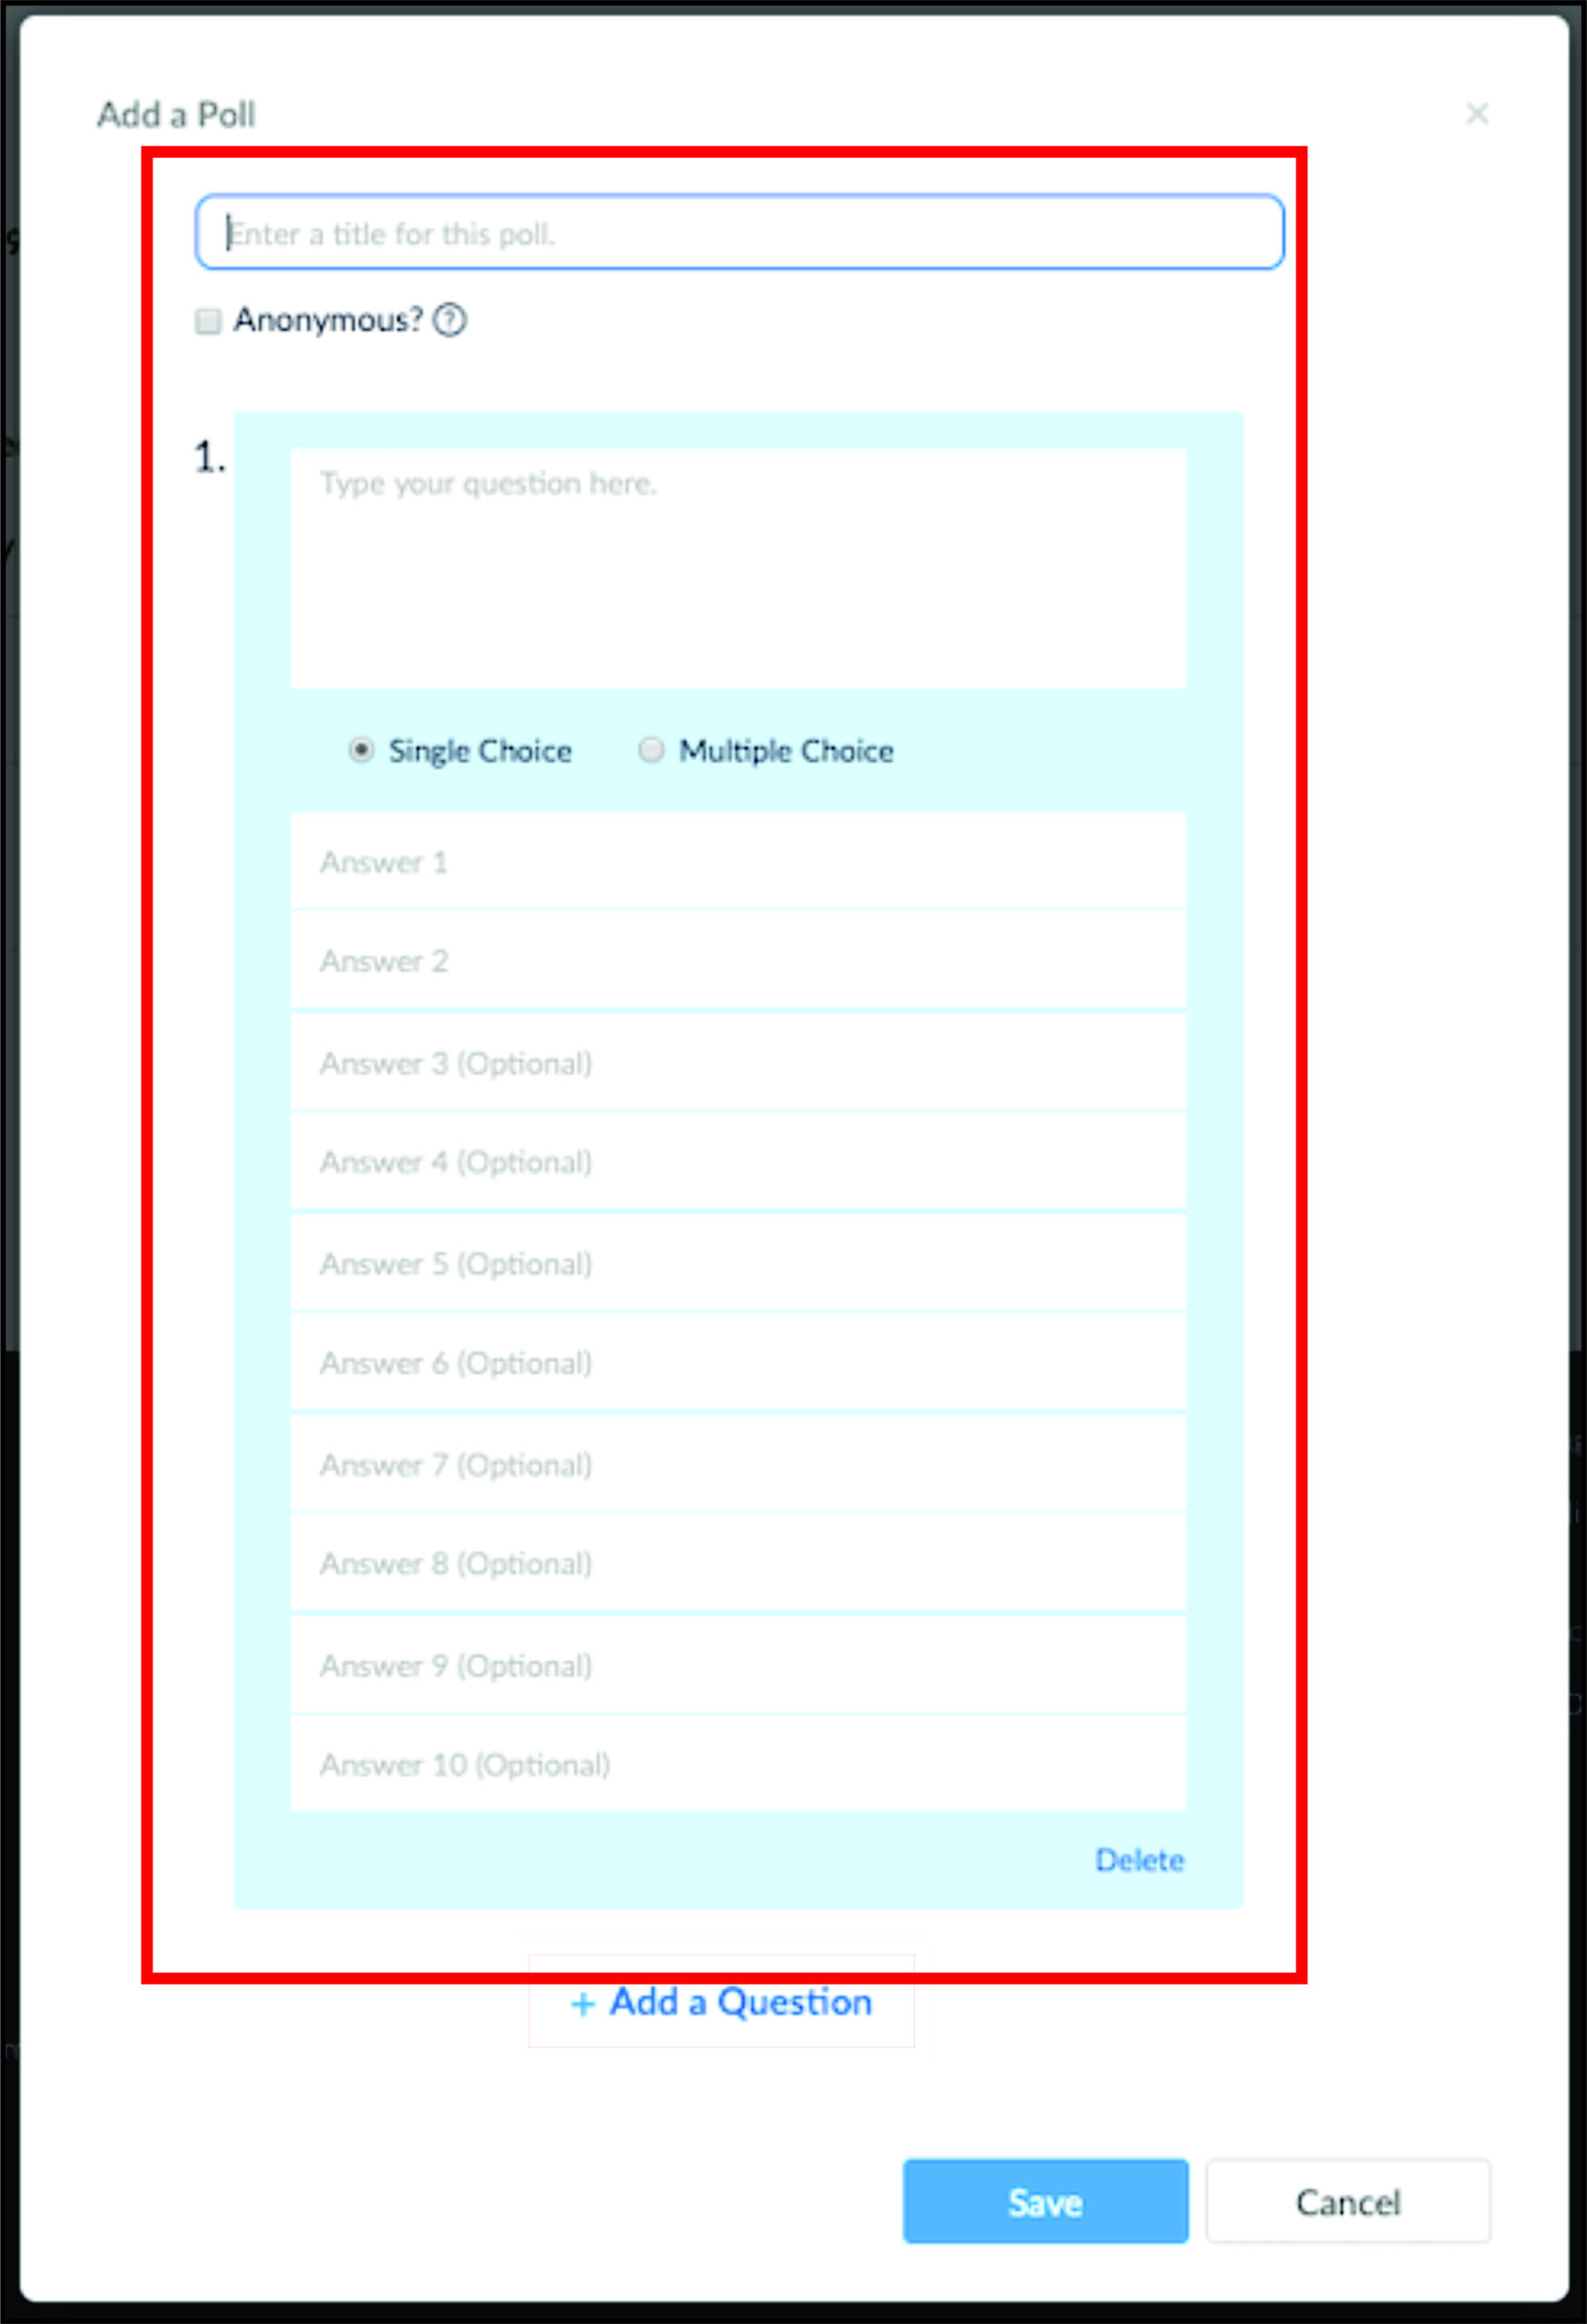
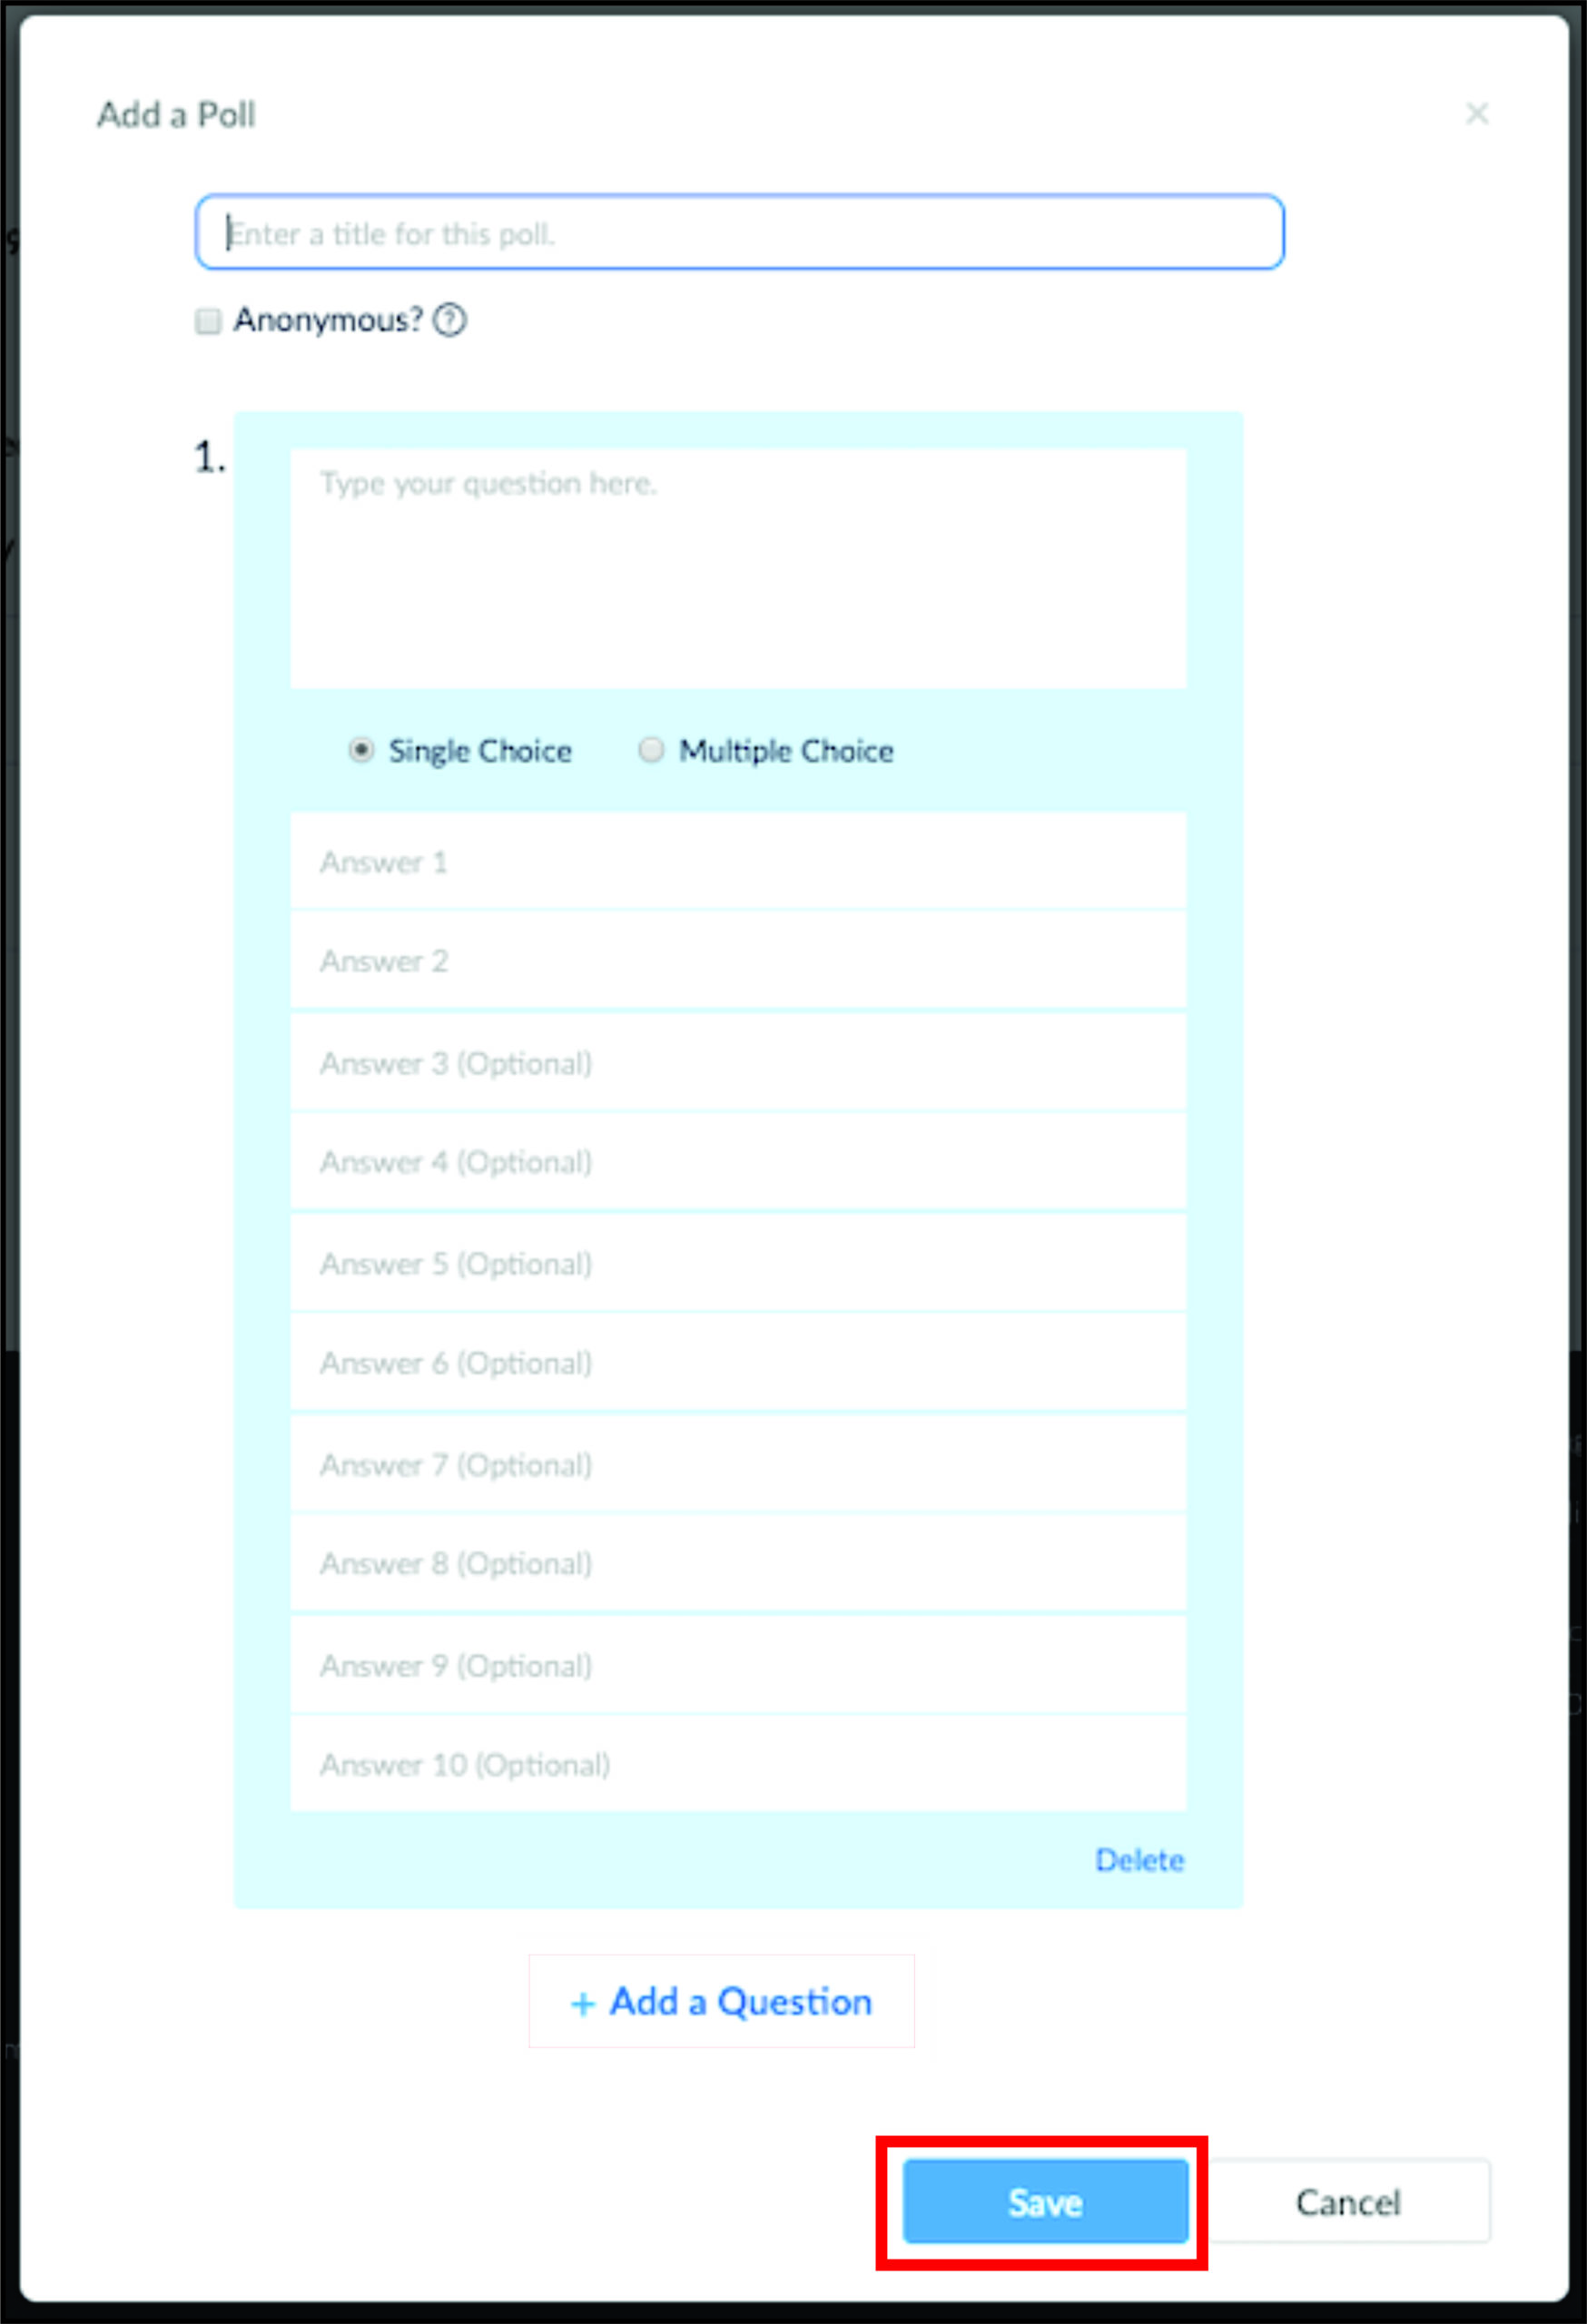
- Create a new poll by adding the title, questions, and possible answers.
- Click on “Save.”

You’re now ready to start the meeting. Here’s how to launch your poll during the meeting:
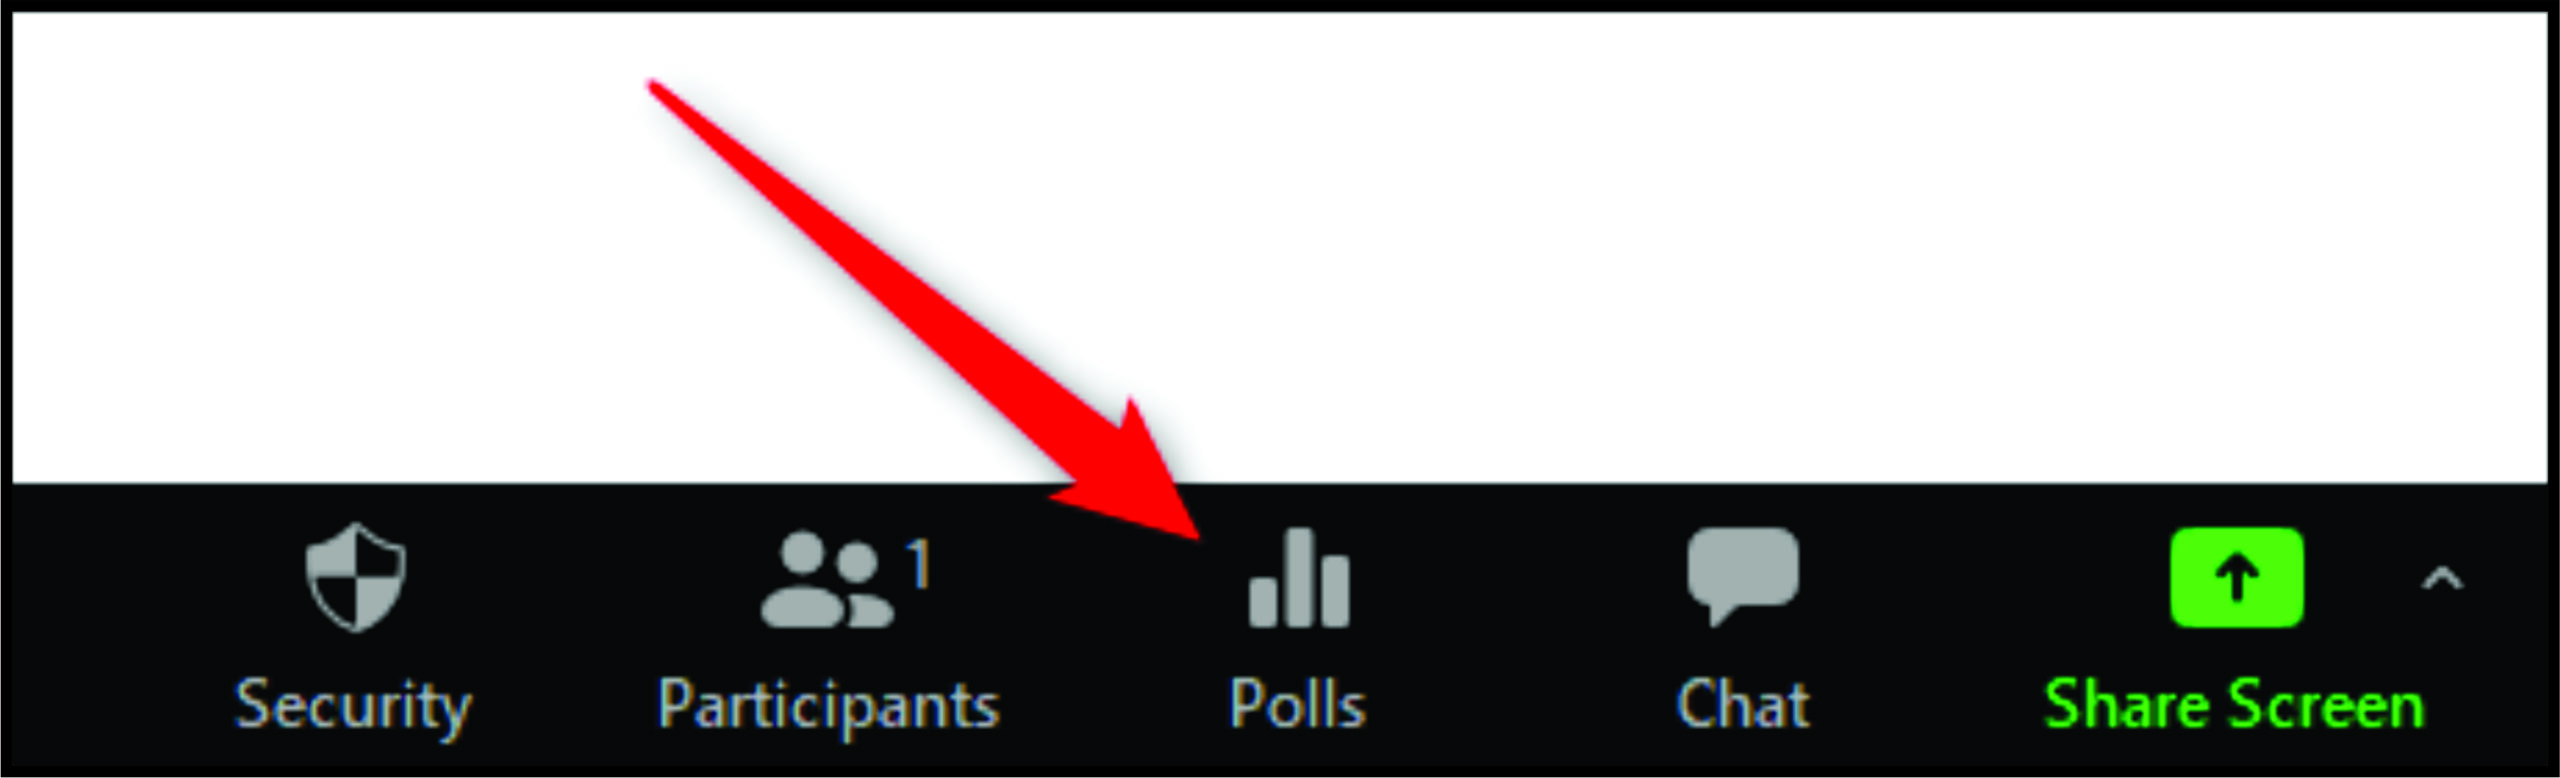
- Select “Polls.”
- Click on “Launch Poll.”
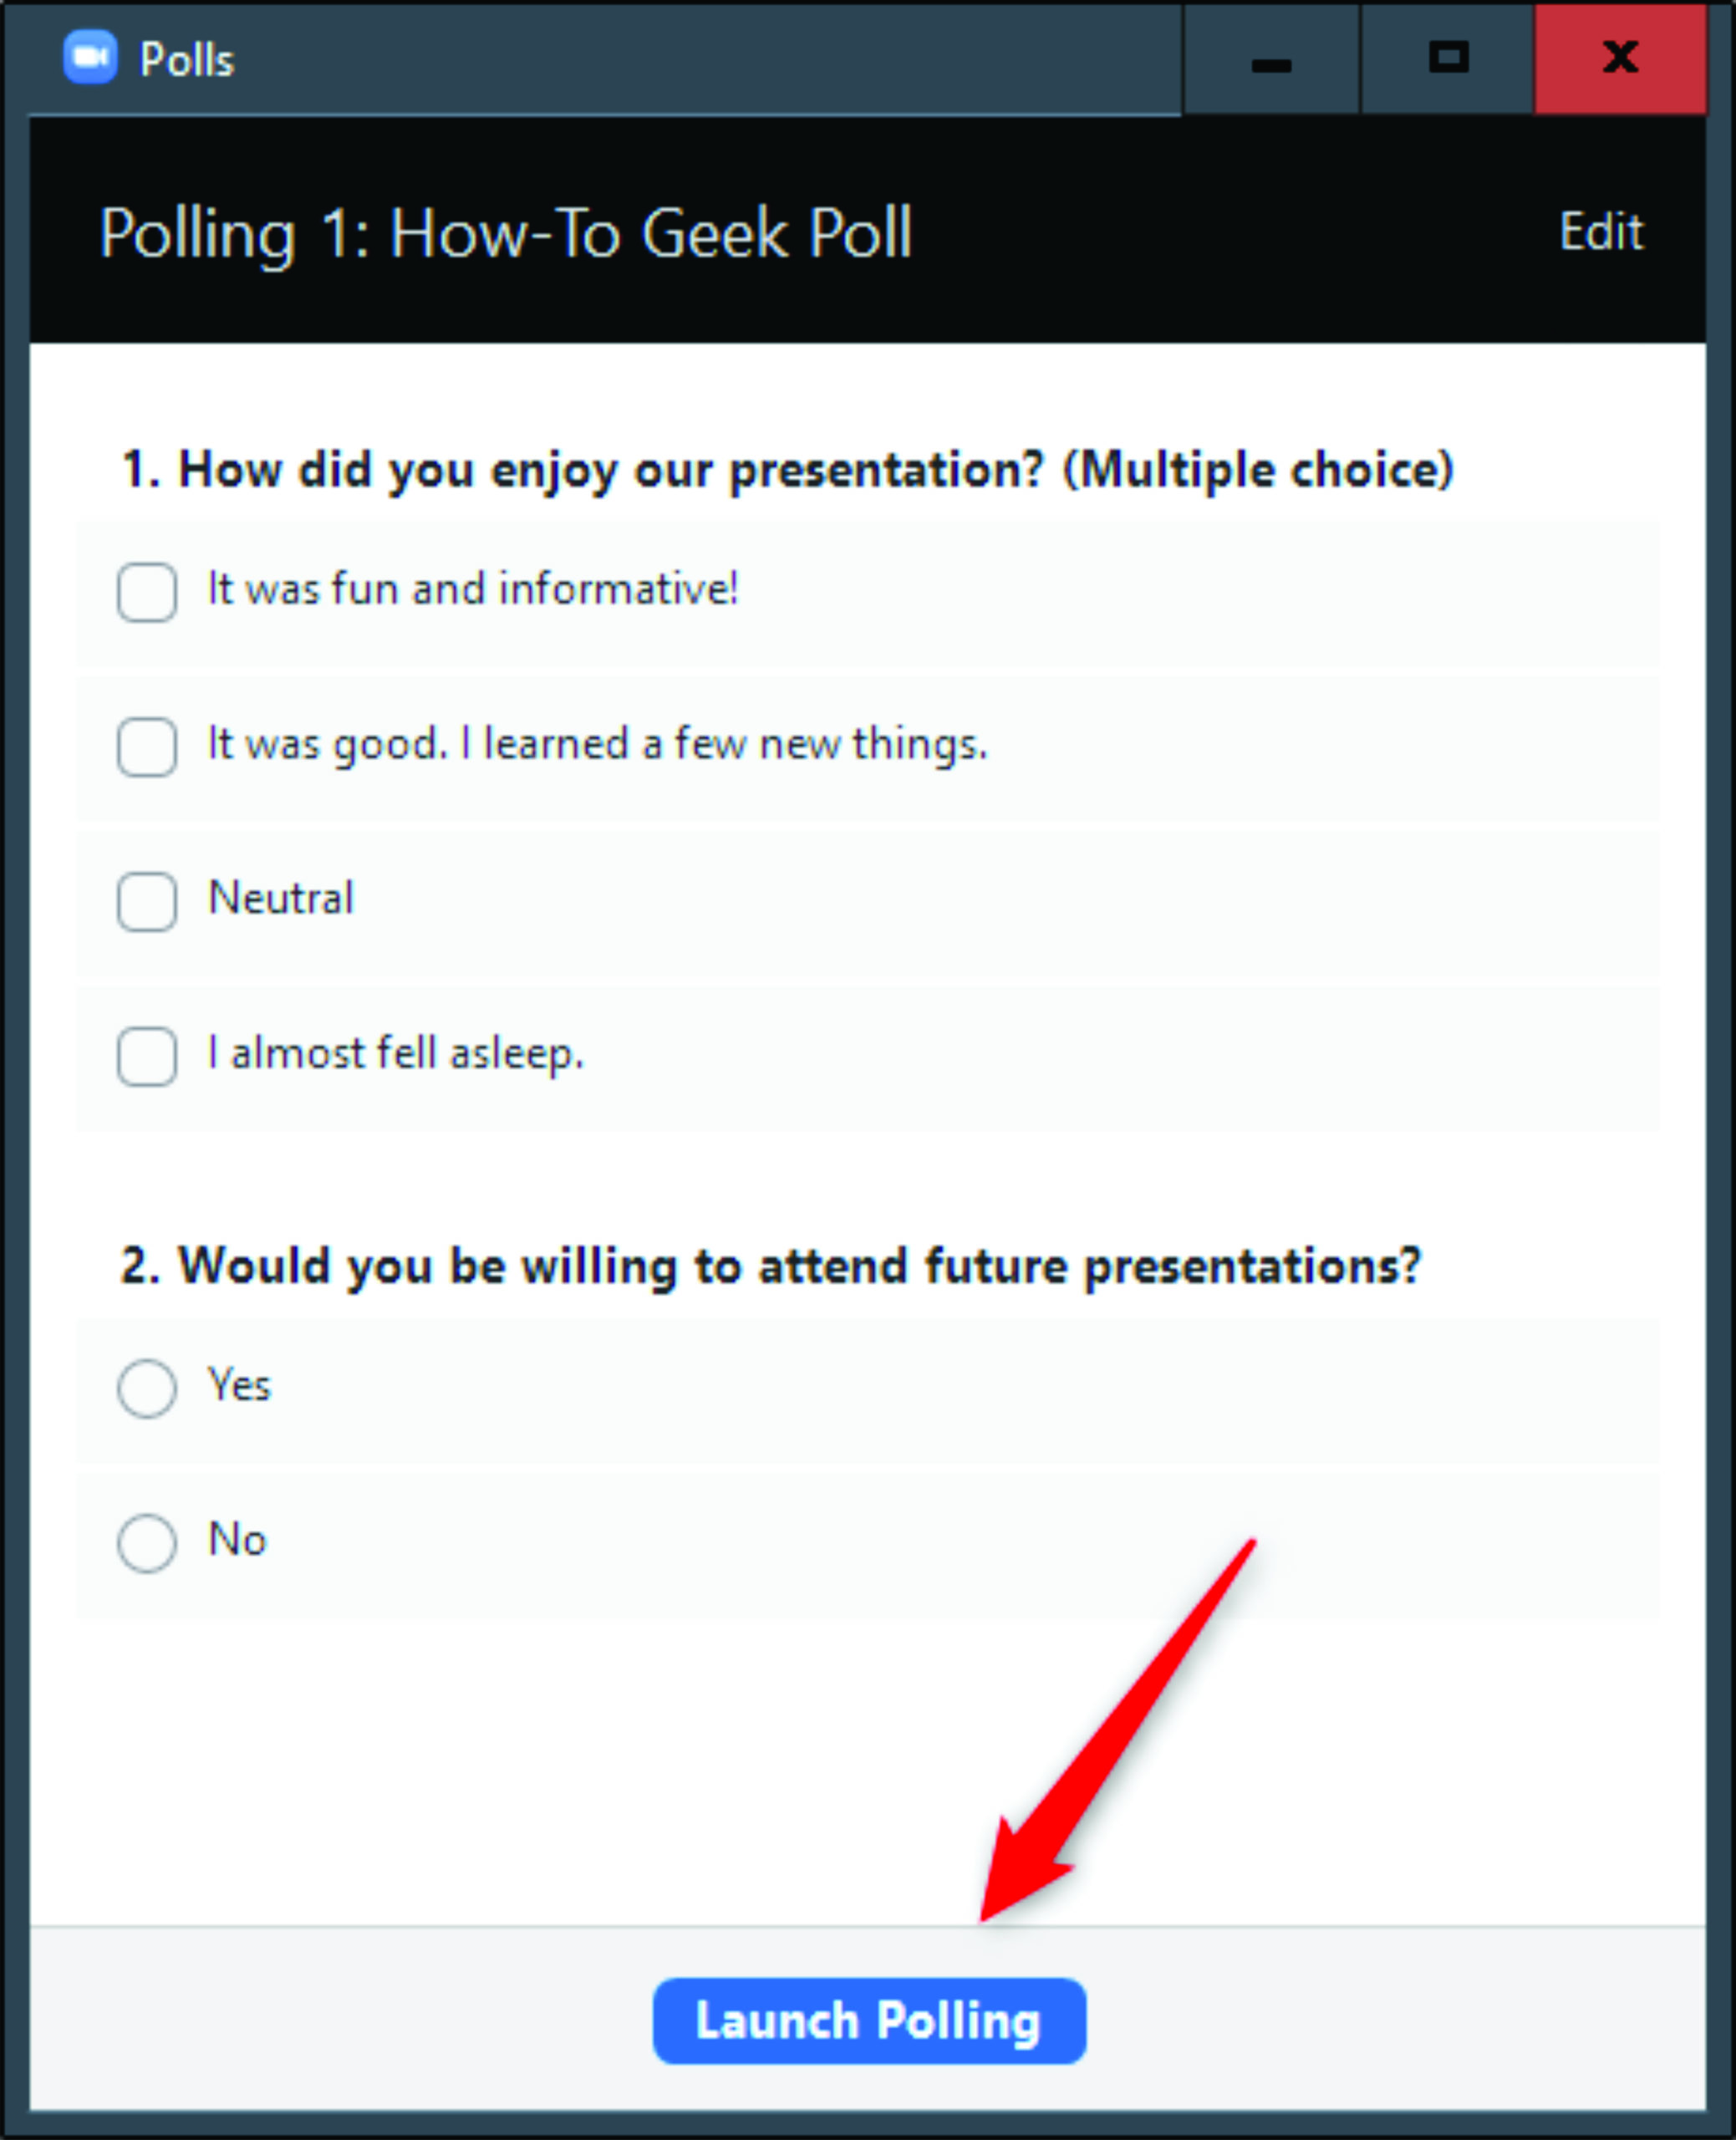
You can leave the poll open during the meeting or close it at a certain point. All you have to do is click on “End Poll.” You’ll be able to see the results of the poll in real-time, so you can track who is there and who is not. Of course, you can also download the poll once you end the meeting and export the data to Excel.
Note: If you’ve created anonymous polls in the past, this may be your default option on Zoom. Make sure to turn it off because if the poll is anonymous, you won’t be able to get users’ names and emails afterward.
Additional FAQs
Can Faculty Take Attendance in a Zoom Meeting?
Yes, they can, and there are many ways to do it. Most faculties ask participants to register for a meeting before they attend. This step is essential because attendees’ names won’t appear in the report if they fail to register. But even if there’s no pre-registration, you shouldn’t worry too much. You can always launch a poll during the lecture to check who’s there.
You should know that if you use polls, you can’t just open the meeting and then do other work on your computer. You can miss the poll as they usually last only a few minutes. If the attendance is obligatory, you may need to pay attention during the whole lesson, in order not to miss something important like this.
How Do I Run an Attendance Report in Zoom?
It’s essential to create a registration form for participants and to do this before the meeting begins. If you do so, you won’t have to do anything during the meeting. Zoom will automatically gather and sort the data for you. When the meeting is finished, go to your Zoom profile and click on “Reports.” Select “Usage reports” and then choose the “Registration report.”
You can view the data there, or you could export the whole file and save it as an Excel file. Remember that the attendance report may not be available immediately, and you may need to wait 30 minutes after the meeting has ended to gather the data.
Does Zoom Track Attendance?
A free version of Zoom can’t track the attendance, but the Premium version can do so. However, Zoom won’t track attendance automatically unless the host enables this option before the meeting starts.
In fact, you need to create a meeting that requires registration before the meeting begins. That’s the only way for Zoom to track whether someone has attended or not. What’s more, it can record the time a participant entered the meeting, and when they left, as well as the total time they’ve spent in the meeting.
Track Attendance with a Click
One of the best things about online lectures and online events is that you don’t have to track attendance manually. In the past, teachers had to waste a lot of time during the lecture to check who was present and who wasn’t. Zoom makes this process much easier, and you can do it in a matter of seconds, even if you don’t have the Premium version.
Have you tried one of the methods we described above? Which one works best for you? Let us know in the comments section below.
Disclaimer: Some pages on this site may include an affiliate link. This does not effect our editorial in any way.