While using Google Sheets or other table editing software, you can often input more data than the cells are able to display properly. When that happens, wrapping text can be your best friend. The wrap text function will adjust the height of your rows to show everything inside the cells.
This article will tell you how to enable text wrapping on all devices you use for Google Sheets.
How to Wrap Text in Google Sheets on an iPad
Google Sheets are renowned for their ability to transcend platforms. You can use them on your phone, tablet, or PC, and have all the tables with you wherever you go. If you’re using Google Sheets on your iPad, the steps are simple:
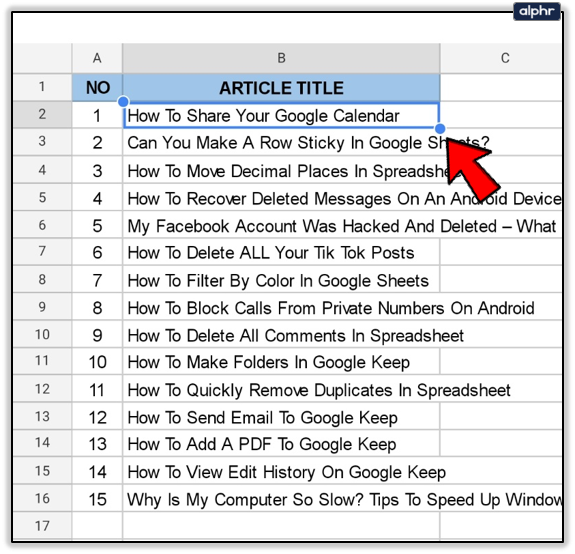
- Select the cell you want to wrap the text for.
- If you want to select multiple cells in an area, drag the blue selection marker to cover all of the required cells. You can click on a row to select all the cells in that row. The same applies to columns.
- You can press the cell above the rows and left of the column markers to select every cell in the table.
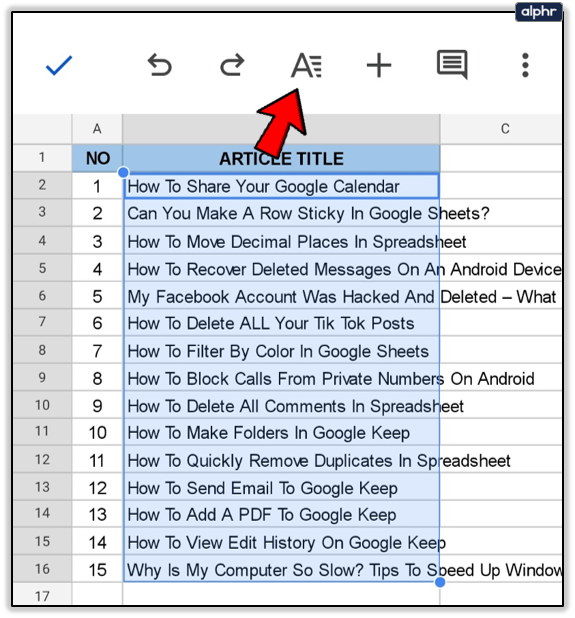
- Press the formatting button on the top – it looks like an A with four lines to its right.
- Select the Cell tab in the menu. Scroll down until you see Wrap text.
- Turn on the Wrap text feature.
- Tap on the sheet to save your changes.
How to Wrap Text in Google Sheets on an iPhone
If you’re accessing your sheets through an iPhone, follow a similar set of steps:
- Open the Google Sheets App and the document you need to edit.
- Select the cell you need to wrap text in or drag the selection area to cover all the cells you need to format. You can select rows or columns by pressing on their appropriate number or letter or select the entire table by pressing the top-left cell (above the row markers).
- Press the formatting button on the top menu.
- Select the Cell tab and scroll down to the Wrap text option.
- Turn Wrap text on.
- Tap on the sheet to save your settings.
How to Wrap Text in Google Sheets on an Android device
Using Google Sheets in Android is just as simple:
- Open the document you need to edit.

- Tap the cell that needs to be formatted. You can move the selection area by dragging the blue circle around. You can select an entire row or column by pressing on its number or letter. You can select the whole table by pressing the cell to the left of the column marker.

- Press the formatting button (the A with the little lines) on the top menu.
- Select the Cell tab, then scroll down until you see the Wrap text option.
- Turn the Wrap text option on.
- Tap on the check mark to save your formatting settings.


How to Wrap Text in Google Sheets on a Windows, Mac, or Chromebook PC
If you’re using a PC, Google Sheets doesn’t have a dedicated app. However, it works perfectly on any browser of your choice. Once you open the document you need to work on, wrapping text is easy:
- Click on the cell you need to format. You can select an entire row or column or multiple cells by selecting them together. You can also click the top-left cell to select the whole table to format at once.
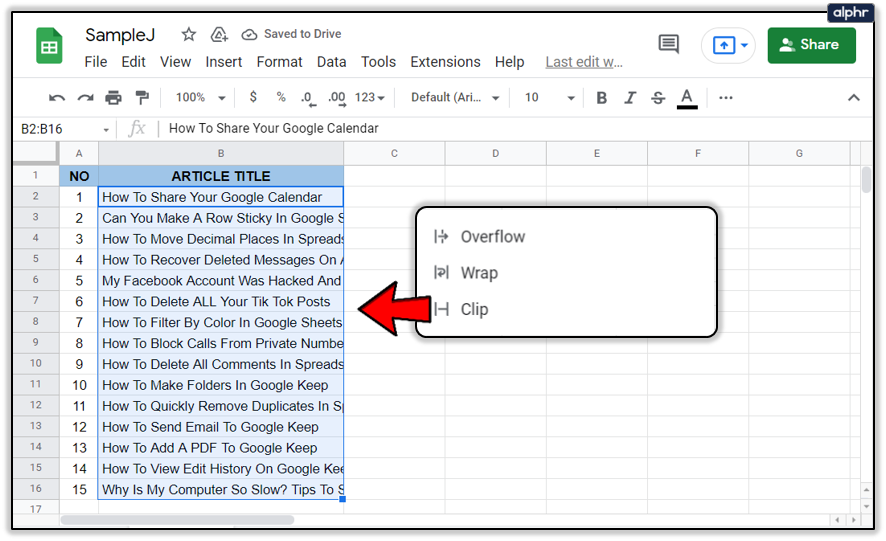
- In the menu on the top, click Format.
- When you hover over Wrapping, you will see three options.
- Select the Wrap option to wrap the text and adjust your cell’s height automatically.
- You can select the Overflow option to have the text flow into the next cell. It might make your table more difficult to read.
- The Clip option will cut off the text visually to fit inside the current cell size. You can click on the cell later to show its full contents.
Device Links
00px) 100vw, 500px" />


Additional FAQ
What exactly does wrapping text in Google Sheets do?
There are three main modes of text wrapping.
1. Overflow is the default mode in Google Sheets. When this mode is on, any additional text will go over into the next cell. Text overflow will usually make your table hard to read. If the cell that text would overflow into is not empty, Google Sheets will visually clip the overflowing content instead. You can click on the cell to show its entire contents in the top menu.
2. Wrap will adjust the height of your cell (in terms of rows) to fit the entire content of the cell visually. That means that if one cell in the row has text wrapped around, all cells of that row will be one row taller.
3. Clip means that any content beyond the current size of the cell is hidden. You can click on the cell to show the entire text. You may not want to wrap your text if there’s one cell that is abnormally large compared to all the other cells in the table, as that will make your table look lopsided. You may also want to avoid wrapping the text for cells that contain links, as they can get excessively long and disrupt the entire table as a result. Clipping the links will hide them in the background. Alternatively, use hyperlinks instead, as they are more readable by default.
Before deciding to use text wrapping, play around with adjusting the length of your cells. Note that longer cells are less likely to need it. If your cells frequently contain lists, it’s a good idea to wrap the text to show all of the listed items at once without needing to click on them one by one. Generally speaking, wrapping your text is done on a case by case basis. Your table will generally look more attractive if your text wraps over rather than cutting off at the end of the cell.
The Wrap-Up
Now you know how to wrap text in Google Sheets quickly and efficiently. Use the instructions outlined above to make your next table look much easier on the eye and simpler to navigate. Tables and charts are an essential part of any business meeting, and it would be a shame to have them ruined by incomplete sentences.
When do you use text wrapping in your tables? Do you need to know anything else about Google Sheets? Let us know in the comments section below.
Disclaimer: Some pages on this site may include an affiliate link. This does not effect our editorial in any way.