Device Links
Even though GIMP, the image editing app, isn’t a drawing program, you can still use it to make various geometrical shapes. That said, GIMP doesn’t have a built-in shape tool, so the only way to make shapes in this program is manually.
There are two methods to draw straight lines and geometrical shapes in GIMP, and both will only take you a couple of minutes to learn. In this guide, we’ll show you how to make circles, triangles, squares, and rectangles in GIMP using different tools.
How to Make a Circle
The easiest way to make shapes in GIMP is with the Select Tool. There are two built-in Select Tools: The Rectangle Select Tool and the Ellipsis Select Tool. To make a circle, we’ll be using the Ellipsis Select Tool.
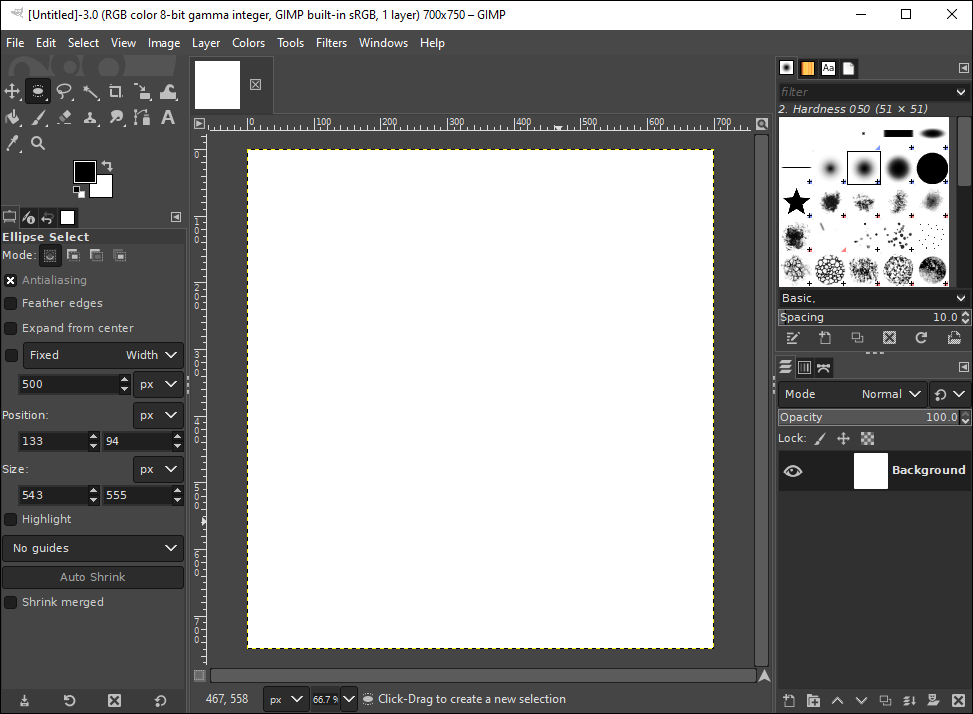
The first thing you need to do is create a new document.
- Open GIMP on your computer.

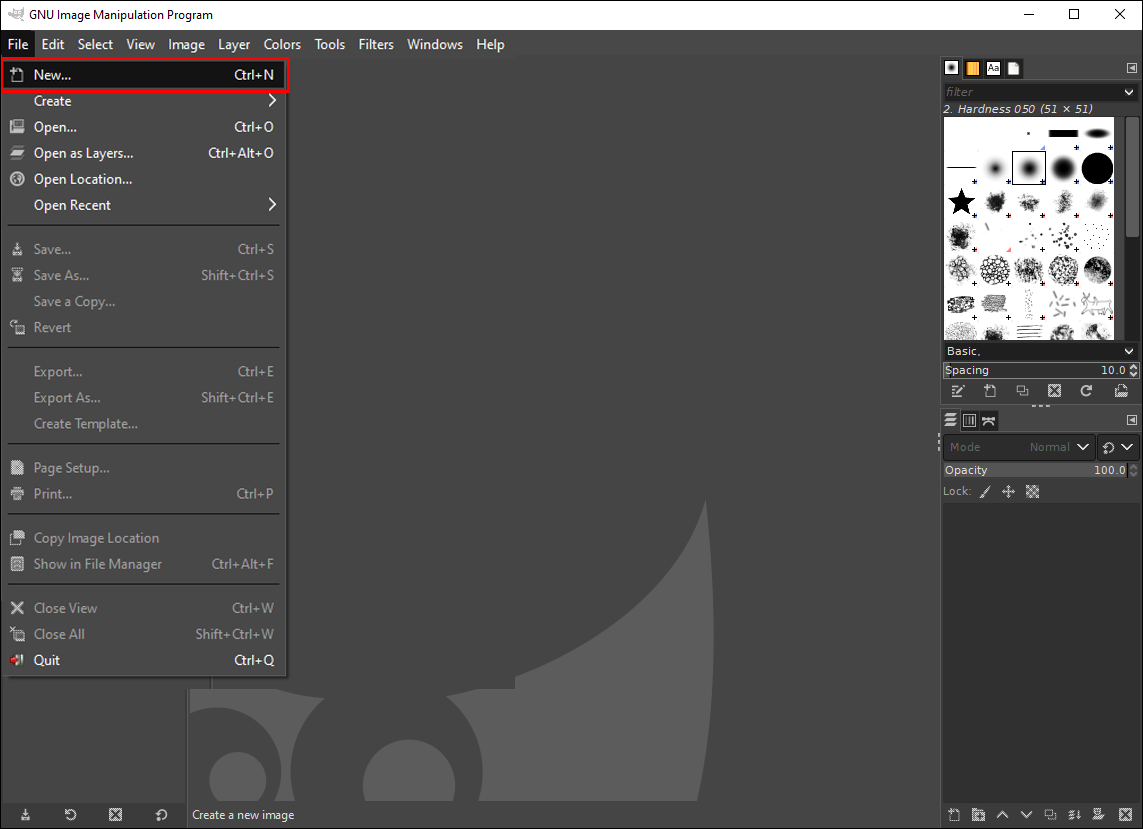
- Select the “File” tab in the upper-left corner of the window.

- Click on the “New” option on the drop-down menu.
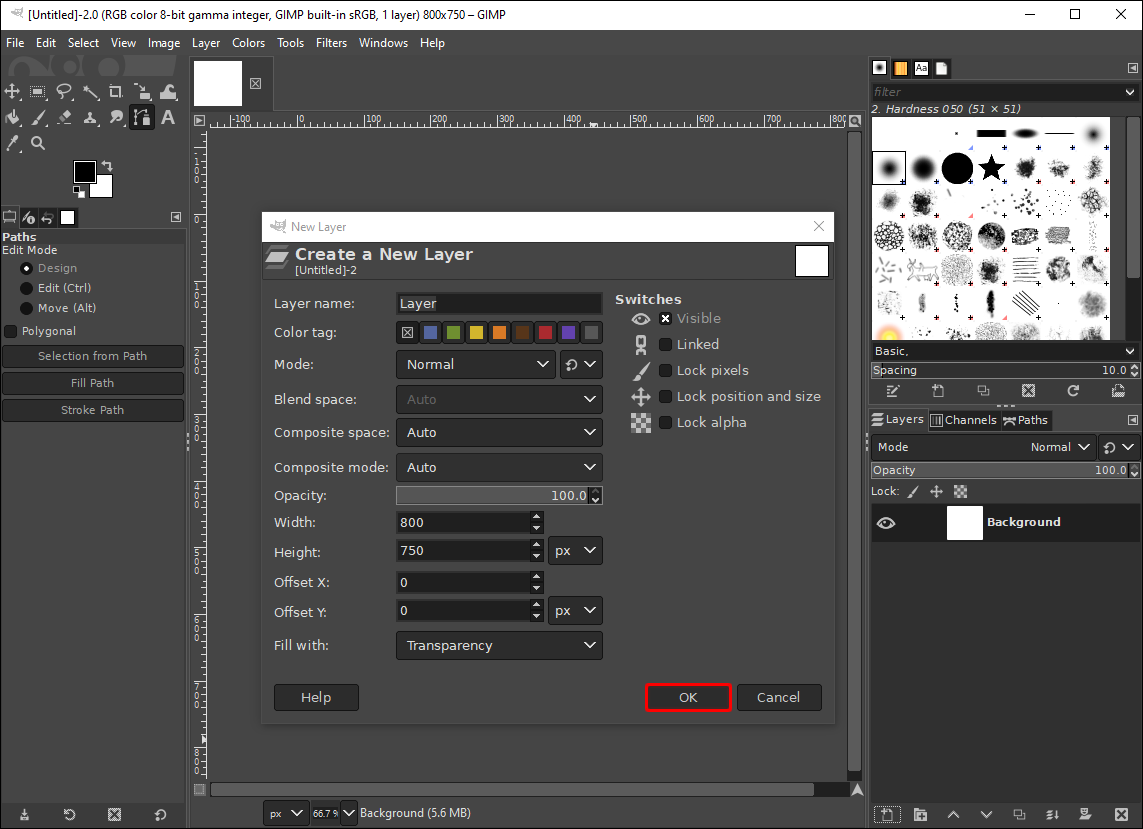
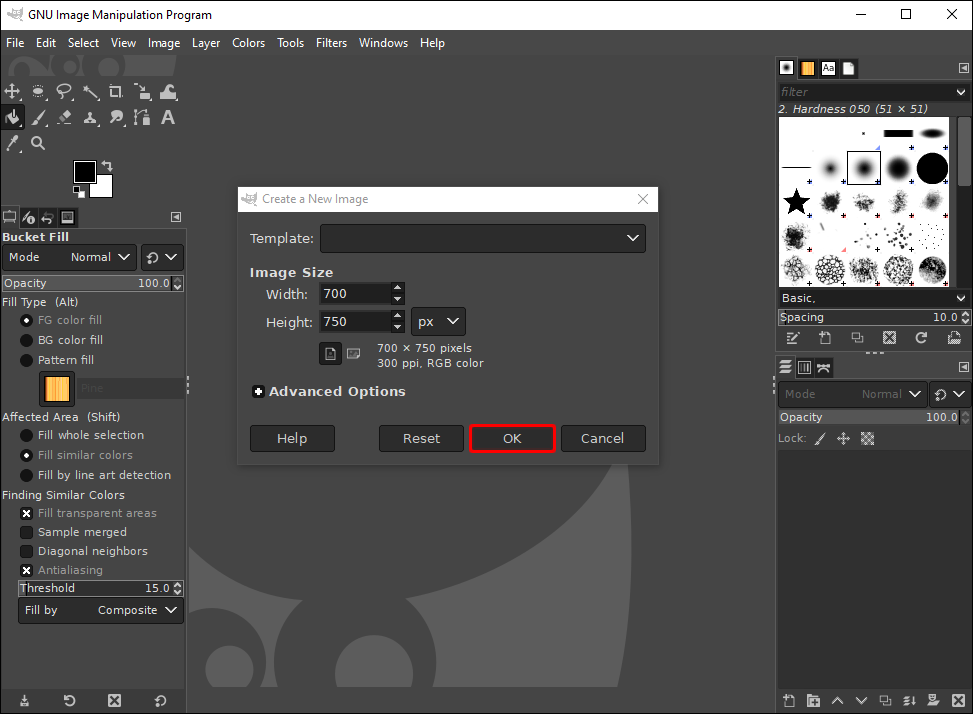
- Choose the dimensions of the image and click on the “OK” button on the pop-up window.
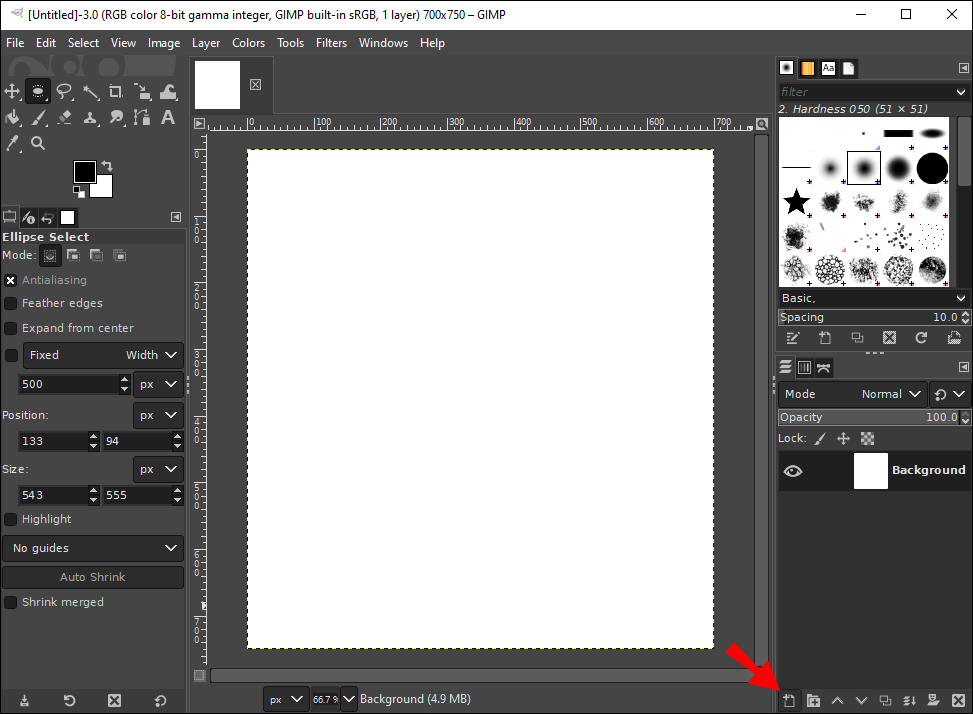
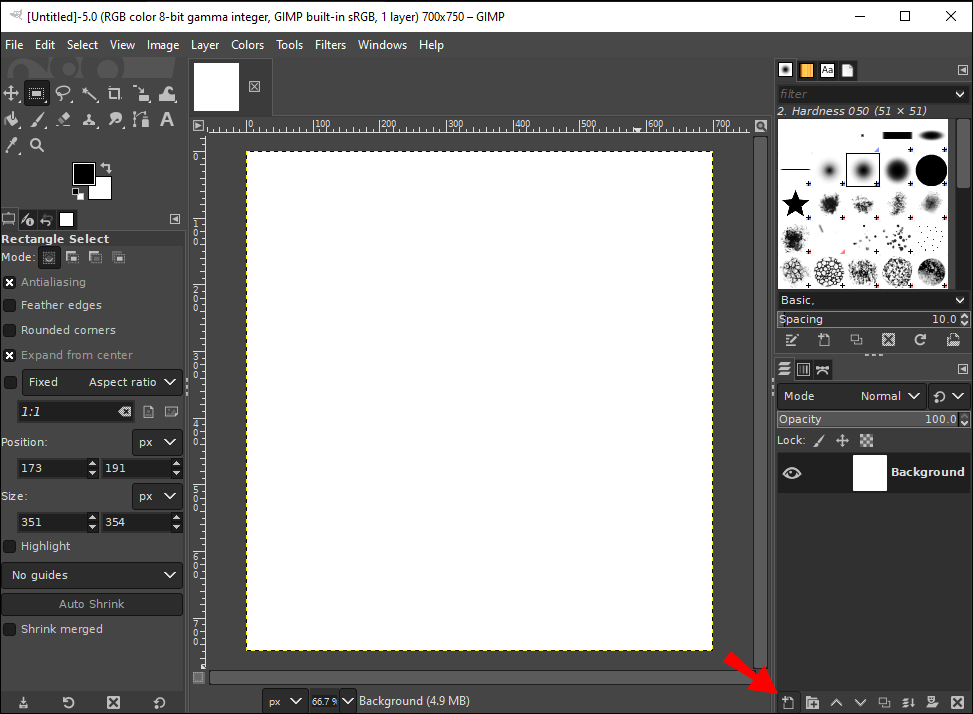
- Go to the bottom-right corner of the program and click on the “Create a New Layer” icon.
- Select “OK.”
The reason why you need to add a new layer before you make a shape in GIMP is so that you’ll be able to move the shape around on the document. If you make a shape directly on the background, you won’t be able to move it later.
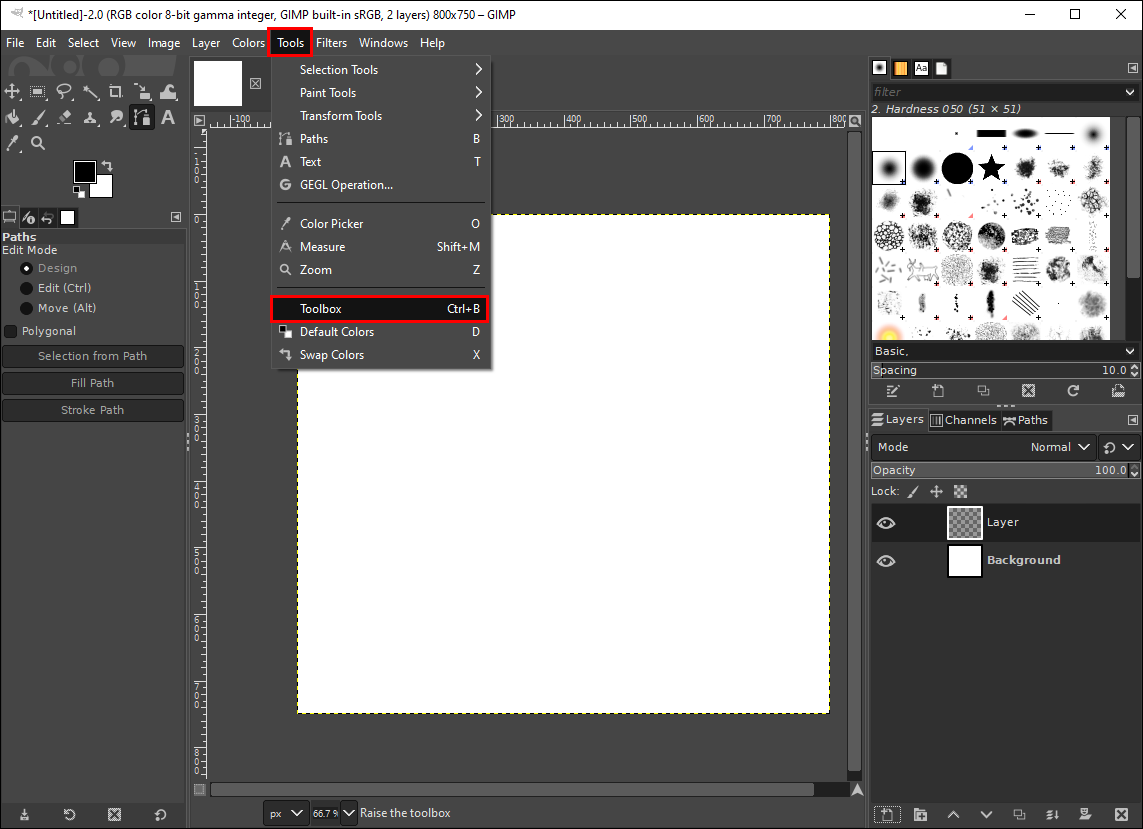
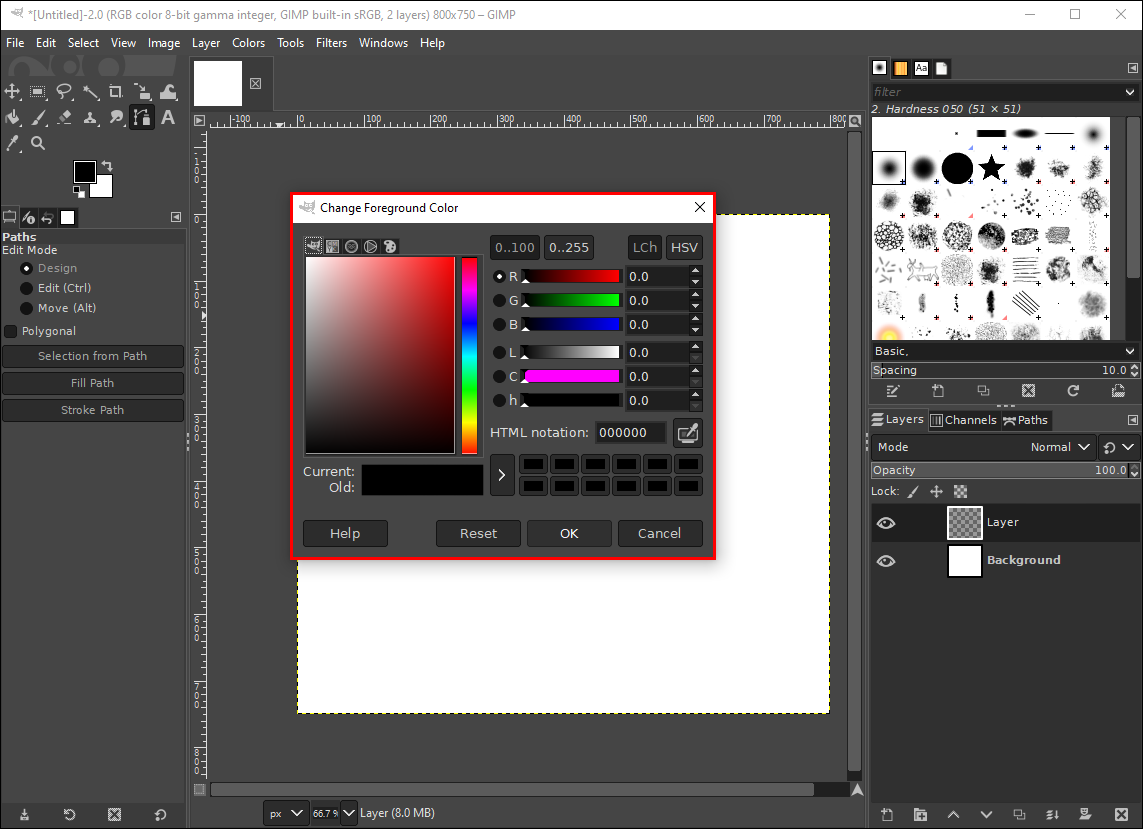
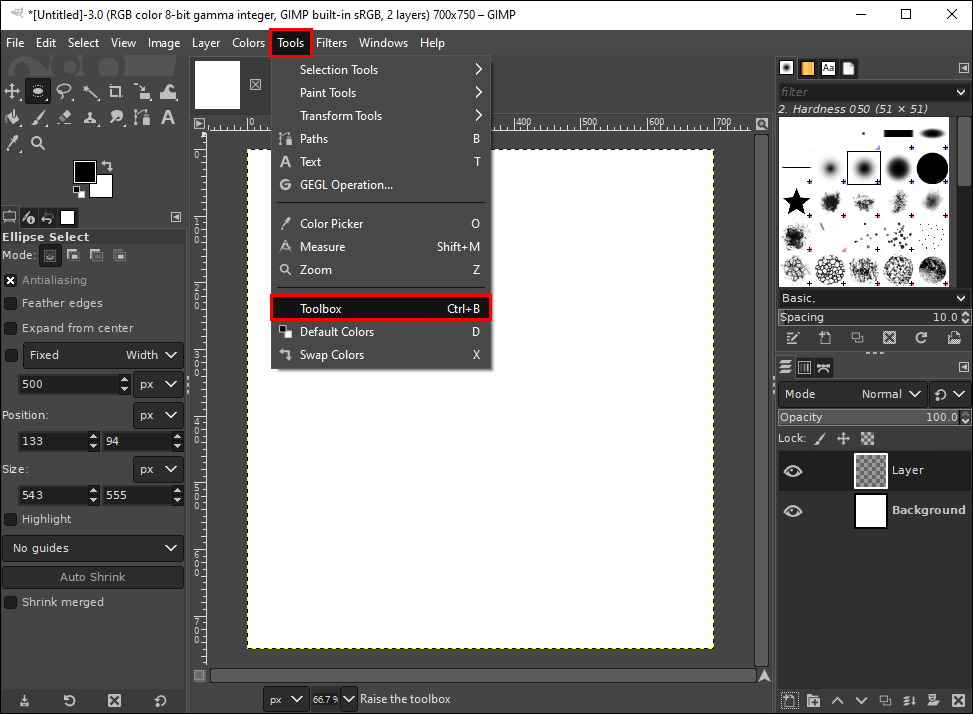
Now that the canvas is ready, it’s time to make a circle. But before we do so, we need to choose the foreground color and the background color. This is how it’s done: - Head over to the “Tools” tab on the top menu and select “Toolbox” from the drop-down list.
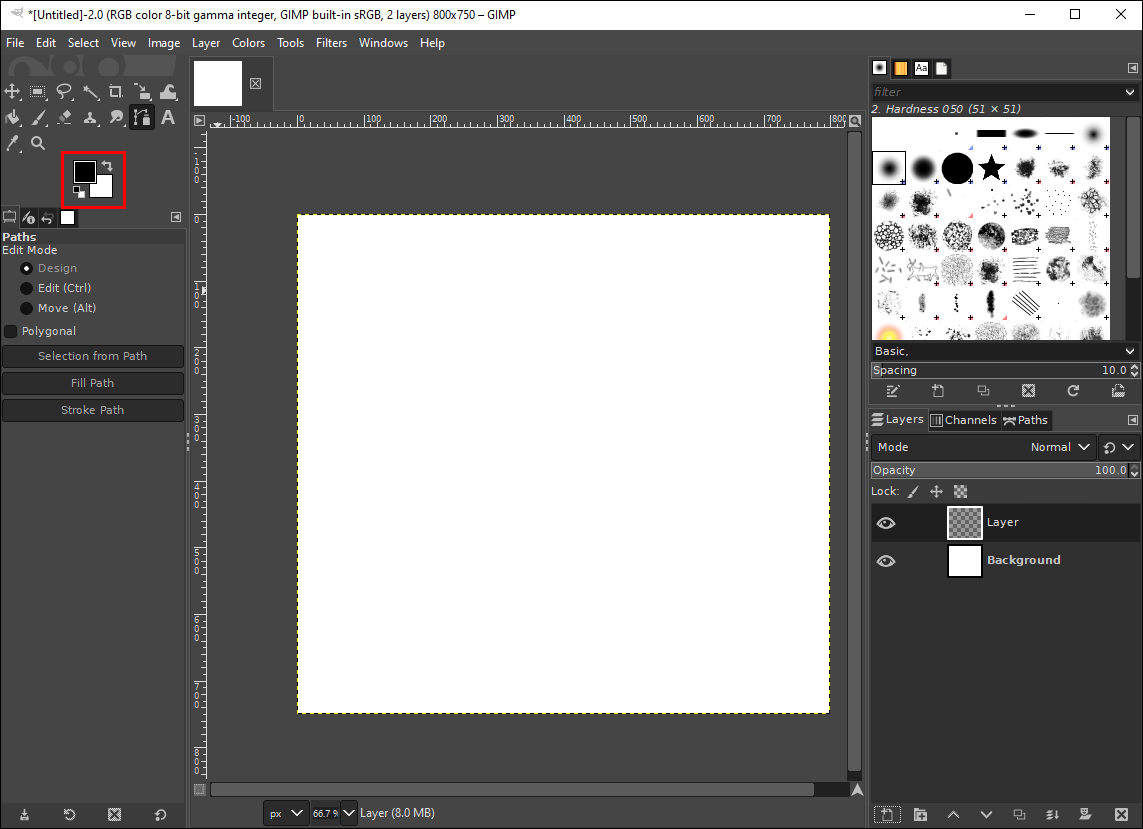
- Find two colored boxes under the toolbox on the left sidebar.
- Choose the foreground color (the color of the circle) and the background color (the color of the canvas).
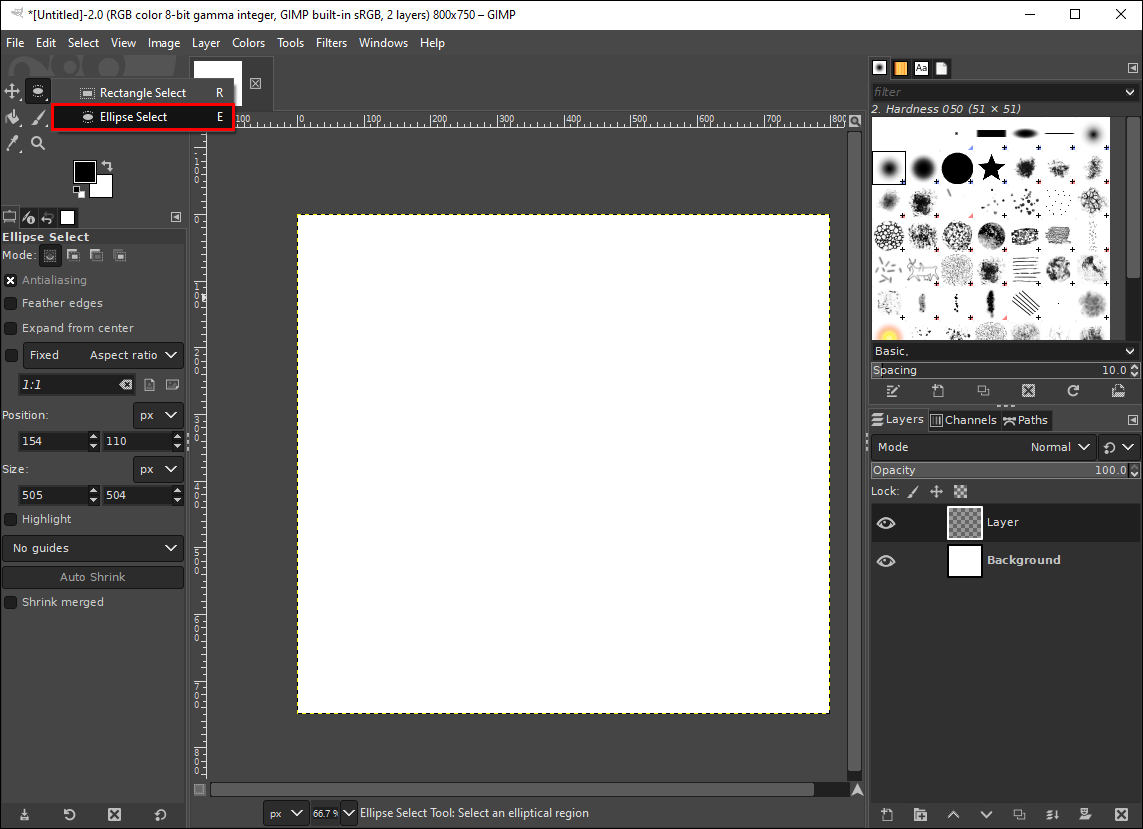
Note: The foreground and background colors are black and white by default. - Select the “Ellipsis Select Tool” on the toolbox.
- Click on the canvas and drag the edge of the circle to make it the desired size.
- Proceed to the “Edit” tab above.
- Choose “Fill with FG Color” from the list of options.


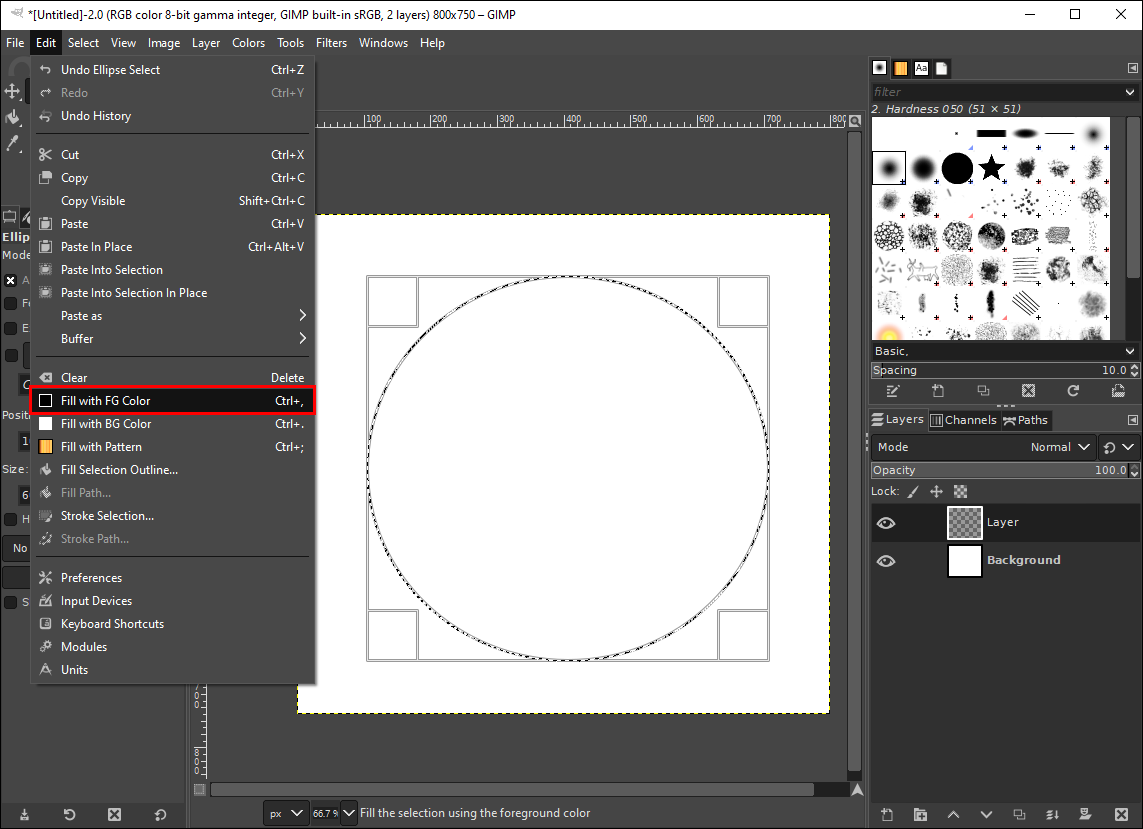
Your circle will appear on the canvas. You can use the Ellipsis Select tool to make round or oval shapes. If you want to create a circle that’s just an outline (with no fill color), this is what you need to do:
- Select the “Ellipsis Select Tool” from the toolbox.
- Draw the circle on the canvas by clicking on it and dragging the line.
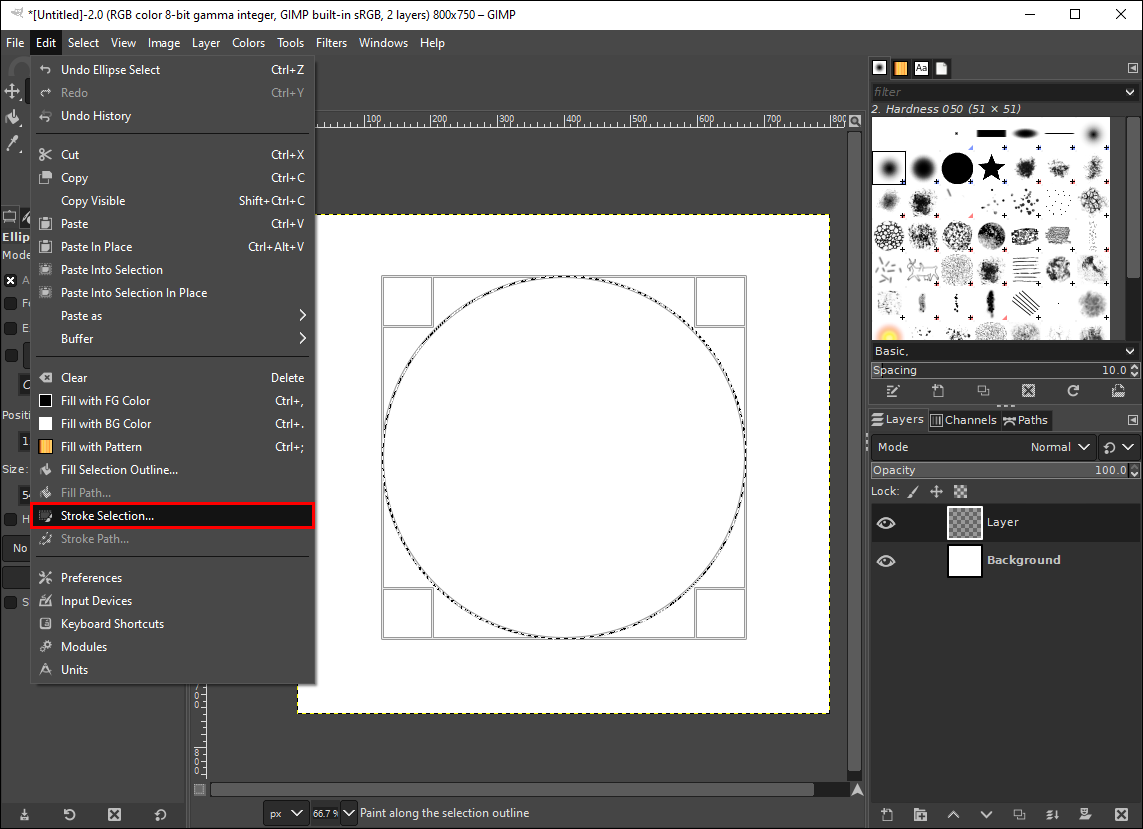
- Go to the “Edit” tab again.
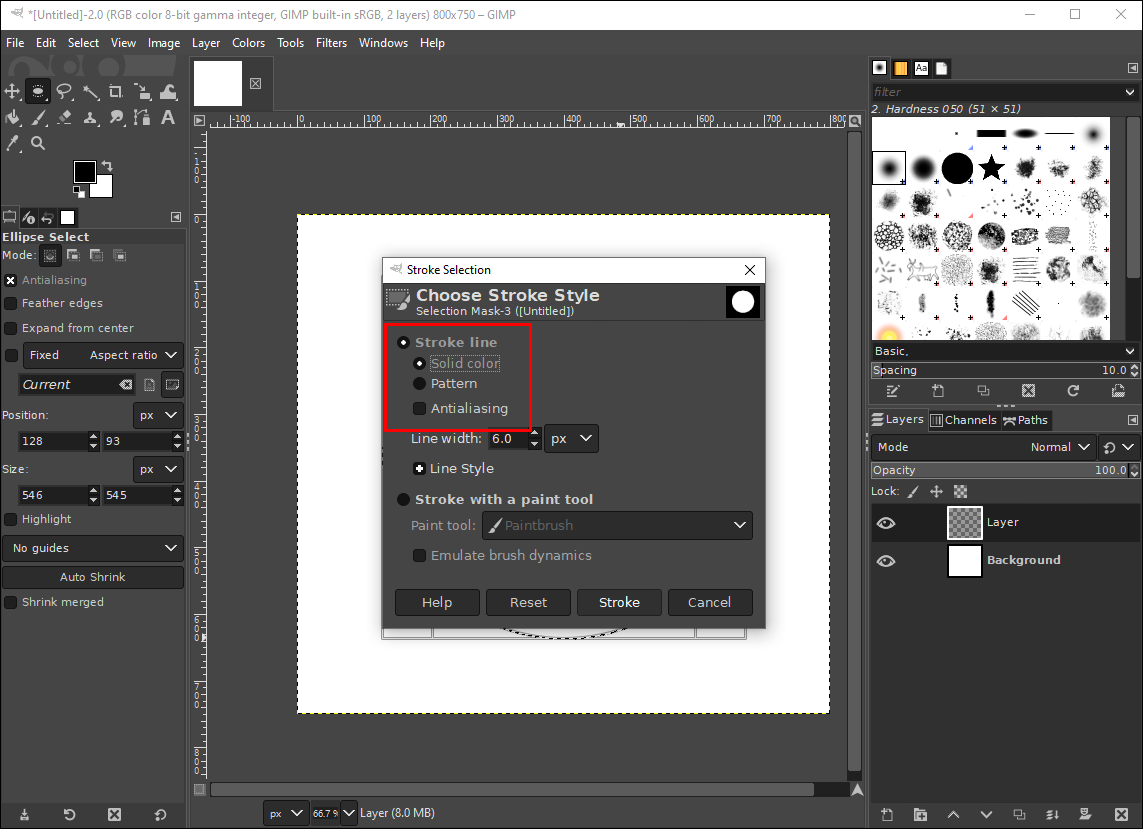
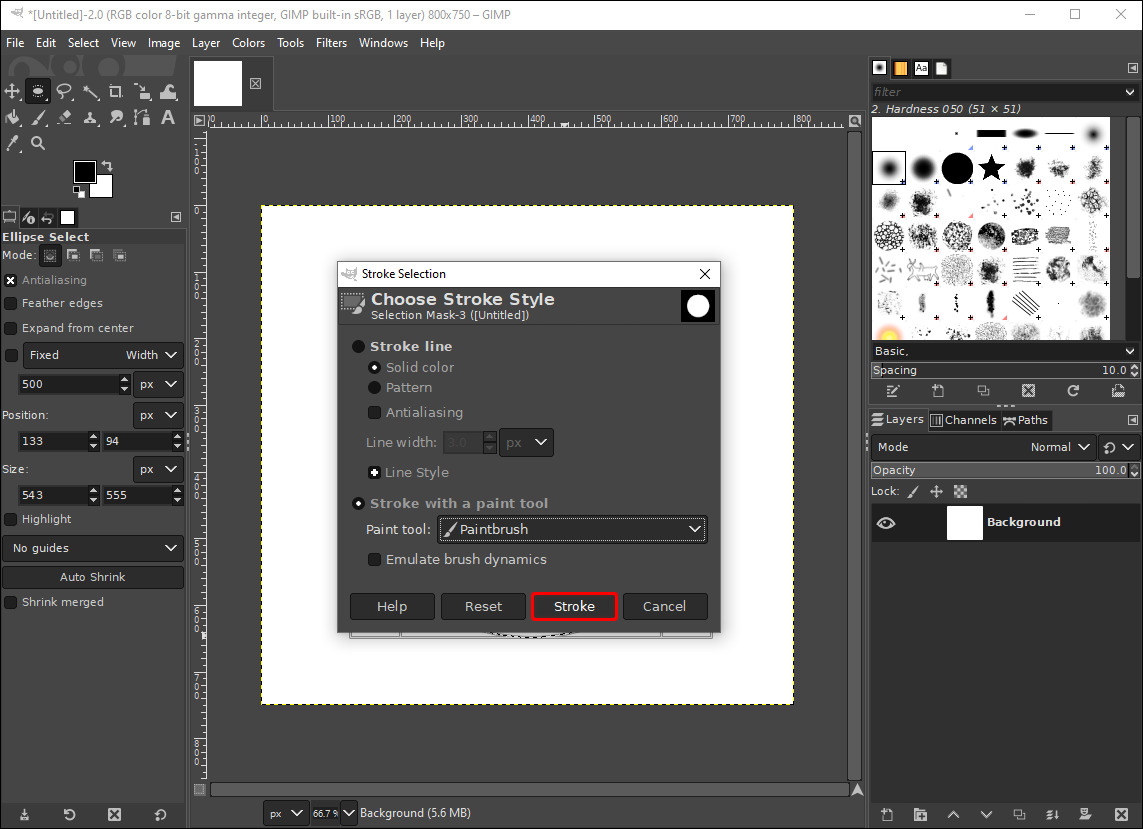
- Choose “Stroke Selection…” from the list of options.
- Select the stroke line type (solid color, pattern, or anti-aliasing).
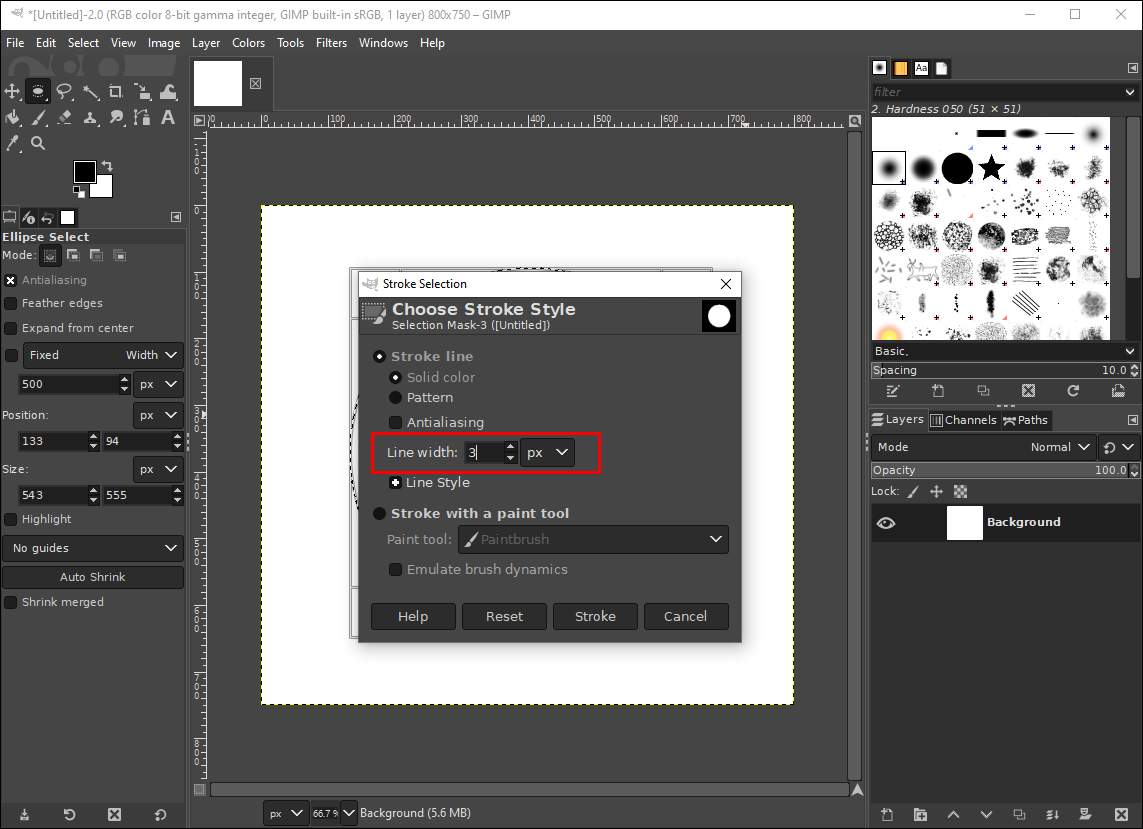
- Determine the width of the line.
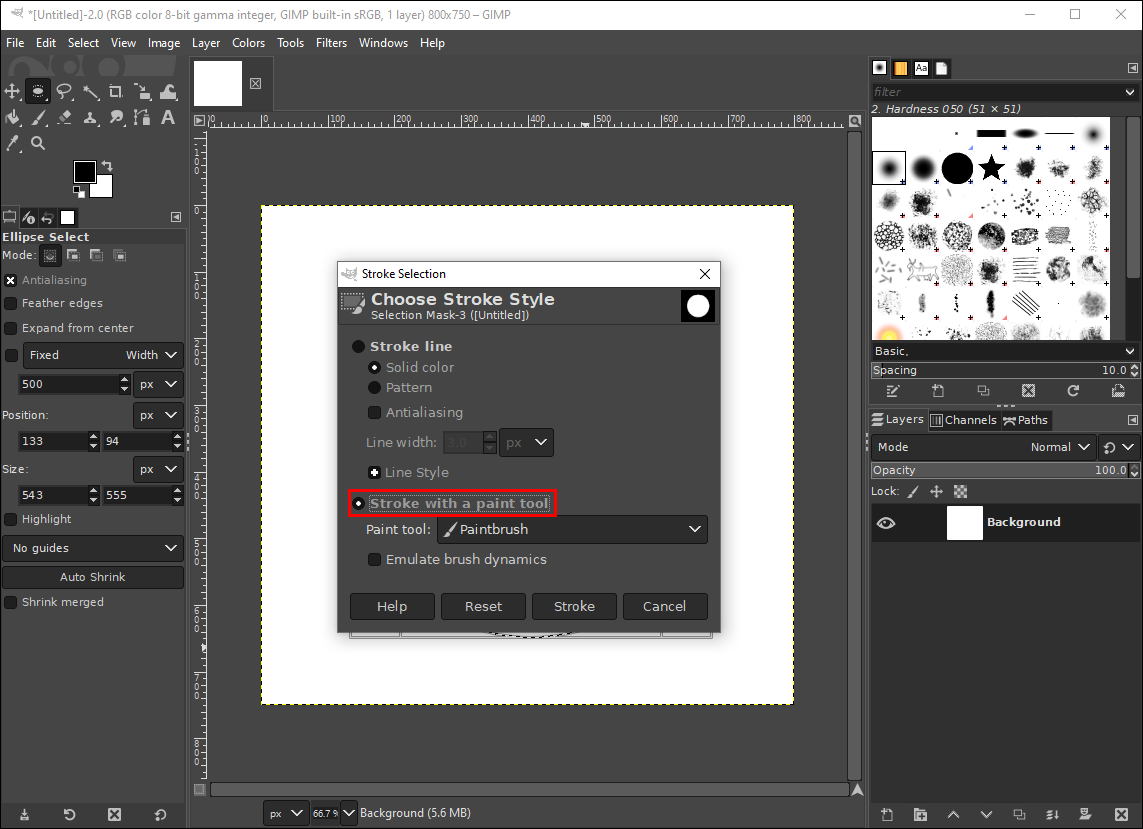
- Click on the “Stroke with a paint tool” box.
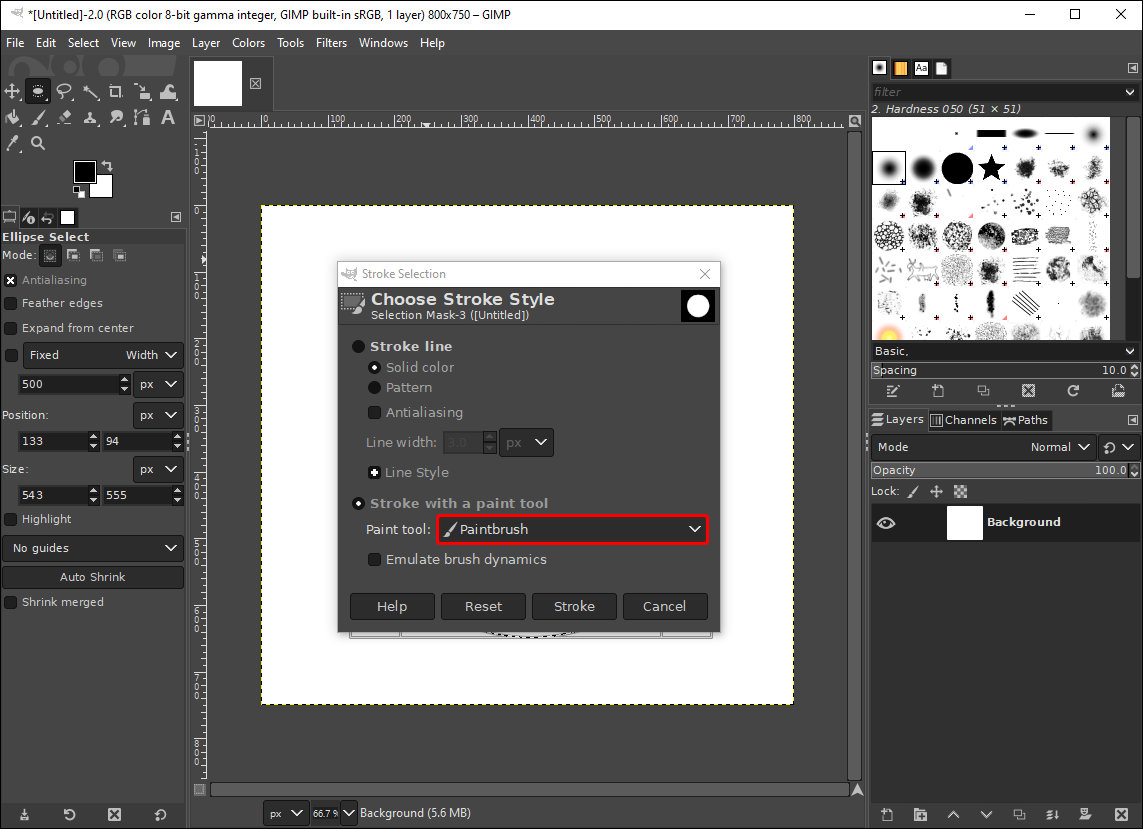
- Choose the “Paint tool.”
- Select the “Stroke” button.
The circle will only have an outline, with the foreground color you have selected. If you want to change the dimensions of the circle after you’ve made it, just click on its border and drag it until you’re happy with the size.
How to Make a Triangle
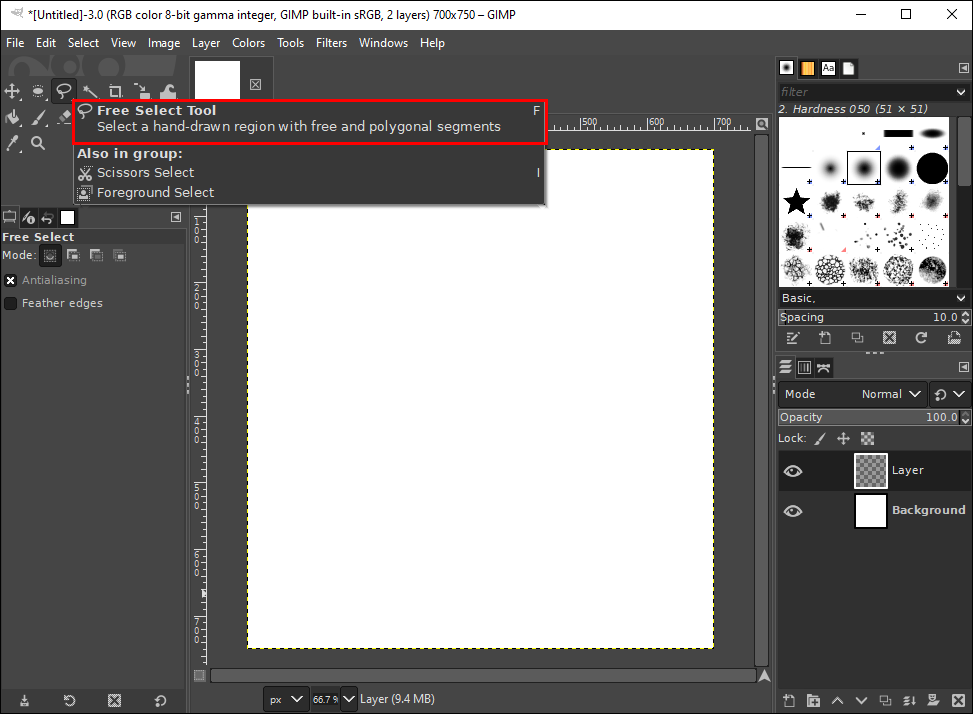
GIMP only allows you to make shapes with the Rectangle and Ellipsis Select Tool. Since there isn’t a selection tool for making triangles, it’s slightly trickier. The tool you’ll need to create a triangle is the Free Select Tool. Follow the steps below to find out how it’s done:
- Open a new blank canvas in GIMP.
- Create a new layer by clicking on the “+” icon.
- Go to “Tools” on the top menu, and select “Toolbox.”
- Click on the “Free Select Tool” on the toolbox on the left sidebar.
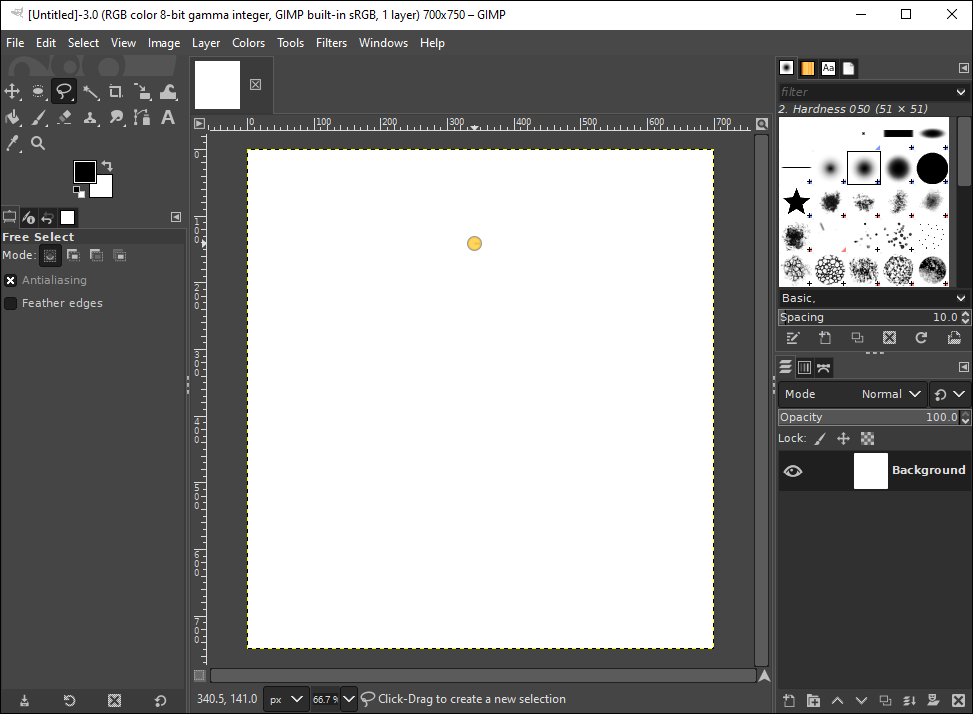
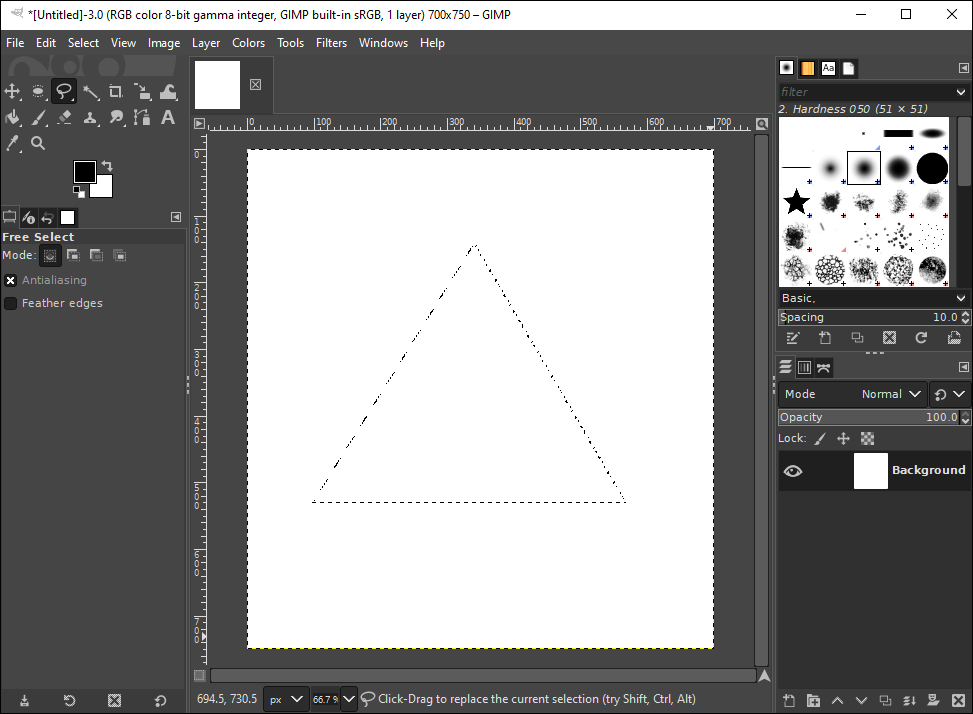
- Left-click on the blank canvas to start the first line.
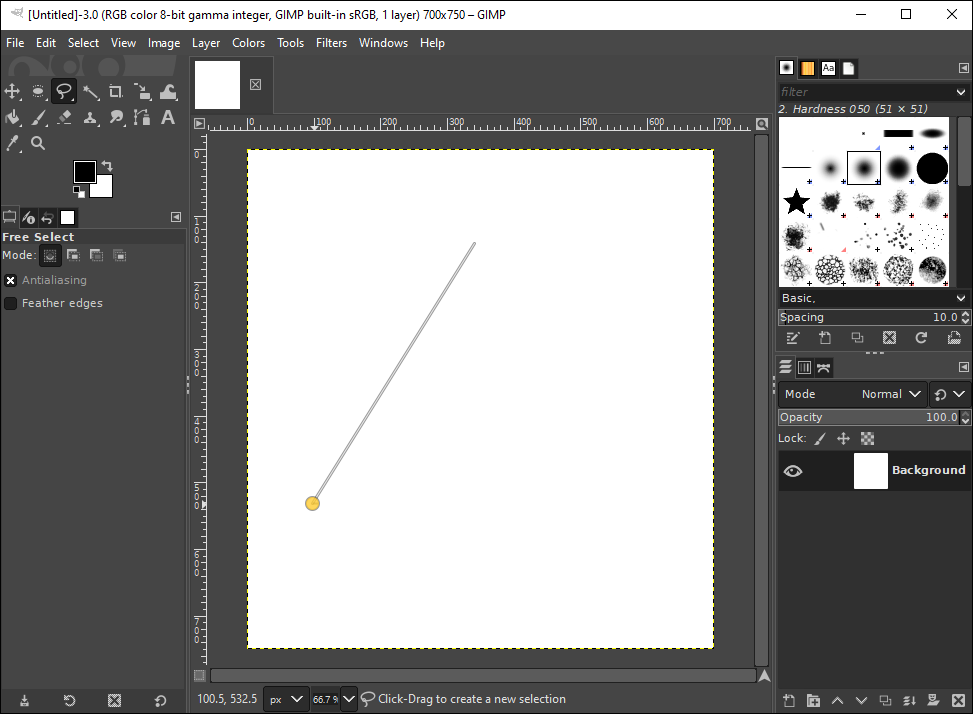
- Right-click to release it.
- Left-click again to create the second side of the triangle.
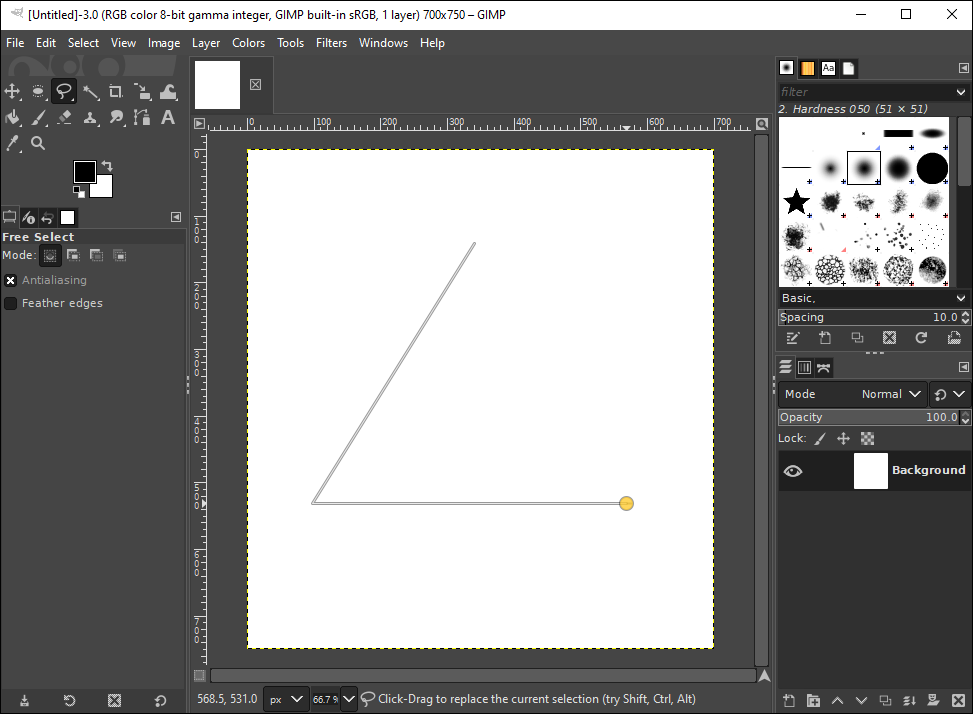
- Repeat this process until you’ve linked all three of the lines.
- Press “Enter” on your keyboard to select the triangle.
- Go to the “Bucket tool” and click on the triangle to color it.

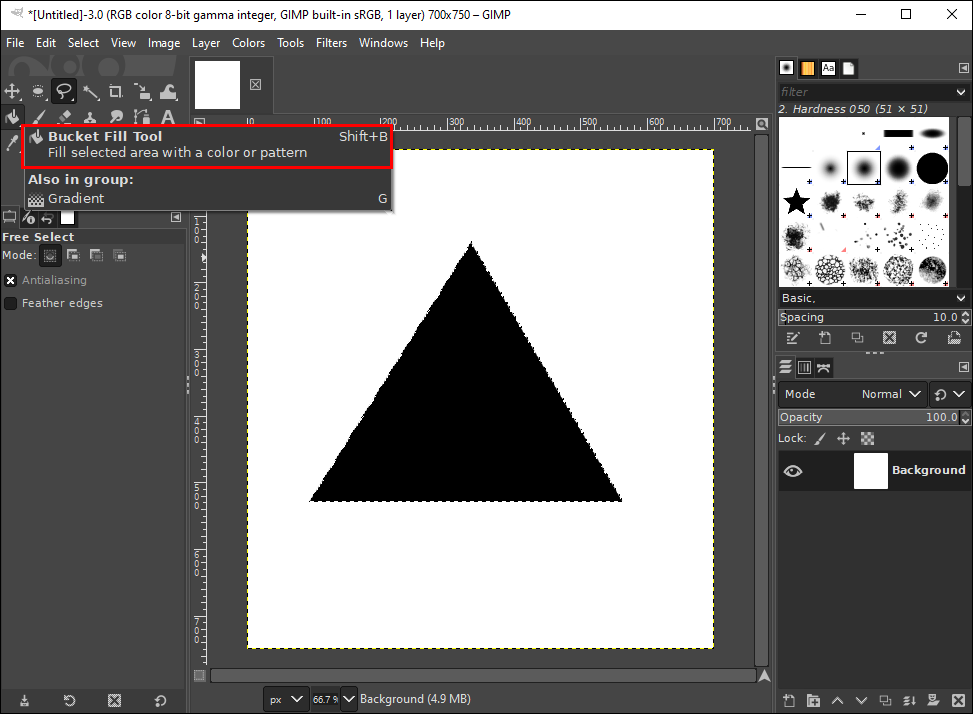
That’s all there is to it. You’ve successfully drawn a triangle in GIMP.
How to Make a Square
Making a square in GIMP is no more complicated, and it will only take you seconds to do. Here’s what you need to do:
- Open GIMP and select “File” from the top menu.
- Go to the “New” option and select “OK” to open a blank document.
- Click on the “Create a New Layer” icon in the bottom-right corner of GIMP.
- Go to “Tools” on the top menu, and choose “Toolbox.”
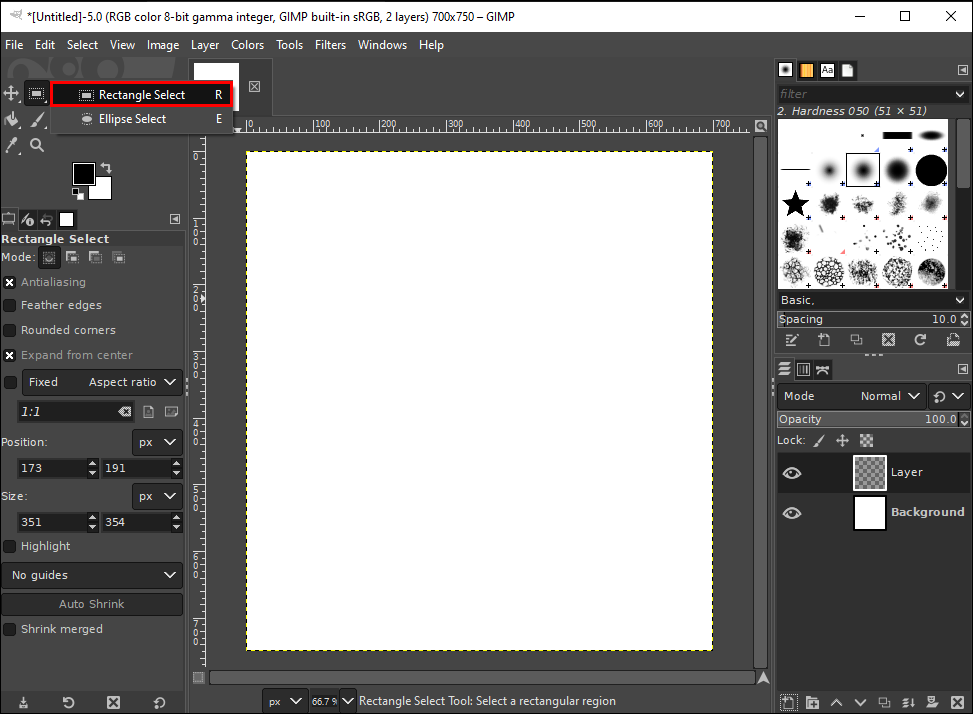
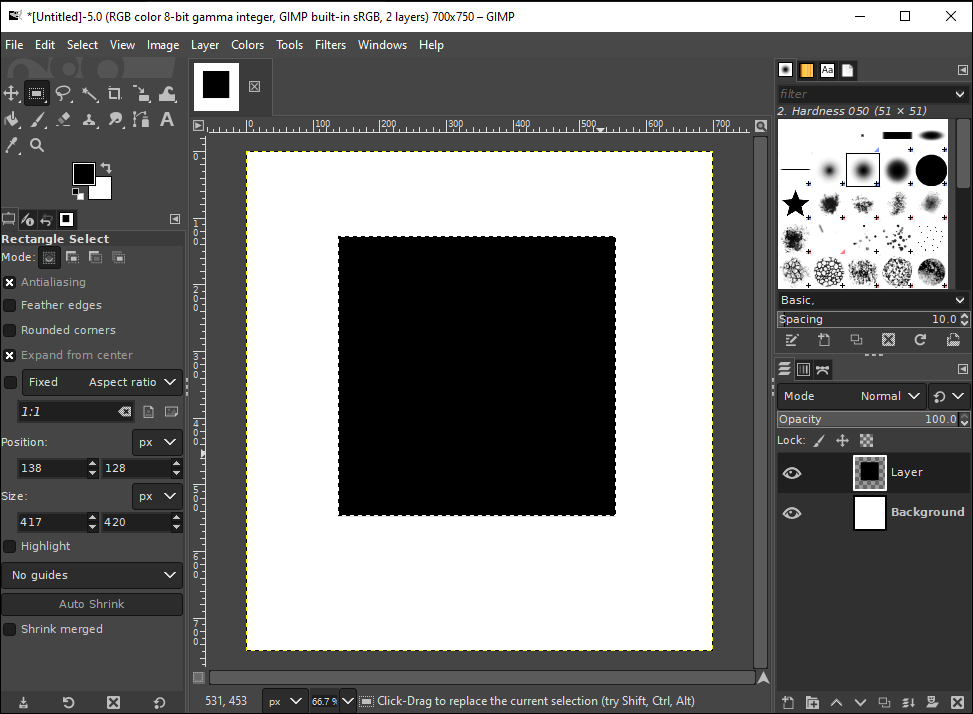
- Navigate to the “Rectangle Select Tool” on the left sidebar.
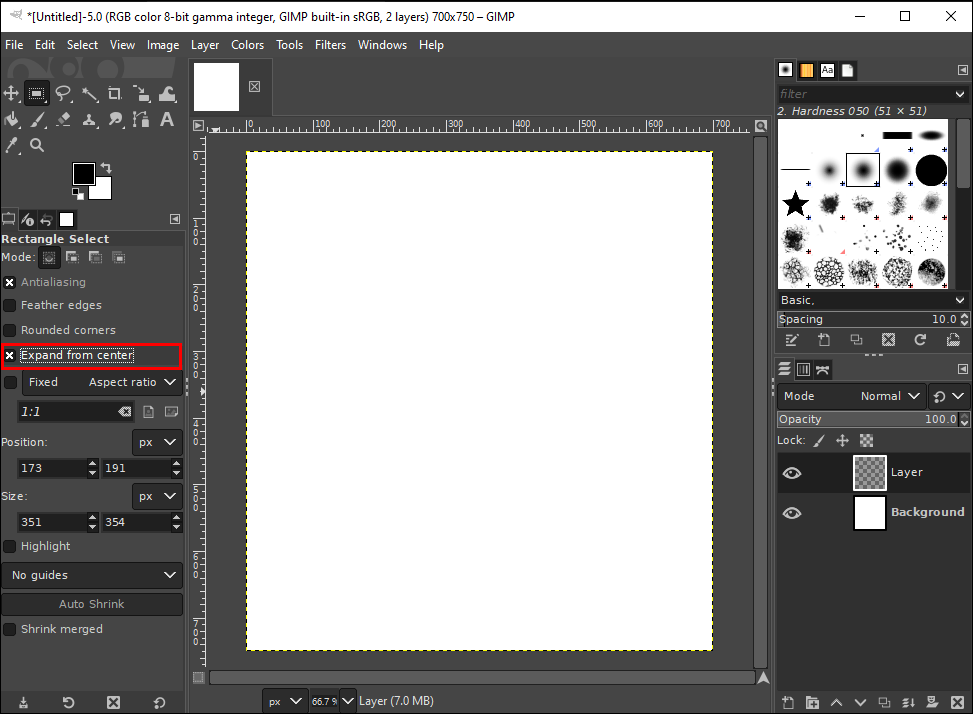
- Click on the “Expand from Center” box in the bottom-left corner.
- Click on the blank canvas and make a square tool by dragging its borders.
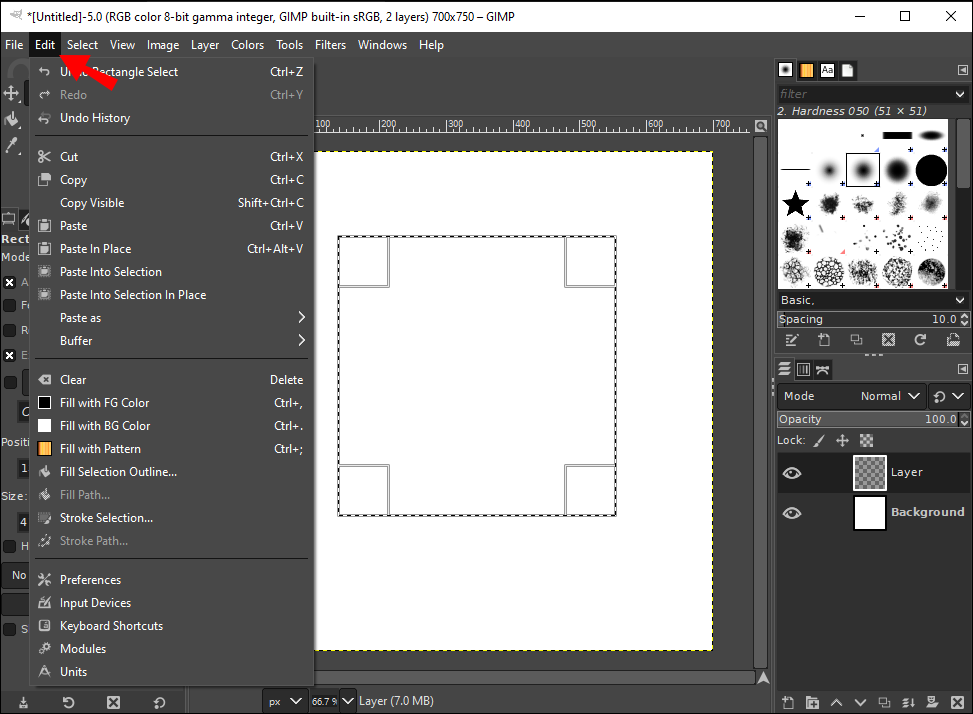
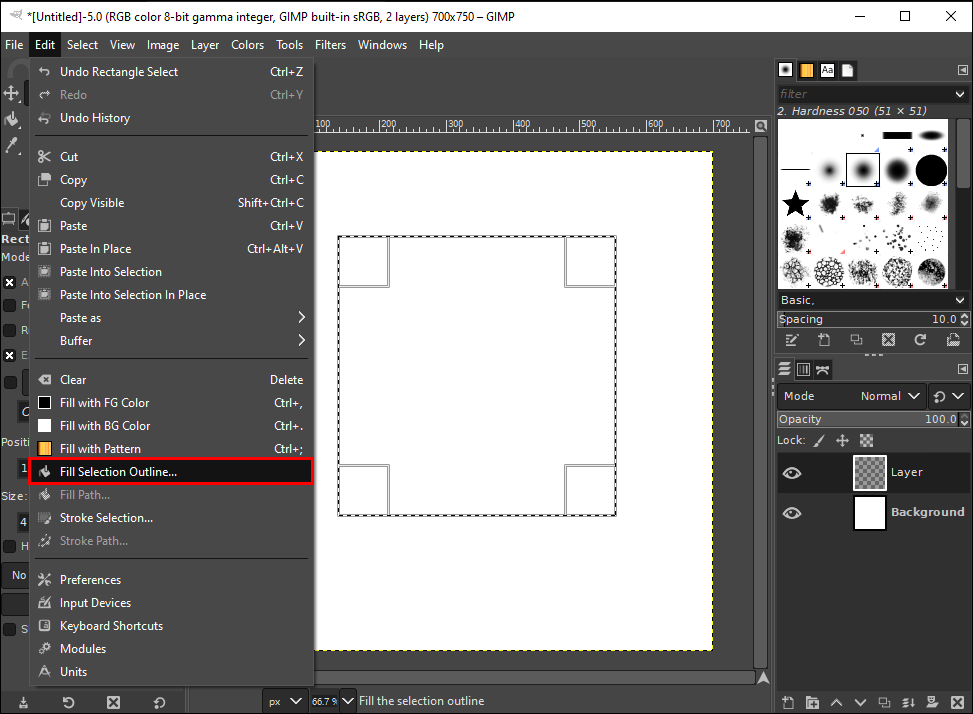
- Go to “Edit” on the top toolbar.
- Choose the “Fill Selection Outline” option on the drop-down list.
- Click on “Solid Color” on the pop-up window.
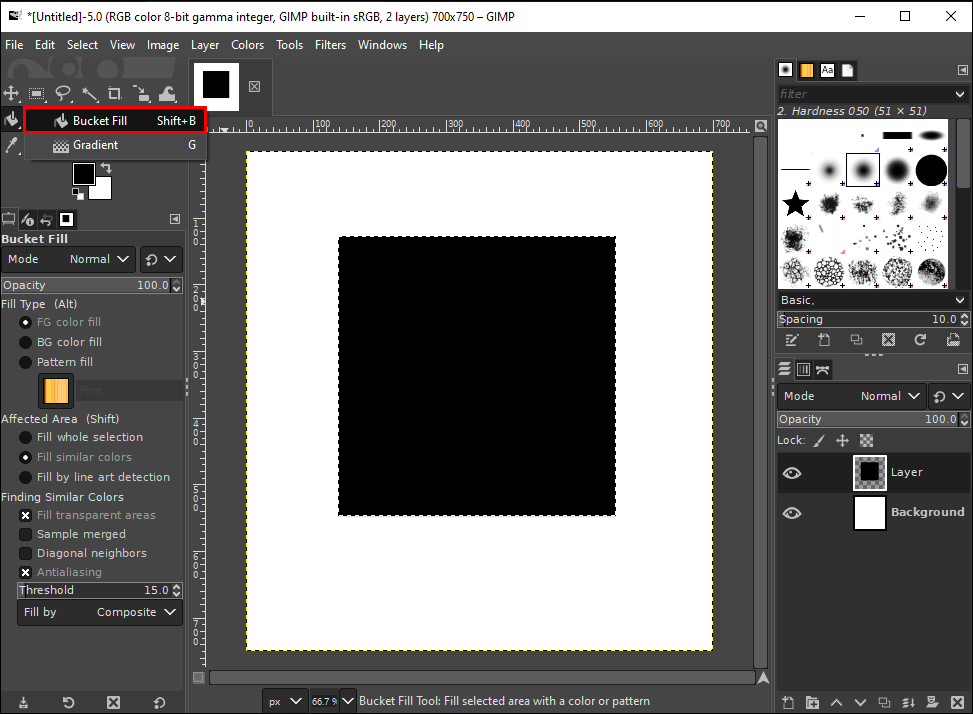
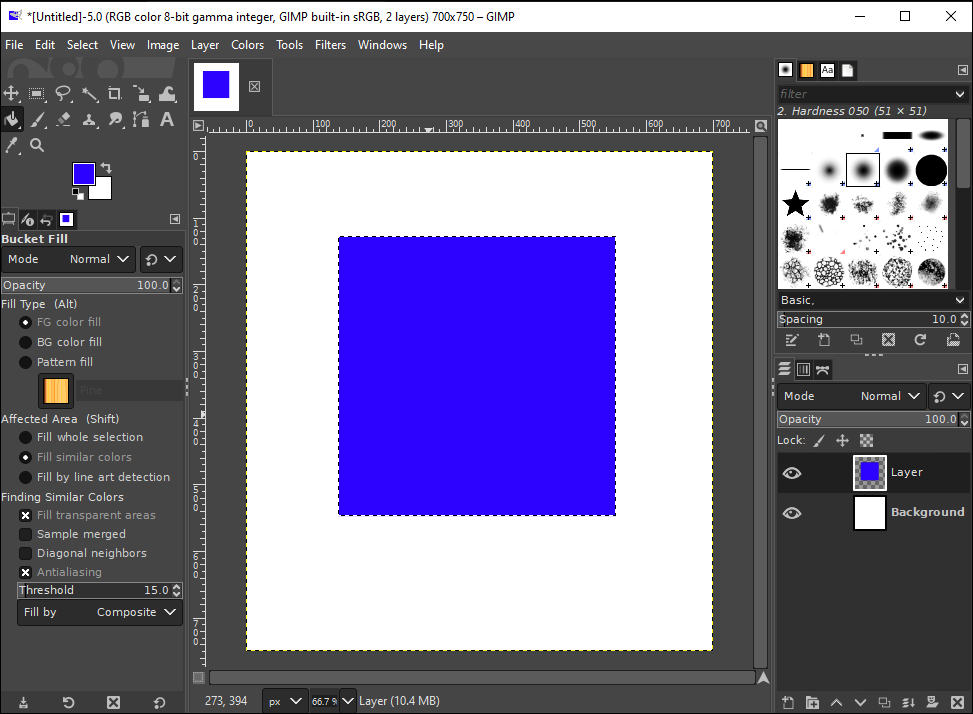
The square will immediately be colored in the default foreground color, which is black. If you want to change the color of the square, here’s how it’s done: - Select the “Bucket Tool” from the toolbox.
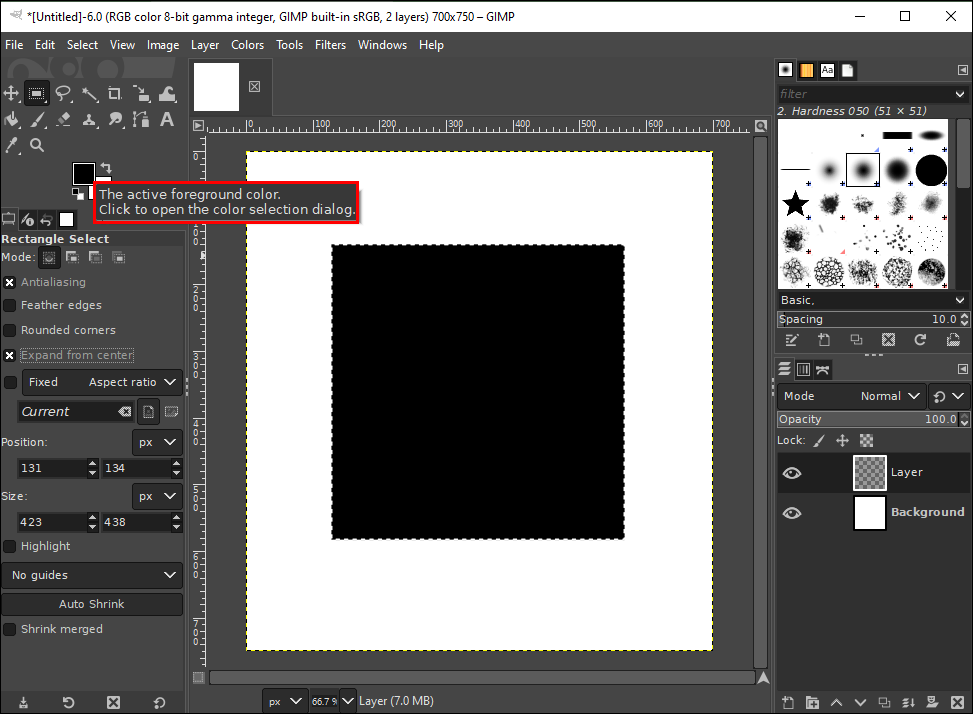
- Click on the foreground color box.
- Choose a new color for your square and select “OK.”
- Click on the square to color it.


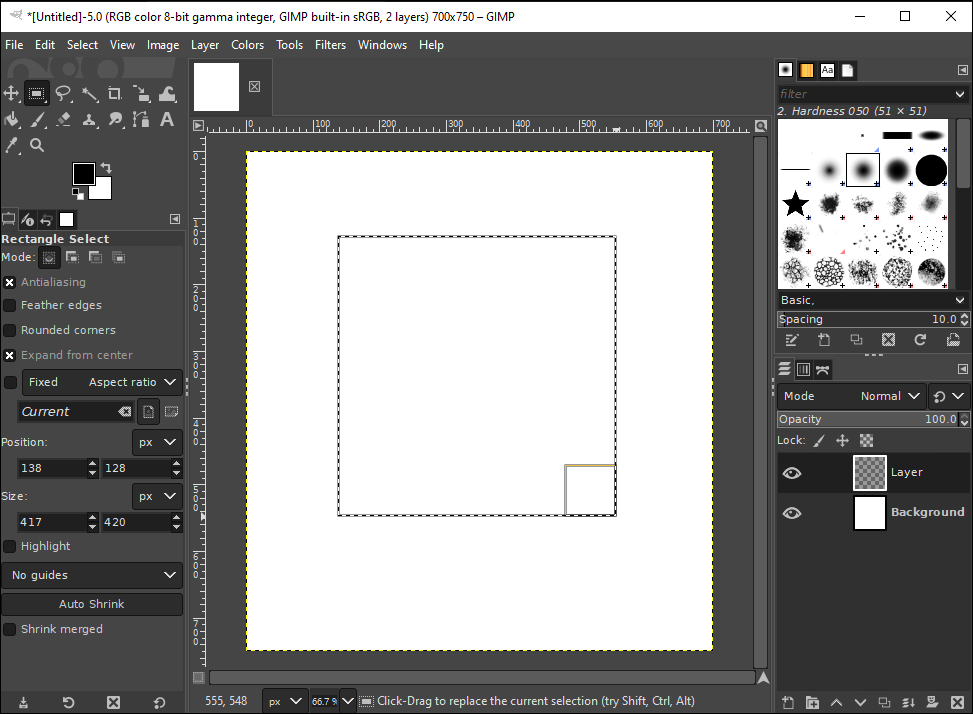

If you want to create a perfect square, you can set a fixed aspect ratio on the toolbox. You can do that by going to the bottom-left corner of GIMP and clicking on the downward arrow next to “Aspect Ratio.” To make a square, choose a 1:1 aspect ratio.
How to Make a Rectangle
Making a rectangle in GIMP is very similar to creating squares. Let’s see how it’s done:
- Launch GIMP and select the “File” tab in the upper-left corner of the program.
- Open a new blank document.
- Go to “Create a New Layer” in the bottom-right corner.
- Next, head over to “Tools” and select “Toolbox” from the drop-down menu.
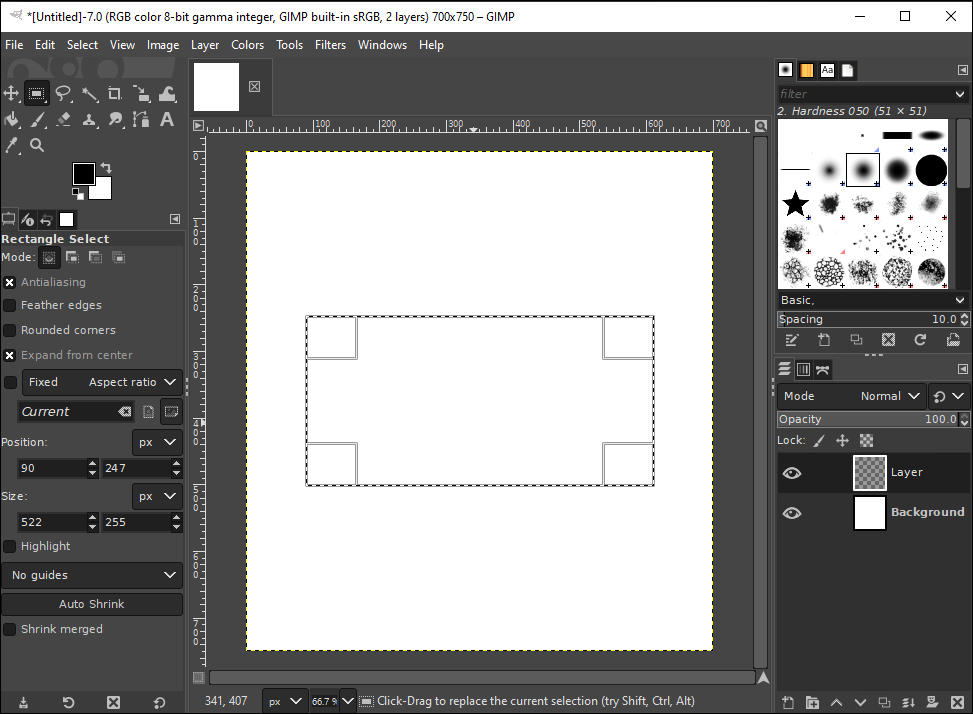
- Select the “Rectangle Select Tool.”
- Check the “Expand from Center” box.
- Click on the canvas and drag the edges to the desired length.
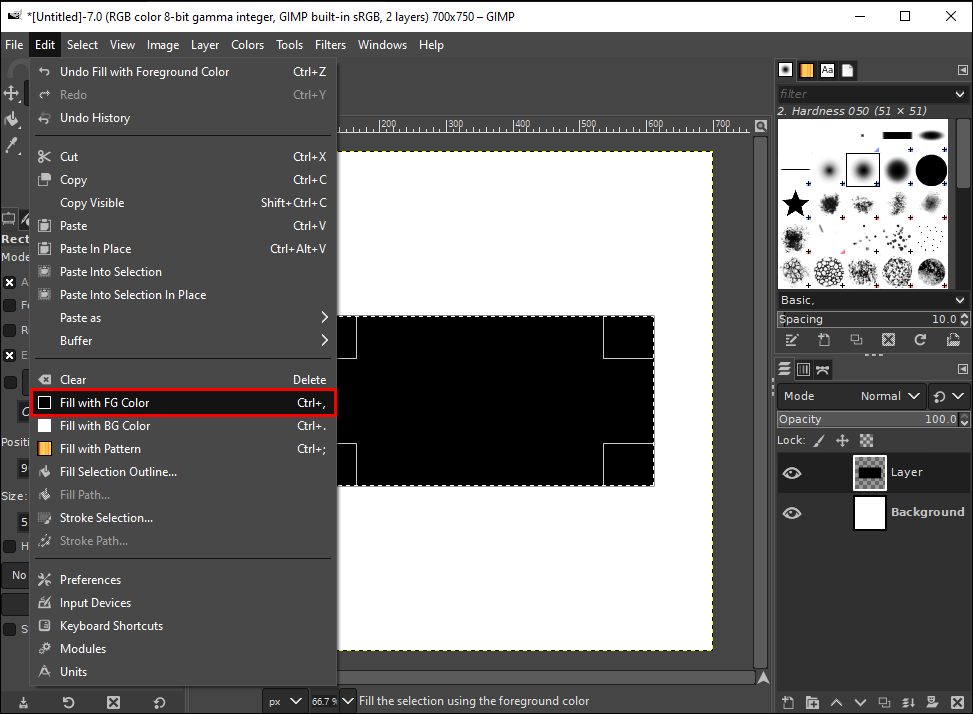
- Head over to “Edit” and choose “Fill with FG Color.”

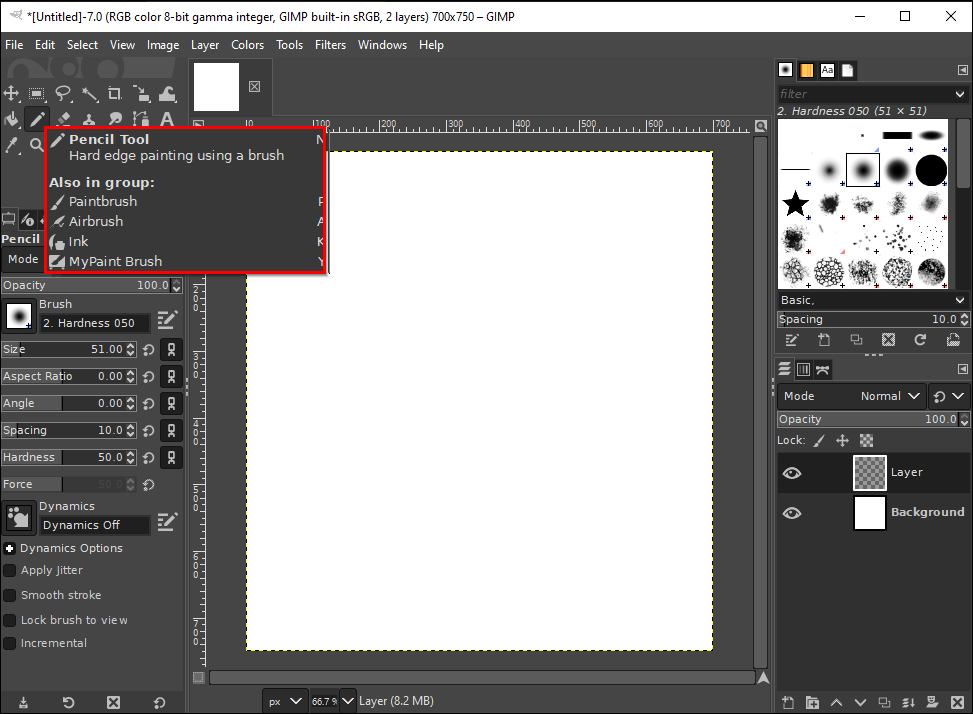
Another way to make rectangles or any other shape in GIMP is with the Brush Tool. This is how it’s done:
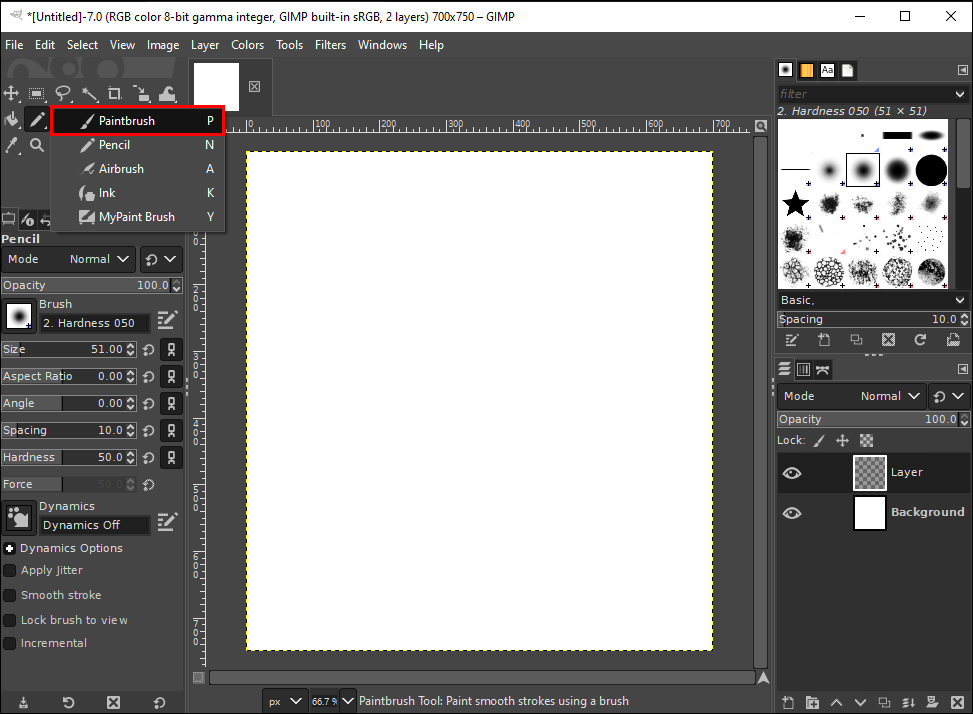
- On the toolbox, find the “Pencil Tool.”
- Choose the “Brush” icon in the “Tools” options menu.
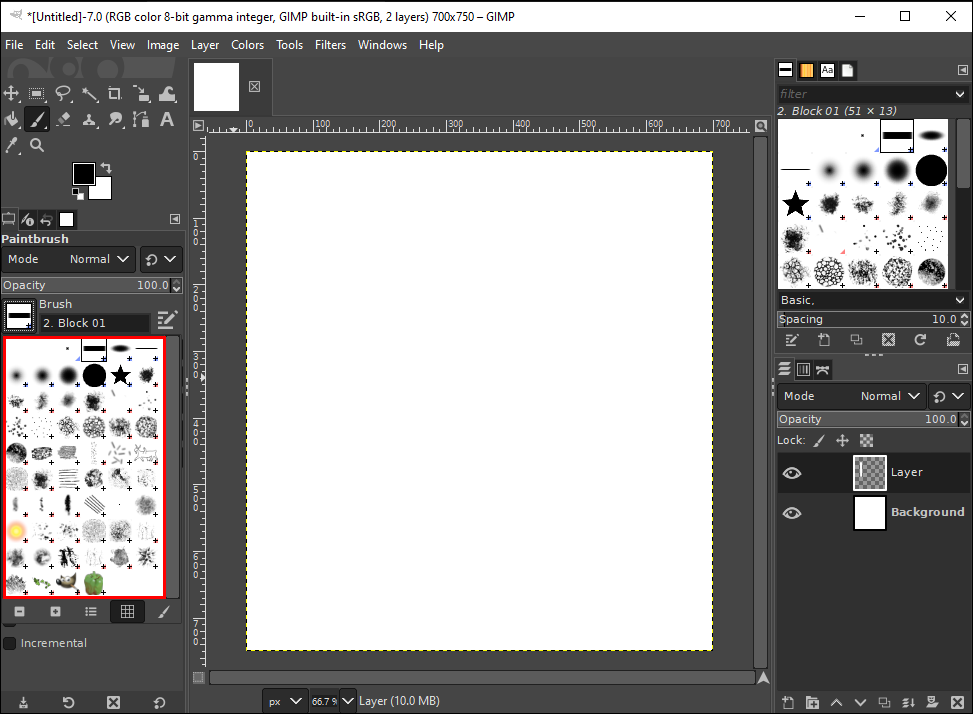
- Find the “Brush Type” that works for you.
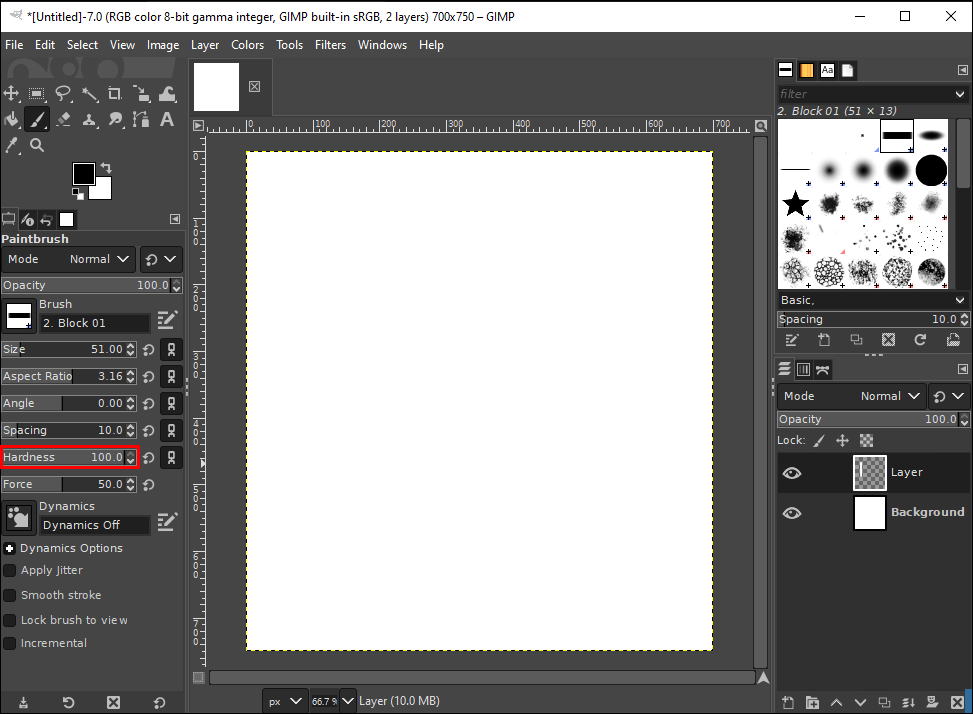
- Under “Hardness,” select “100.”
- Alter the height and weight of the rectangle.
- Click on the canvas and drag the edge until you have the rectangle size you desire.
- Left-click on the rectangle to save it.
Make Lines and Shapes in GIMP
GIMP can seem quite complicated for first-time users. But once you get the hang of it, you can use this program to make circles, squares, triangles, rectangles, and any other shape you can think of.
Have you ever created a shape in GIMP? Did you use any of the methods we went through in this guide? Let us know in the comments.
Disclaimer: Some pages on this site may include an affiliate link. This does not effect our editorial in any way.


