Excel is an incredibly effective tool if you know how to use it well. Even though it has plenty of automation features, you still have to adjust some settings and layouts manually.
Text wrapping and fitting are perfect examples. Your Excel data won’t look as clean as you need it to if text keeps sticking out of the cells.
Luckily, there are several ways to tidy up your sheet and make the text fit in a cell in Excel.
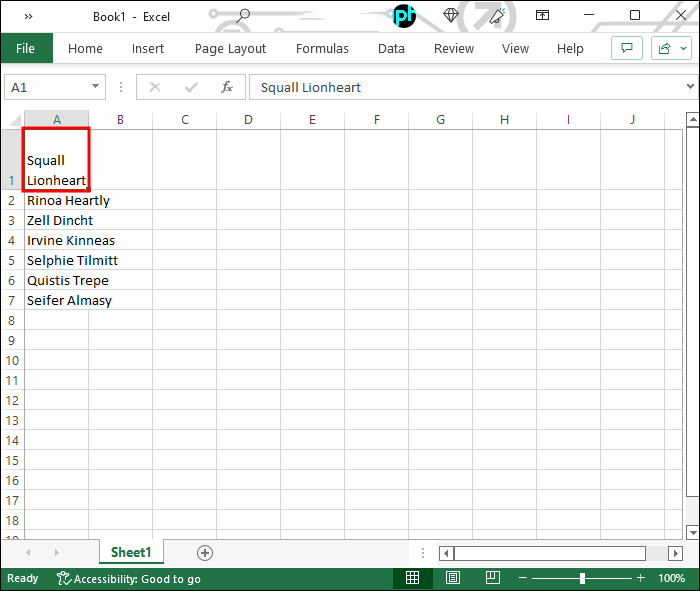
Make Text Fill in Cell – Excel
The most common method of making text fit each cell properly is using the text wrapping option. Here’s how to use it:
- Select the cells containing the text you want to wrap on your sheet.

- Go to “Home” and click “Wrap Text” within the Alignment group. You can also do this by simultaneously pressing the “Alt + H + W” buttons. Note that the hotkeys don’t apply to Mac devices.


Following the above steps will make your text fit the cell’s width. If you change the width of the entire column, the text will change with it.
If you can’t see some of the text, it could be that the row’s height doesn’t allow for it. In this case, you’ll need to adjust the size to make all of the wrapped text visible. Here’s how:
- Select the cell(s) for which you’re adjusting row height.
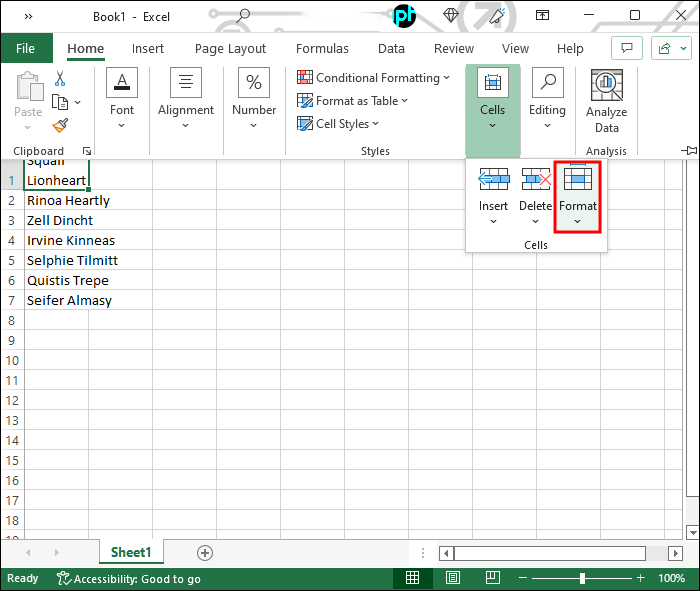
- Go to “Home” and click “Format” within the Cells group.
- Press “Cell Size” and click “AutoFit Row Height” to automatically adjust the height. If you want to do it manually, go to “Row Height” and type the values you’d like to expand the rows to in the appropriate box.

You can also expand their height by dragging the row’s bottom border if you’re not looking for any specific row proportions.
Using Shrink to Fit
If you don’t want cells to accommodate your text but vice versa, you can use the “Shrink to Fit” option. Here are the steps you should take:
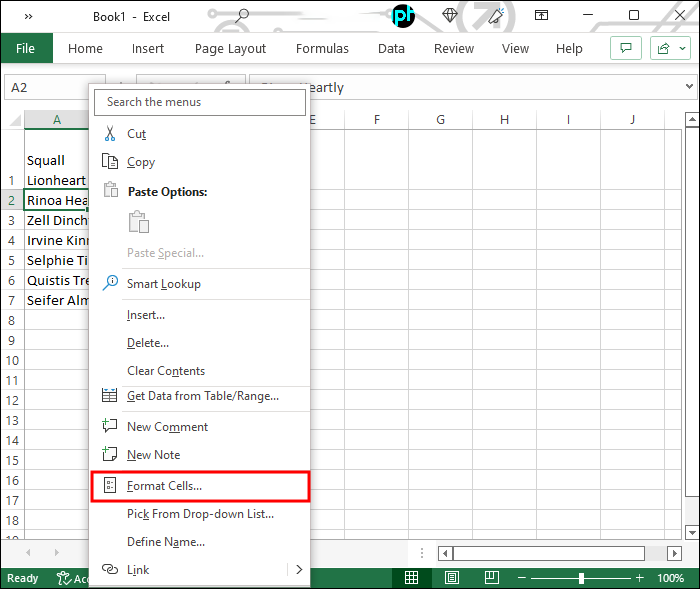
- Select your dataset, and then right-click on it.
- Go to “Format Cells.” You can also use “Ctrl + 1” to open the menu.
- Click on the “Alignment”tab, and then check the box next to “Shrink to Fit.”
- Press “OK” to confirm your choice.


You’ll notice that the text is now smaller to fit the cell size. This option isn’t ideal for longer text, and the shrunken version can become practically invisible, depending on the cell size. Still, it’s a suitable option for smaller cells containing a couple of words.
Adjust Cell Size Using Keyboard Shortcuts
Excel has a plethora of shortcuts that make navigation and commands more convenient, including resizing cells so that they fit the amount of text.
Adjusting cell height and width is very straightforward and involves only a few steps. To adjust the width, do the following:
- Select the column you’d like to expand.
- Press the “Alt + H + O + I” shortcut.


The width will automatically adjust to fit the longest line of text. If you need to increase the height as well, just follow these steps:
- Select the rows you’d like to expand.
- Use the keyboard shortcut “Alt + H + O + A”.
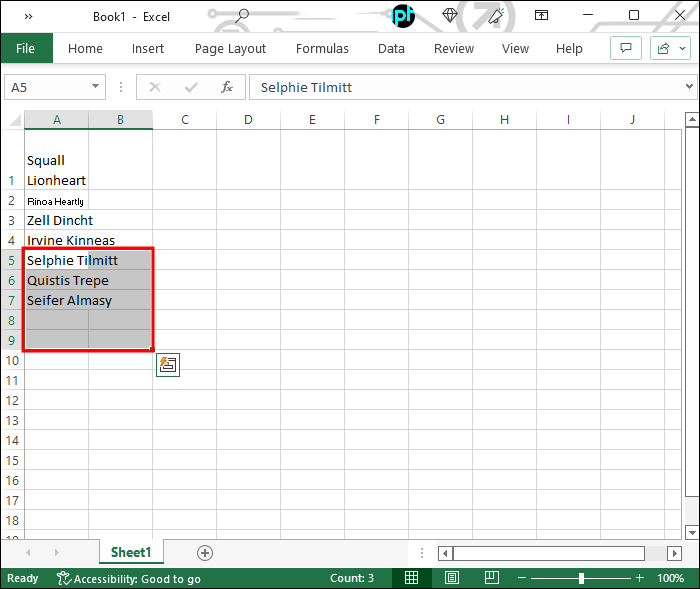
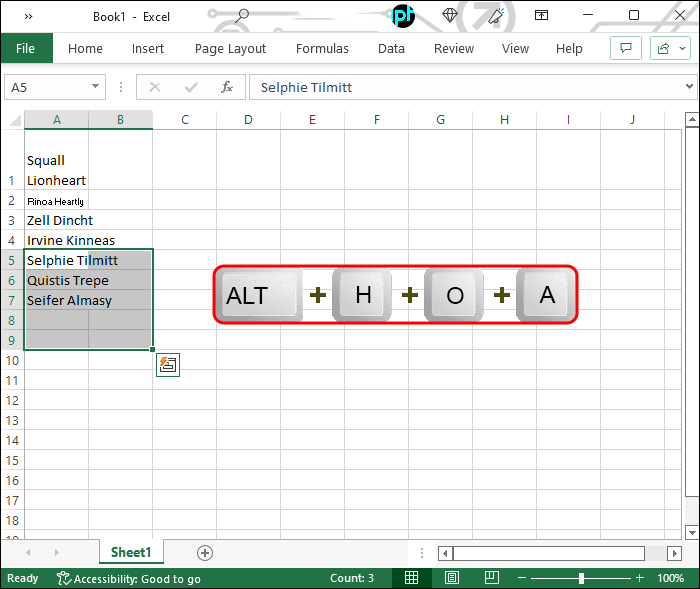
The cells’ height will increase, and you’ll see all of the text within them.
Make Your Data Visible
As you can see, you can make the text fit in a cell in Excel with just a few clicks. Doing so will make your data far more appealing and easily digestible. Once you get used to these shortcuts, resizing cells will take no time.
Do you have any other methods for fitting text within Excel cells? Feel free to share your thoughts in the comment section.
Disclaimer: Some pages on this site may include an affiliate link. This does not effect our editorial in any way.


