Whether you love them or hate them, tiles are an integral part of Windows 10. Fortunately for those of us who hate them, they are easy to get rid of, and for those of us who like them, they are easy to modify so as to better suit our needs. In this article, I will give you a brief tutorial on how to move, resize, and add tiles, and also how to get rid of them altogether.
Tiles, for the uninitiated, are the those colored squares you see when you click the Windows Start button. The ones with images or messages in then are called live tiles and are updated over the Internet. The flat ones with program icons in them are not live and will open the program associated with them.
Move tiles in Windows 10
Moving tiles allows you to configure your start menu exactly how you want it and allows you to group tiles logically, or randomly as you see fit.
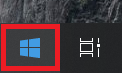
- Click on the Windows Start Menu, it’s the icon in the bottom, left-corner of the screen.

- Next, select a tile and drag and drop it into place.
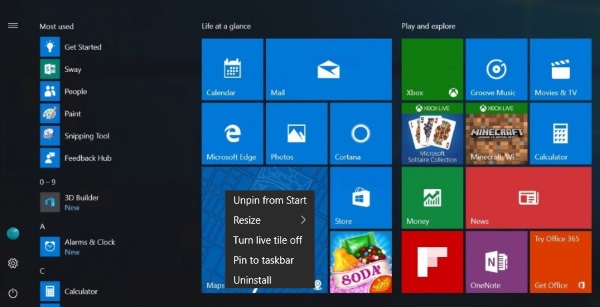
- Right-click the tile, select Resize, and choose from the options to fit it in with the others.

Grouping is great if you plan to use a lot of tiles to keep your desktop organized. Very useful if you prefer tiles to desktop icons. Once moved, the tile will stay in place until you move or remove it.
- Open the Start Menu as mentioned above.
- Select a tile and drag and drop it into an empty space to create the group. A small horizontal bar should appear to denote a new group.
- Select the empty space above the group, click Name group to give it a meaningful name.
Add tiles in Windows 10
Adding tiles in Windows 10 is as straightforward as moving them.
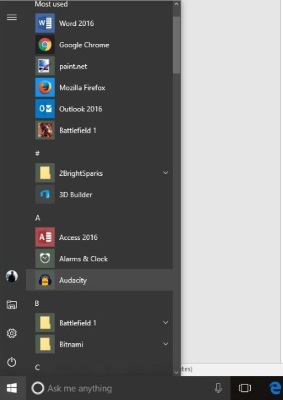
- Right-click an application on the desktop, in Explorer or within the Start menu itself and select Pin to Start.
- The icon will become a tile and appear with the other tiles in the Windows start menu.

Not all programs integrate seamlessly into the tile menu in Windows, so they may need a little ‘encouragement’ to fit in. Follow the steps mentioned above to resize your newly created tile.
You can also drag and drop the tile into groups as above to create the look you want.
Turn Off Live Tiles
If you like the tiles but don’t want live tiles constantly updating or being distracting you can turn them off to look just like the others.
- Select the Windows Start button to open the menu.
- Right-click a live tile, go to More and select Turn Live Tile off.
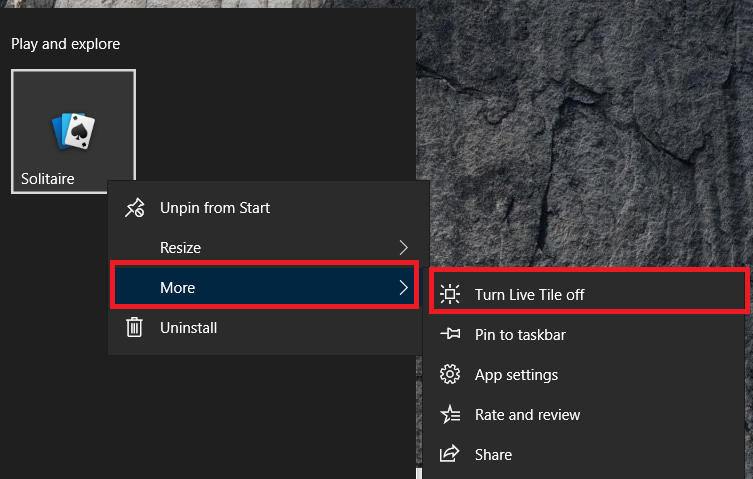
This turns a live tile into a static one, lowering distraction value by quite a lot.
Remove Tiles Altogether in Windows 10
The Windows 10 tile menu works for some but not for others. Personally, I never use them so have removed them completely. If you like the simple menu look, you can do the same.
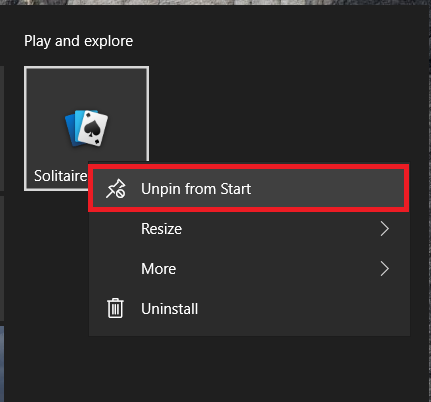
- Select the Windows Start button to open the menu.
- Next, right-click a tile and click Unpin from Start, repeat for all tiles.
- If you want to minimize your menu some, place the mouse over the right edge of the Start menu and drag it across until only the main menu can be seen and let go.
This removes tiles and brings back the traditional Windows menu. While it isn’t as colorful as having tiles, it isn’t as distracting either. Plus, if you’re using a tablet, not having live tiles means (ever so slightly) lower data usage.
Create Your Own Live Tiles in Windows 10
If you really like tiles and want to make your own, you’re in luck. There used to be a Microsoft app called TileCreator that allowed you to create new tiles, but Microsoft pulled it without explanation a while back. However, third-party hackers have cobbled together a tile editor called TileIconifier and it’s available here.

- Download and install TileIconifier.
- Create your tile and add it to the Start menu.
- Use the tile.
As you can see, there is a lot you can do both with the Windows desktop and with the tiles in the Start menu. If you have the patience and creativity, it is possible to create something truly original and personal.
Disclaimer: Some pages on this site may include an affiliate link. This does not effect our editorial in any way.