With the newest Windows 10 update, documents are organized according to the date they were last modified in File Explorer, such as “Today,” “Yesterday,” etc. Although it offers a convenient overview of all your files, some Windows 10 users may find it annoying. Thankfully, there is a way to remove these time-based settings or organize them in an entirely different way.
In this article, we’ll show you how to remove “Today,” “Yesterday,” “Earlier this month,” and similar timeline groups in File Explorer. In addition, we’ll show you how to organize your File Explorer more efficiently.
How to Remove Today Yesterday From File Explorer
When you open File Explorer on your Windows 10, you’ll notice that your documents are separated by different date entries, such as “Today,” “Yesterday,” “Last week,” “Earlier this month,” “Last month,” and even “Earlier this year” and “A long time ago.” Even if you click on the “Name” column above to change the alphabetical order of the files, the timeline groups will still be there.
These titles divide your documents according to the last time you edited them. While this classification might be very useful when you need to find a file that you downloaded over a month ago, it could also be distracting and bothersome.
One of the reasons why this sorting system may not be to everyone’s liking is it doesn’t let you search for files by merely pressing the first letter of the document on the keyboard. For example, if you wanted to search for a file called “Financial report September 2021,” all you needed to do was to press the letter “F”, and it would take you to the first document starting with that letter. It may not be the exact document but it would still save you time since you wouldn’t have to scroll through every document.
But with the “Date modified” organization, this search option isn’t possible.
Fortunately, you can change this file organization type or simply remove it altogether. What’s more, it will only take a few moments. To remove the “Today,” “Yesterday,” and other timeline groups, follow the steps below:
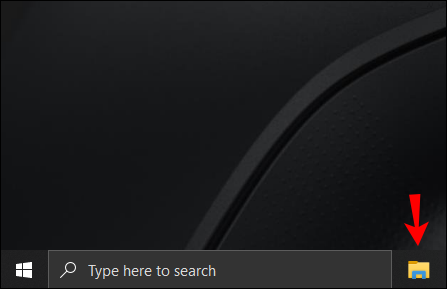
- Open the File Explorer folder by clicking on the file icon on your bottom menu.
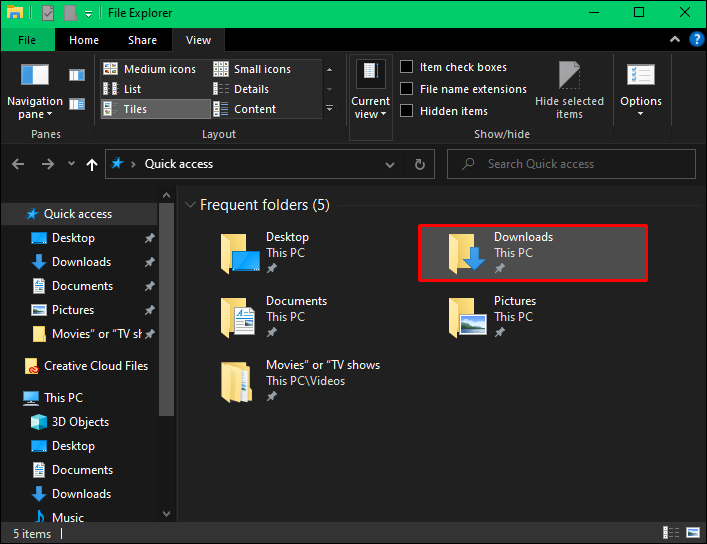
Note: If File Explorer isn’t on the ribbon menu, look for it in the search bar in the bottom-left corner of your display. - Go to the “View” tab in the upper-left corner of the folder.

- Proceed to the specific folder (such as Downloads) that you want to organize.
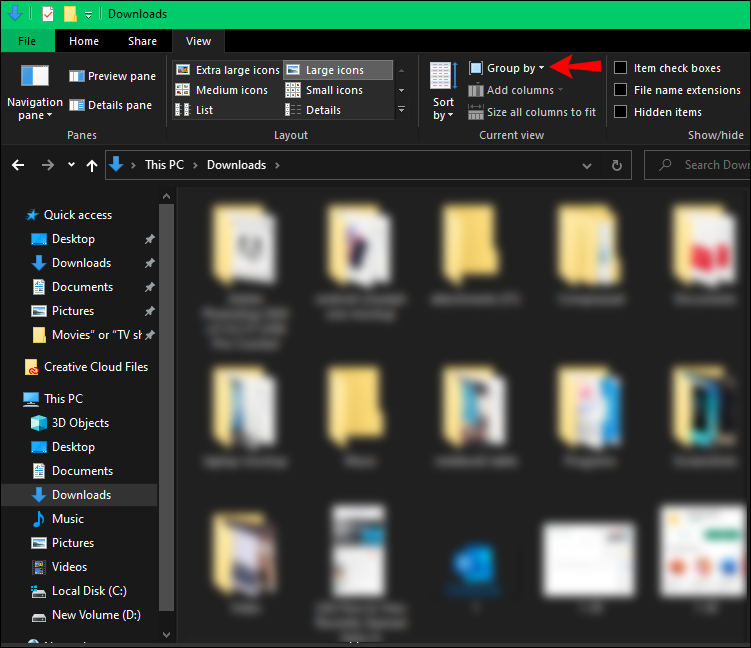
- Click on the “Group by” tab on the right side of the top menu. You’ll see different items on the list, such as “Name,” “Date,” “Type,” “Size,” and more. There will be a dot next to the “Date Modified” tab, meaning that it’s enabled.
- Click on the “(None)” item on the drop-down menu.

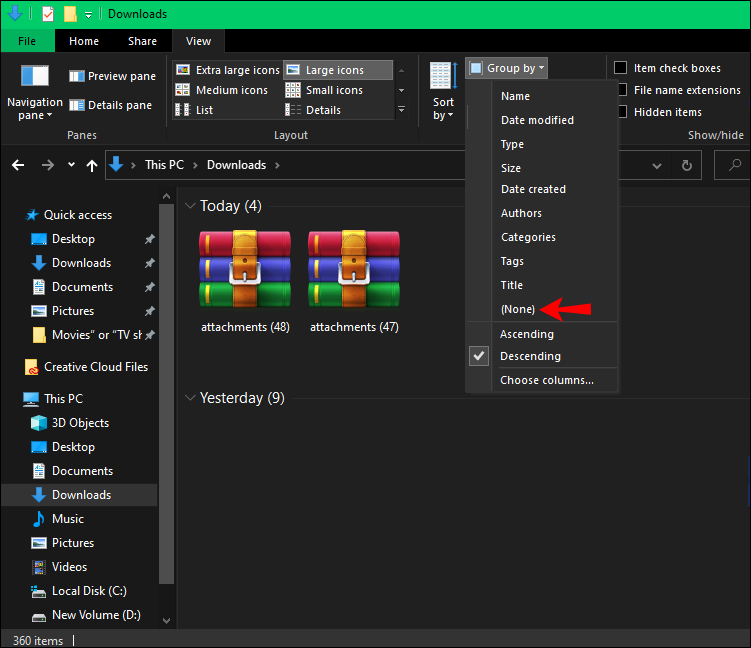
The timeline groups will immediately disappear from File Folder. Note that this will only change the sorting system in the folder you’re currently in. From this point, you can leave them as they are, or you can organize them by clicking on the “Name” tab.
If you want to restore the old classification, all you need to do is go back to the “Group by” tab and select “Date Modified” again. If you want the files to be organized according to the date they were downloaded or created, then choose “Date Taken” or “Date Created.”
How to Organize Your Documents in File Explorer
There are various ways to organize your documents in File Explorer. You should choose a classification that works best for you, and that will help you find your documents the fastest. Available file classification categories include the date they were last modified, the type of file, and its size.
The easiest way to organize all your files is by going to the “Group by” tab on the top ribbon. There, you will see the following categories: name, date, type, size, tags, date created, date modified, date taken, dimensions, rating, length, and (none). You can also choose whether the files will be displayed in ascending and descending order in each category (for instance, oldest date to newest date or vice versa).
One more way to organize your documents in File Explorer is by clicking on the “Name” tab above the first document. By clicking it once, you will arrange them in the A-to-Z order, and by clicking it a second time, you’ll get the opposite – Z-to-A order.
You can also choose which other types of information will be displayed next to the names. This can be achieved by right-clicking on the “Name tab.” You can include status, type, title, authors, date created, size, categories, tags, and similar. If you click on the “More…” option, you’ll be taken to a new window with all kinds of details. Even the width of each column can be changed.
Make Your File Explorer Accessible
The management and arrangement of all your files and documents in File Explorer may not be important to everyone. But for those who like to have an organized desktop and a specific overview of all their files, knowing how to sort your File Explorer can make a huge difference. That’s why it’s useful to know how to remove unnecessary details from your File Explorer.
Have you ever removed the “Today,” “Yesterday,” and other timeline groups from your File Explorer before? Did you organize all your documents in some other way? Let us know in the comments section below.
Disclaimer: Some pages on this site may include an affiliate link. This does not effect our editorial in any way.


