Device Links
Write protection is certainly an important SD card feature: it can be used to prevent users from accidentally removing critical data. However, when you just want to use your SD card to store and transfer files, this feature can make it useless.
Before you throw away your SD card and head out to pick up a new one, read this guide to learn how you can remove write protection from your card and start using it again.
Remove Write Protection From SD Card in Windows 11
Write protection is a safety feature that makes your SD card read-only. This means you can’t accidentally overwrite its contents. You can’t delete any files from the card, and neither can you add new ones. Write protection will also prevent you from formatting the SD card.
SD cards can have several types of write protection.
- A mechanical lock on the side of the card
- Internal (digital) write protection
- Password protection
Whether your SD card is physically or digitally locked, you’ll find the solution below.
Remove Physical Write Protection From SD Card
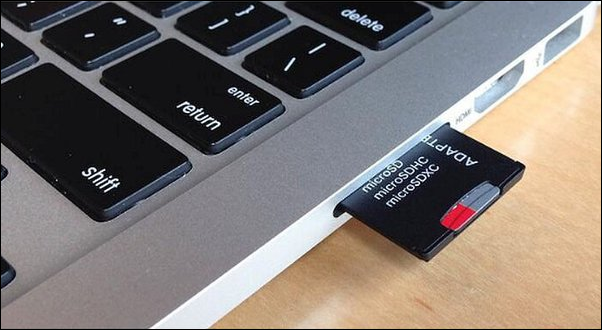
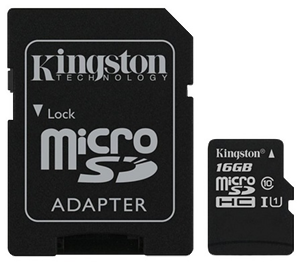
Most SD cards have a physical lock you can use to activate write protection. Unlocking a physically write-protected SD card won’t take you more than a few seconds. All you need to do is turn this switch off, and you’ll be able to edit the contents of your SD card. If you’re using a mini or micro SD card, insert it into an SD card adapter before you begin.
Here’s how to turn off the SD card’s physical lock.
- Find the write protection switch on your SD card. It’s typically on the upper left side when the label is facing upwards.
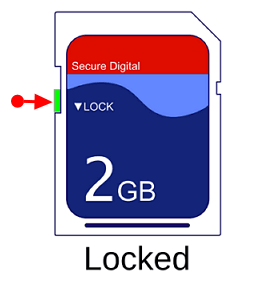
- Slide the switch up to unlock the SD card.


If the card was already unlocked or this didn’t do the trick, you might need to tweak something else.
- See if your SD card has a notch on the upper right side.
- Cover the indentation with a small piece of tape and try using your SD card again.

If you still can’t modify your card’s content, you’re likely dealing with digital write protection. Read on to learn how to remove this kind of write protection from your SD card on different platforms.
Remove Write Protection From SD Card Windows 11
There are several ways to remove write protection from an SD card on Windows 11 PCs.
Edit Properties
Some SD cards have an option in their properties you can toggle in order to add or remove write protection. Check whether yours falls into this category.
- Insert the SD card into your computer’s reader.
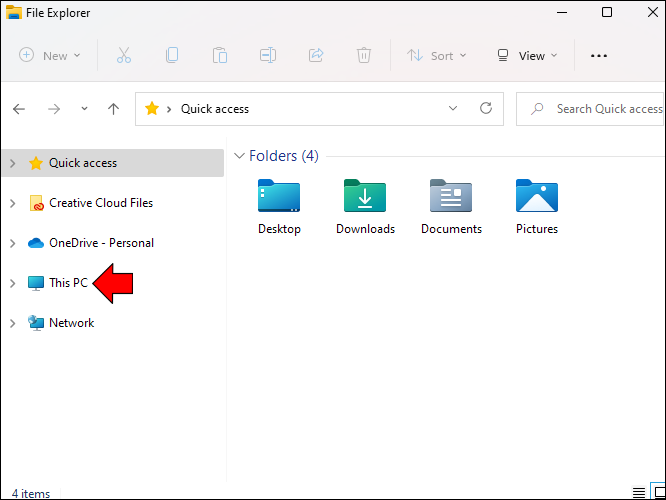
- Navigate to “My Computer.”
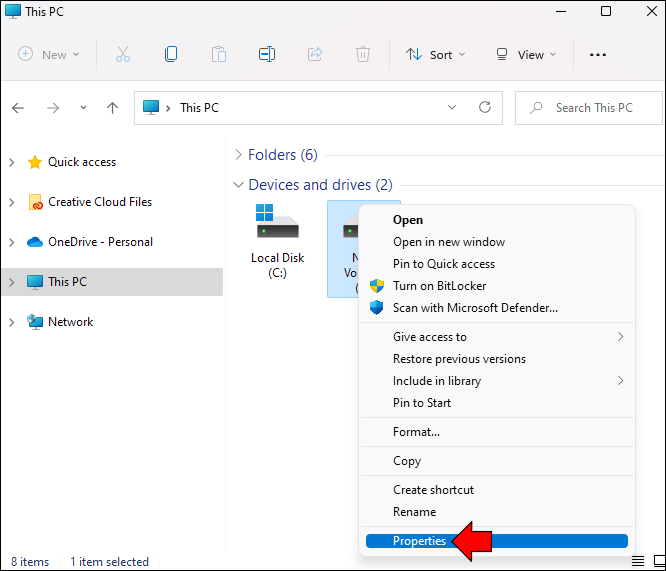
- Right-click the SD card’s drive and select “Properties.”
- See whether you can remove write protection in this window.
If you didn’t have any luck, you’ll need to use another method.
Use Diskpart
The next way to remove write protection from your SD card will require you to use Window’s Command Prompt. You’ll need to be in Admin mode to leverage this solution.
- Insert the SD card into your laptop or desktop computer.
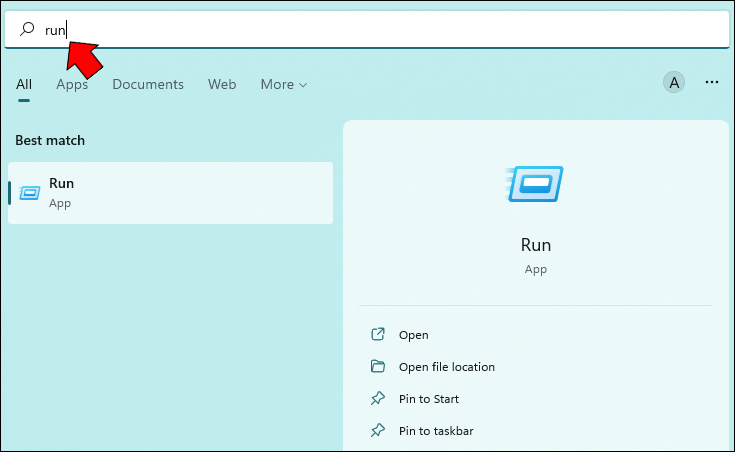
- Open your Start menu and type “Run” into the search bar.
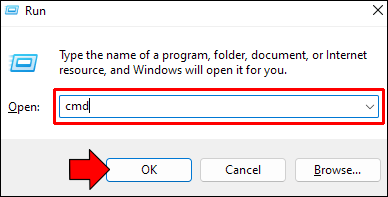
- Type “
cmd” in the field next to “Open” and hit “OK.” - Type “
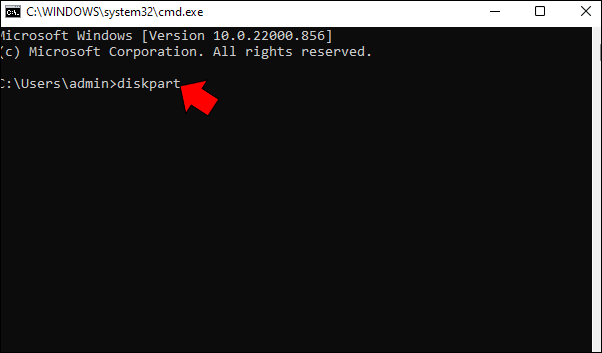
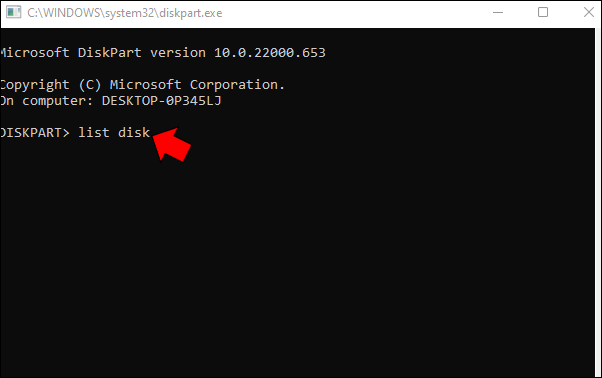
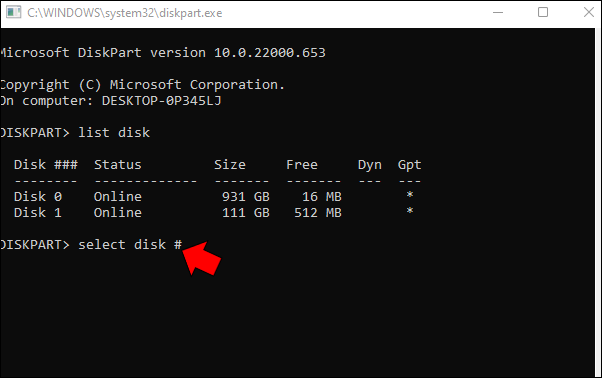
diskpart” in the new window and press “Enter.” - Next, write “list disk” and hit Enter.
- You’ll get a numbered list of your PC’s disks. Locate your SD card on the list.
- Type “
select disk #” while replacing the#symbol with the number next to your SD card on the list, and press Enter. - Type “
attributes disk clean readonly” and hit your Enter key. - Exit Command Prompt.


Your SD card is no longer write-protected, and you can modify its content or format it as you wish.
Edit Registry
The third way to clear write protection from your SD card using your Windows PC is by using the Registry Editor. This will do the job if the cause of your card’s write protection is a wrong Windows Registry Key. You’ll need to correct the data manually. Here’s how to do it.
- Insert your SD card into your device.
- Back up all the important files on the SD card before you move forward.
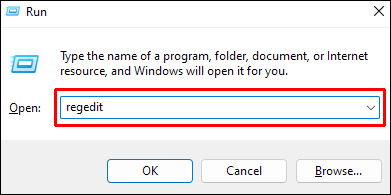
- Open the Run dialogue box by searching “Run” in the start menu or pressing “Ctrl” and your “R” key simultaneously.
- Type “
regedit” and press Enter. - Allow the app to make changes to your device if needed.
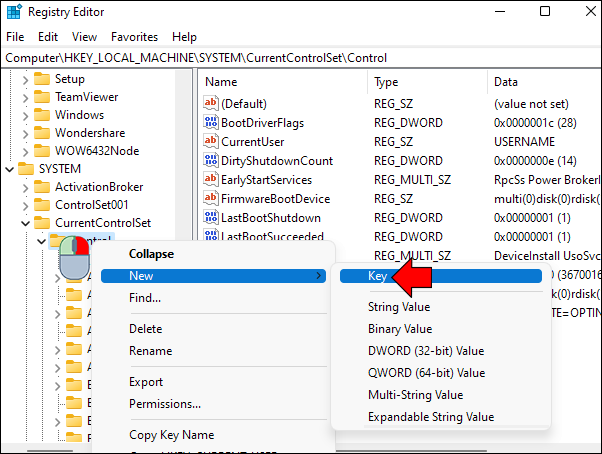
- Navigate to the following location: “
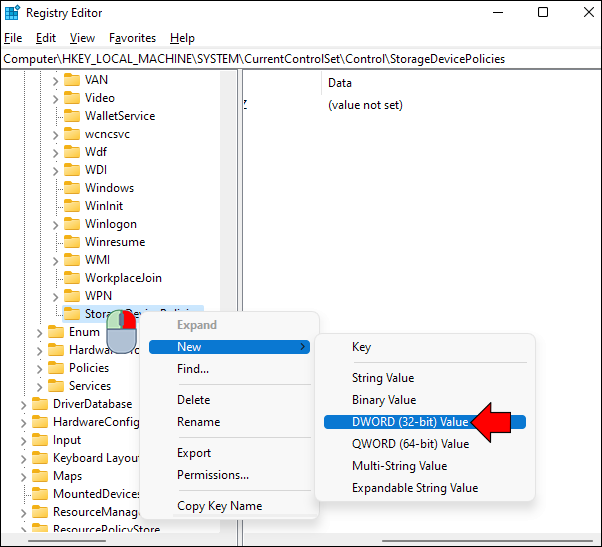
HKEY_LOCAL_MACHINE\SYSTEM\CurrentControlSet\Control” (you can copy and paste this into the top bar of the window). - If there’s no such location, right-click “Control” in the sidebar, and select “Key” under “New.”
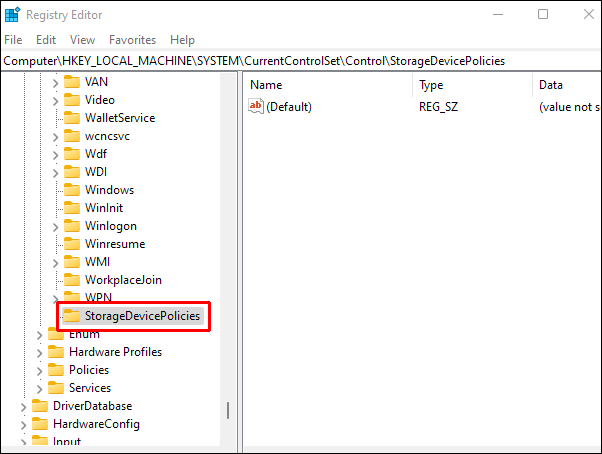
- Name the newly created key “StorageDevicePolicies”
- Right-click “StorageDevicePolicies” in the sidebar and select “DWORD (32-bit)” under “New” this time. Name the file “WriteProtect.”
- Open “WriteProtect” by double-clicking it, change the value data to 0, and hit “OK.”


Exit the Registry Editor and restart your computer.
Remove Write Protection From an SD Card on a Mac
Try the following solutions to remove write protection from your SD card using your Mac.
Remove Read-Only From a File
One read-only file on your card is enough to cause issues with formatting. Before resorting to more complicated solutions, see whether a read-only file is triggering write protection.
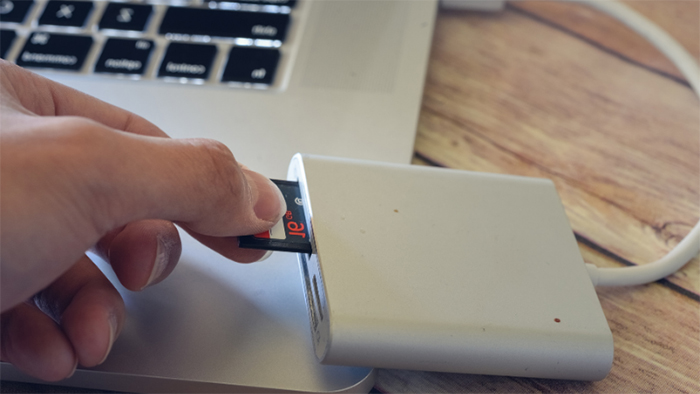
- Insert the card into your Mac’s SD card slot or use an adapter if necessary.
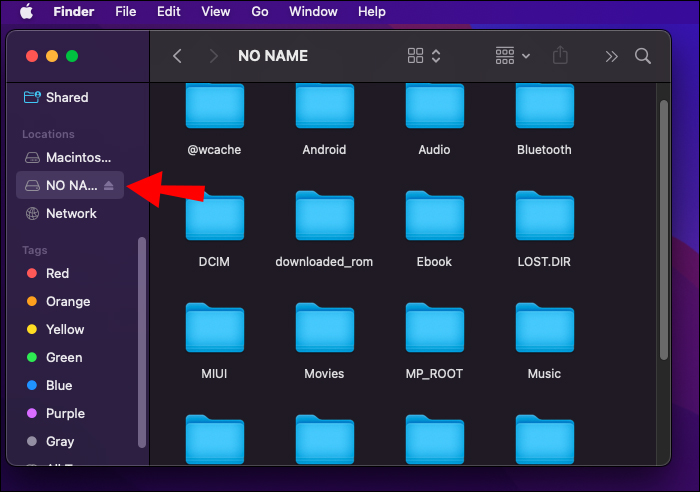
- Open the SD card in Finder.
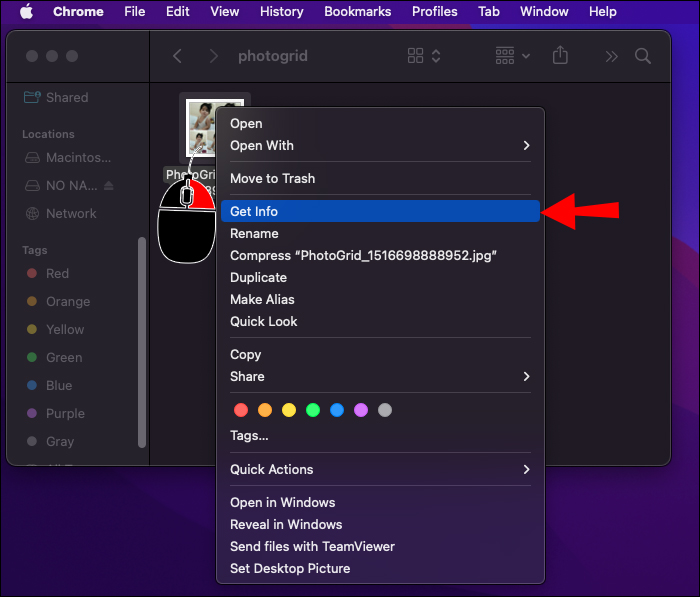
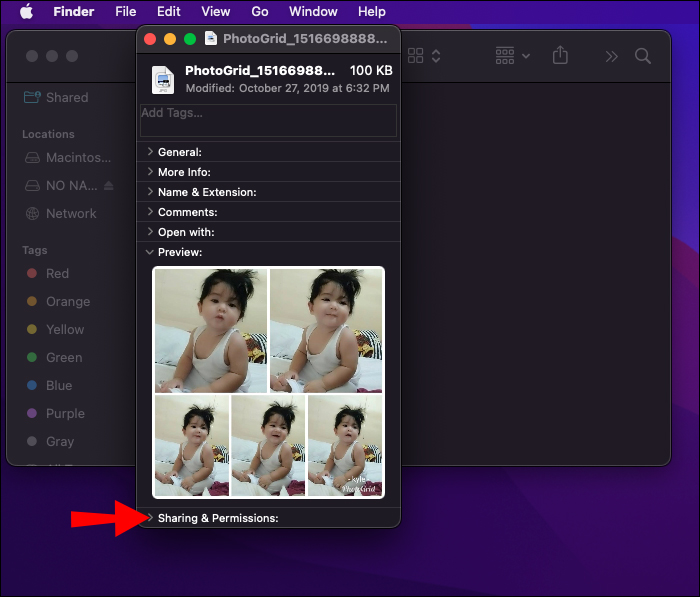
- Check the attributes of a file. Select the file, click “File,” then “Get Info.”
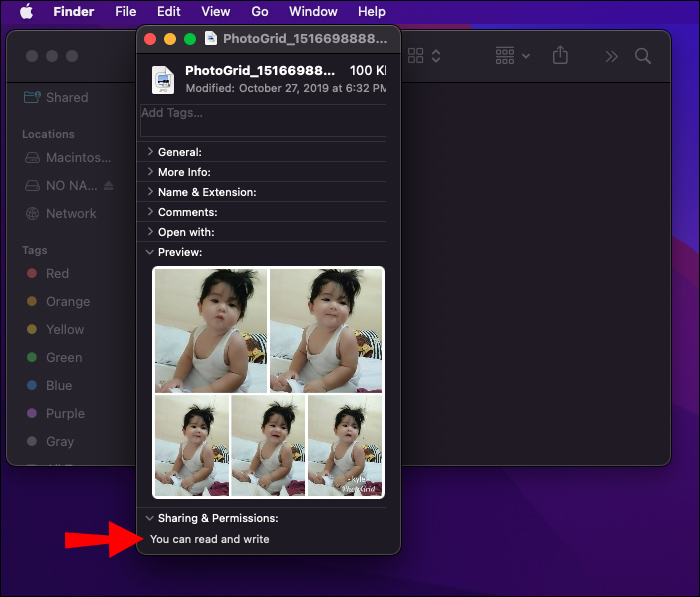
- Click the arrow next to “Sharing & Permissions.”
- If your file is read-only, change it to “Read & Write.”
- Try to see of this fixed the issue or repeat the steps for the rest of the files.
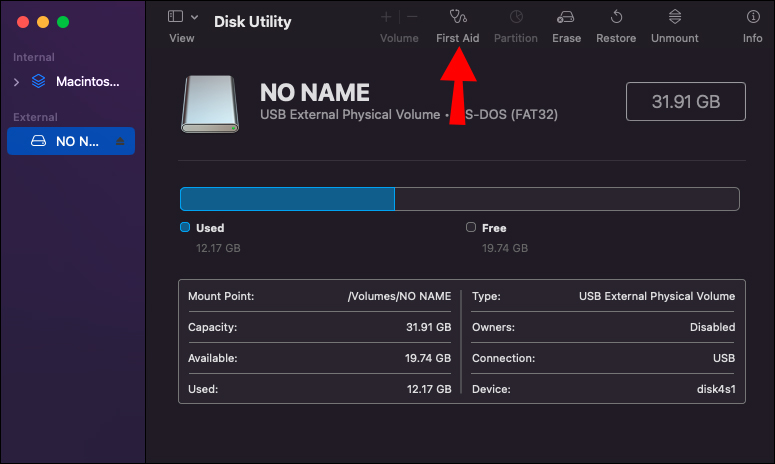
Use Disk Utility
It’s also possible that the SD card is write-protected due to an error. In that case, here’s how to remove write protection from your SD card using your Mac’s Disk Utility.
- Insert your SD card into your Mac.
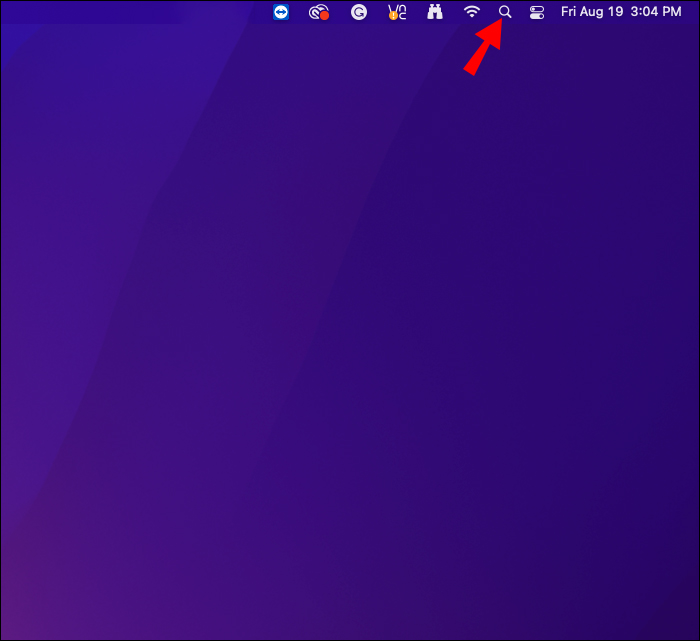
- Click the magnifier in the upper right corner of your screen.
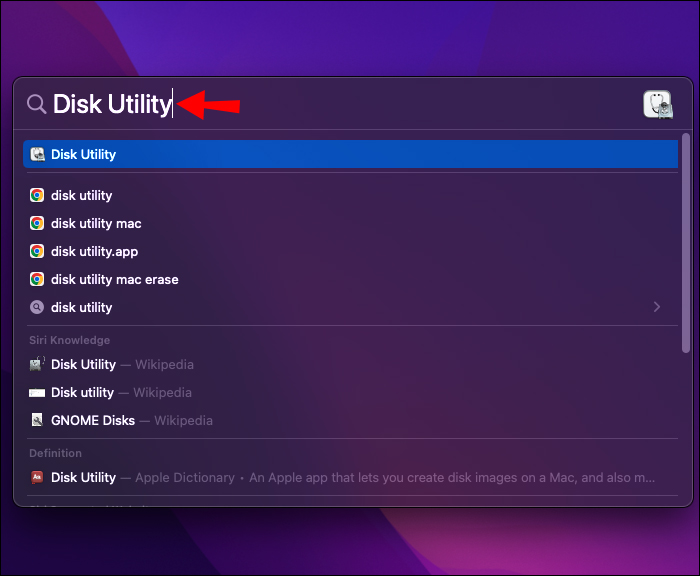
- Enter “disk utility” and open the first result.
- Select your SD card from the list on the left.
- Find the “First Aid” at the top.
- Click “Run.”

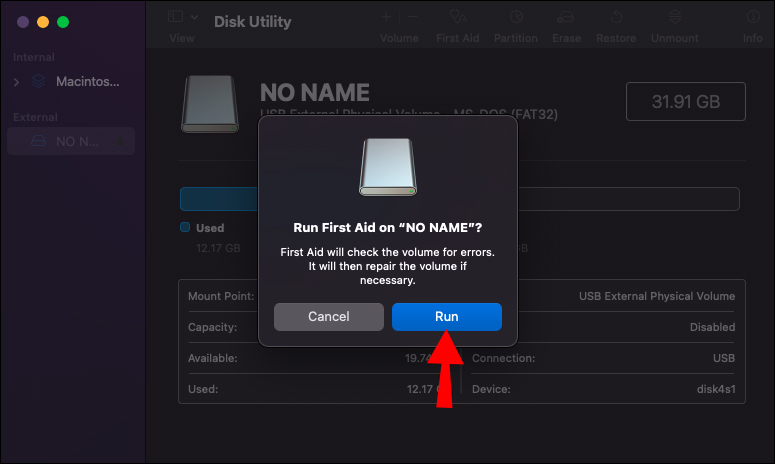
Wait until the process is finished and see if you can use your SD card now.
Remove Write Protection From an SD Card on a Linux Device
The steps to remove write protection from an SD card on a Linux device are slightly different. Follow the instructions below.
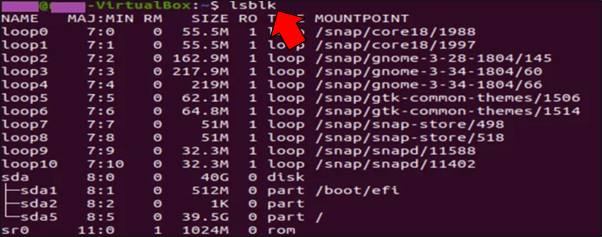
- Make sure your SD card is inserted into your device.
- Open Terminal.
- Type “lslbk” and press “Enter.”
- Find your SD card on the list and copy the information from the first column.
- Next, type “
sudo hdparm -r0” and paste what you just copied next to it. - Hit “Enter.”
- Leave the terminal by typing “exit” and pressing “Enter.”

The contents of your SD card can now be edited and deleted.
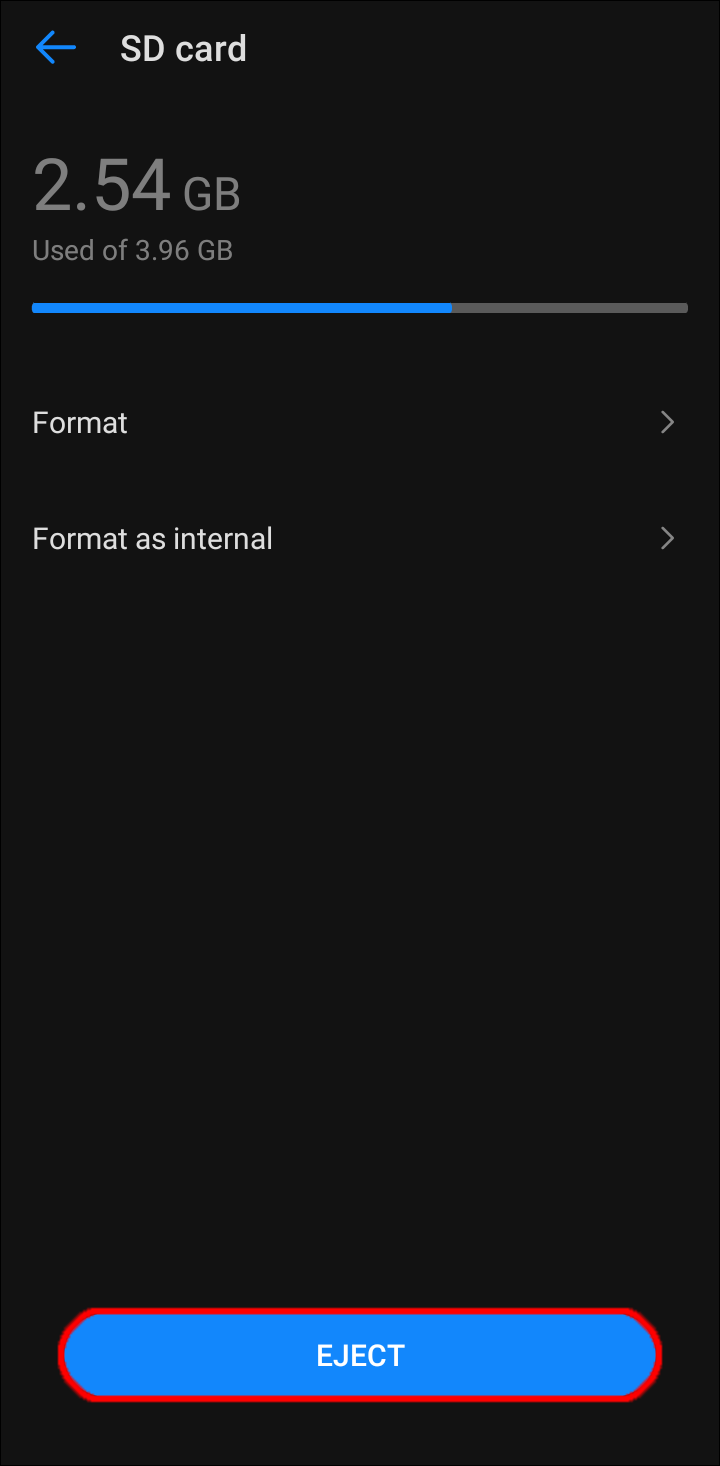
Remove Write Protection From an SD Card on an Android Device
If your Android device’s SD card is read-only, you won’t be able to use it properly. The good news is, you can fix the issue. However, you’ll need a computer to do so.
- Unmount your memory card in your Android’s settings and remove it from your device.
- Insert the card into an adapter.
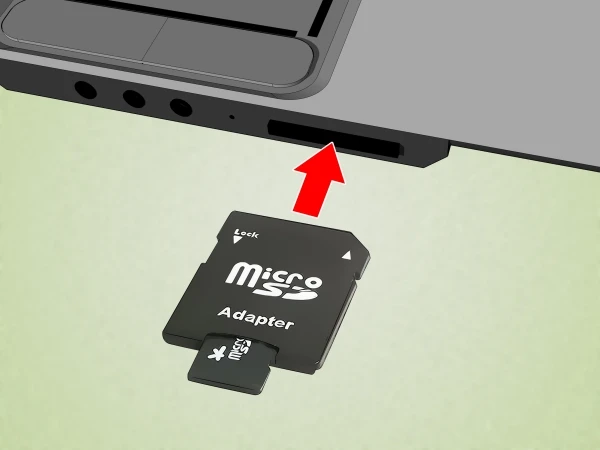
- Put the adapter with the memory card into your PC’s SD card reader slot.
600 - Follow the instructions above for your PC’s operating system.
Don’t Give Up on Your SD Card
A write protection issue can seriously limit the use you get out of your SD card. However, all is not lost, as you can most likely solve the problem using one of the methods mentioned above.
Have you had issues with write protection? Did you manage to salvage your SD card? Let us know in the comments section below.
Disclaimer: Some pages on this site may include an affiliate link. This does not effect our editorial in any way.