When you buy a new PC or perform a clean install of Windows 10, you may notice that your PC’s name is some nonsensical combination of letters and numbers, a unique name generated and assigned by Windows in the absence of a preexisting name. This may not be a problem for users with a single PC, but those who use multiple networked PCs or online services such as OneDrive and Office 365 may find it difficult to manage all of their generically named Windows 10 systems.
Instead of sticking with the random name generated by Windows, here are two quick ways to change your PC’s name to something more useful and easier to identify.
Rename Your PC in Control Panel
The first method to rename your Windows 10 PC is to use Control Panel.
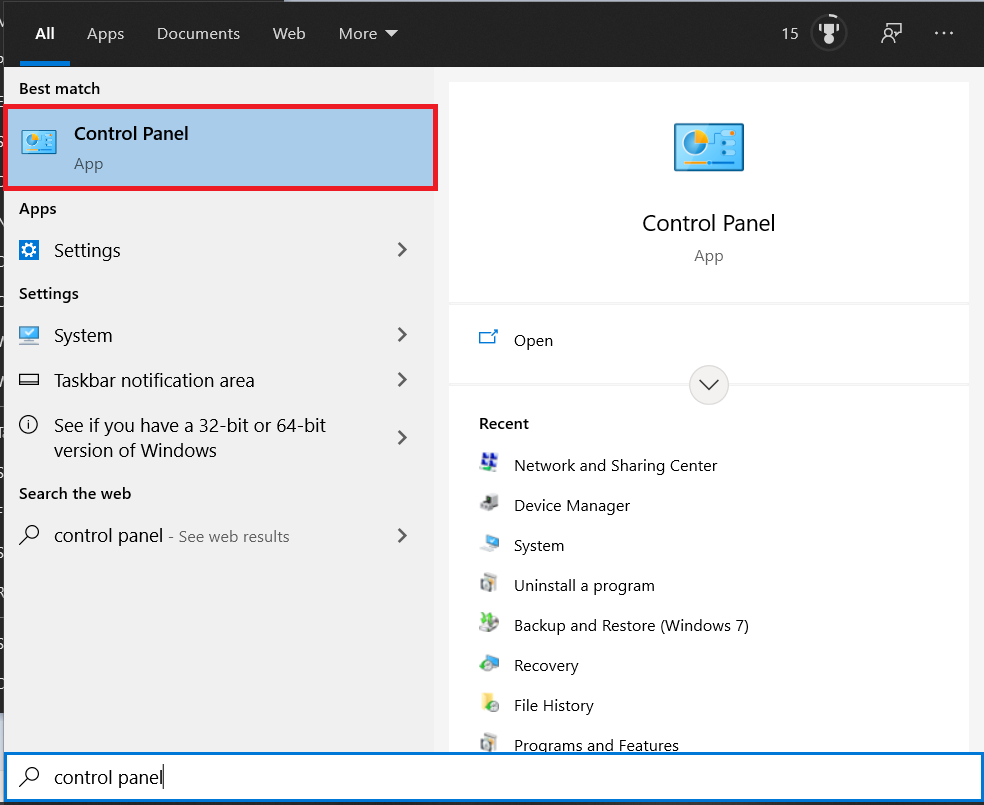
- Open the Start menu, type “Control Panel” into the Search bar, and click on it.
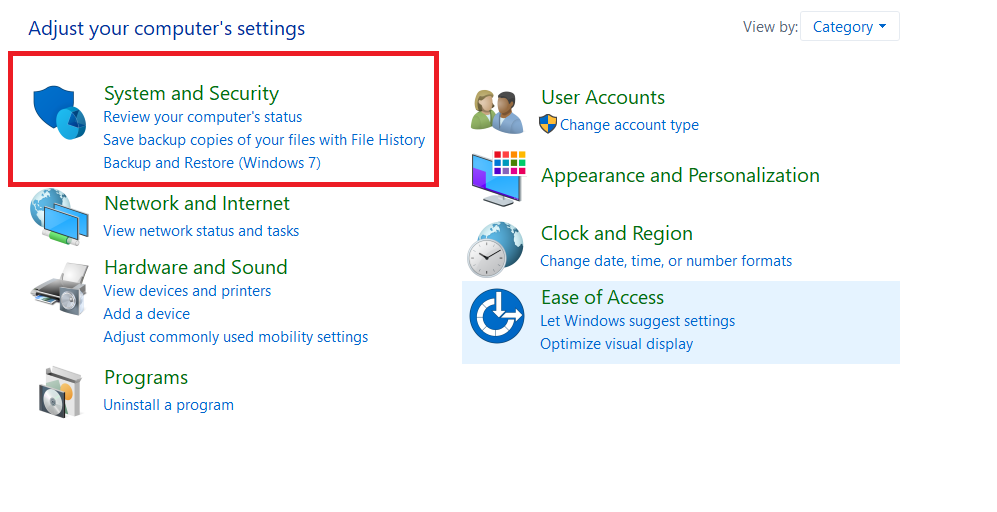
- Now, click on System and Security.

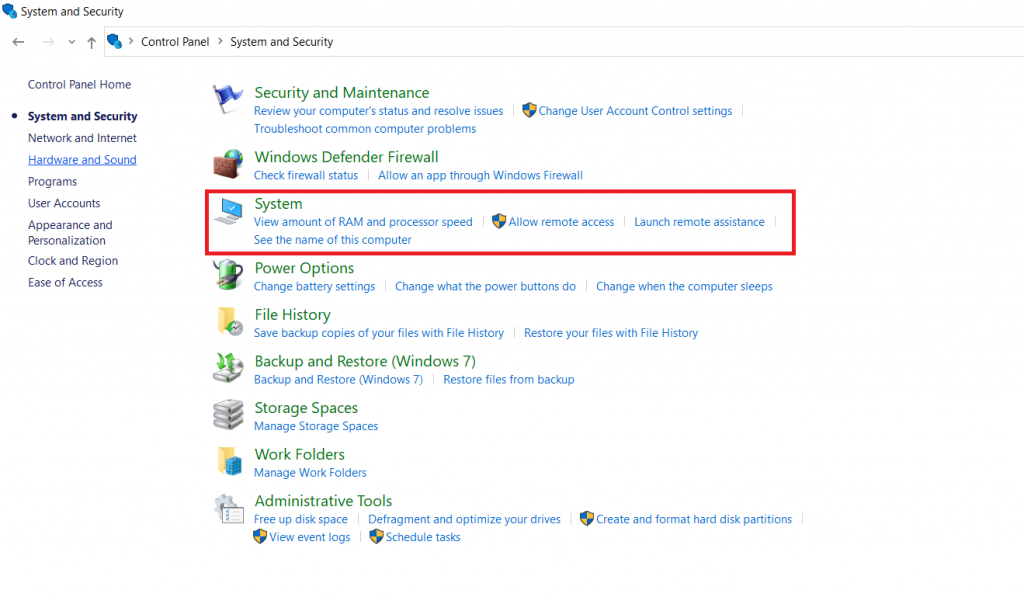
- Then, click on System.
- You’ll see your PC’s current name listed alongside other system information on the right side of this window, click on Rename this PC.
- Now, rename your PC and click Next.
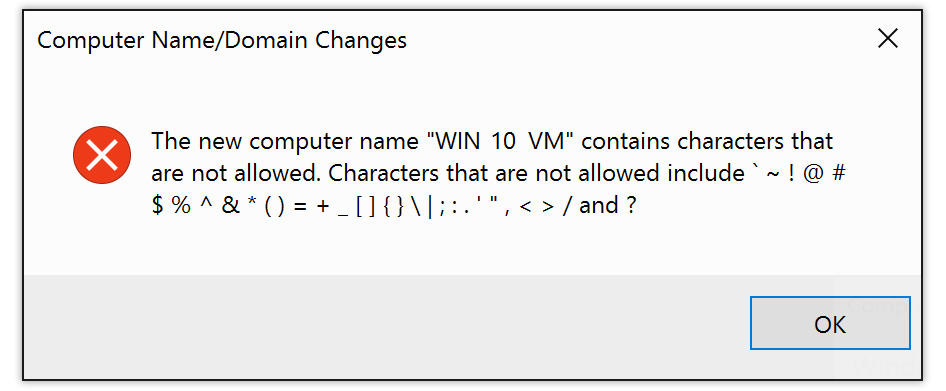
Note, that you’re somewhat limited when it comes to the characters and formatting allowed when renaming your PC. For example, you can’t use any spaces, and you’ll need to avoid special characters such as !, $, &, and >. Hyphens (-) are allowed, however, and they can help format names by replacing spaces, such as WIN-10-VM. It’s also important to note that you shouldn’t give the same name to multiple PCs on the same network, as this can cause network identification issues.


The Control Panel is a useful tool to know how to navigate and use, let’s now view another built-in Windows 10 utility.
Rename Your PC in Windows 10 Settings
Another method to rename your PC is to use Windows Settings.
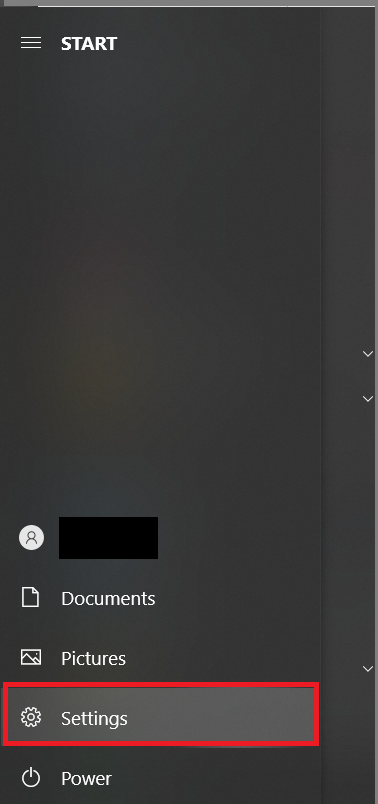
- Open up the Start menu and click on Settings.
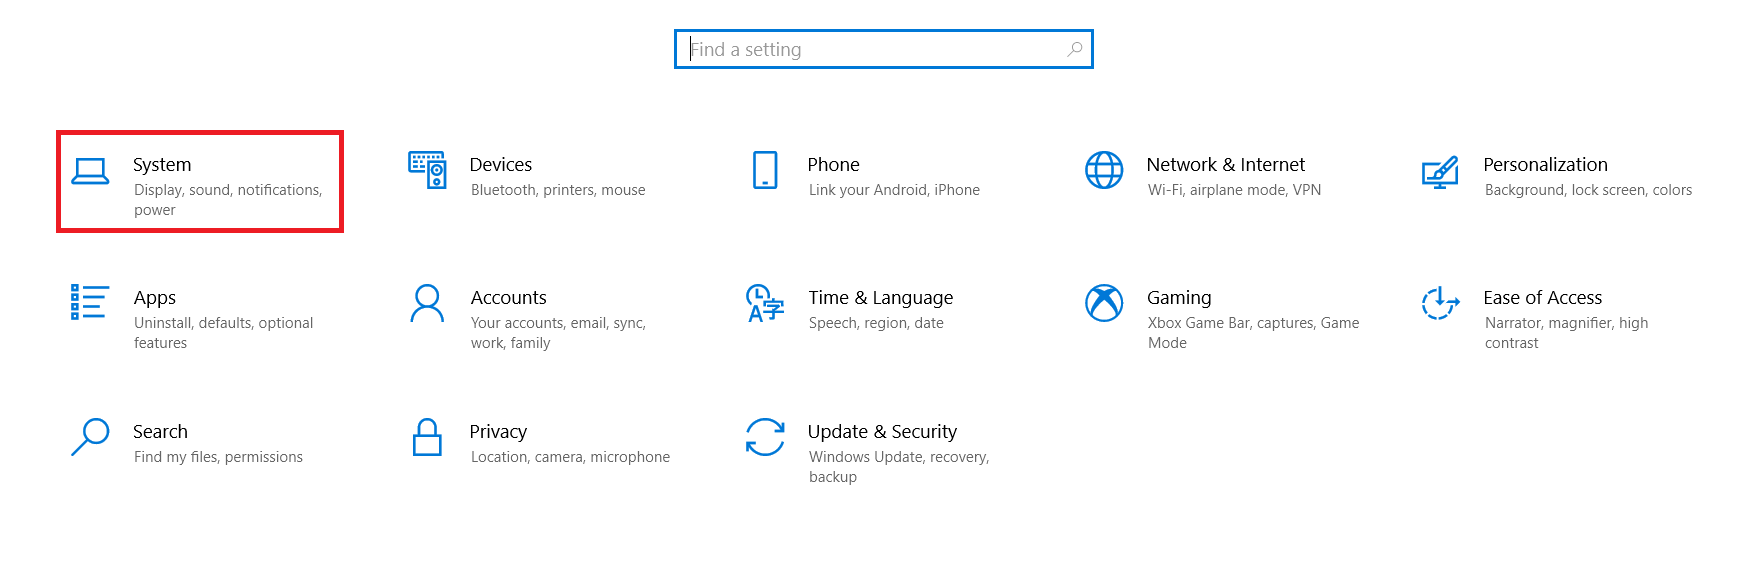
- Now, click on System.
- At the top of the window you’ll see your computer’s current name, click Rename this PC, type a new custom name into the Rename Your PC window that appears and click Next.
It’s that easy to rename your PC using the Windows 10 Settings utility.
Renaming a Windows 10 PC
There’s not much to renaming a Windows 10 PC, it’s just a matter of a few button clicks and keystrokes. Although the Control Panel options leads you to the About page within the Settings menu, you now know how to rename your PC in a few different ways.
Are you renaming devices to make better sense of your home network? Did you upgrade to a new PC? Feel free to share your thoughts below.
Disclaimer: Some pages on this site may include an affiliate link. This does not effect our editorial in any way.


