Meshes are the primary construction units in Roblox that come in various shapes and sizes. They include any 3D object, such as a gear, hat, or part, that can enhance the look of your games. Meshes are incredibly versatile, but you’ll first need to learn how to make them.
In this article, we’ll show you how to make meshes in Roblox. We’ll help you create and edit these objects so you can use them in your games efficiently.
How to Create Meshes in Roblox
You can use several types of meshes in Roblox. For instance, special meshes let you create bricks, torsos, heads, spheres, wedges, and cylinders. Alternatively, block meshes enable you to make blocks.
Blender is one of the programs that let you create meshes. Here’s how to use it to make meshes:
- Open Blender.

- Navigate to the top section of your screen and find the “Add” window.

- Press “Add” and choose the shape of the mesh you want to include.
- Save your file, and you’re good to go.


Autodesk Maya is another program you can use to create meshes. Take the following steps to make one:
- Open Maya and choose “Mesh Tools,” followed by “Create Polygon Tool.”
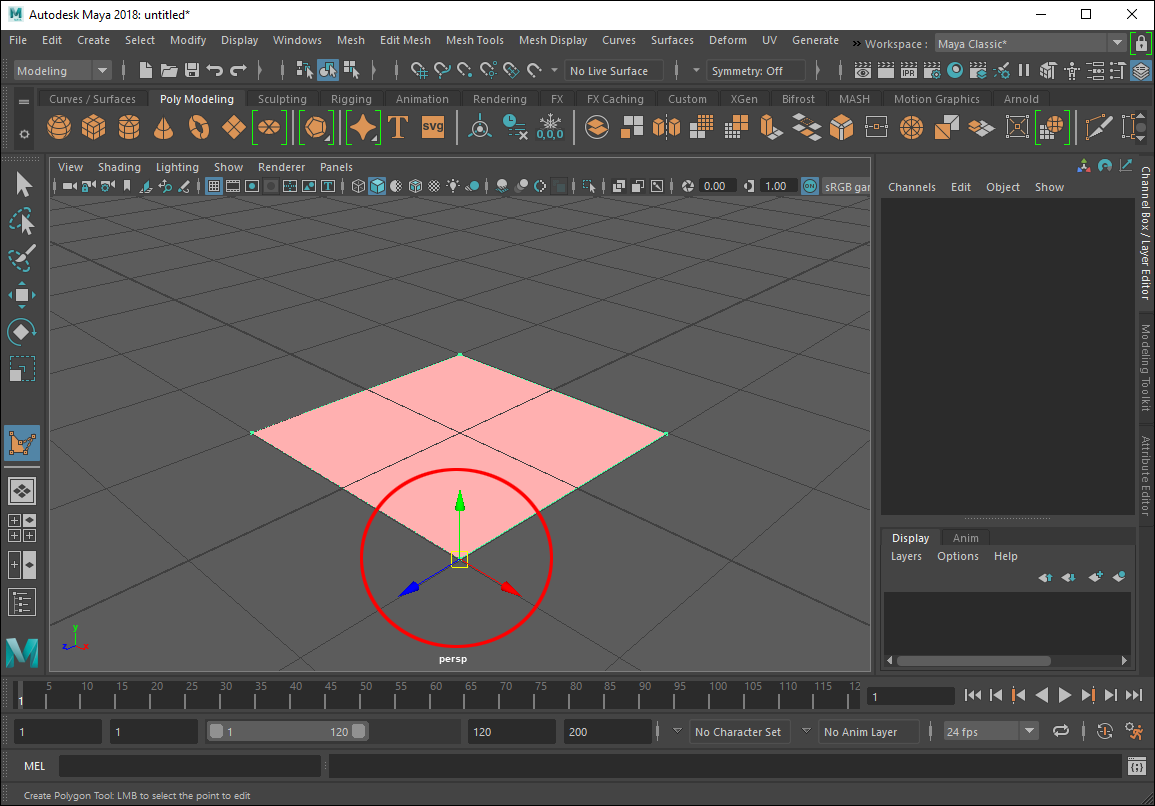
- Click to place your first vertex. Maya will place vertices on your ground plane. You can also choose to snap them into existing geometry.
- Click to add another vertex. Maya will create an edge between the first and last points you place.
- Place the third vertex, and an edge will connect the vertices.
- Keep placing more vertices to make an n-sided or quad mesh. You can also edit vertices by pressing “Insert” or “Home.” The program will now give you a manipulator, allowing you to edit the vertices.
- Hit the “Enter” button to complete your mesh or press “Delete” to remove the most recent point placed. Alternatively, press the “Y” key to start creating a new mesh.


Once you’ve created your mesh, you can now import it into your game:
- Open your Roblox and enter the “Edit” or “Build” mode, depending on whether you’re on the study or main page.
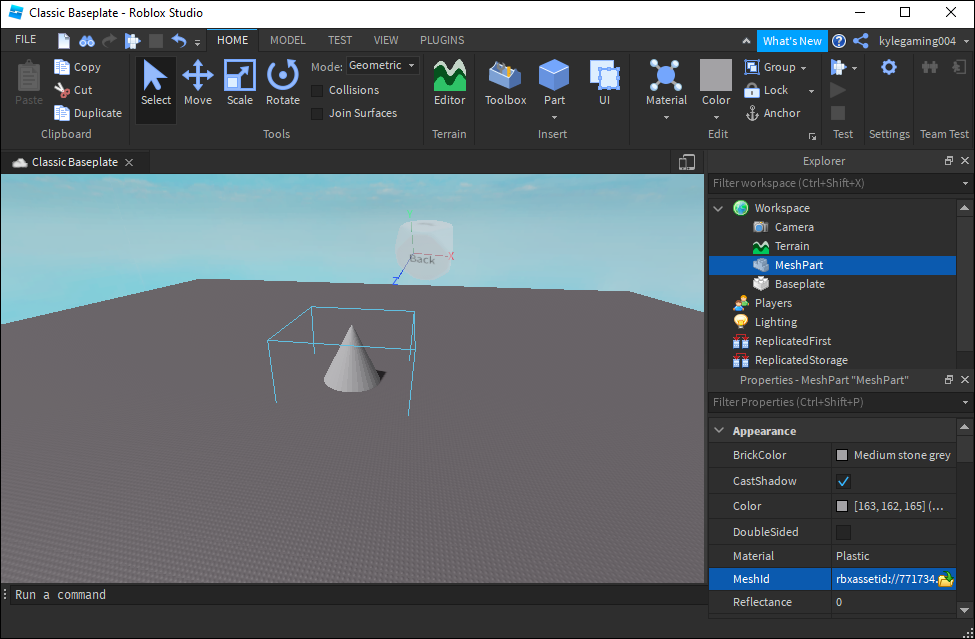
- Press “Properties” to access your mesh characteristics.
- Choose “Mesh Types.”
- Click “Mesh File.” You’ll now see the text box that requires you to place the “MeshID.” This is the path where you saved your mesh on your computer. If you can’t remember the path, navigate to the folder of your mesh. Copy the path into the box.
- Make sure all the details are correct, and the name of the file contains the .mesh extension.
- If everything checks out, hit the “Enter” button, and your upload will begin.


Bear in mind that if any child mesh has over 5,000 polygons, the program will reject the parent mesh. Children meshes will also be dismissed if the parent mesh contains over 50 child meshes.
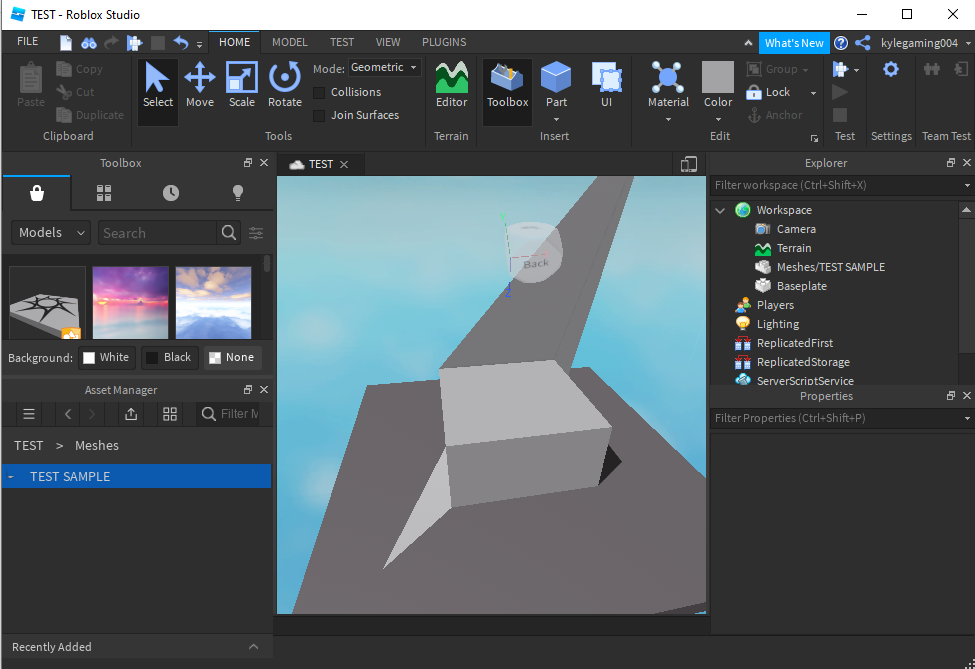
By default, files with multiple meshes will be imported into the Studio as individual meshes. If this isn’t the desired outcome, check the “Import file as single mesh” box during the import process. Afterward, you can insert your mesh into a game:
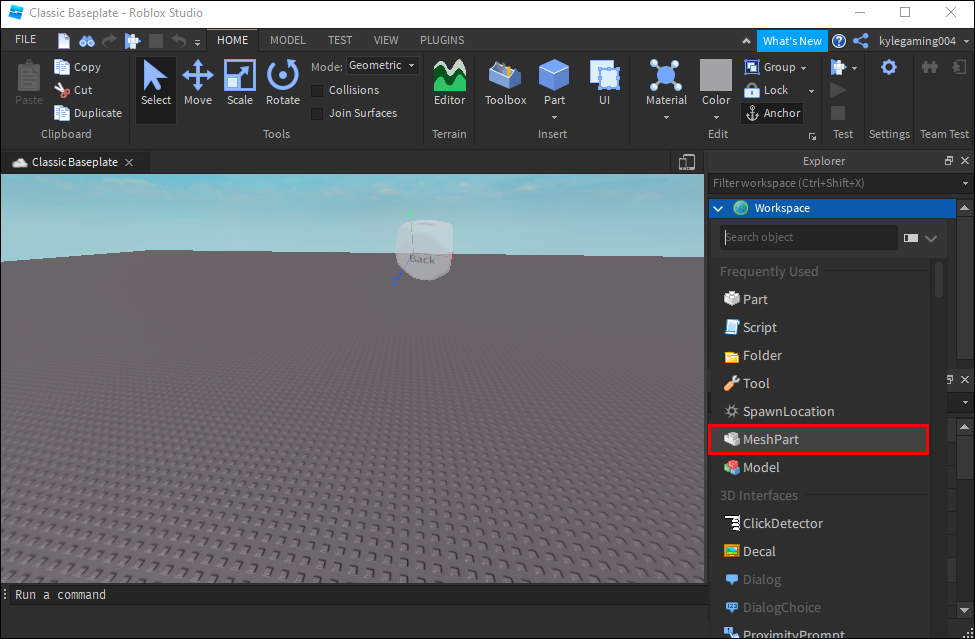
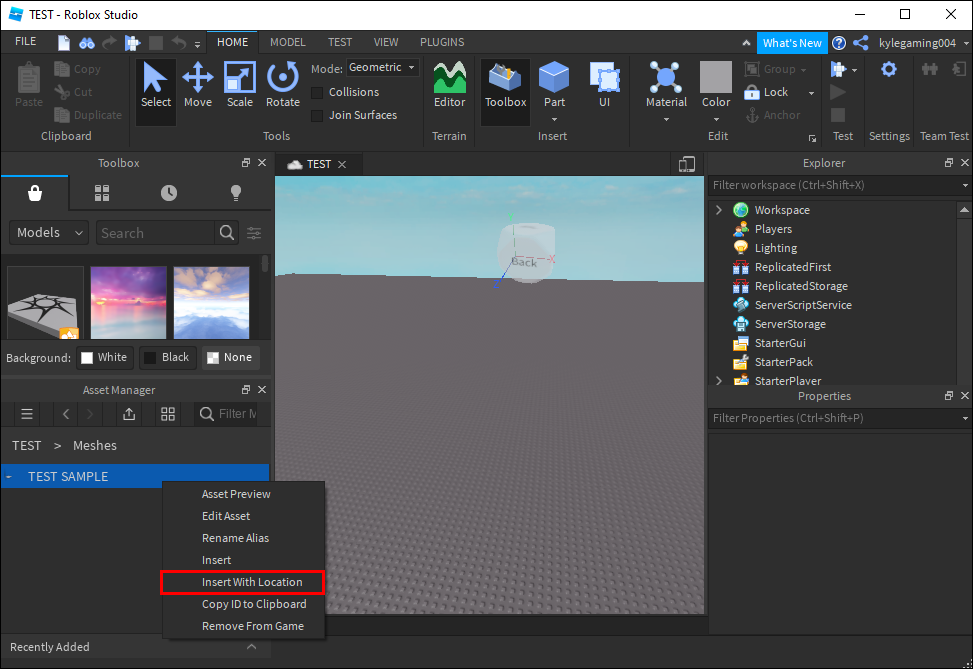
- Right-click on the mesh.
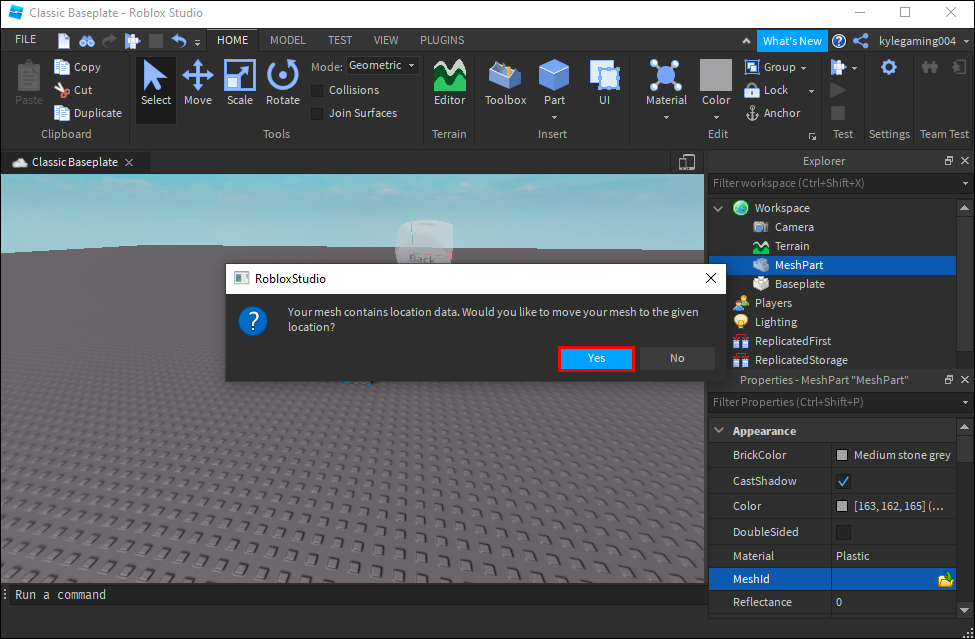
- Press the “Insert” button. If your mesh has location data, you can preserve it by choosing “Insert With Location.”
- The program will now insert your MeshPart instance with the mesh applied to it.

Another great thing about meshes is their vast array of textures. Generally, the texture is automatically applied upon insertion into the game if the path is set and valid.
However, if the texture isn’t inserted automatically, you can apply it to your mesh by setting your TextureID. Here’s how you can do it with Studio:
- Go to your game editor view or the Explorer hierarchy.
- Press the “Properties” section.
- Click the “TextureID” box.
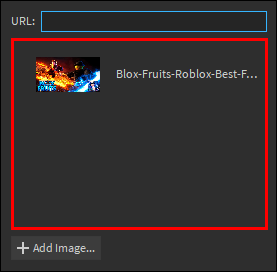
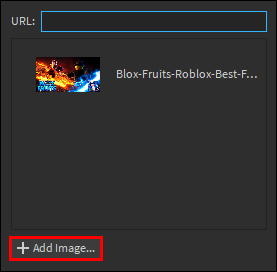
- Apply the texture in the popup window in one of the following ways:
- Select a previously uploaded image.
- Upload a new image by pressing “Add image..” near the lowest section of the window.
- Paste the Roblox asset ID into the field in the upper part of the window.
- Select a previously uploaded image.


When it comes to the level of detail, meshes should always be displayed in accurate fidelity, regardless of the distance from your game camera. As a result, the appearance is improved overall, but places with many high-detail meshes can reduce the game’s performance.
To dynamically manage the level of detail of your meshes, change their RenderFidelity to “Automatic.” This way, the meshes will be rendered at different levels of detail, depending on their camera distance:
- Under 250 studs – highest render fidelity
- Between 250 and 500 studs – medium render fidelity
- 500 studs and more – lowest render fidelity
Showcase Your Creativity
The programs used to create Roblox meshes may be overwhelming initially, but you’ll get the hang of them with some practice. Over time, you’ll be able to develop fascinating meshes that will significantly enhance the look of your games.
How much time do you spend on making meshes in Roblox? Do you struggle to create appropriate shapes? What are some of your favorite creations? Share your experience in the comments section below.
Disclaimer: Some pages on this site may include an affiliate link. This does not effect our editorial in any way.


