If your computer has ever been infected with malware, but you don’t know where from, it might be due to an unsupported Secure Boot. An unsupported Secure Boot status can expose your PC to malicious software during your Windows 8, 8.1, or 10 startups and prevent you from upgrading to Windows 11.
Secure Boot might be unsupported for various reasons. In this article, you’ll find out what they are and how to fix them.
Reasons for Unsupported Secure Boot State
Seeing “Secure Boot is unsupported/not available/off” on your screen as you try to upgrade your computer’s operating system can be due to the following reasons:
- Your Secure Boot and Trusted Platform Module (TPM) are disabled even though your PC is set to Unified Extensible Firmware Interface (UEFI).
- Your basic input/output system (BIOS) is mistakenly set to Legacy Boot mode, previously used by other Windows operating system versions.
- Your boot disk’s partition table is falsely set to Master Boot Record (MBR).
- Your computer isn’t compatible with UEFI and Secure Boot.
Because it’s difficult to tell which problem is the cause of your current issue, you might need to perform several checks. The following sections will show you, step-by-step, how to examine each possibility and fix the one that’s the culprit.
How to Check the State of Secure Boot and Enable it in BIOS
Your first step will be ensuring that Secure Boot is truly disabled. You might want to do this before even trying to upgrade your Windows because some malware can pretend that Secure Boot is enabled even when it isn’t.
Here’s how to check whether Secure Boot is on:
- Press the Window and “R” keys on your keyboard to start the Run dialogue box.

- Type in “
msinfo32”.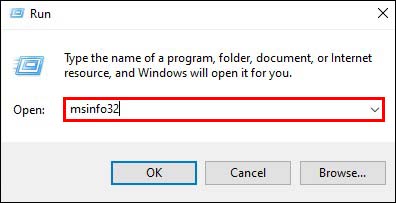
- Click “OK” to open the “System Information” window.
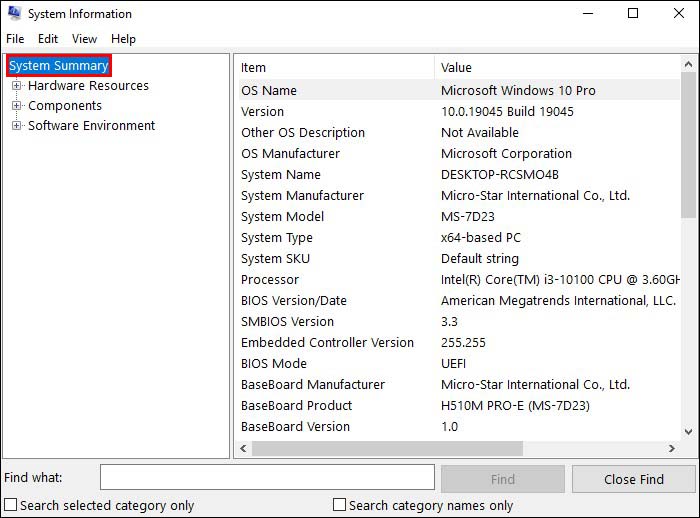
- Open the “System Summary” in the left panel.
- Find the “Secure Boot State” in the right panel.


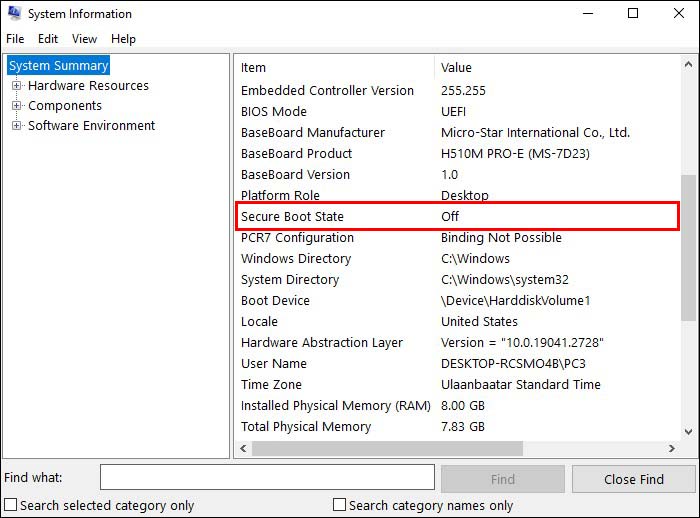
If next to the “Secure Boot State” says “Unsupported” or “Off,” continue with these steps:
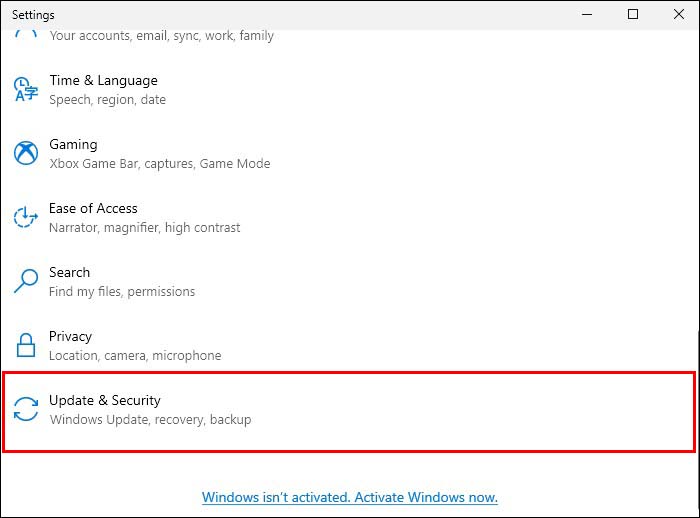
- Simultaneously press the Window and “I” keys to start the “Settings” window.
- Go to “Updates & Security.”
- Navigate to “Recovery.”
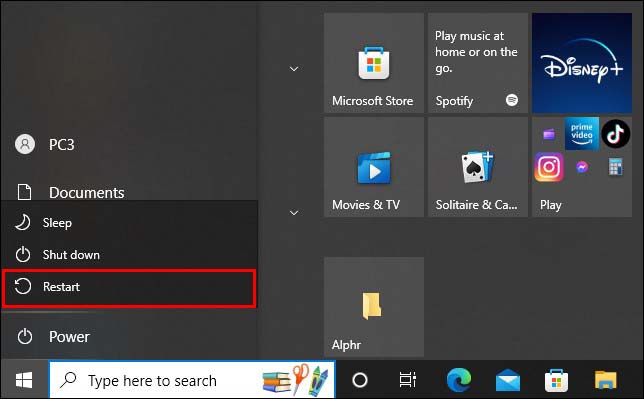
- In the “Advanced startup” section, press “Restart Now.”


Once your PC restarts, it’ll enter into BIOS. Proceed with the following steps:
- Click “Troubleshoot.”
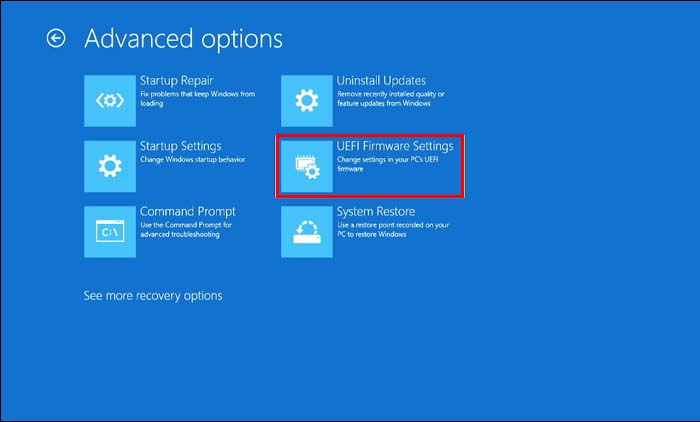
- In the “Advanced startup” menu, press “Advanced options.”
- Click “UEFI Firmware Settings.”
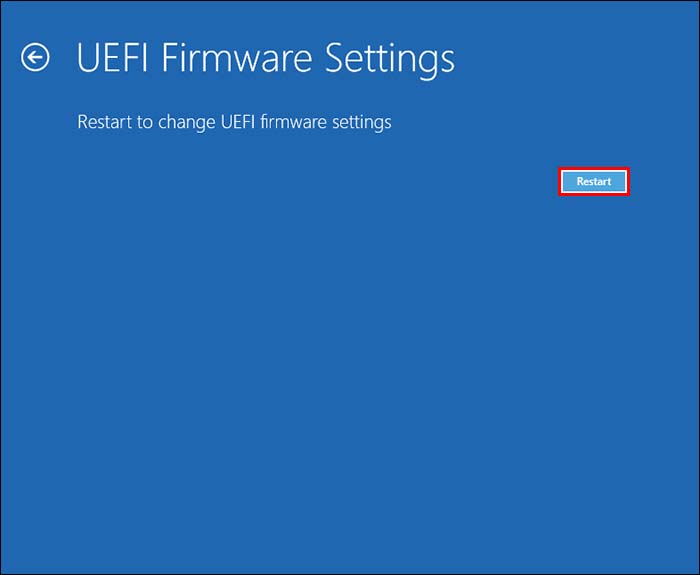
- Press “Restart” to switch to your computer’s UEFI Bios.
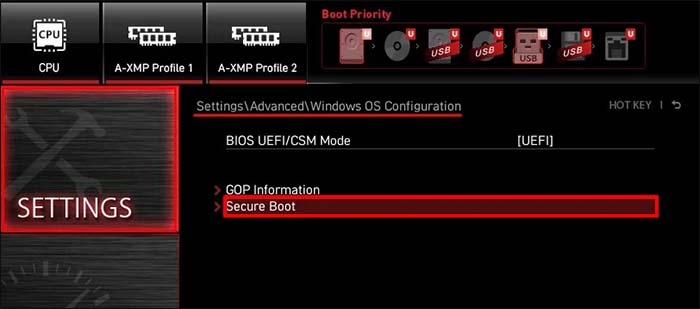
- Click “BIOS Setup” and go to “Secure Boot” in the left panel.
- Press “Secure Boot Enable” Confirm the action.
- Restart your computer once the option is enabled, and check whether Secure Boot is enabled.


Note that these steps can vary with each motherboard. If you can’t find any options from the steps above, find the instructions in your computer manufacturer’s manual.
How to Enable TPM Support
Installing Windows 11 on your PC is possible without the TPM chip with certain workarounds. But if you don’t fix the issue now, it might come back to haunt you.
Here’s how to enable TPM support on your computer:
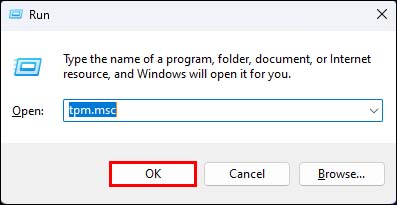
- Open the Run dialogue box again by pressing the Window and “R” keys at the same time.
- Type in “
tpm.msc”. - Click “OK.”
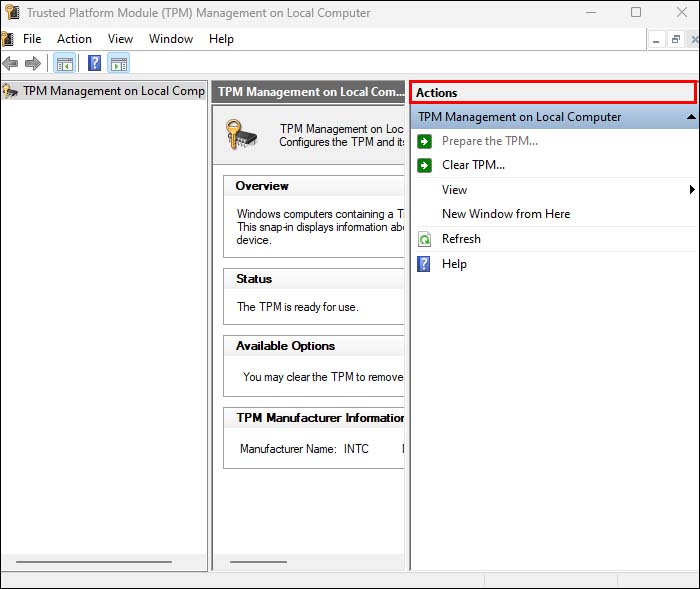
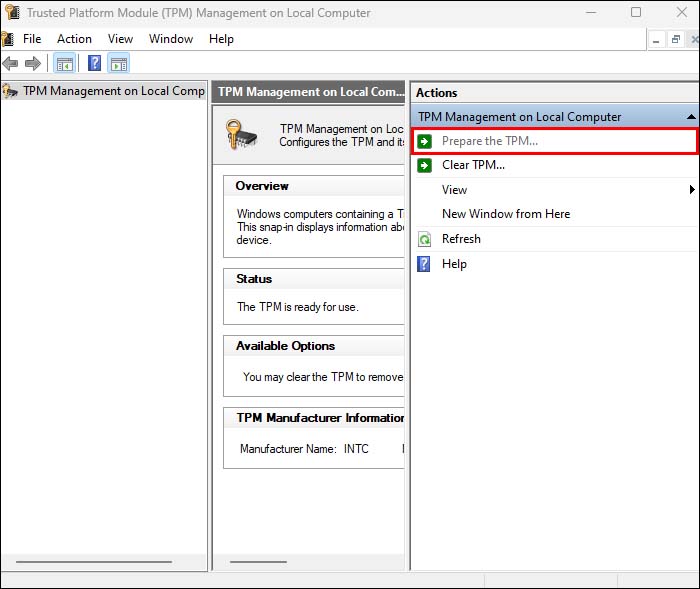
- Go to the “Action” tab in the “TPM Management” window.
- Select “Prepare the TPM…”
- Restart your PC and see whether the unsupported Secure Boot is now on.

How to Switch BIOS Mode to UEFI
As mentioned, one of the possible causes of the “Secure Boot unsupported” issue is your PC’s BIOS is set to Legacy Boot mode. The difference between these two modes is in the way they locate the boot target.
However, as the newer version, UEFI is more secure and better at protecting the system against boot kits and rootkits during startup. It’s also faster at booting your computer, offers expanded program ability, and has better performance and scalability.
To change the BIOS mode from Legacy to UEFI, do the following:
- Press the Windows and “R” keys to open the Run command box.
- Write “
msinfo32”. - Press “Enter” on your keyboard to view the “System Information” window.
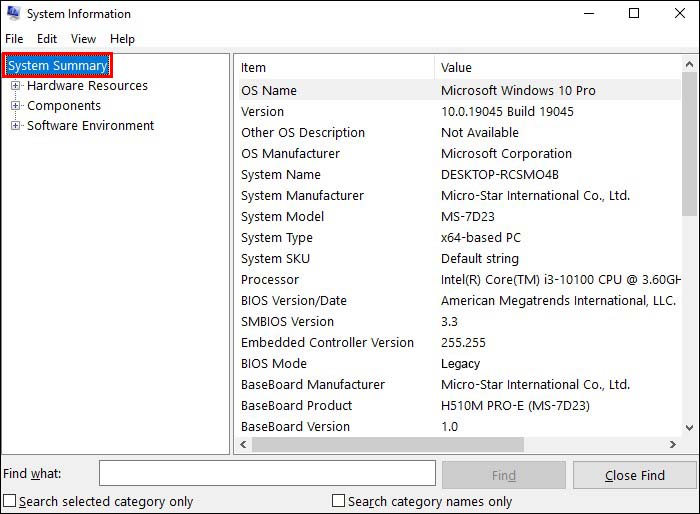
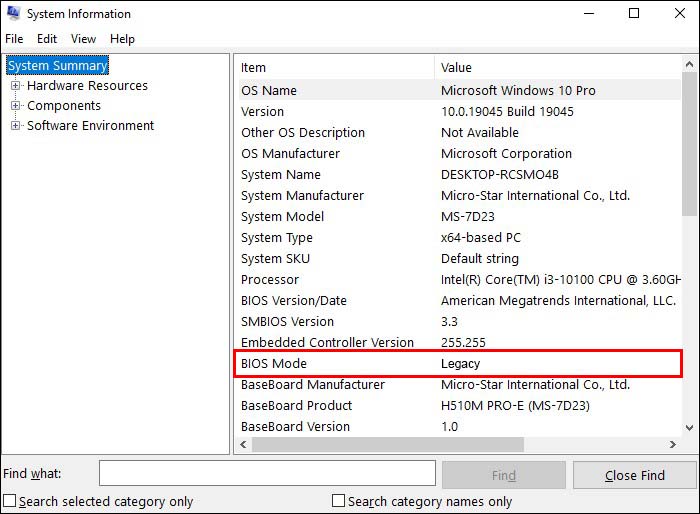
- Select “System Summary.”
- Check whether the BIOS mode in the right panel is set to “Legacy.”
- If your BIOS is set to “Legacy,” you’ll have to “Restart” your computer again.
- Once the computer is on, press F1/F2/F3/F10/F12 and either the “Esc” or “Delete” key to open the BIOS Setup window.
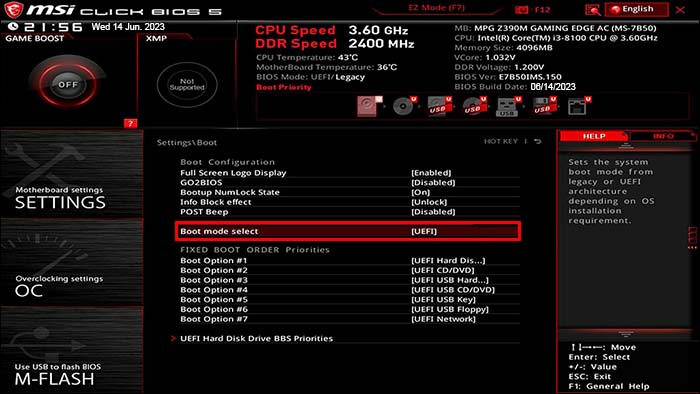
- Press the right arrow key to get to the “Boot” tab and click “UEFI/BIOS Boot Mode.”
- Select “Enter.”
- Press the up and down arrow keys on your keyboard to select “UEFI Boot Mode.”
- Click the “F10” key and “Enter” to confirm the action and exit the Window.
- Restart your PC again and check whether your BIOS is set to UEFI and the issue with Secure Boot is fixed.


Once again, the steps to accomplishing this action might differ for you. If you find yourself lost at any point during the tutorial, it’s best to check your computer manufacturer’s manual.
How to Change the Partition Style to GPT
In addition to changing your BIOS to UEFI, you’ll need to switch your partition table from MBR to GUID Partition Style (GPT). But before you do so, you need to check whether the boot disk is set to GPT.
Here’s how to check your boot disk’s partition style:
- Open the Run dialogue box by pressing the Window and “R” keys.
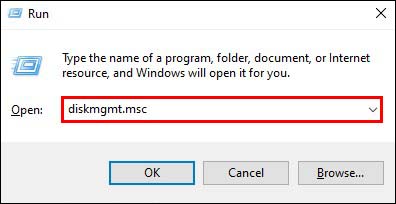
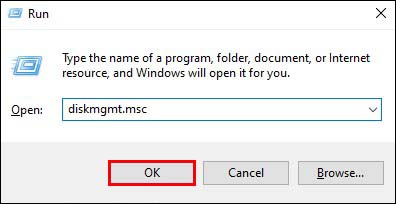
- Type in “
diskmgmt.msc”. - Click “OK” to open the “Disk Management” window.
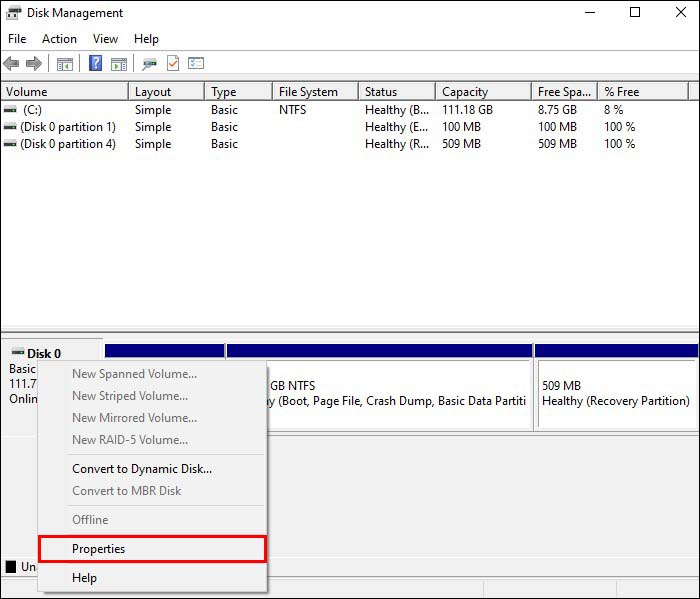
- Right-click on the hard disk drive and select “Properties” from the context menu.
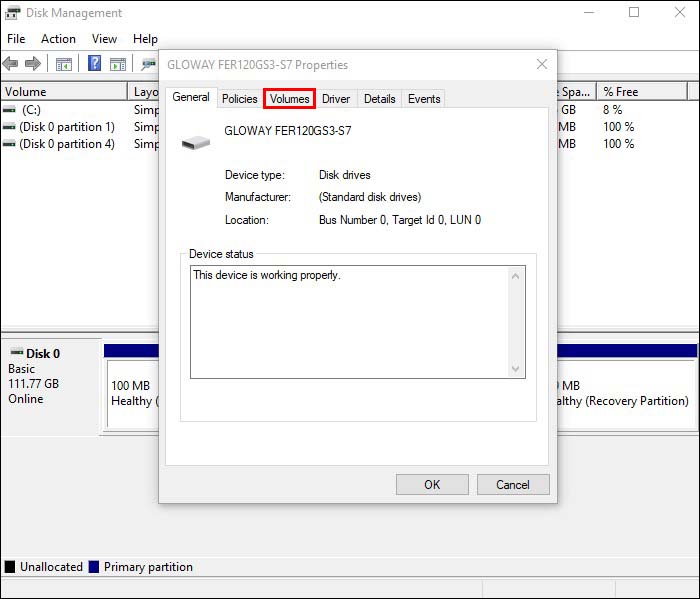
- Go to the “Volumes” tab in the pop-up.
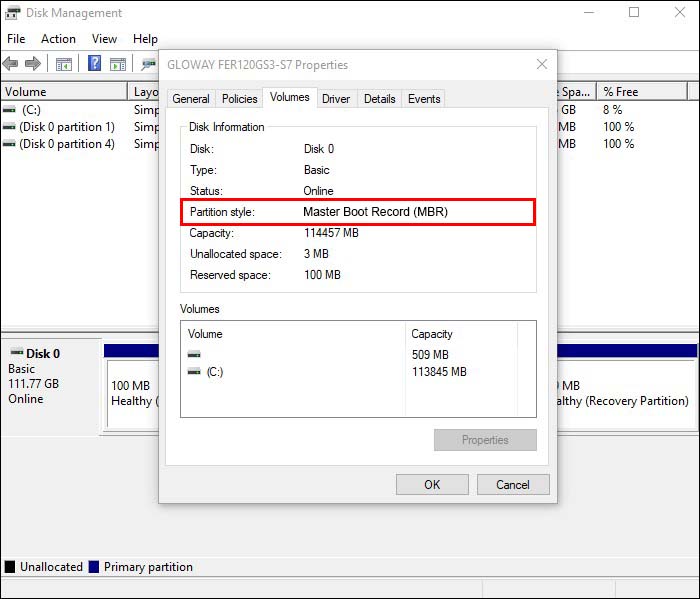
- Check if the “Partition Style” is “Master Boot Record (MBR).”
Now, you can proceed to change it to GPT with these steps:
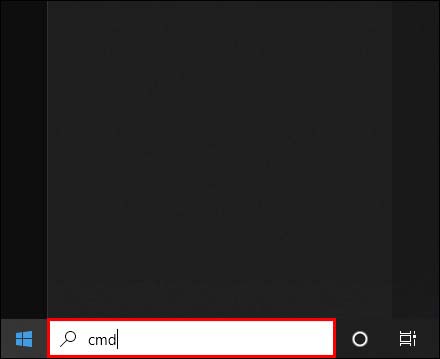
- In the “Search” box on your computer menu, type in “
cmd”. - Click “Run as administrator.”
- Type “
mbr2gpt /convert /disk: n /allowfullOS” in the “Command Prompt” window. - Press “Enter” on your keyboard and wait for the conversion to complete.
- After the process finishes, reboot your computer and see whether the Secure Boot issue is fixed.


What Are the Minimum System Requirements for Installing Windows 11?
Your current system must fulfill several requirements before upgrading it to Windows 11.
- Your system has to be Windows 10 that’s version 2004 or newer.
- Your PC’s processor must be 1 GHz or faster, with two or more cores on a compatible 64-bit processor.
- Your computer’s RAM must be 4 GB, and storage must be at least 64 GB.
- Your system firmware must be UEFI and Secure Boot capable.
- The TPM of your system must be version 2.0.
- Your computer’s graphic card must be compatible with DirectX 12 or later with WDDM 2.0 driver.
- The display of your computer has to be 720p.
FAQs
What can happen if I install Windows 11 without Secure Boot?
Installing Windows 11 without Secure Boot is possible but may result in system instability. Moreover, you might not be entitled to updates from Microsoft as your system will no longer be supported.
Fix Secure Boot for an Easy Windows Upgrade
Upgrading your computer to Windows 11 can be tricky when you have risks such as an unsupported Secure Boot. Fortunately, there are a number of ways you can fix this issue with no professional help. However, if you encounter a problem with the steps in this article, turn to your PC’s manual or contact Microsoft Support.
Have you already tried fixing your unsupported Secure Boot? Which of the steps above worked for you? Tell us in the comments below.
Disclaimer: Some pages on this site may include an affiliate link. This does not effect our editorial in any way.