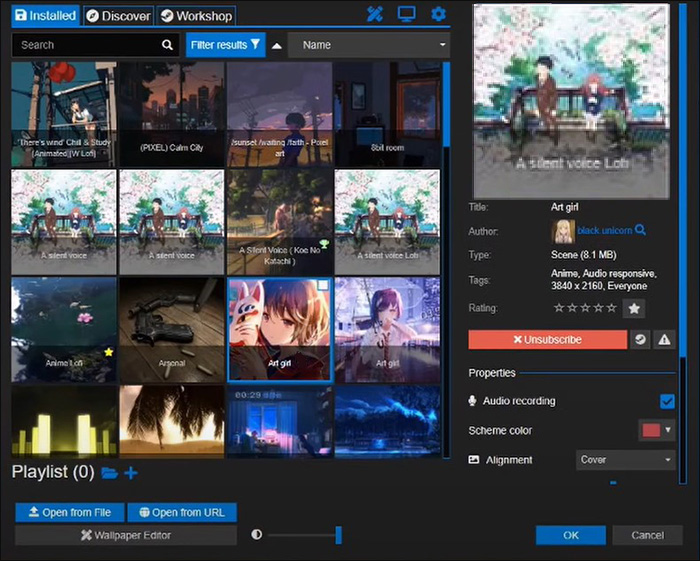
If you want to breathe new life into a boring old desktop screen, Wallpaper Engine is the way to do it. The app lets you create animated wallpapers, which you can imbue with tons of visual and audio effects, to transform your dull desktop into an interactive wonderland.
But you want more. You want to create an interactive wallpaper that’s also audio responsive, meaning the wallpaper will react based on audio cues that you set up in Wallpaper Engine. This article will tell you everything you need to know
Step 1 – Create or Edit Your Wallpaper
Hopefully, the first step is the easiest – create the wallpaper you want to make audio responsive or edit an existing wallpaper. Either should be a simple task for somebody well-versed in Wallpaper Engine. But if you’re new to the app, follow these steps to create a basic wallpaper:
- Open Wallpaper Engine to see the “Welcome” popup.
- Drag an image from your device and drop it onto the “Create Wallpaper” button.

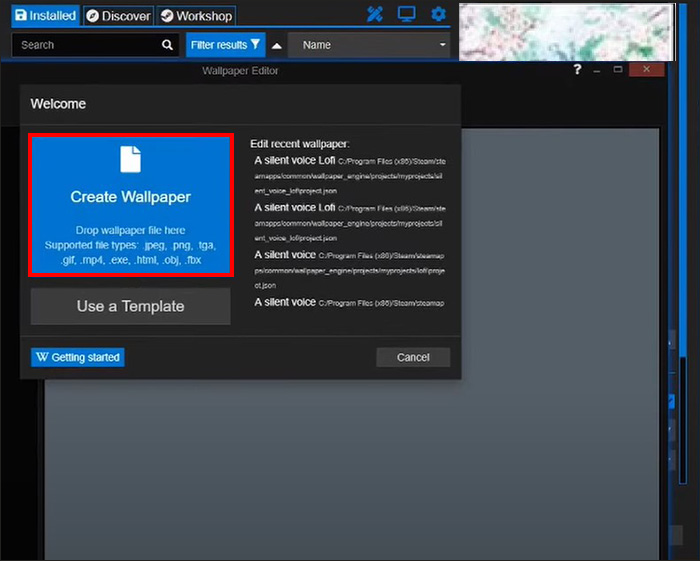
Wallpaper Engine then opens up the editing screen, through which you can add effects and play around with your imported image.
If you’ve already imported an image and want to edit it, the “Welcome” popup has got you covered, too. Click “Edit Recent Wallpaper” and select the file you wish to make audio responsive.
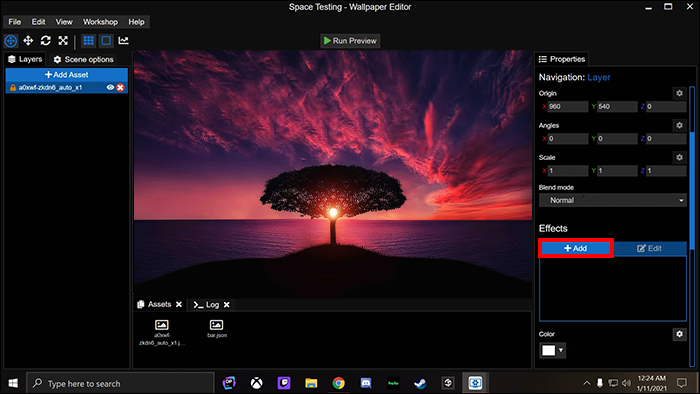
Step 2 – Add Your Audio Effects
Next, you need to add the “Shake” effect mentioned earlier:
- Check the right side of your screen to find and click on “Effects.”
- Select “+ Add” from the “Effects” menu.
- Navigate to “Animate” and select “Shake.”

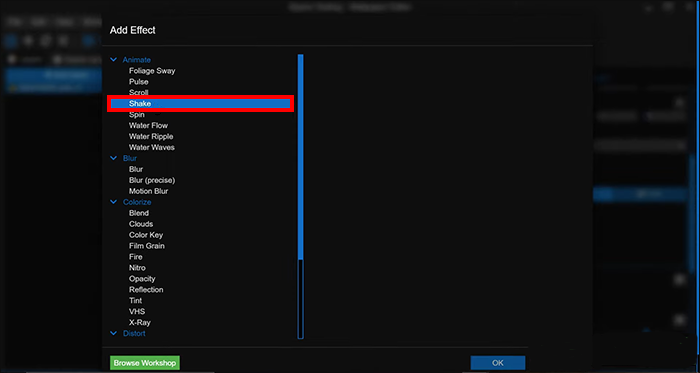
Note that you’ll find other animated effects in the “Animate” menu, each of which you can use instead of “Shake” if you prefer. Other examples include “Pulse,” which makes the image pulse up and down, and “Blur,” which is great for blurring two parts of an image together. Shake does what it says on the tin – it shakes the selected part of the image.
It’s also worth noting that you’re not limited to the pre-set effects that Wallpaper Engine offers. The community workshop has plenty of user-created effects that you can download via the “Add Asset” button on the left side of your screen.
Step 3 – Turn on Audio Response
You have your effect enabled, but it’s not yet ready to respond to audio inputs. You can do that via the “Combos” menu in Wallpaper Engine.
- Find and select “Combos,” which is on the right-hand side of your screen.
- Choose “Audio Response.”
- Select between the “Center,” “Left,” and “Right” responses, which dictate where the audio response will occur on your wallpaper.


You may have other options to tweak here, depending on which effect you choose. For instance, the “Pulse” effect has a “Pulse Color” option, which changes the color of the pulse when it’s activated.
Step 4 – Select the Shaky Areas
With audio response turned on, your next task is to determine which parts of your wallpaper respond to the audio cue. With the “Shake” effect, this means picking the areas that shake when relevant audio gets played.
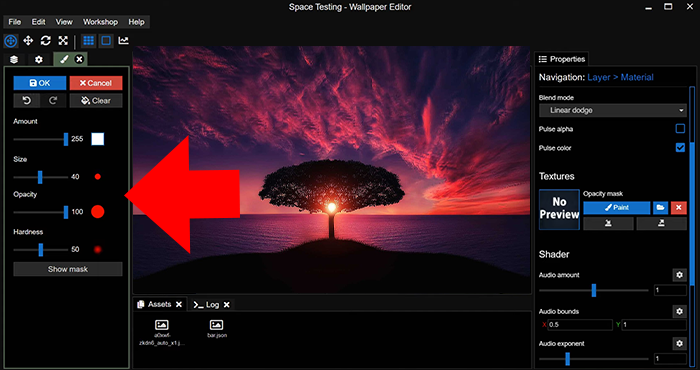
Use Wallpaper Engine’s paint feature to mark the required areas:
- Navigate to “Textures” on the right-hand side of the screen and locate “Opacity Mask.”
- Choose “Paint” under “Opacity Mask” to open a new window.
- Select any features you’d like your paintbrush to have from the new window.
- “Hardness” and “Opacity” are usually the best for audio responsive wallpapers.
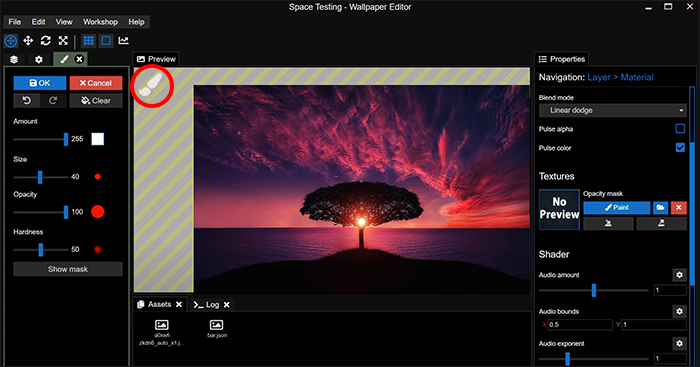
- Exit the window and use the paintbrush icon to paint over the areas to which you want to apply your chosen effect.
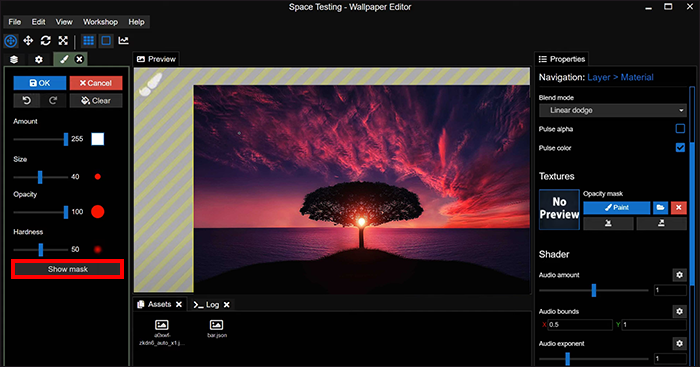
- Select “Show Mask” at any point to highlight the areas you’ve painted.


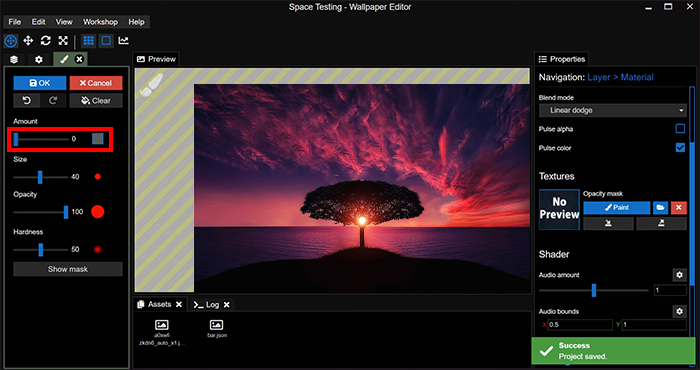
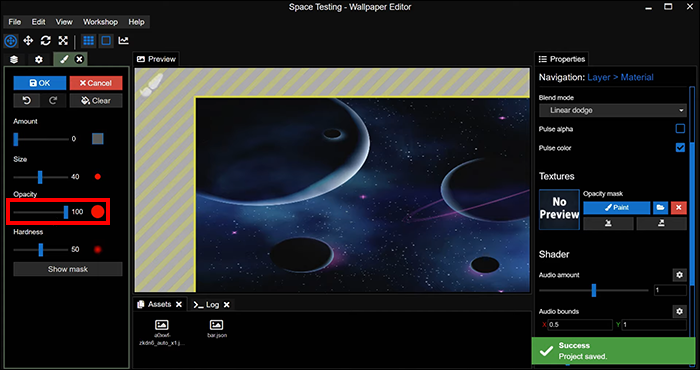
Of course, mistakes can happen when digitally painting. A slip of the mouse could result in you painting over an area to which you don’t want to apply your effect. Solving that problem requires full opacity.
- Open your paintbrush’s features window and set “Amount” to 0.
- Raise “Opacity” to 100.
- Paint over any areas of the image for which you want to remove your effect.

Step 5 – Play Some Music
Next – a quick test.
You want to see how your wallpaper responds to music you play on your desktop. Open your music app of choice and play a track. You should see your wallpaper responding to the beat, with the areas you painted in Step 4 shaking along with the music.
If you don’t see your effect in action, check the “Show Mask” setting. Toggle it off if it’s currently on because an activated mask prevents your effect from working properly.
Step 6 – Tweak Your Effect’s Response to Pitch
By this point, your wallpaper responds to every aspect of the music you’re playing. Low, mid, and high ranges all cause a shake (or whatever effect you’ve chosen), making the wallpaper overly reactive and distracting.
Thankfully, you can tweak audio responsiveness so your effect only activates when you play specific frequencies.
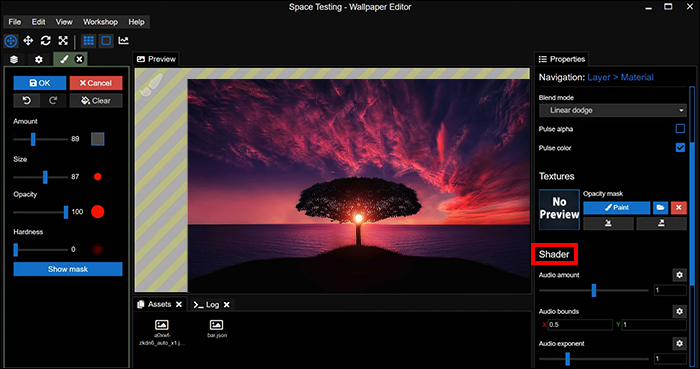
- Navigate to “Shader,” which you’ll find on the left-hand side of the screen.
- Head to “Audio Bounds” to tweak the pitches to which your wallpaper responds.
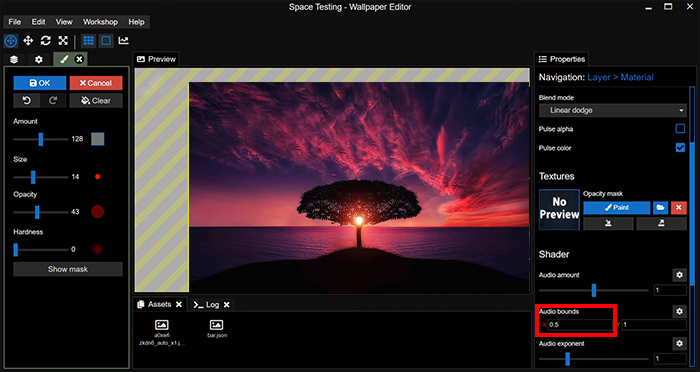
You’ll find a pitch range slider in the “Audio Bounds” menu. Setting the range between 0.2 and 0.5 means your wallpaper only responds to high-pitched noises. Between 0.6 and 0.8 creates responses for mid-range pitches, with 0.8 to 1 creating responses to low pitches.
Step 7 – Tweak Your Effect’s Strength
You have your pitch settings just how you want them, but the effect isn’t quite working as you envisioned. It may be too weak, making it barely visible when your audio plays, or so strong that it feels like your entire screen shakes with the beat.
Wallpaper Engine lets you adjust the strength of your effect via the “Shader” menu, too:
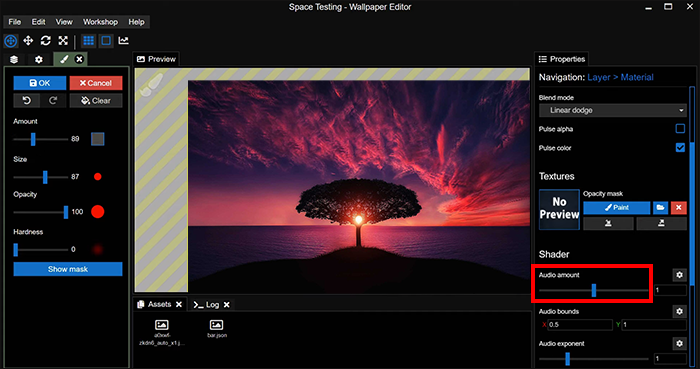
- Select “Shader” from the menu on the left side of the screen.
- Navigate to “Audio Amount.”
- Tweak the setting and check how it impacts your wallpaper, repeating these steps until you’re happy with the effect’s strength.
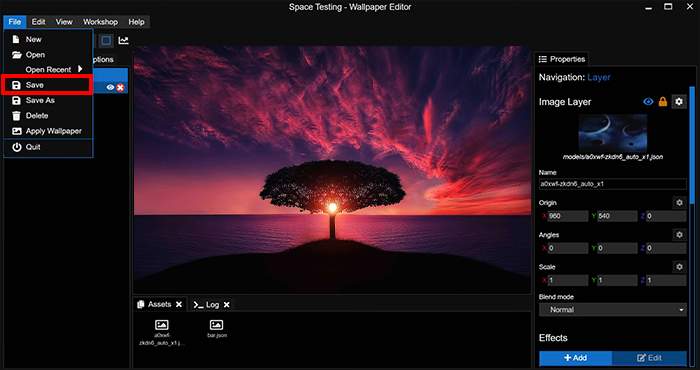
Step 8 – Save and Apply
You have a customized wallpaper that responds to music and other audio. All that’s left is to apply it to your desktop:
- Head to the “File” menu and click “Save” to save your wallpaper.
- Staying in the “File” menu, select “Apply Wallpaper.”
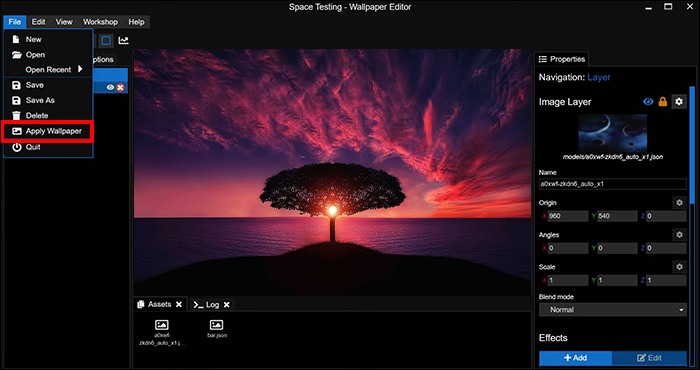
Your wallpaper should appear as your desktop’s background. Try playing a tune and it should react as it did when you had it open in Wallpaper Engine.
Design Wallpapers That Dance
The more interactive elements you add to your desktop’s wallpaper, the more interesting it’ll be when you’re playing music. And here’s a handy note – you can repeat these steps with different effects for the same wallpaper, meaning you get wallpaper that responds in various ways to audio. For instance, you could have part of the wallpaper that shakes at low pitches, with another part that pulses when the pitch goes higher.
Have you ever made your wallpaper audio responsive with Wallpaper Engine? If so, did you use any of the tips and tricks featured in this article? Tell us in the comments section below.
Disclaimer: Some pages on this site may include an affiliate link. This does not effect our editorial in any way.


