Device Links
The screenshot feature in Windows can be extremely useful if you want to keep track of what’s on your screen and share that information with others, such as on a community forum.
But you may have wondered where the screenshots go once you execute the function. The location where these pictures are saved depends on the method you use to take them. This article will walk you through all the steps needed to retrieve your screenshot in Windows, regardless of the technique you use to capture the images.
Windows 11
As we stated, how you take a screenshot determines where the image is saved. First, we’ll look at the various methods used to capture these images in Windows 11 and where they are stored in the program.
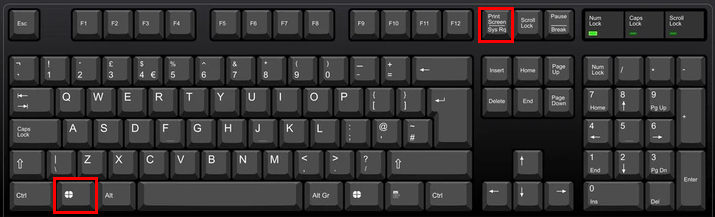
Print Screen Button Only
When you capture a screenshot using only the Print Screen key, the image is captured and stored on the clipboard.
The Print Screen button is located in the top right corner of the keyboard and is abbreviated as “prt sc” or “prt scn.” You can take a screenshot by pressing this key. The image you’ve captured can then be pasted it into any app that permits it, like MS Paint. To paste a screenshot in MS Paint, follow the steps below.
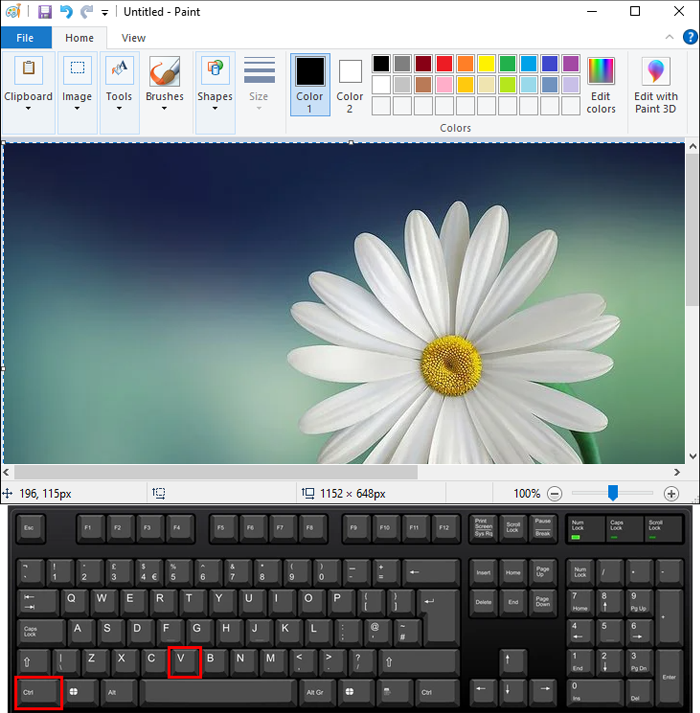
- Open MS Paint and press Ctrl + V to paste the image into Paint.

- Now tap Ctrl + S to save the image to your computer.

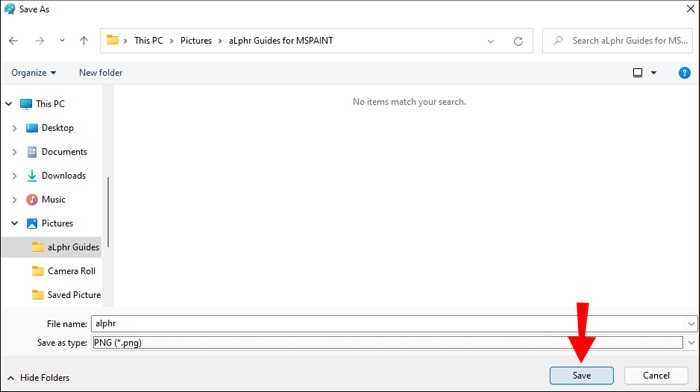
- From the pop-up window that appears, pick the location where you want the image saved.
- Hit “Save” to complete the process.


Utilizing this method of taking screenshots lets you determine where the image is saved on your device.
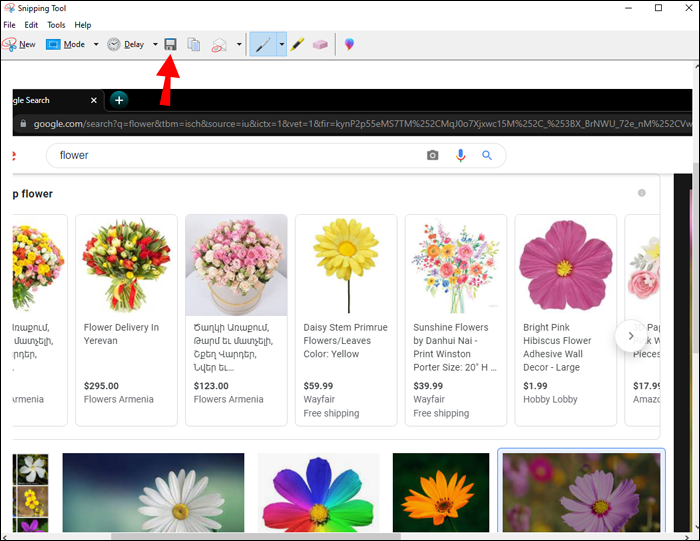
Snipping Tool
The Snipping Tool lets you take a photo of the screen by clicking Win + Shift + S keys simultaneously. It then gives you the option to take a screenshot. When you do so, the screen will dim slightly, letting you know that the image has been captured.
Once the screenshot has been taken, a notification appears at the bottom of the screen, letting you know the screenshot was saved to the clipboard. This is the default setting. If you would like it stored in a different location, tap on the notification, and click “Save.” A pop-up window will appear, giving you various folder options where you can move the image.
Saving screenshots via this method allows you to choose where the image will be stored.

Win + Print Screen
You can take a screenshot by pressing the Windows and Print Screen buttons (Win + PrtScr) simultaneously There will be slight dimming of the screen to indicate that the image has been captured. However, you won’t get the option to choose the folder where the screenshot will go.

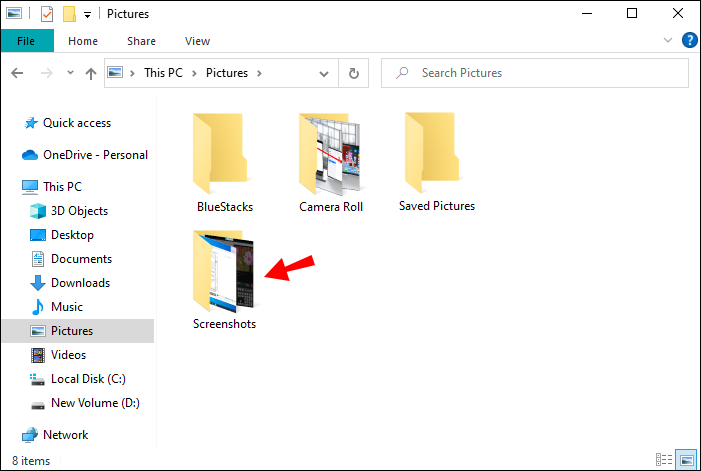
Instead, the photos will automatically go to the “Screenshot” folder with this method. To retrieve the image, go to “File Explorer,” “Pictures,” and then scroll to “Screenshots.”
Windows 10
When saving screenshots in Windows 10, the folders where these pictures end up is determined by how you capture the image. Here’s how to access the various locations of saved screenshots in Windows 10.
Print Screen Key
If you use the Print Screen key (PrtScr) to capture a screenshot, it will be saved to the clipboard. You can also copy it to any app, such as MS Paint. This is how to save an image taken using the Print Screen button and MS Paint.
- Go to MS Paint and click Ctrl + V to paste the image to a Paint document.
- Press Ctrl + S to save the new image to your PC.
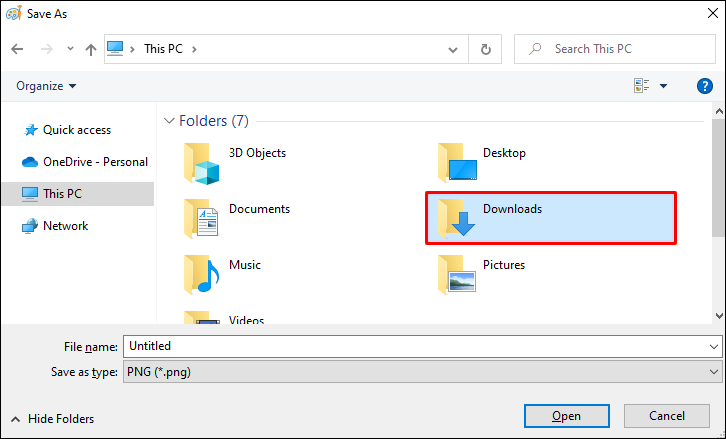
- Choose the folder where you want the image saved from the pop-up window.
- Tap “Save” to complete the process.

Snipping Tool
The Snipping Tool can be used to take pictures of your PC’s screen. The steps shown here will demonstrate how you can take and save a screenshot using the snipping tool.
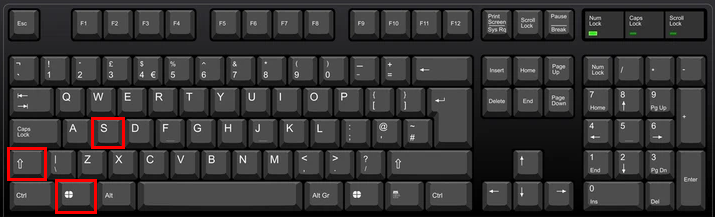
- From your open window, press the key Win + Shift + S.
- A pop-up tools will appear, letting you know that a screenshot is about to be taken.
- Click the disk icon on the window and select the folder where you would like the image stored.

With the snipping tool, you get to decide where your screenshots are saved.
Win + Print Screen
Pressing Win + PrtScr will take an image of the screen. To let you know the image has been successfully captured, the screen will then dim slightly.
Your screenshot is automatically saved to the “Screenshot” folder, which you can access through “File Explorer,” then “Pictures.”
Windows 7
Windows 7 has various options for capturing and saving screenshots. Here’s a look at what those techniques are and where images are stored with each method.
Win + PrtScr Keys
To capture the entire screen of a computer in Windows 7, press the Win + PrtScr keys. There will be no indication that the screenshot has been taken except for a slight dimming of the screen.
This image will automatically be saved to the “Screenshot” folder in the “Pictures” library. To retrieve it, open “File Explorer,” “Pictures,” then “Screenshot.”
Snipping Tool
Alternatively, you can use the Snipping Tool to capture the image. When you do, a notification will pop up, alerting you to the fact that the picture has been taken. You will then have the option to choose the folder where you would like the file to be stored. With Snipping Tool, you get to decide where your screenshots are stored.
Let’s Find Those Screenshots
Finding your screenshots might be a little tricky if you aren’t first given the option to save them to the location you wish. But depending on the method you choose to capture the screenshot, you can select the folder these images are eventually stored in. Hopefully, this guide has provided you with the trail of breadcrumbs you need to find and retrieve your images. Irrespective of the procedure you use to take the screenshot, you now have several ways to locate it on your computer.
Have you retrieved screenshots you’ve previously saved on your computer? What method did you use to find them? Let us know in the comments below.
Disclaimer: Some pages on this site may include an affiliate link. This does not effect our editorial in any way.


