If you often need to keep multiple windows open simultaneously, you’re probably looking for a way to simplify jumping between them. Keeping a window always on top can help you be more productive and complete your tasks quicker. Unfortunately, Windows hasn’t offered a built-in option for keeping one window always on top. However, this doesn’t mean the feature isn’t available.
How to Keep a Window Always on Top in Windows 11
There are several ways to keep a window always on top in Windows 11. All of them are simple, user-friendly, and free to use. Read on to learn more.
How to Keep a Window Always on Top in Windows 11 with Microsoft PowerToys
As mentioned, Windows 11 has no built-in feature that allows you to keep a window always on top. But Microsoft recognized the need for this simple yet effective option and added it to the latest PowerToys version. Microsoft PowerToys is a set of utilities that enable users to customize their Windows for greater productivity. The utilities are available for Windows 95, Windows XP, Windows 10, and Windows 11.
Here’s what you need to do to use Microsoft PowerToys to keep a window always on top in Windows 11:
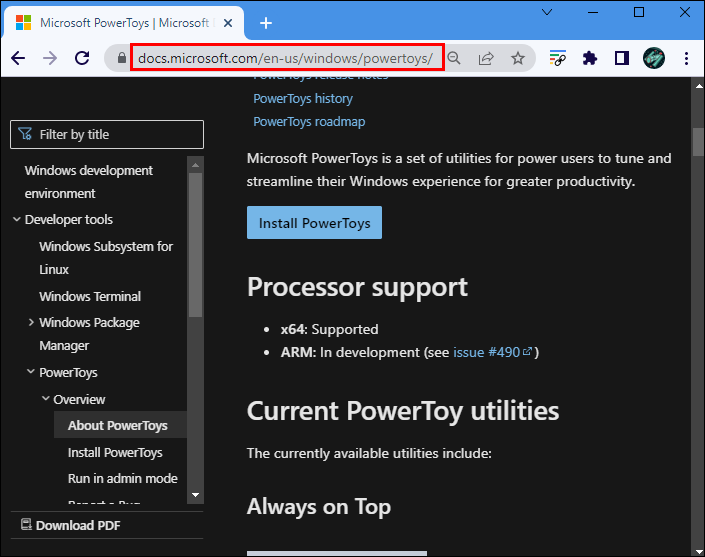
- Open your browser, visit github.com, and download Microsoft PowerToys. Keep in mind that you should download the latest .exe file. You can also download Microsoft PowerToys from the Microsoft Store.
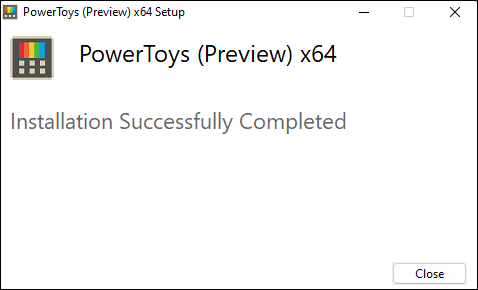
- Follow the on-screen instructions to complete the installation process.

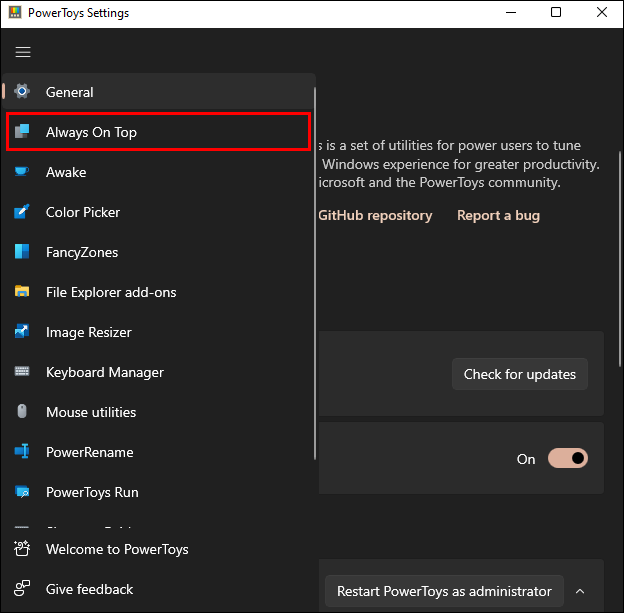
- Open PowerToys and select “Always on Top” from the left menu.
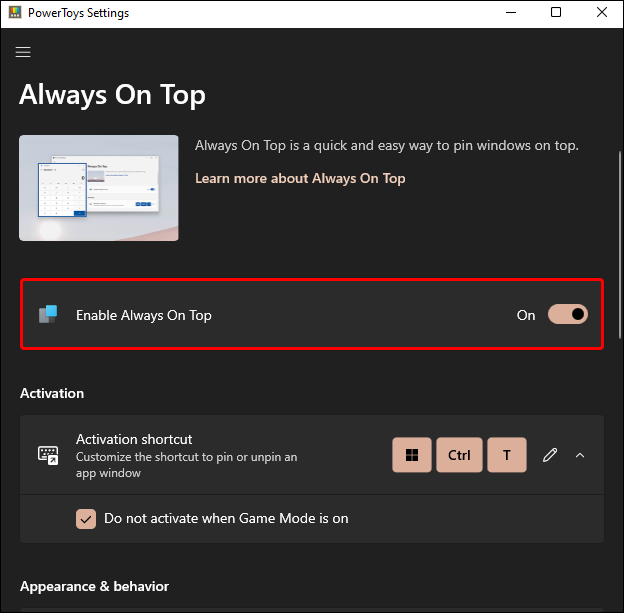
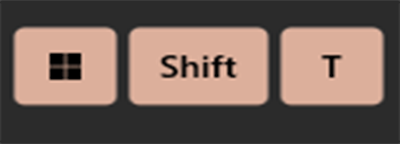
- Toggle “Enable Always on Top” on. To customize the activation shortcut, click the “pencil” icon (Edit) and change it to your liking, such as “Win + Shift + T.”
- Select the window you want to keep on top and press “Windows + Shift + T” simultaneously or whatever hotkey string you have set up.
That’s it! The window will now be pinned on top. You’ll notice the pinned window has bold blue borders. The borders help you distinguish between the pinned window and others. If you don’t like the feature, go back to PowerToys and switch the toggle button next to “Show a border around the pinned window.” Here, you can also customize the borders’ color and thickness.
If you want to turn off the pinned window, use the same shortcut (Windows + Shift + T) or whatever hotkey string you have set up.
PowerToys allows you to pin multiple windows on top, which can help you streamline your work and increase efficiency.
How to Keep a Window Always on Top in Windows 11 with DeskPins
DeskPins is a free, open-source app that enables users to pin a window on their Windows computer. Follow the instructions below to keep a window always on top in Windows 11 using DeskPins:
- Open your browser, visit this website, and download DeskPins to your Windows 11.
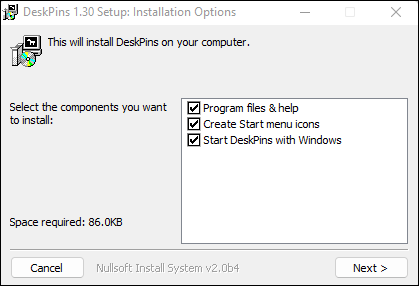
- Follow the instructions to install the app.
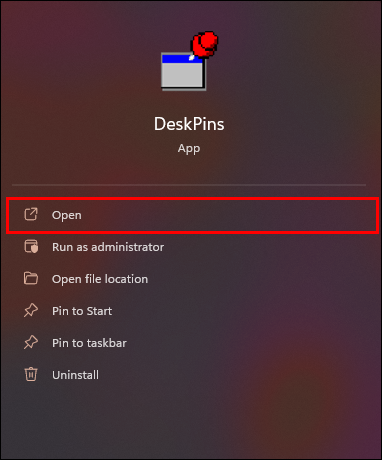
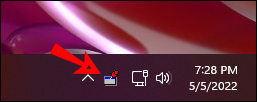
- Open DeskPins. The app will start running under the System tray.
- Select the app, and your cursor will turn into a pin. Use it to select the window you want to keep on top.

The window is now pinned. If you want to remove it, hover over the pin icon and press the x button. The DeskPins app also allows you to use keyboard shortcuts to pin a window. By default, the “Ctrl + F11” shortcut pins a window, and the “Ctrl + F12” deactivates it. The app allows you to customize these shortcuts. All you need to do is right-click on the app, choose “Options,” and select “Hotkeys.”
How to Keep a Window Always on Top in Windows 11 with WindowTop
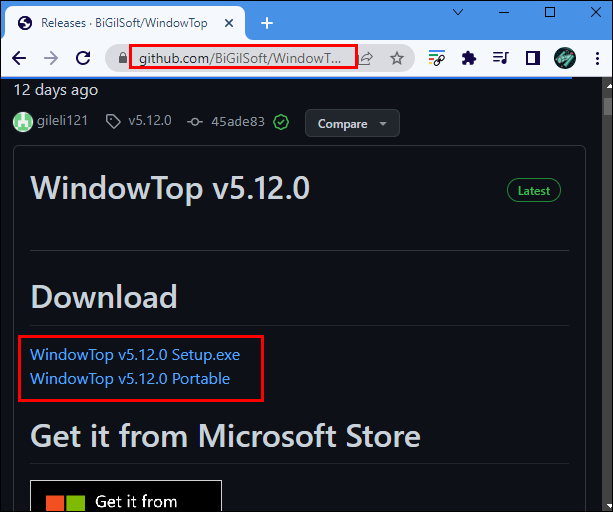
WindowTop is a free app that enables you to manage your windows efficiently. One of the options it offers is pinning a window so it always stays on top. Here’s how to use this app:
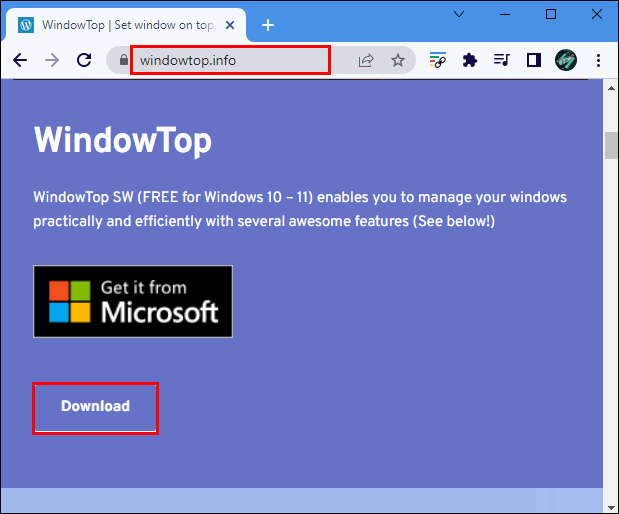
- Open your browser, go to the WindowTop website, and download the app. Or download it from the Microsoft Store.
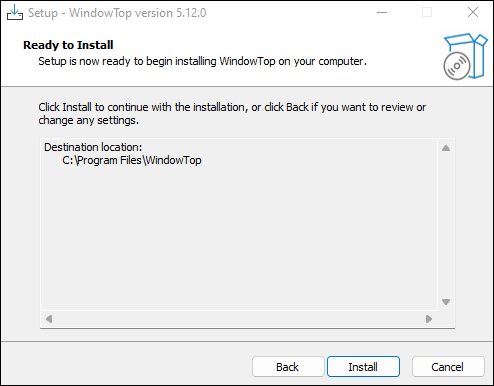
- Follow the on-screen instructions to complete the installation process.
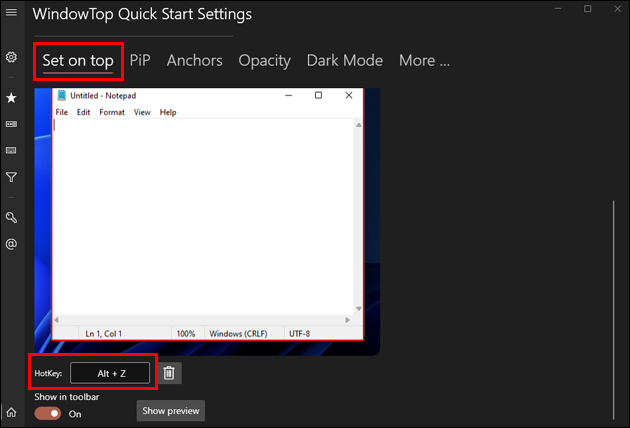
- Launch the app from the System tray, press “Settings,” and go to “All Settings.”
- Under the “Set on Top” tab, customize the settings. You can highlight the top window and customize the border color and width. By default, the hotkey for keeping a window on top is “Alt + Z.” If you want to change this, choose the “HotKeys” tab and enter the desired shortcut.

This app offers various features Windows users find helpful. For example, you can use the “Dark Mode” option to make your window dark, which can be beneficial if you use your computer at night. You can also configure your windows’ transparency or shrink them.
Keep in mind that the app offers free and paid features. The “Set on Top” option is always free.
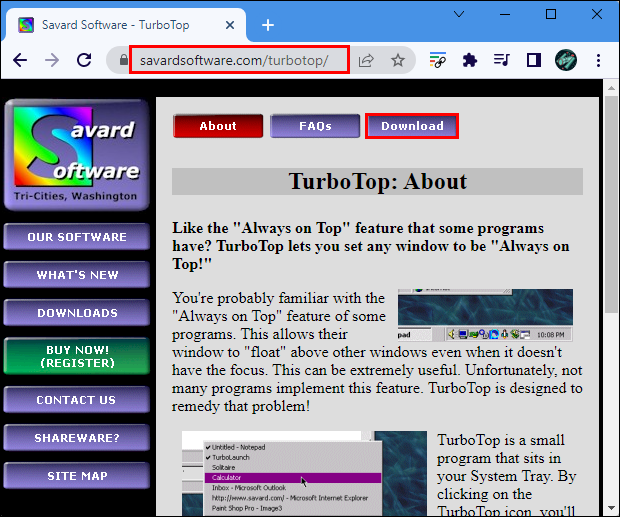
How to Keep a Window Always on Top in Windows 11 with TurboTop
Another helpful, easy-to-use app for keeping a window always on top in Windows 11 is TurboTop. Here’s how to use it:
- Open your browser and download TurboTop.
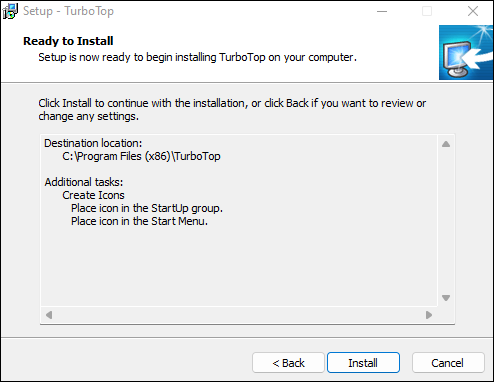
- Follow the instructions to install the app.
- The app will appear in your System tray. When you want to keep a window always on top, click on the app’s icon, and you’ll see a menu containing all currently open windows. Select the item (window) you want to keep on top.

The app allows you to keep multiple windows on top. If you want to disable a window from showing up on top, follow the same steps.
How to Keep a Window Always on Top in Windows 11 with StayOnTop
StayOnTop is another app to keep a window on top while working on something else. Follow the instructions below to use it:
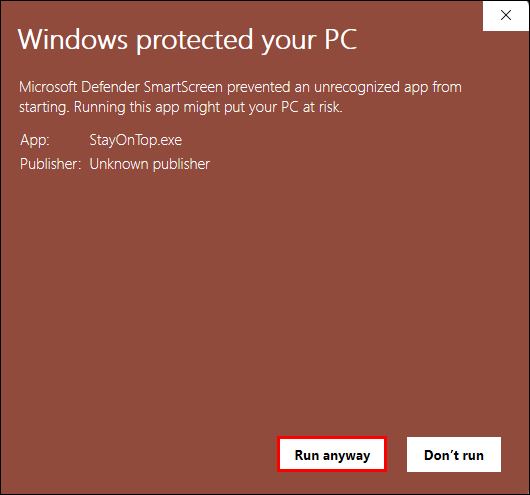
- Launch your browser, visit this website, and download the app.
- Run the .exe file and follow the instructions to install the app.
- Select the window you want to keep on top and press “Ctrl + Space” simultaneously.

If you want to turn off the script, find and right-click on the StayOnTop icon in the System tray and choose “Pause script.”
How to Keep a Window Always on Top in Windows 11 with AutoHotkey
AutoHotkey is the way to go if you don’t shy away from scripting and want to create shortcuts. AutoHotkey is a free scripting language that allows Windows users to create simple shortcuts to automate repetitive tasks. Since AutoHotkey features a simple interface, anyone can use it, regardless of skill level.
If you want to use AutoHotkey to create a shortcut for keeping a window always on top, follow the instructions below. We’ve divided the steps into several sections to make them easier to follow.
First of all, you need to download and install AutoHotkey:
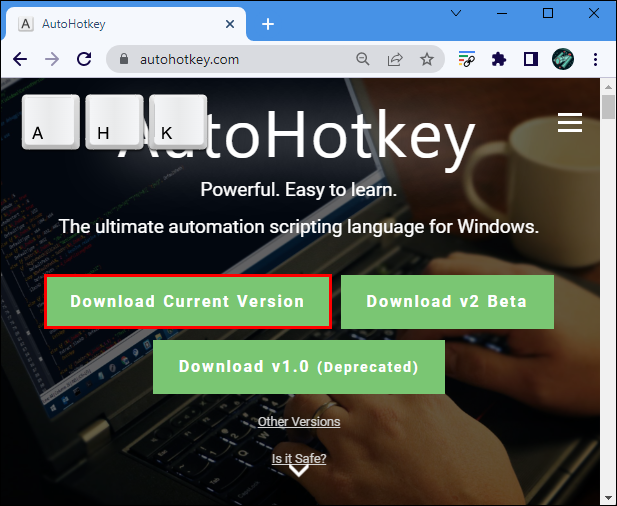
- Open your browser, go to the AutoHotkey website, and press “Download.”
- Choose “Download Current Version.”
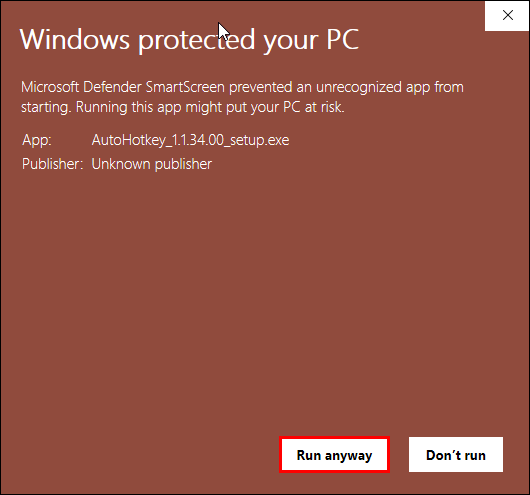
- Find the downloaded file on your computer and double-click the .exe file.
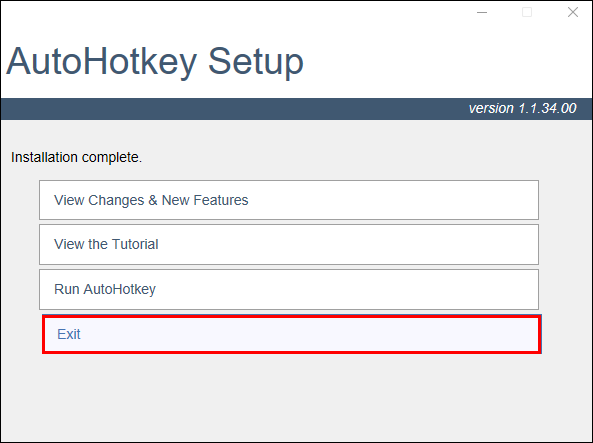
- Select “Express Installation.”
- Once the process is completed, press “Exit.”


The second phase is creating a shortcut for keeping a window always on top:
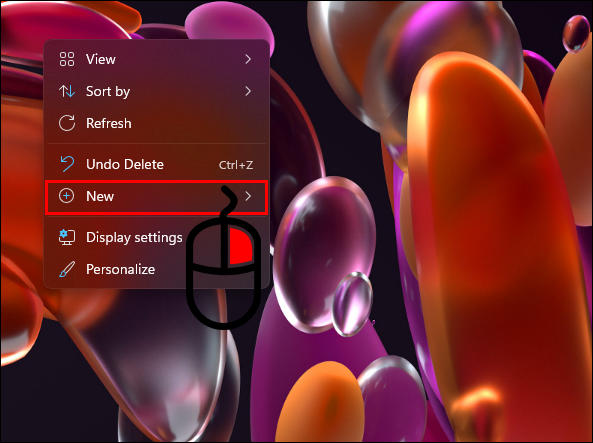
- Right-click on your desktop and press “New.”
- Choose “AutoHotkey Script.”
- Name the file. We recommend using “Always on top” or “Pin window on top.”
- Right-click on the file and select “Open with.”
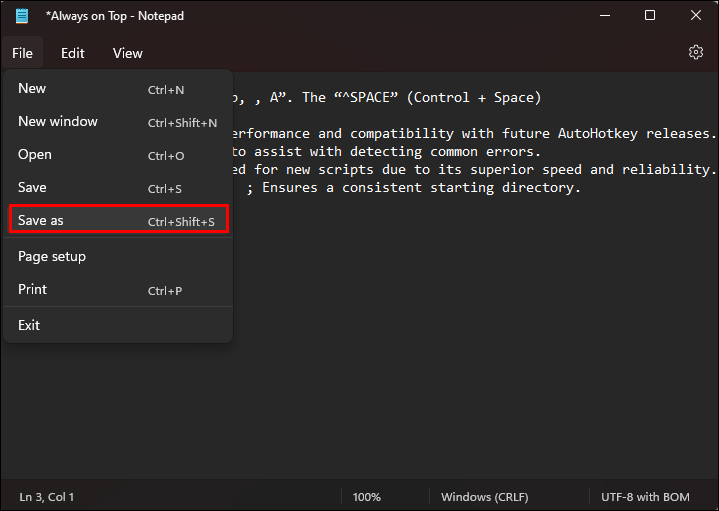
- Select “Notepad” and copy-paste this without the period or quotes: “
^SPACE:: Winset, Alwaysontop, , A.” The “^SPACE”(Control + Space)” represents the shortcut for pinning a window. You can head to the AutoHotkey website to learn more about creating a custom shortcut, - Press the “File” tab and select “Save” or use “Ctrl + S.”
- Exit the file and double-click it to run the command. Use the “Ctrl + Space” shortcut (or the shortcut you created) to pin a window on top.


You’ll see the AutoHotkey icon (H) in your System tray whenever the script runs. To deactivate it, right-click the icon and choose “Pause this script.”
Stay on Top of Your Work
Keeping a window always on top lets you quickly and easily access the necessary information and multitask more efficiently. Although Windows 11 doesn’t have a built-in feature for pinning a window, several third-party apps and programs offer this option. All are easy to install and use and often come with extra features that can help you maximize your productivity.
Do you often struggle with jumping between windows on your computer? What app or program do you want to keep on top? Tell us in the comments section below.
Disclaimer: Some pages on this site may include an affiliate link. This does not effect our editorial in any way.