RAM is a vital element in a computer that gives it the power to multitask more smoothly. It is always a burden to the user if Windows doesn’t always use its full RAM capacity. The reasons your Windows computer is not using RAM fully can vary. There could be an issue with the hardware, software, and/or BIOS.
Thankfully, these are all solvable solutions that everyone can fix. In this article, we’ll look into the most common workarounds for Windows not using all RAM.
Windows 32-Bit Not Using All RAM
One of the common reasons behind this issue is when users install the 32-bit version of Windows instead of the 64-bit version. The 32-bit version can allocate only 4GB of RAM regardless the amount of the installed RAM in the PC and uses roughly 1GB for the operating system itself. The 64-bit versions of Windows have a much larger limit starting at 128GB. If you want to use more than 4GB you would need to install the 64-bit version to use the full RAM amount.
Follow these steps to see which version you are using:
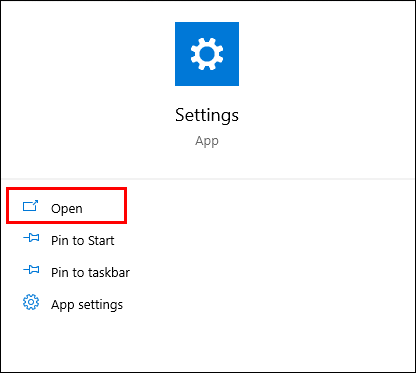
- Open “Settings.”
- Find the “System” icon and click on it.

- Next, scroll down and click on “About.”

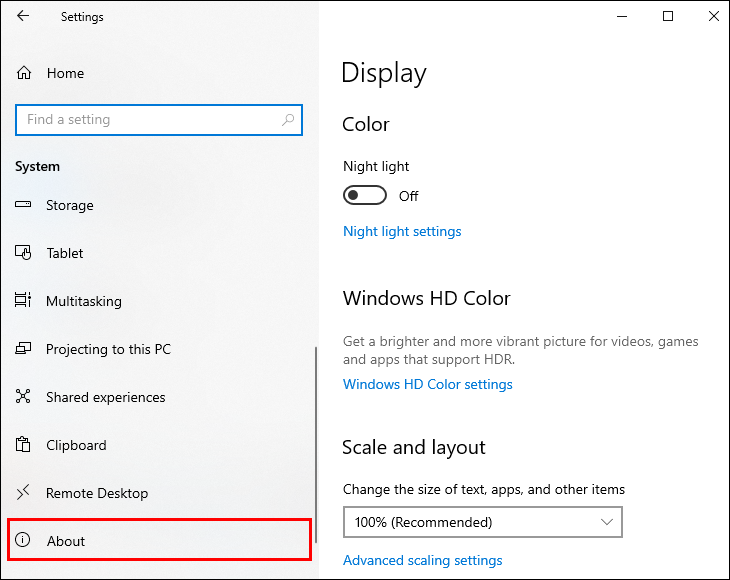
Here you can see which version your computer is using. This window also shows you if your processor can support the 64-bit version. If you are not using the 64-bit version make sure to install it. Before installing make sure to back up all your files and important data because the process will likely remove all files from the system.
Hardware Issues
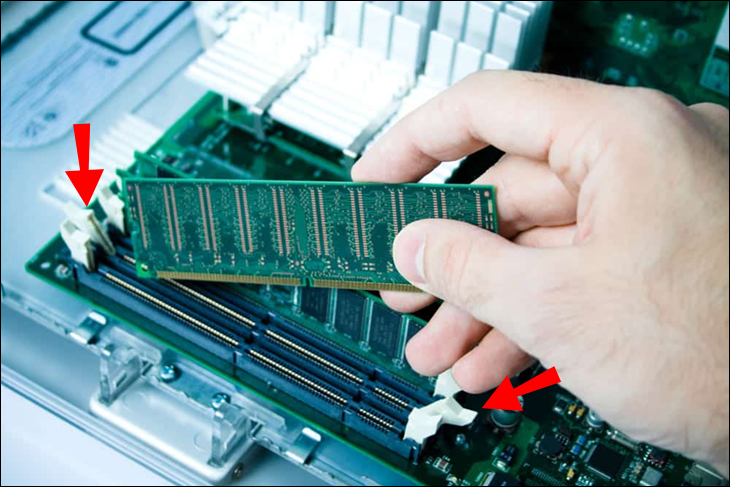
Before using troubleshooting methods that change your files, you can also check the physical state of the RAM sticks and slots. If the sticks are damaged in some way or not connected properly this could also cause the PC to use less RAM than usual. To check the slots, follow these steps:
- Shut down your computer and unplug all the power cables.
- Unlock the latches holding the RAM and carefully take the stick out.
- If there is any dirt or dust on the sticks, take some rubbing alcohol or a tiny brush to gently remove any residue. Put the sticks back into their right slots and turn on your PC.
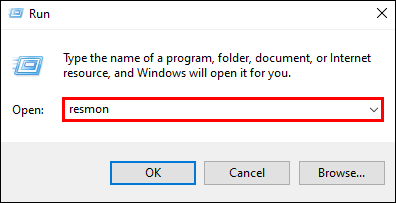
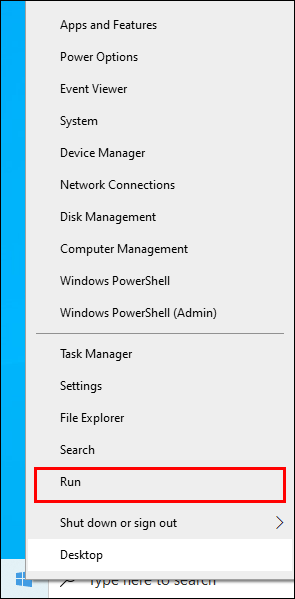
- Right-click on the Windows icon and click on “Run,” type in “
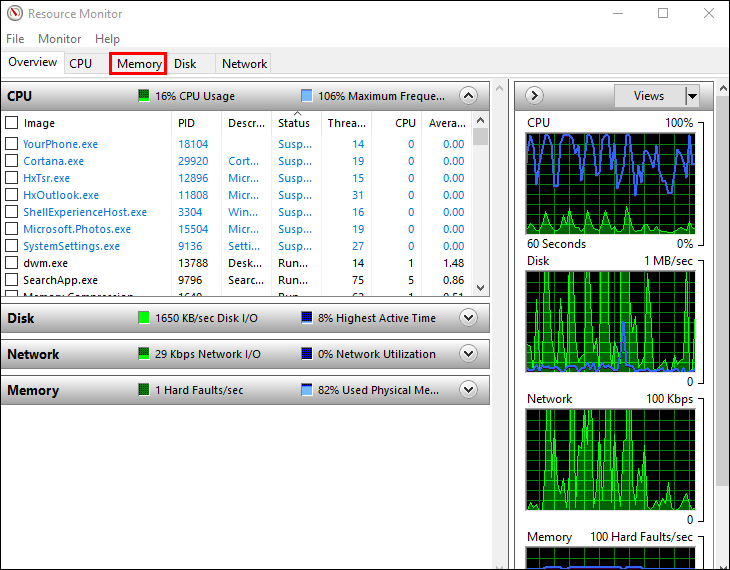
resmon,” and press Enter. - Go to the “Memory” tab and check the RAM status. If there are no changes, repeat the process but this time test the stick and slots one by one.
- Insert one stick and boot the PC. If the PC starts properly, the stick and the slot are good to go. Otherwise, the RAM or that slot is damaged or faulty. In this case, you will need to fix the stick that is faulty or replace it.

RAM is typically plug-and-play, meaning you won’t risk your files or installations while changing RAM slots or removing sticks, so long as you do it while the PC is shut off.
Uncheck the Maximum Memory Option
The Maximum Memory option forces the PC BIOS to use only a certain amount of RAM during startup. If you uncheck this option you can fix this and use the full RAM amount:
- Right-click on the Windows icon and click on “Run.”
- Type in “
msconfig” and press Enter and the System Configuration window will appear. - Click on the “Boot” tab, make sure the current installed OS is highlighted, and then click on “Advanced Options.”
- Uncheck “Maximum memory” and press OK to save the changes.
- Restart your computer and check if the problem is resolved.


BIOS Restore
If the BIOS setting is wrongly configured it also be the culprit behind not enough RAM usage. Try restoring the BIOS defaults to see if that could make any difference. Here is how:
- First access BIOS as shown in the step-by-step above.
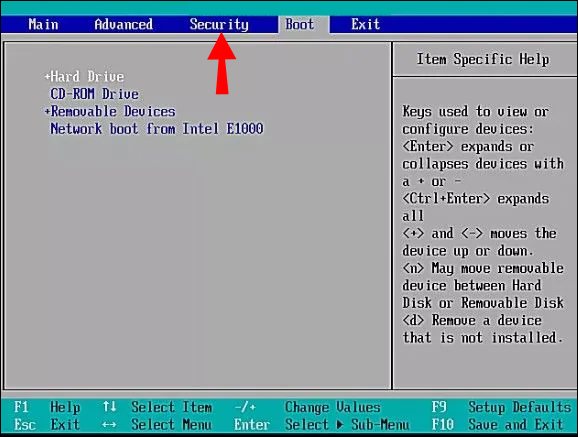
- Go to the “Load Default Options” section. If you do not see the option, look for the “Security” tab and try resetting BIOS from there.
- In the “Load Default Options” pop-up, click on “Yes.”
BIOS Settings
Some BIOS settings could also be the cause of why Windows is not using full memory. In order to fix that you need to change some of the BIOS configurations. Here is how to achieve that:
- Restart your PC.
- When the PC starts booting, press the BIOS key repeatedly. The BIOS keyboard shortcut could be any of F1, F2, F10, F12, Del or Escape. The key differs depending on the computer motherboard, and some builds will display how to access BIOS on a DOS-like screen before loading into the OS. Otherwise, research your motherboard model online or see your system manual.
- After you successfully access the BIOS settings, you need to change some values:
“Vitalization” needs to be ON.
Turn the “iGPU” OFF.
Enable the “Render Stability.”
Change the “iGPU memory” to “Auto.”
Disable “Multimonitor.”
The “Frame Buffer Location” needs to be below 4G. - Go to the “Advanced” section.
- Click on “System Agent Configuration.” Click on “Memory Ramp” and enable it.
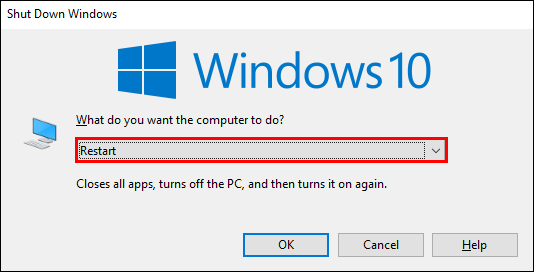

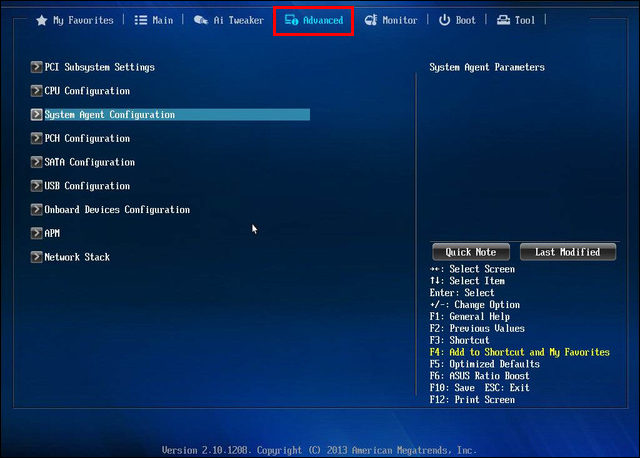

Accept changes, restart the PC, and see if that solves your issue.
Check for Integrated Graphics
If your computer has an integrated graphics card it will use some of the RAM automatically. Here’s how to check which graphics card you have:
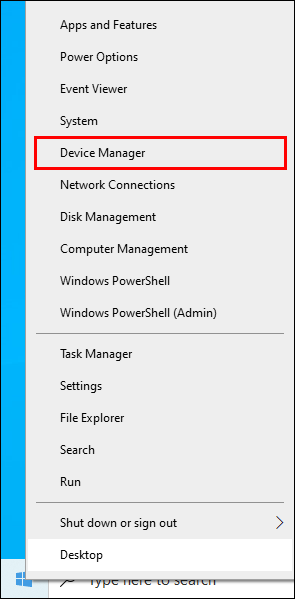
- Right-click on the Windows Icon and select “Device Manager.”
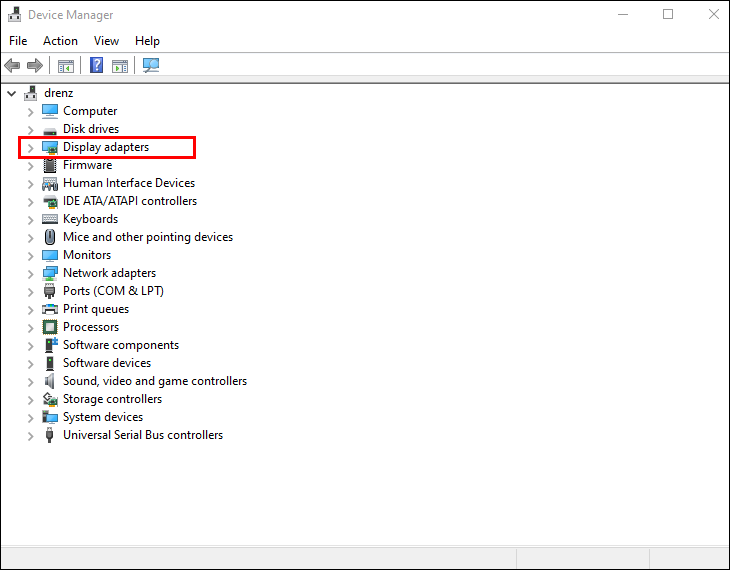
- Expand the “Display adapters” section. Find your graphics card on the list since there’s usually one option in there.
- Search online and see if the graphics card is integrated into the CPU or dedicated.
The only feasible option would be to perform software or hardware updates, meaning getting a new dedicated GPU, more or larger RAM, and upgrading your OS version to 64-bit if you haven’t already.
Update Windows
The solution might be updating your Windows because an outdated version might experience an issue with RAM overuse or leaking. To manually update Windows and potentially fix memory problems, follow these steps:
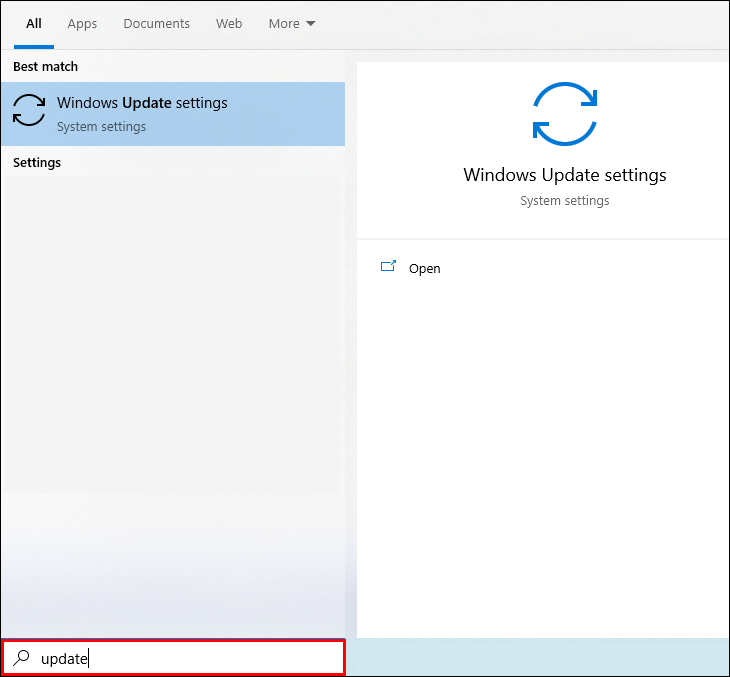
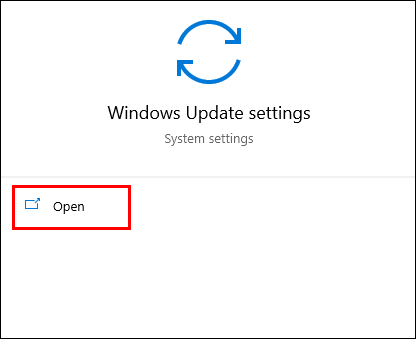
- Open the Windows search bar and type in “update.”
- Open “Windows Update Settings” from the results. Select “Check for updates” and let the update detection process run for a bit.
- If any updates are available, install them by following the instructions.
Become a RAM Pro
Hopefully, these solutions will help you figure out what is wrong with your low Windows PC RAM usage and make your life a little easier. RAM is vital in ensuring you can multitask on the PC, so don’t let it bottleneck your system.
What solution worked for you? If you have experienced this type of problem with your computer please share your solutions and ideas in the comment section.
Disclaimer: Some pages on this site may include an affiliate link. This does not effect our editorial in any way.


