Canva is one of the most popular graphic design platforms. It’s available for free and has a wide range of advanced tools. The designing options are practically limitless since there are thousands of free templates that are entirely customizable. That means you can add shapes, videos, text, frames, and even upload your own photos.
In this article, we’ll be focusing on how to add a border to your design. Borders can make all the difference when it comes to the overall aesthetic. Whether it’s a social media post, a calling card, or a Zoom background, they make the layout seem more elegant and thus more professional. Of course, that doesn’t mean you can’t have fun with borders. Keep reading and find out some of the more creative ways you can use this element in Canva.
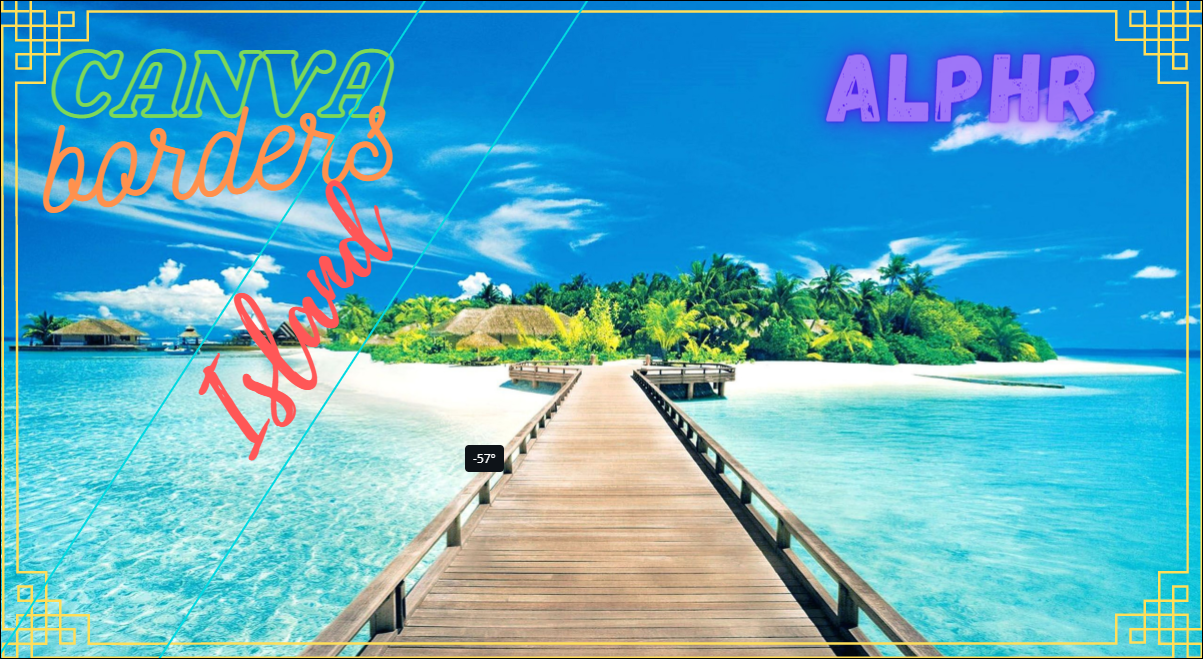
How to Add a Border in Canva?
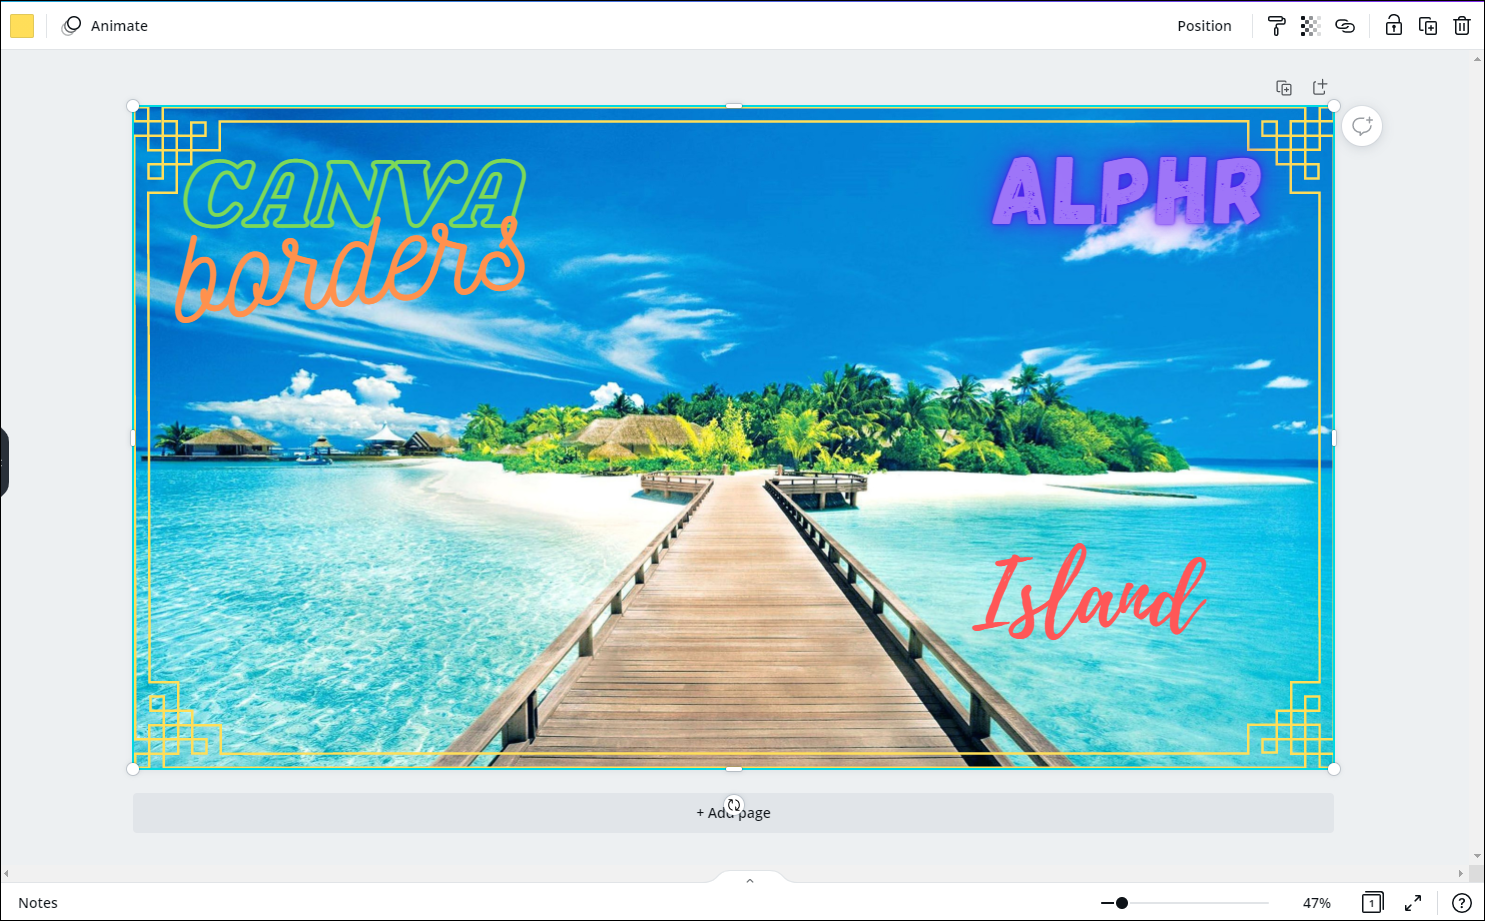
Borders are considered essential tools in graphic design. Most commonly, they’re applied for structural purposes. You can add a border to design a crisp outline or use it to separate the layout into different compartments. They’re also great for drawing attention to individual elements like text, images, or numbers.
Canva offers an impressive library of borders. Most of them are available for free, but you have to sign up for a Pro or Enterprise subscription to unlock Premium elements. Technically, you can still use them with the free version, but you won’t be able to remove the watermark. Luckily, it’s pretty subtle.
There’s a desktop and mobile app available for Windows, Mac, iOS, and Android devices. The user-friendly interface is pretty similar in each version. Canva isn’t just intended for professional use, so you don’t have to be a star graphic designer to create something beautiful.
Also, adding borders is probably the easiest task. Keep reading for a step-by-step breakdown for each version of the desktop and mobile app.
On Windows
There’s a free desktop version available for Windows OS users. You can download it in a jiffy from the official Canva website. Here’s how to install Canva to your PC:
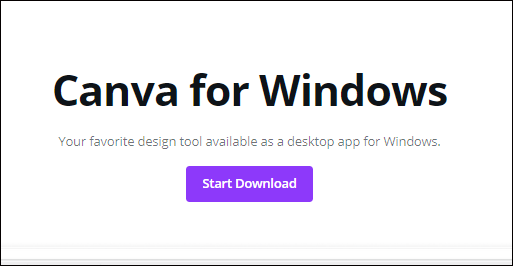
- Open your preferred browser and go to the official website.
- Click the purple button to start downloading.
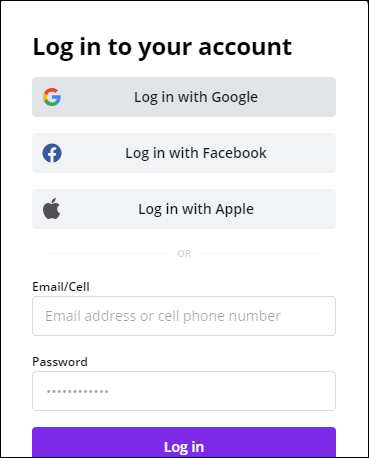
- Launch the desktop app and create an account. You can sign in with your email or Facebook profile.

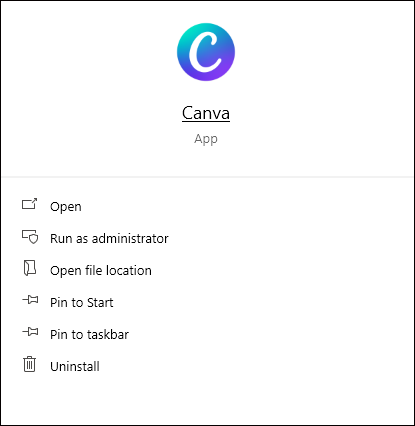
A shortcut will immediately appear on your desktop. That means the app is up and ready, so all you have to do is click to get started:
- Launch the app by clicking on the desktop icon.
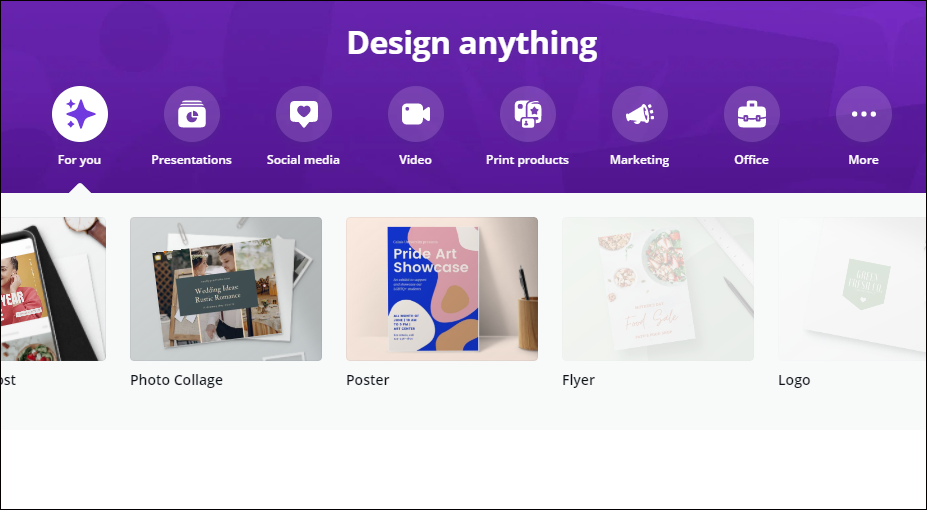
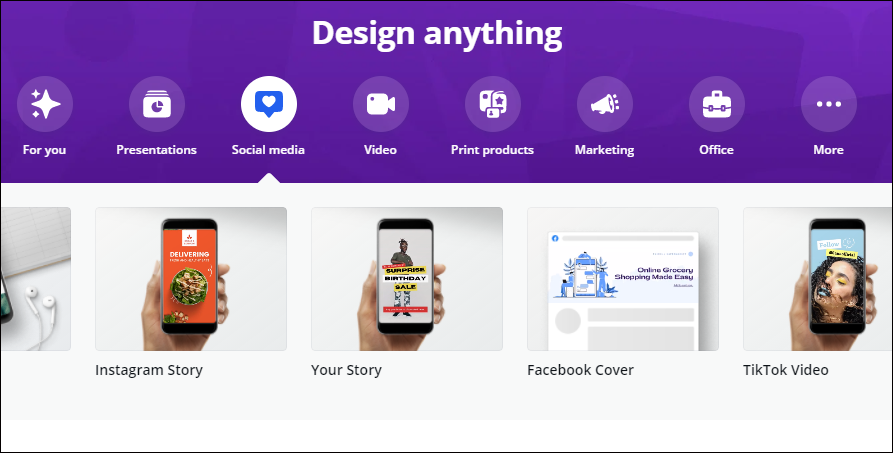
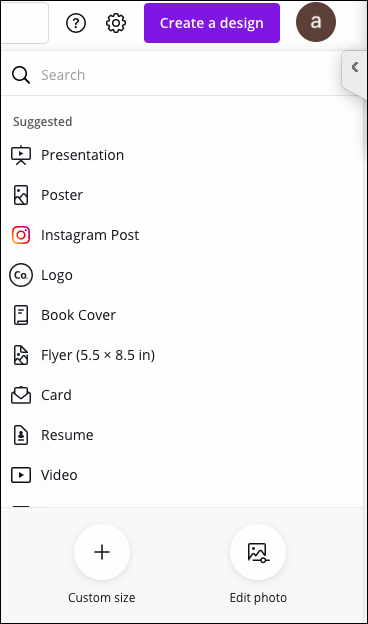
- Select a category from the widget at the top of the screen. There are different templates for social media posts, presentations, marketing, and so on.
- Choose a specific format (e.g., “Poster” or “Facebook Cover”) by clicking on it.
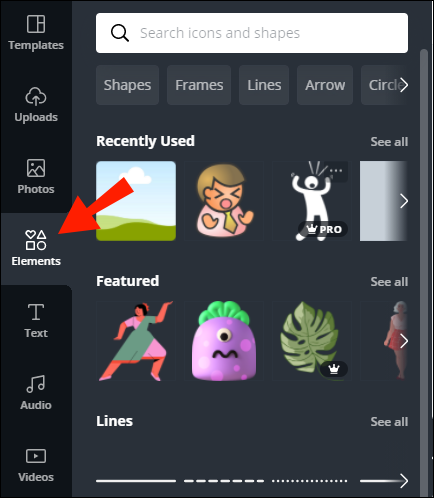
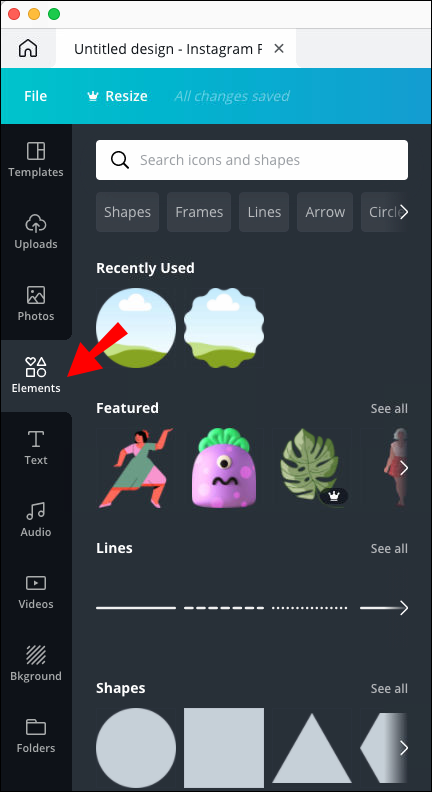
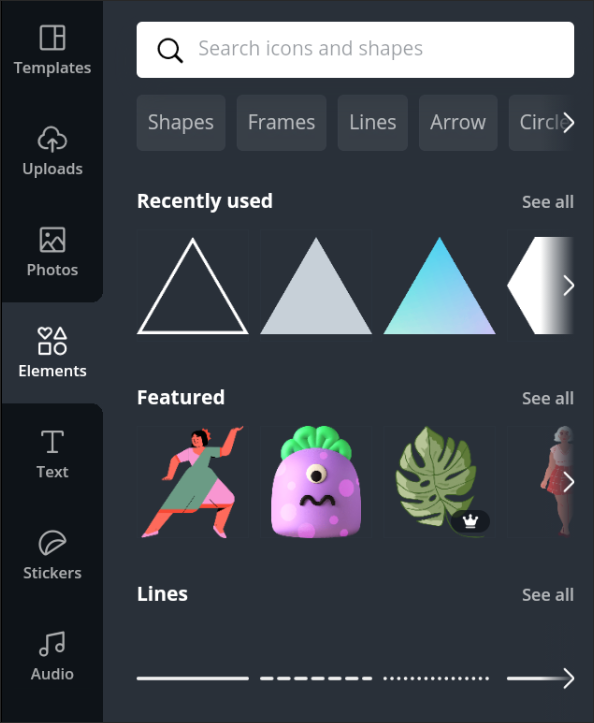
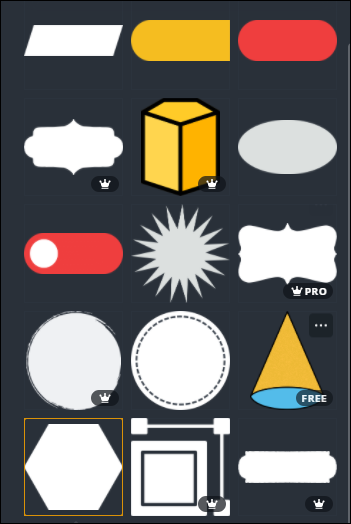
- Move your cursor to the sidebar on the left-hand side. Open the “Elements” section.
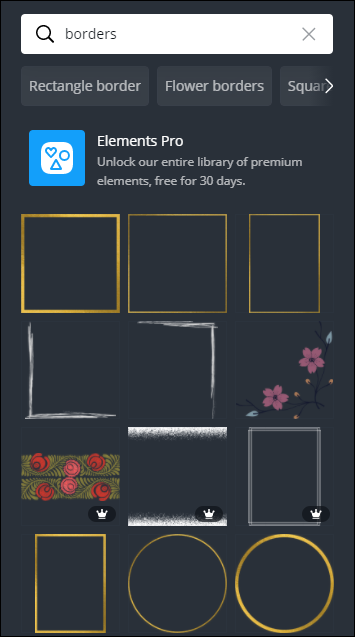
- Type “Borders” in the search bar at the top of the panel.
- Scroll through the search results and click on the one you like.
If you want to add the same element twice, you don’t have to do it manually. There’s a nifty keyboard shortcut you can use instead. Just hold ‘’CTRL + D’’ after you select the element from the sidebar, and a duplicate will appear.
On Mac
You can get the desktop app from the official Canva website, but the quickest way is to download it from the Mac App Store. Here’s how:
- Open the “Photo and Video” category in the App Store and scroll to find Canva. A quicker way to do it is by using the search function in the top-left corner.
- Click on the “Get” button to download the app for free.
- Click “Install” to finish the process. If necessary, enter your Apple ID.

From there on, you can open the app and start adding elements to your design:
- Open the Applications folder and find Canva.
- If you want to create a new design, click on the purple button in the top-right corner. Select the format you want from the drop-down list (e.g., “Flyer,” “Instagram Post”).
- Open the “Elements” tab in the toolbar on the left-hand side.
- Enter the shape of the border you want in the search bar above (e.g., rectangular border).
- Click on the one you like to add to your design.
- To duplicate the border, use the ‘’CMD + D’’ keyboard shortcut.

On Android
Android users can find the official mobile version of the app on the Google Play Store. Here’s how to set it up:
- Tap on the Google Play icon to access the store.
- Type “Canva” in the search bar on the top of the screen.
- Tap “Install” and then “Open.”
- Sign in with your Google or Facebook account.

Since this is a mobile app, the interface is slightly different. However, it has all the same elements, meaning you can add borders with your smartphone. Here’s how to do it:
- Tap on the app icon to launch Canva.
- Under “Create a Design,” select the type of format you want (e.g., “Instagram Story”).
- A new window will open. You can choose an existing template or tap on the blank square to design from scratch.
- In the bottom-left corner of the screen, tap on the purple “+” button. This will open the tools menu.
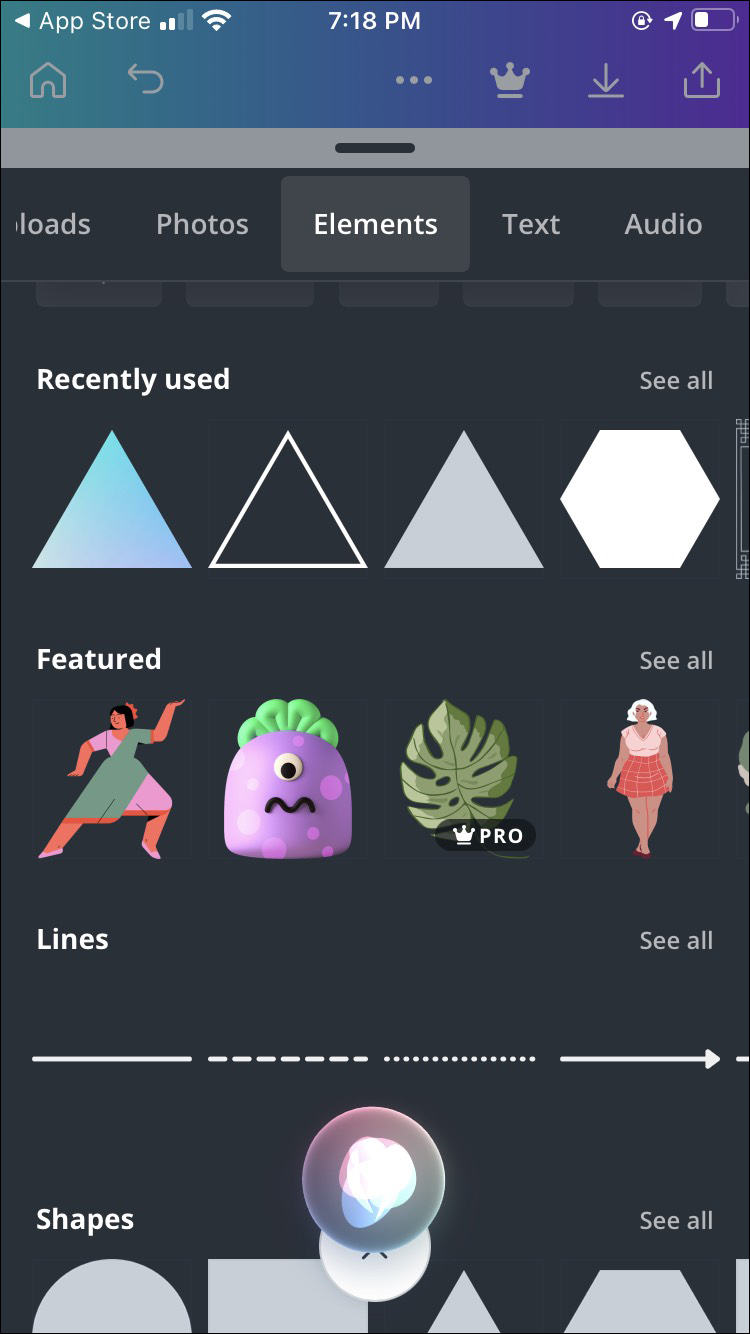
- Tap on the “Elements” section. Use the search function to find borders.
- To add a border, simply tap on it. You can customize it by using the menu bar at the bottom of the screen.


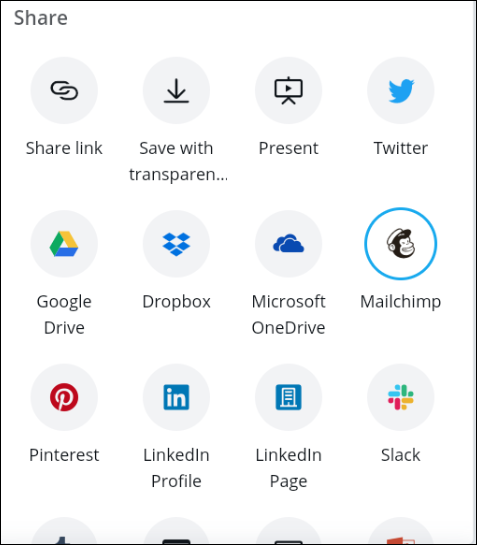
The great thing about this version is that you can share your design with other platforms. For example, if you used Canva to create an Instagram post, you can directly upload it to your profile. Here’s how:
- Tap on the “Share” icon at the top-right corner of the screen.
- Pick an app or platform from the list of options.
- Wait a few seconds for Canva to prepare your design.
- Once it’s done, Canva will redirect you to the chosen app.


On iPhone
Of course, Canva is available in the App Store as well. Just download it like you would any other app:
- Tap on the App Store icon to open it.
- Use the search function to find the app.
- Tap “Get” to download it.
The overall layout is almost the same as the Android app, so the steps to adding borders are more or less identical as well:
- Launch the Canvas app to access the home screen.
- Pick a new design template from the widget.
- To add elements, tap on the “+” icon in the bottom-right corner of the screen.
- To find borders, use the search function. You can also look through the tags under the search bar to see what the most popular shapes are.
- Tap to select a border and add it to your design.
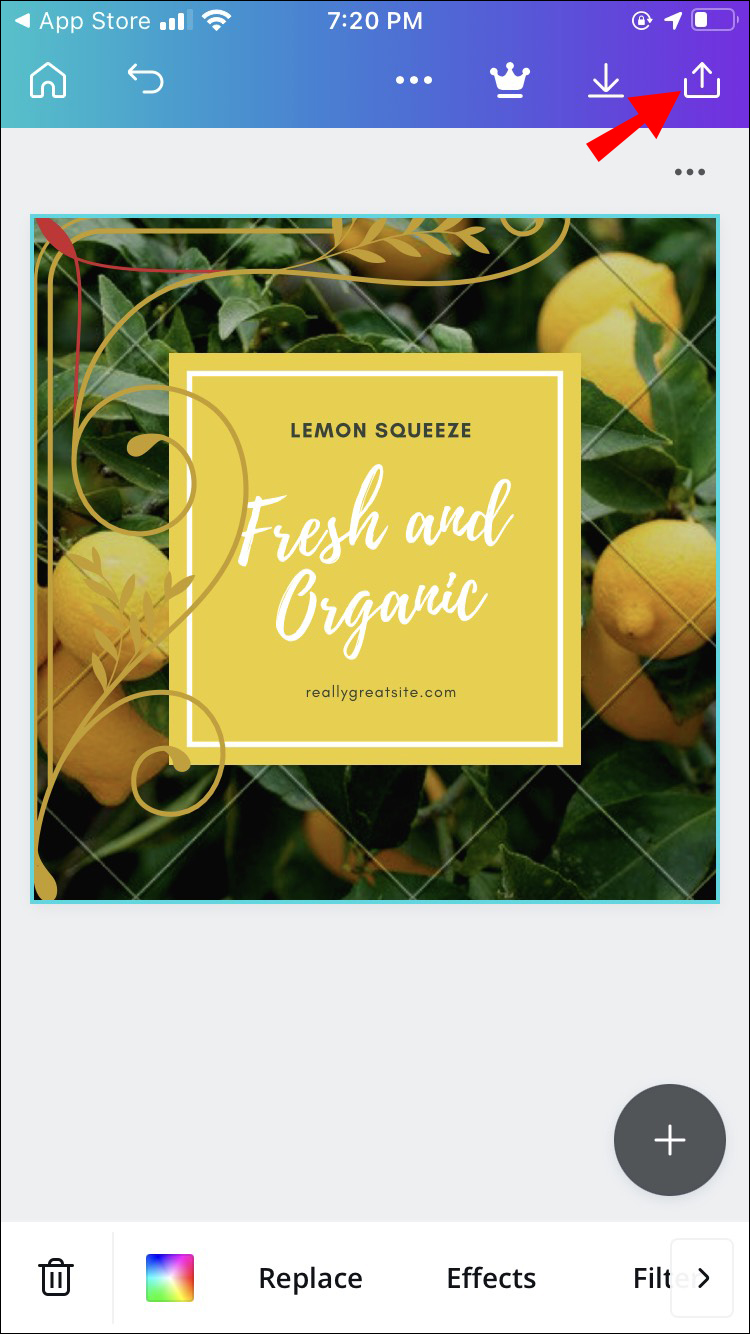
- If you want to share it with another platform, tap on the share icon in the upper-right corner.


If you accidentally close the app, there’s no need to panic. Canva auto-saves all your pages so you can always pick up where you left off. Just go to the home page and tap on the “Designs” icon at the bottom of the screen.
How to Use Borders and Shapes in Canva?
The first rule is; there are no rules when it comes to Canva. The platform provides endless customizing options for all elements, including borders. Whether you’re making an entirely original design or tweaking an existing template, you have complete creative freedom.
Canva is extremely user-friendly so playing around with it is the best way to get to know all the features. However, if you’re looking for some basic design tips and hacks, make sure to keep reading.
Layer Creatively
Don’t be afraid to experiment with the layout. Canva doesn’t force you to stick to a neat structure; you can use overlapping shapes and multiple layers. If done right, it can make for an interesting design.
Just like other features, layering in Canva is super easy:
- Open your design in Canva.
- Select the element by clicking on the one you want to move.
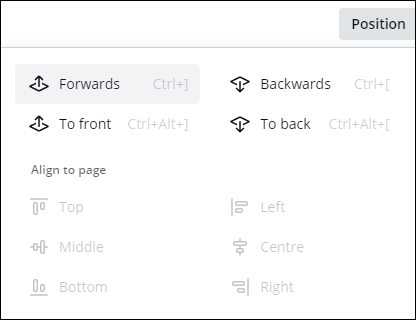
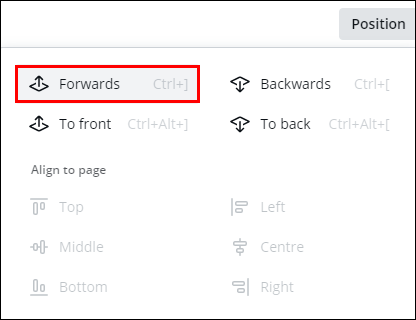
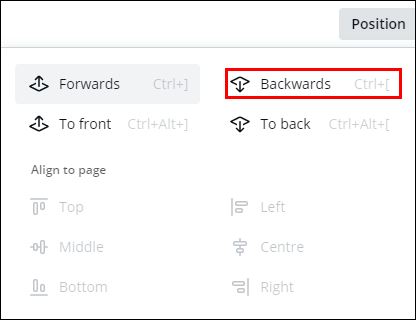
- Click the “Position” tab in the upper-right corner.
- If you want to move the element to the forefront, choose “Forward.”
- To place one element behind the other, select “Backward.”
Use Shapes to Highlight Numbers
You wouldn’t want people to miss your party because they misread the date, would you? The trick is to emphasize the number with a distinctive shape that’s bound to draw focus. Thanks to the wide range of customization tools, you can get really creative with this one. Of course, if you’d prefer to stick to the more standard rectangular shape, that’s also fine.
Either way, the steps are incredibly straightforward:
- Open the “Elements” tab in the sidebar.
- Find a solid shape. It can be literally anything – from flowers to squares.
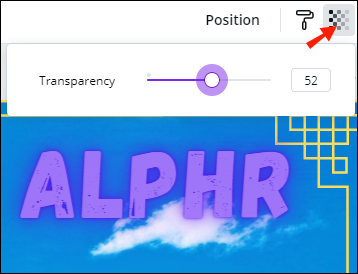
- Add it to your design and position it over the number.
- Adjust the transparency level. The tool is located in the upper-right corner of the screen.
Fill in Gaps Using Shapes
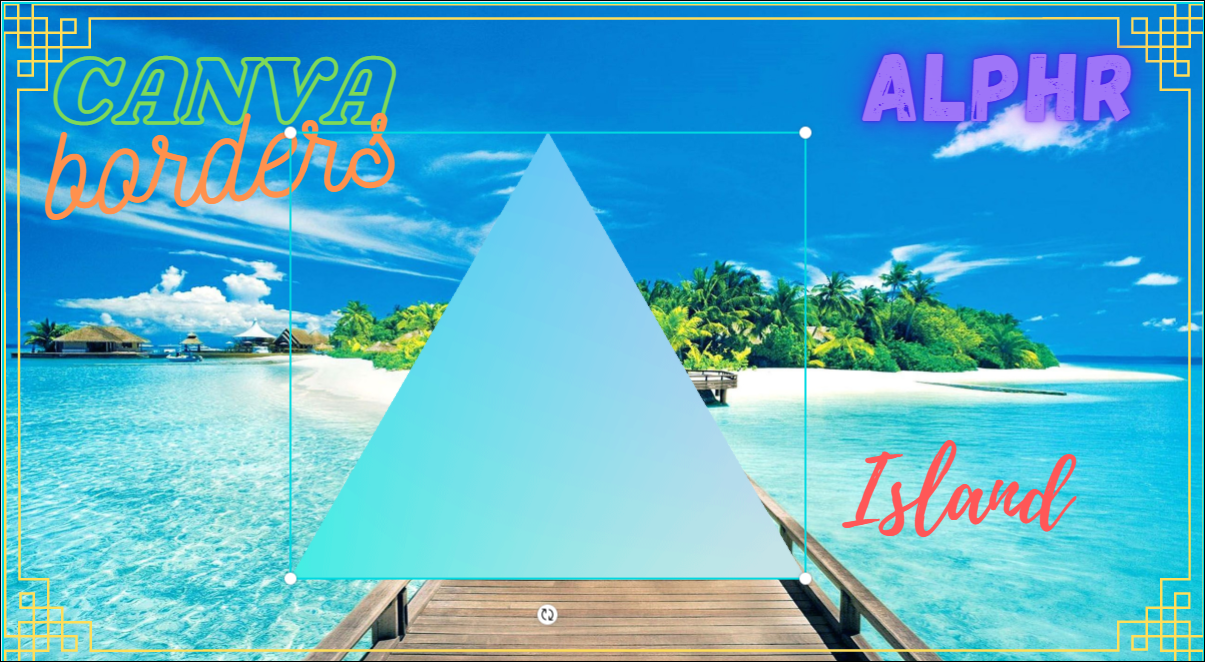
This is a super-specific tip, but it can make any design pop. If you’re making a flyer or a logo that contains plain text, you can fill the gaps in particular letters to add some flair. Here’s how:
- Click on “Elements” and use the search bar to find a corresponding shape. For example, if it’s the letter eye, look for a triangle.
- Add the element to your design and position it over the gap.
- Use your cursor to adjust the size.
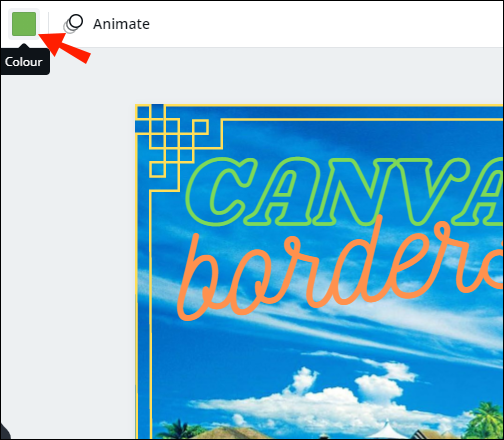
- If the color doesn’t match, you can change it. Click on the little icon in the top-left corner, next to the sidebar. You can create a custom color if you can’t find a match.
Resizing Shapes to Create Emphasis
Another great way to highlight individual design elements is to use different sizes. The bigger the word or image, the more eye-catching it becomes. You can pretty much adjust the size with your cursor or touchpad:
- Select the element you want to resize.
- Drag the edges until you adjust them to your liking.
That’s the one advantage of the desktop version. Resizing is less convenient to do on your smartphone.
Framing Content
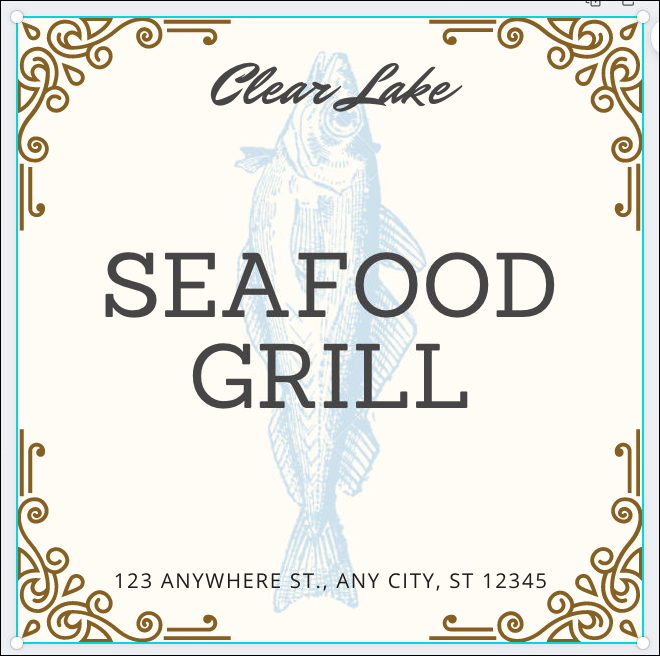
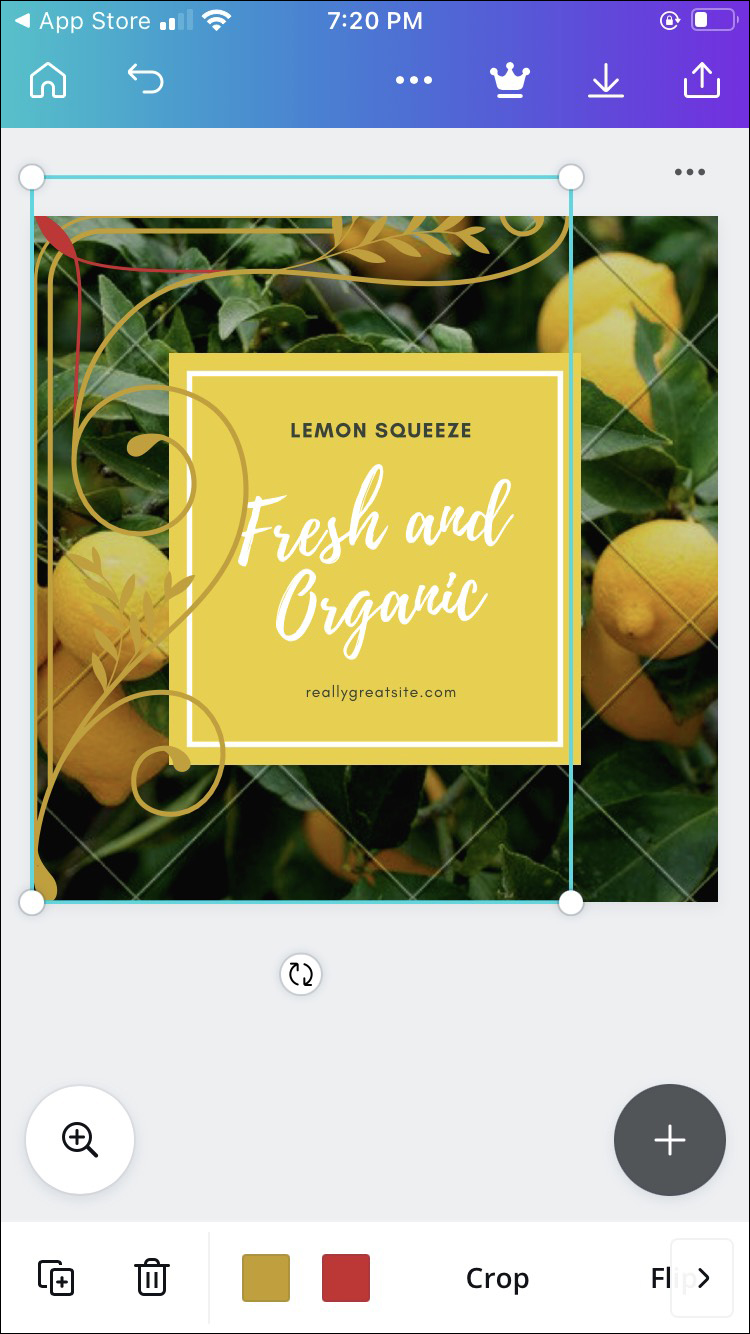
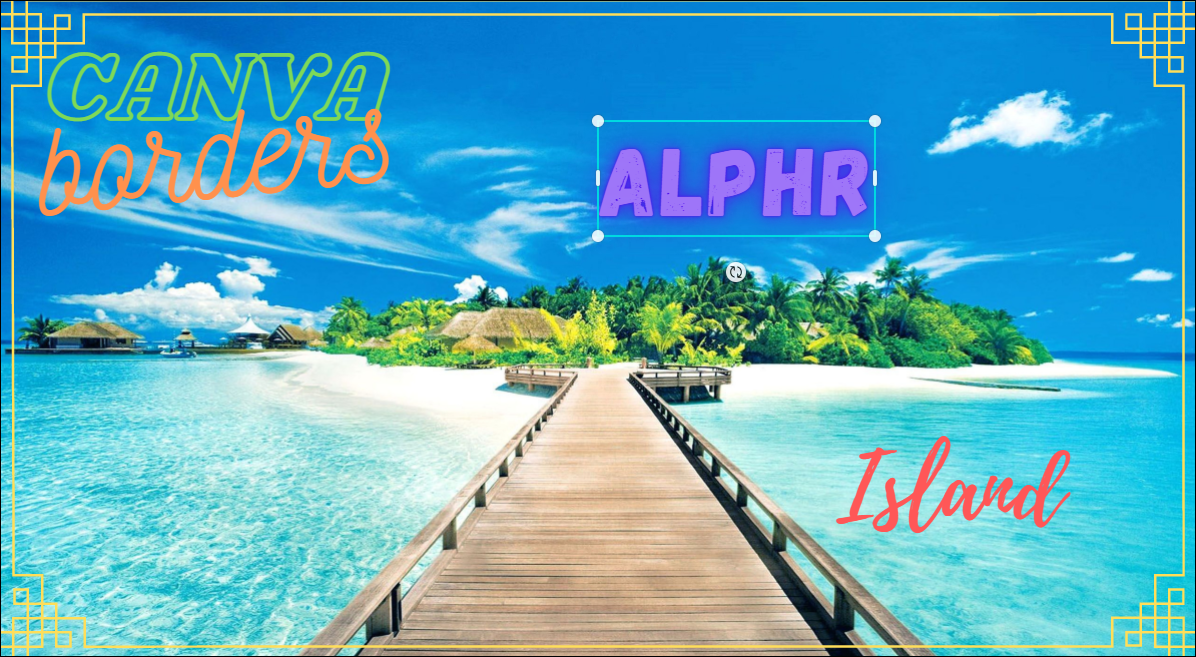
This part is pretty much covered, but to reiterate – adding borders or frames to your design can make it more pronounced. You can use the standard geometrical shapes such as rectangles or circles for a minimalistic approach. If you want something flashier, many outlines fit that description.
Additional FAQs
How to Add a Textbox in Canva
Of course, you can add words and phrases to your Canva design. Just like with other elements, you get to determine the size and position of the letters. But first, you have to add a textbox:
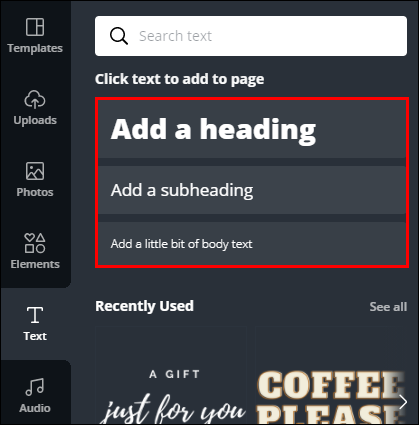
1. Open the “Text” tab in the side panel.
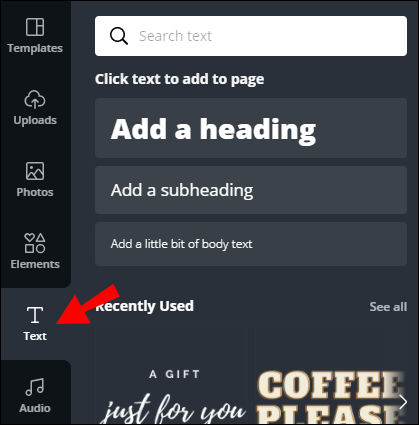
2. There are three options to choose from: heading, subheading, and regular textbox. Select one by clicking on it.
3. The textbox will appear on your page. Erase the generic text and enter the word or phrase you want.
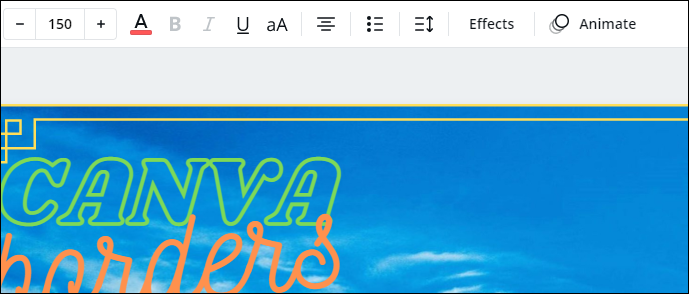
4. To format the text, use the tools from the menu bar above the page. You can change the font, alignment, color, and add effects.
5. You can move and resize the textbox with your cursor.
6. If you want to flip it, click on the little rotate icon under the textbox. Use your cursor to change the direction.
7. To add a border around the text, use the ‘’Alt + Shift + B’’ keyboard shortcut.
When you open the “Text” tab, you’ll see there are already some templates available. You can add them to your page by clicking on a particular font. It’s mostly generic phrases like “Good Vibes” or “I Love You,” but the design is pretty diverse.
The World Is Your Canva
As you can see, Canva is a rather intuitive platform. There’s a wide range of useful tools and an extensive library of different elements. Also, you don’t need a paid subscription to get to the good stuff.
When it comes to borders, there’s one for every occasion. On top of that, you’re free to change the color, size, position, and transparency level according to your liking. Both the mobile and desktop version has the same customizing tools, so you can work with whatever device best suits you. All in all, Canva was designed to inspire creativity – why not have fun with it?
Do you have a Canva account? What’s your experience with the platform? Feel free to share some of your designs in the comments below!
Disclaimer: Some pages on this site may include an affiliate link. This does not effect our editorial in any way.