If you own an iPhone, chances are you listen to music with the iTunes app. iTunes has been around for years as the standard music player in iOS devices. However, you’ll need to get music on the app in the first place.
If you don’t know how to add music to iPhones for the iTunes app, you’re in luck. In this article, we’ll guide you through various methods. We’ll also answer some burning questions related to iTunes.
Sync/Transfer iTunes Music to iPhone Using Windows
You can sync and transfer iTunes music from your Windows PC to your iPhone. There are two ways of doing this. One requires a USB cable while the other is done over Wi-Fi.
These are the steps for syncing via USB cable:
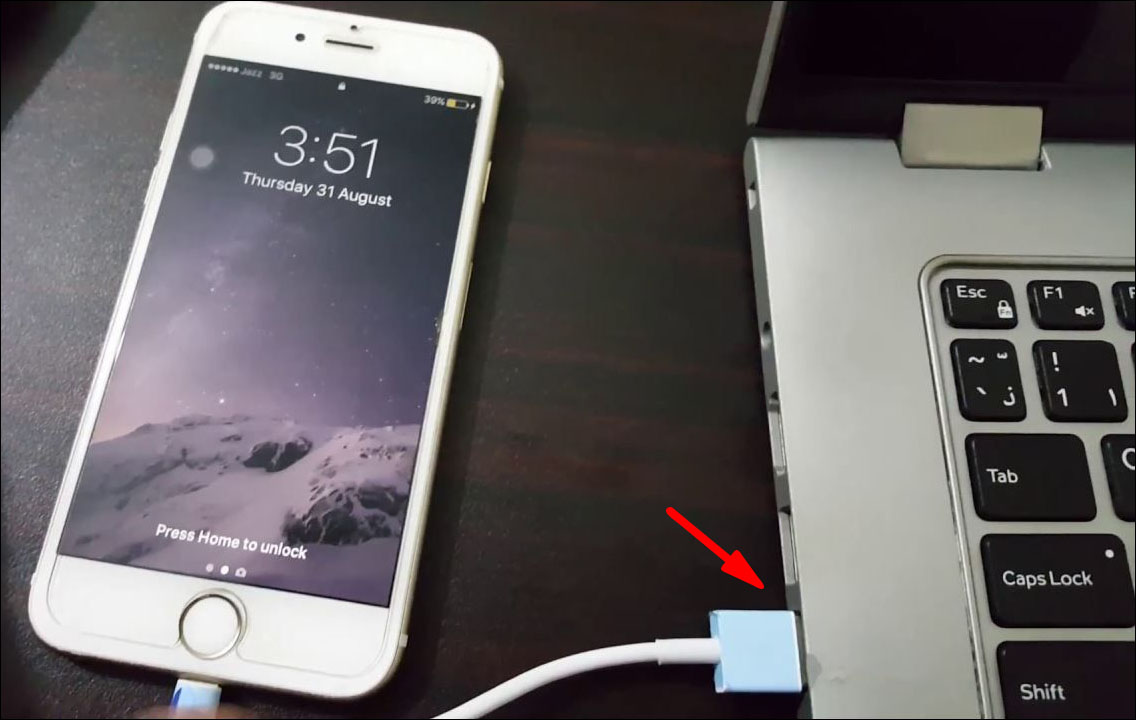
- Connect your iPhone to your Windows PC via USB cable.
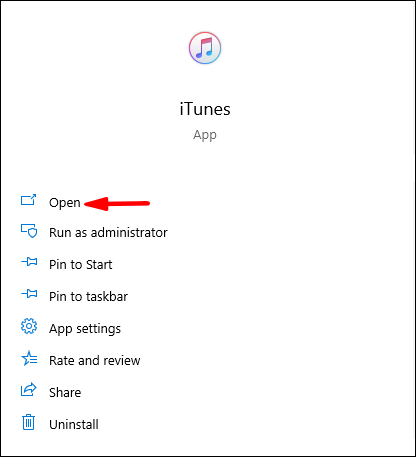
- Open iTunes on your PC.

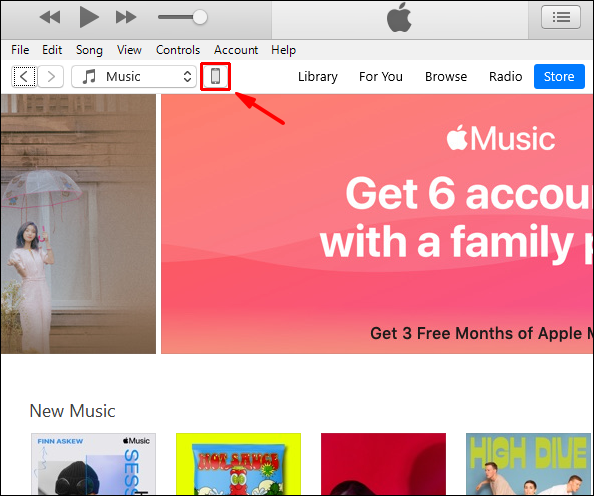
- Locate the “Device” icon in the shape of an iPhone at the top-left.
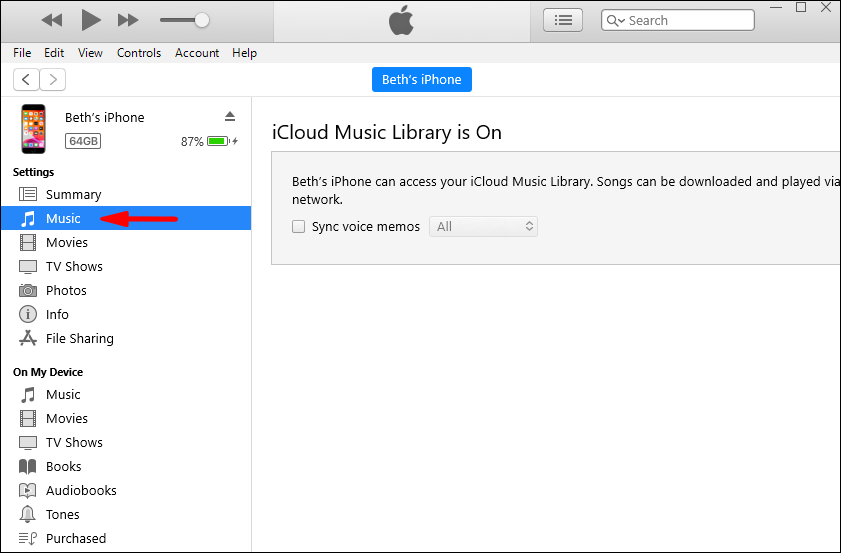
- Access your iPhone and select “Music.”
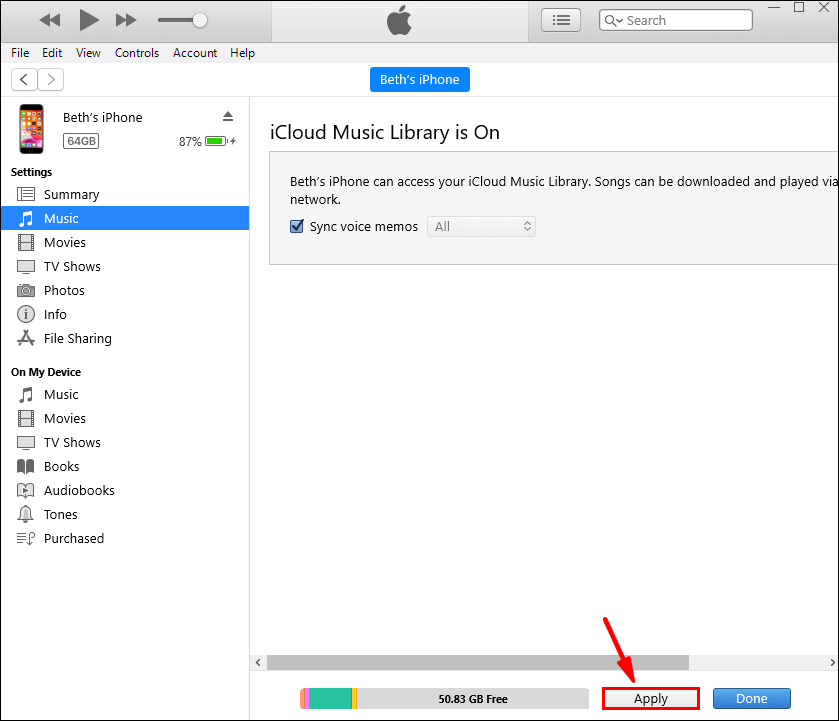
- Choose what you want to sync.
- Select “Apply.”
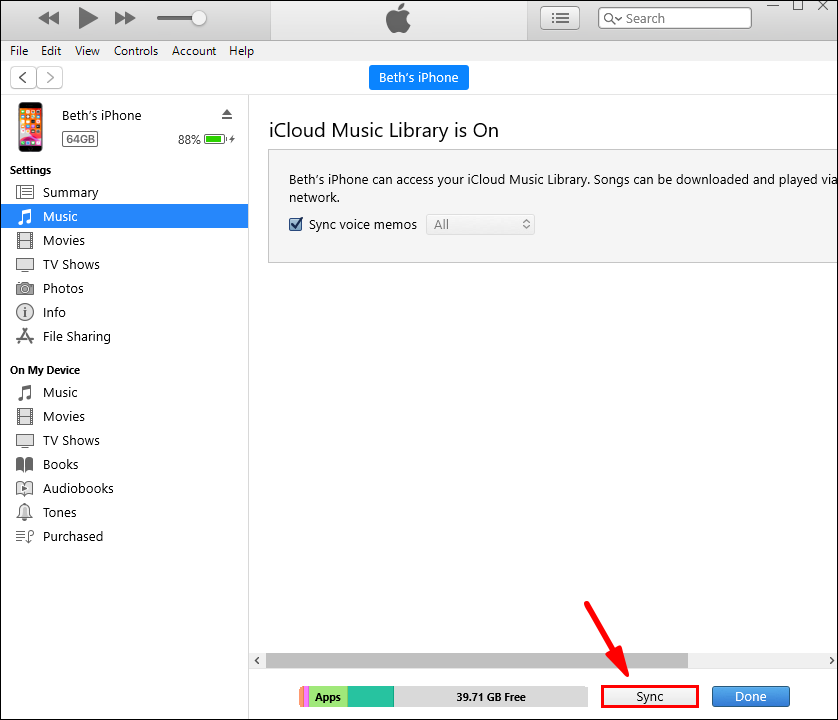
- If it doesn’t sync immediately, select “Sync.”
You can make your iPhone sync over Wi-Fi after this process. Here’s how:
- Connect your iPhone to your Windows PC via USB cable.
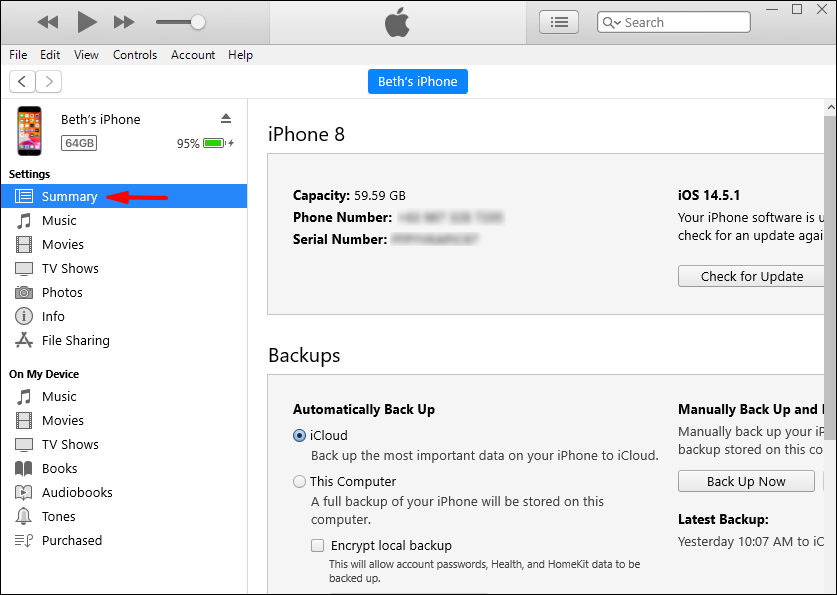
- Open iTunes on your PC.
- Select “Summary” on the left side of the window.
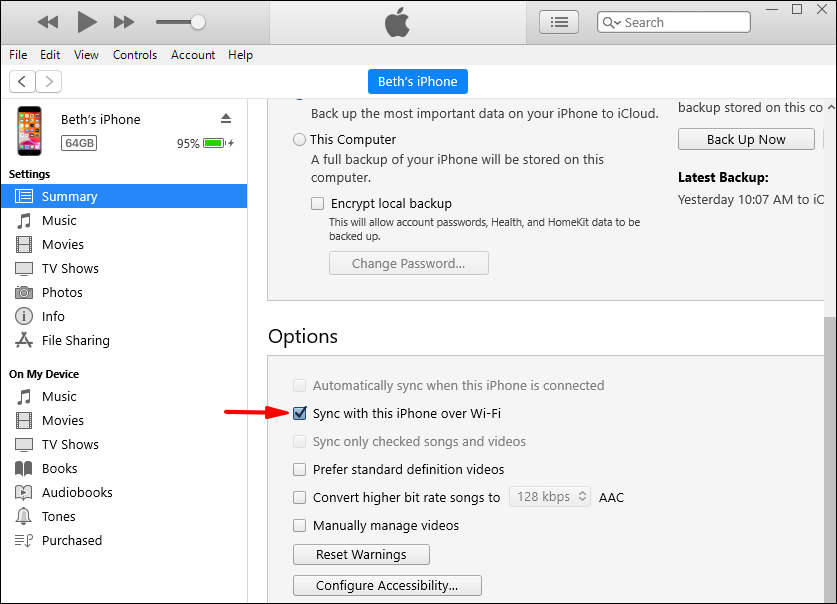
- Select “Sync With This (device) Over Wi-Fi.”
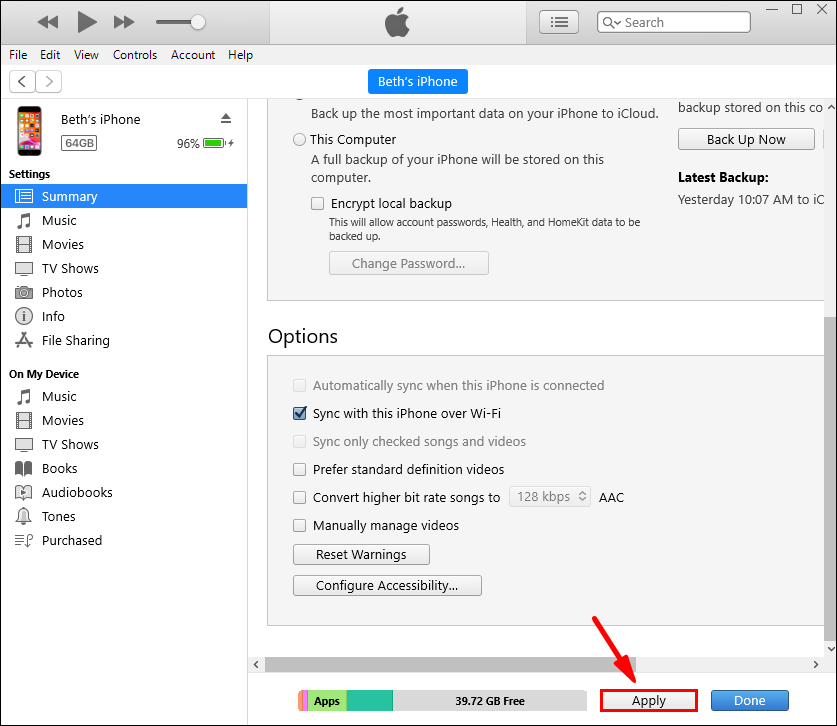
- Select “Apply” to begin.
Make sure both devices are on the same network. If not, the syncing process won’t start. As long as both devices are connected and iTunes is open on your PC, your iPhone will sync automatically.
Transferring music over manually takes on a different process. It requires a bit of setting up. After that, it’s an easy task.
Here’s how you transfer music from Windows to iPhone manually:
- Connect your iPhone to your Windows PC via USB cable.
- Open iTunes on your PC.
- Locate the “Device” icon in the shape of an iPhone at the top-left.
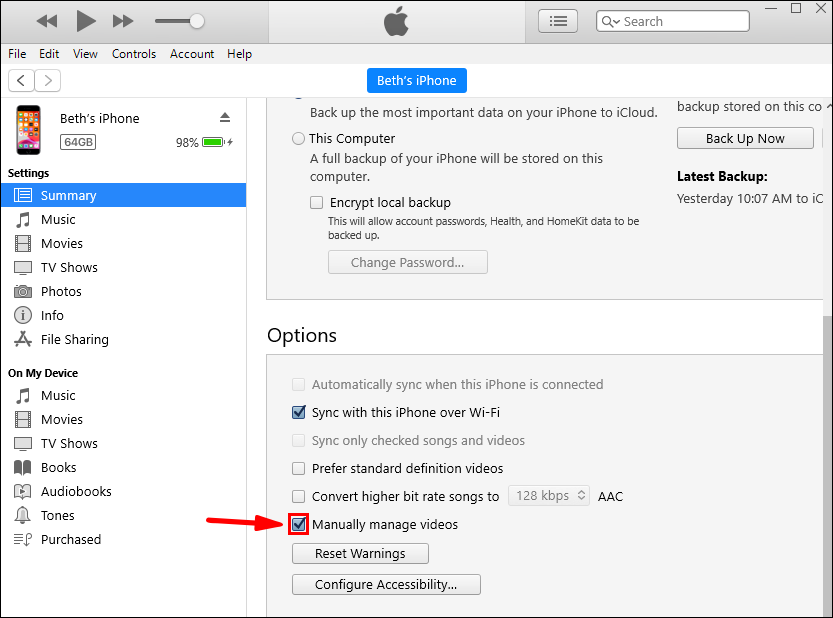
- Select “Summary.”
- Select “Manually Manage Music and Videos” to enable manual transfer.
- Select “Apply.”
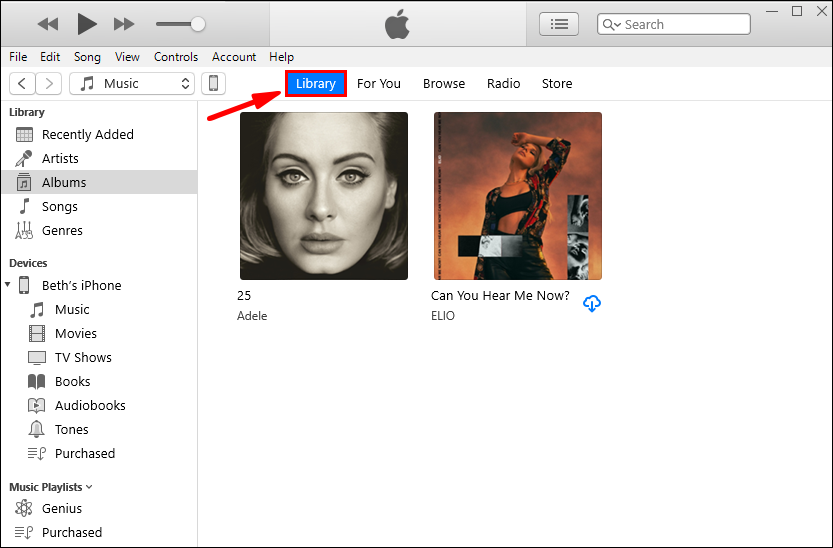
- Go back to the Library section.
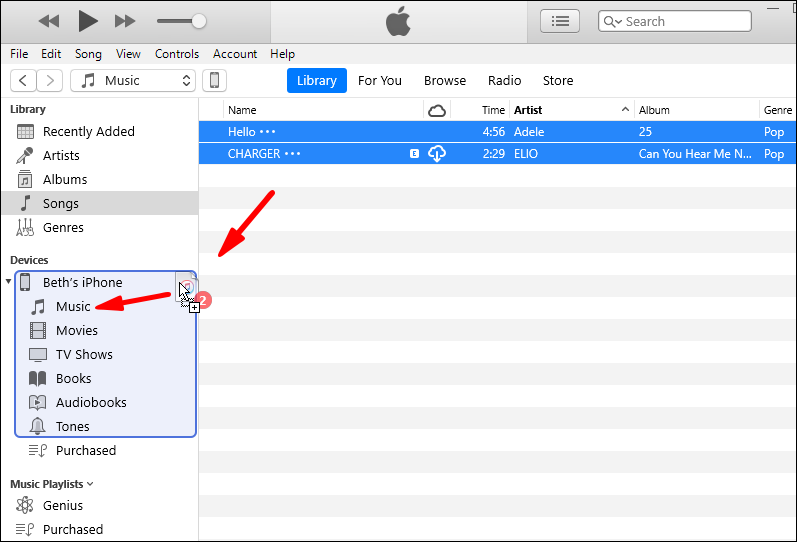
- Select what you want to transfer. Pressing ‘’Ctrl’’ will allow you to select multiple items.
- At the left, you’ll find your iPhone, and you can drag and drop music with your mouse to the “Music” section.
- Wait for everything to transfer over.


Manual transfers are a good option if you want to arrange things a particular way or want to select certain only songs. You’re in full control over the whole process as well. If you believe that manual transferring is better for your music choices, try it out.
Sync iTunes Music to iPhone Using Finder in macOS Catalina and Above
If you own a Mac running macOS Catalina and above, you need to use the Finder to sync your music files. Don’t worry about the new methods, it’s not very hard. You need to connect your iPhone to the Mac via USB or Wi-Fi first.
Here are the steps:
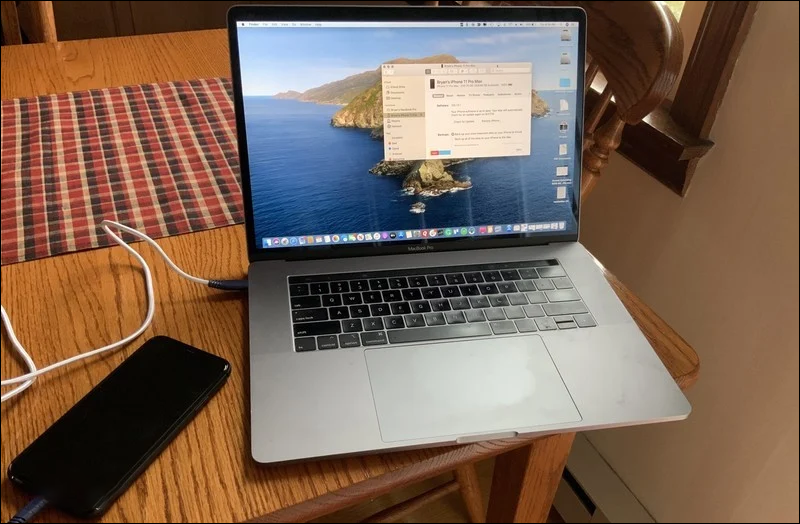
- Connect your iPhone to your Mac.
- From the Mac Doc, select the Finder.
- Under Devices, select your iPhone.
- Select “Music” at the right of the screen.
- Under the tabs, select “Sync Music Onto Your Device.”
- Choose what you want to sync to your iPhone.
- Select “Apply.”
- Select “Sync” to start the process.


The process is incredibly similar to older versions of macOS and the steps using Windows. You’ll find that the interface is mostly identical. Navigating it won’t be hard at all.
Sync iTunes Music to iPhone Using Finder in macOS Mojave and Earlier
If you’re using macOS Mojave and earlier, you’ll use the iTunes Mac app instead. Let’s take a look at the process and how it goes.
- Connect your iPhone to your Mac via USB cable.
- Open iTunes on your Mac.
- Locate the “Device” icon in the shape of an iPhone at the top-left.
- Access your iPhone and select “Music.”
- Choose what you want to sync.
- Select “Apply.”
- If it doesn’t sync immediately, select “Sync.”
If you want to do this over Wi-fi, it’s a valid option. Just make sure your Mac and iPhone are connected to the same network. You should detect your iPhone this way.
- Connect your iPhone to your Mac.
- Open iTunes on your Mac.
- Select “Summary” on the left side of the window.
- Select “Sync With This (device) Over Wi-fi.”
- Select “Apply” to begin.
This will allow your iPhone to sync automatically. As long as iTunes is open on your computer, the process will begin. Both devices will have to be on the same network as well.
The automatic transfer over Wi-Fi allows you to transfer while you take care of your other affairs.
Sync iTunes Music From iCloud or Apple Music to iPhone
iCloud and Apple Music are two ways you can sync your music to iPhones. These are better for newer versions of iOS, such as iOS 13. Newer versions of iOS don’t have iTunes, so you’ll be using these new apps.
Let’s tackle syncing with Apple Music first:
- On your iPhone, go to “Settings.”
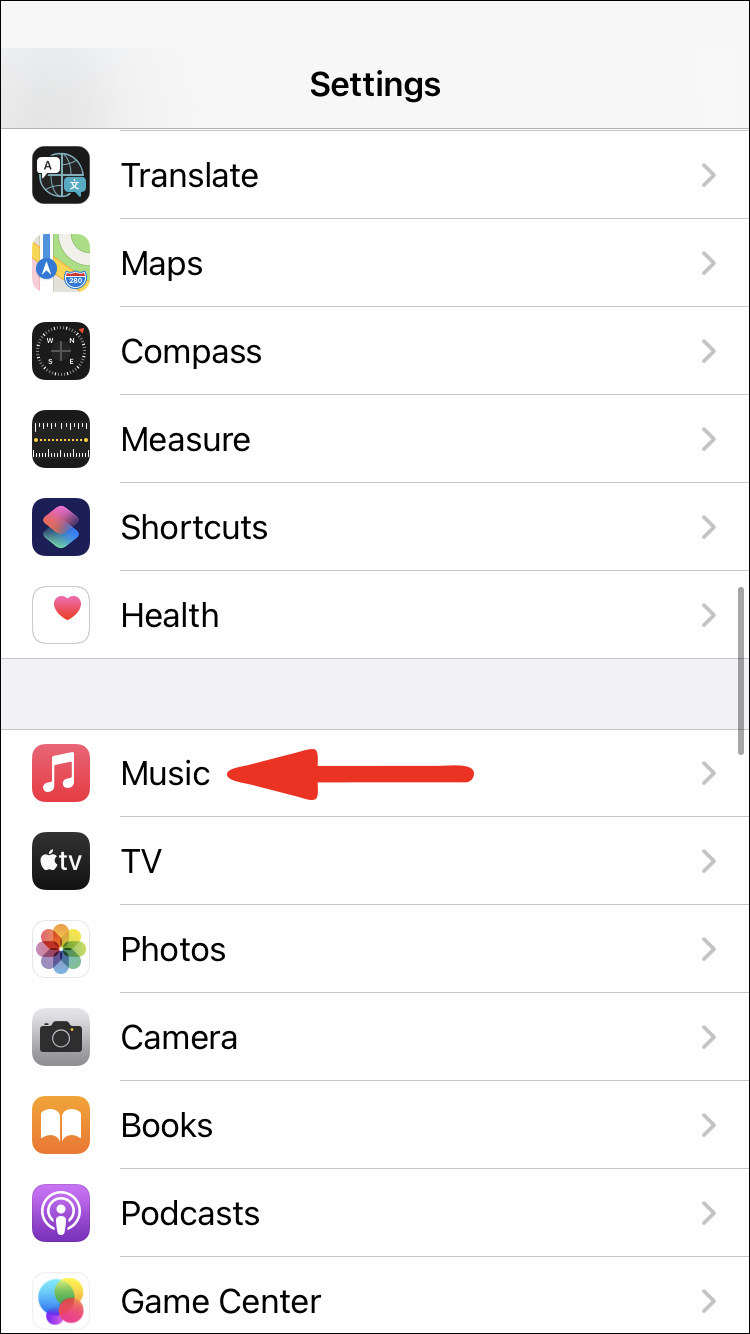
- Next, select “Music.”
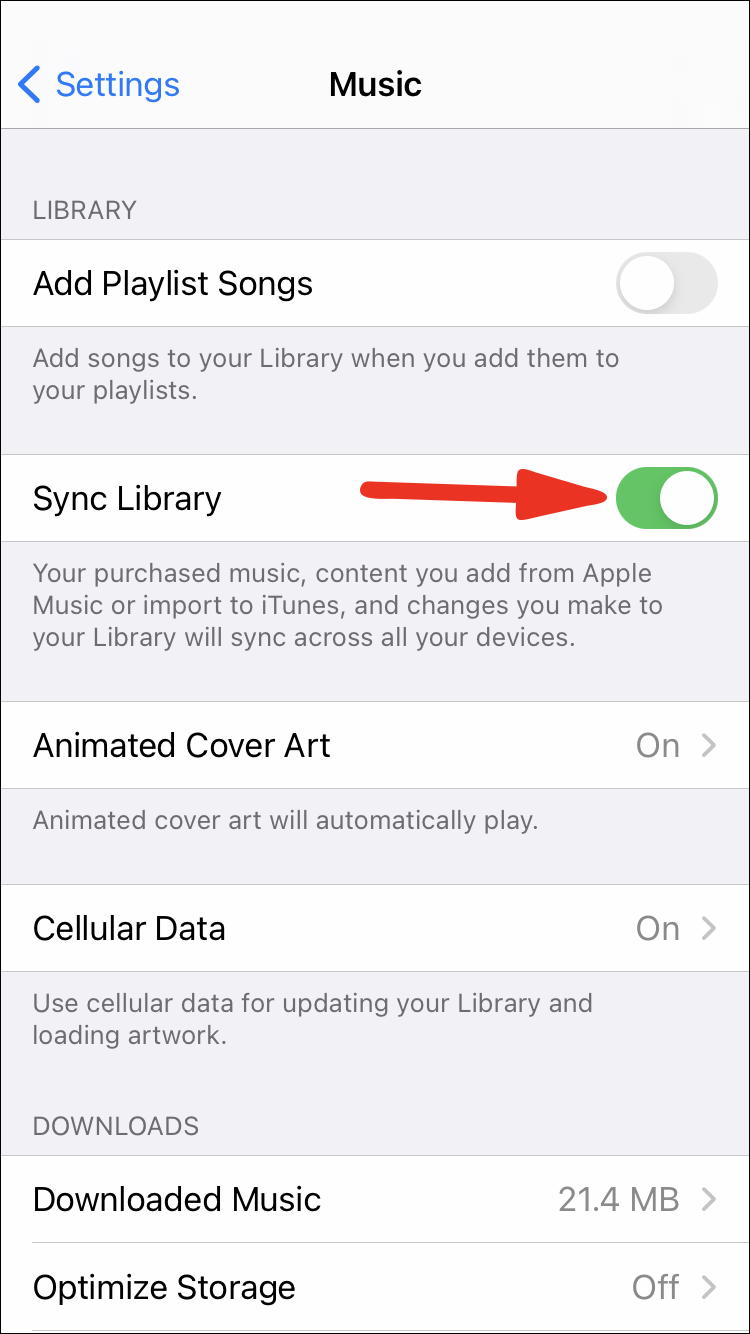
- Turn on “Sync Library.”
- Go to your Mac.
- Open Apple Music on your Mac.
- Go to Music > Preferences.
- Select the General tab.
- Select “Sync Library” to turn it on.
- Select “OK.”
By default, Sync Library is turned on for iOS, iPadOS, and macOS. You can follow these steps to check if it’s on for both of your devices. If it is, you just need to make sure your iPhone and Mac are linked.
If you use iTunes for Windows, you’ll be using iCloud Music Library. Let’s take a look at these steps:
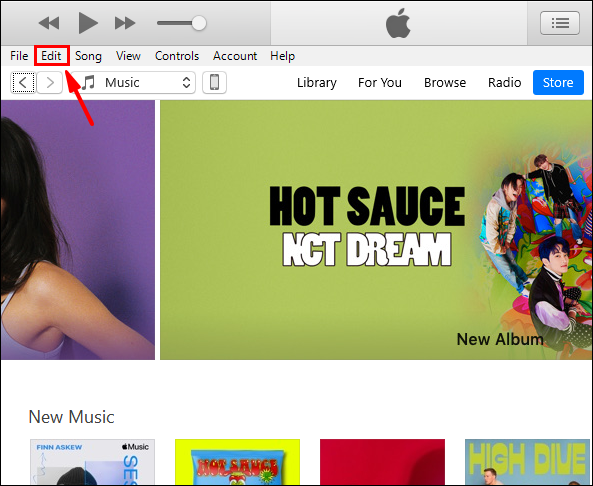
- Open iTunes for Windows on your PC.
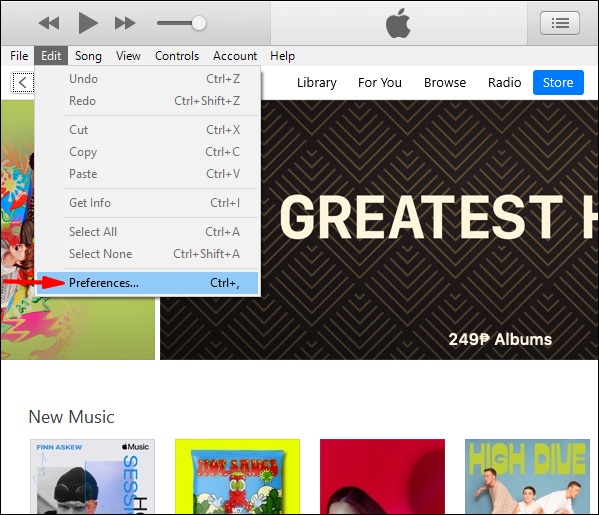
- Select “Edit.”
- Go to “Preferences.”
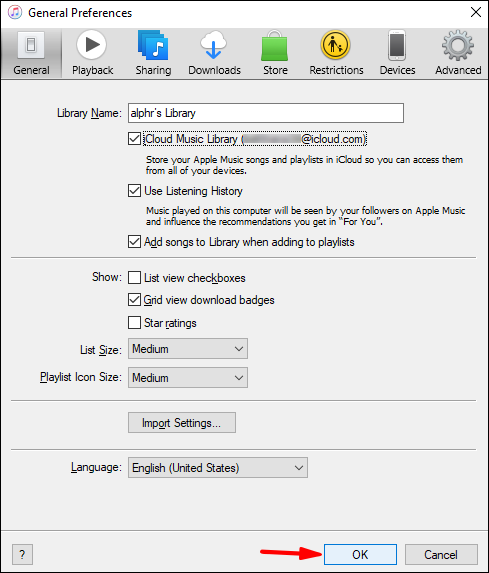
- Go to the General tab and from there, select “iCloud Music Library.”
- Select “OK” to begin the process.
- Wait until the transfer is done.

If you don’t have an Apple Music or iTunes Match subscription, you won’t see the option to turn iCloud Music Library on.
Use iTunes on Your iPhone to Download and Purchase Music
You can still buy music through the iTunes Store app if you don’t have a subscription to Apple Music. This method ensures you can listen to the album or track at all times. It is stored on your iPhone locally, there’s no need to connect to Wi-Fi and stream it.
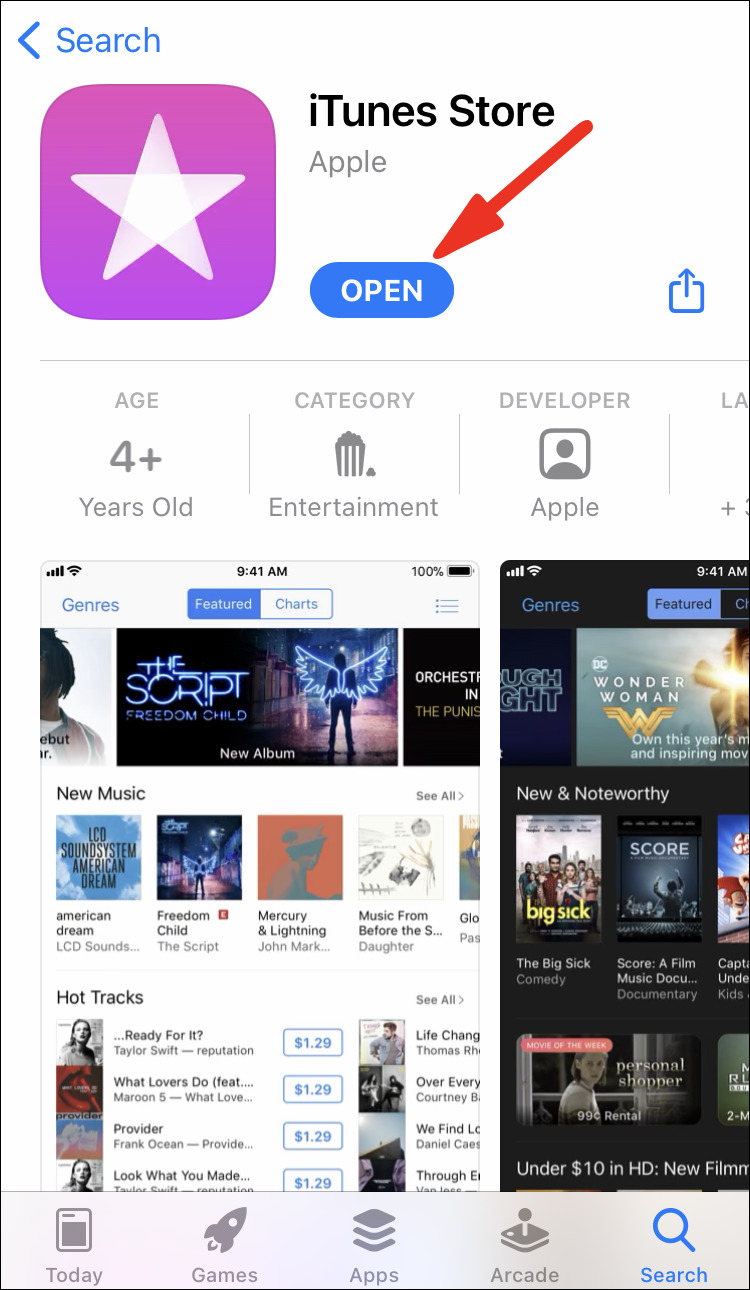
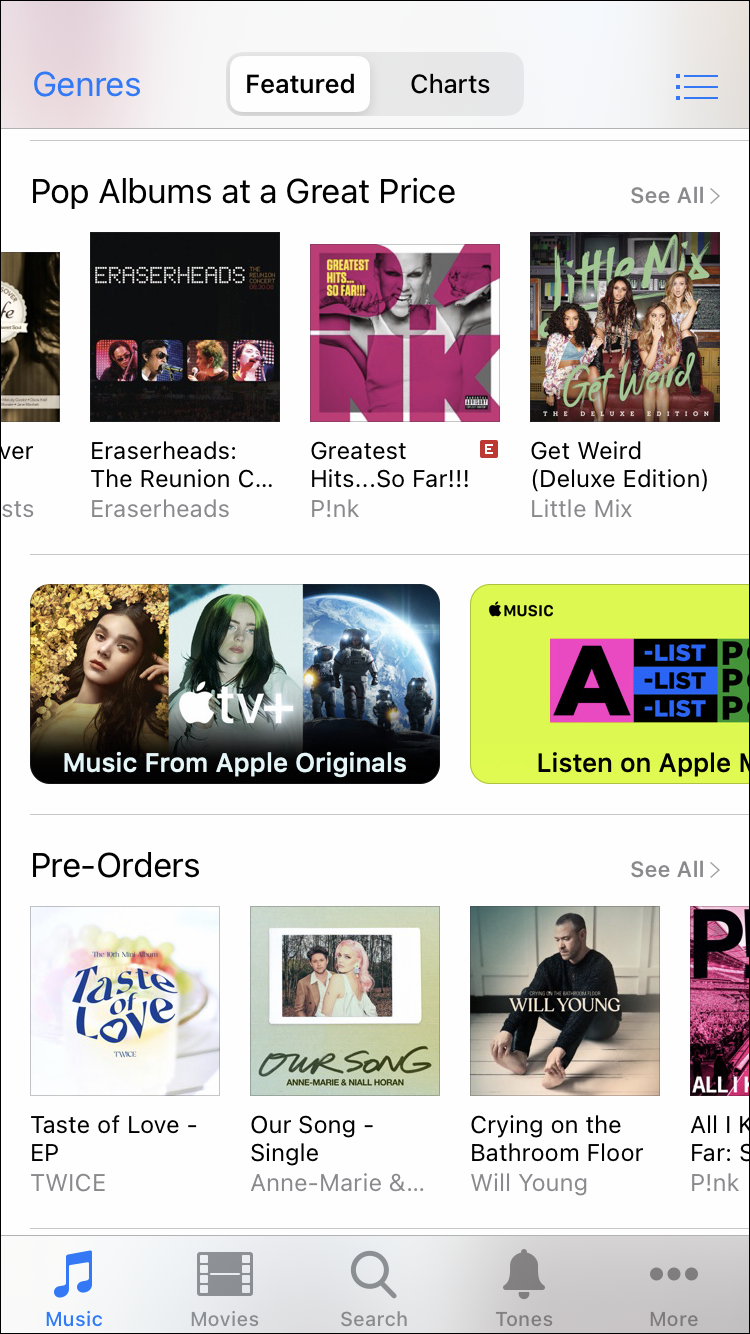
- Open iTunes Store on your iPhone.
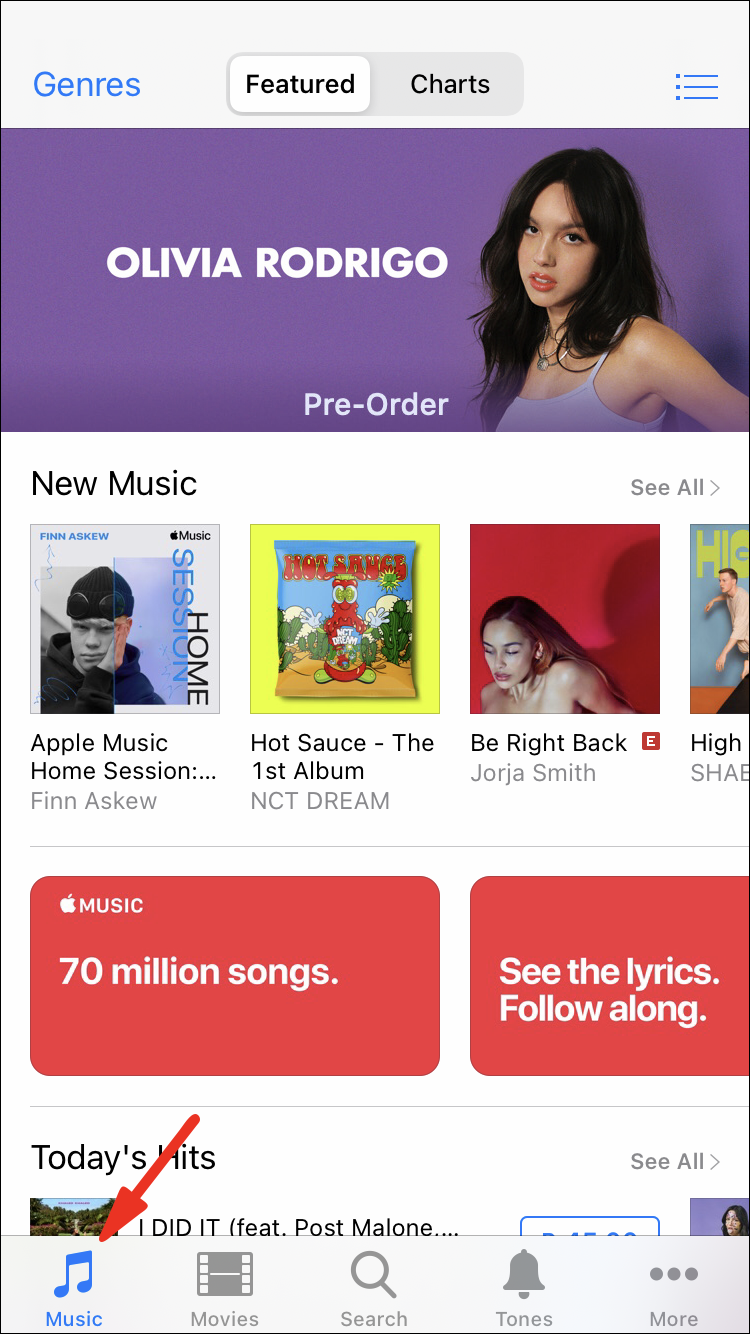
- Tap “Music” at the bottom of your screen.
- Browse for some music you enjoy.
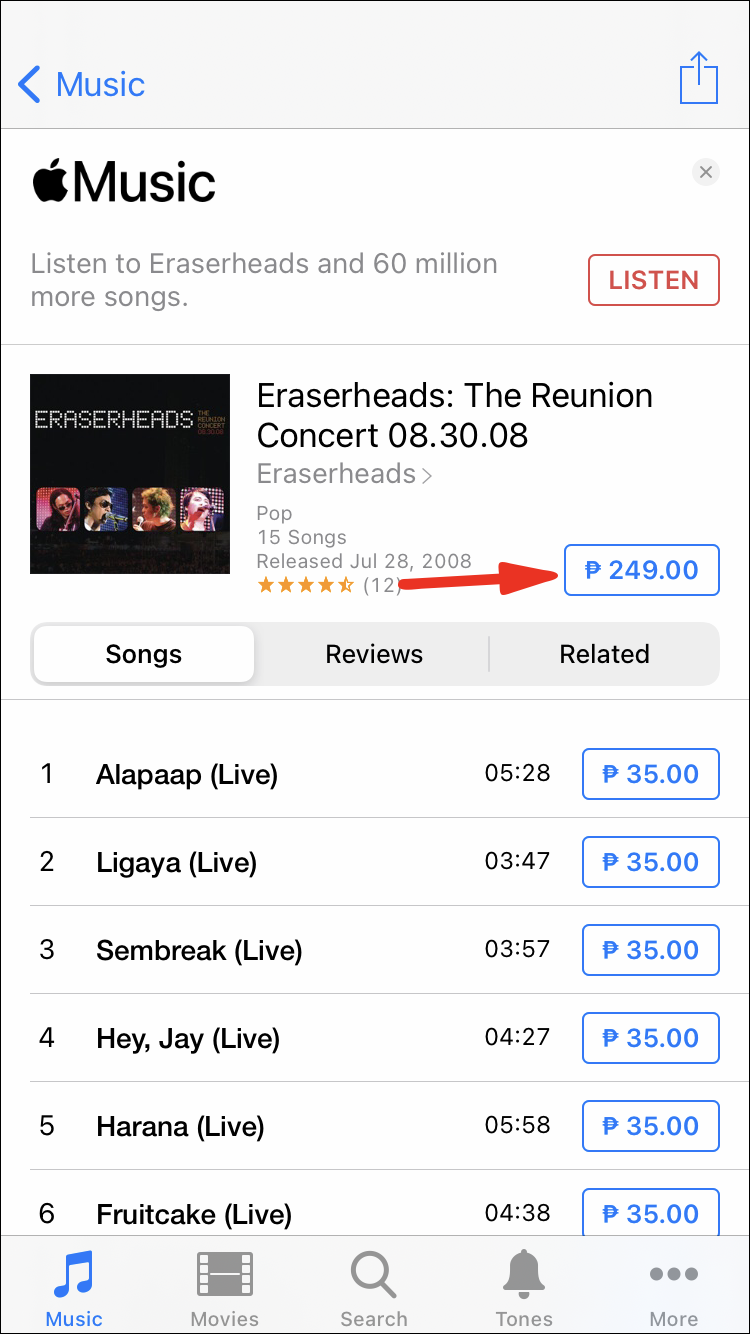
- Buy an album or individual tracks by selecting the price tags beside them.
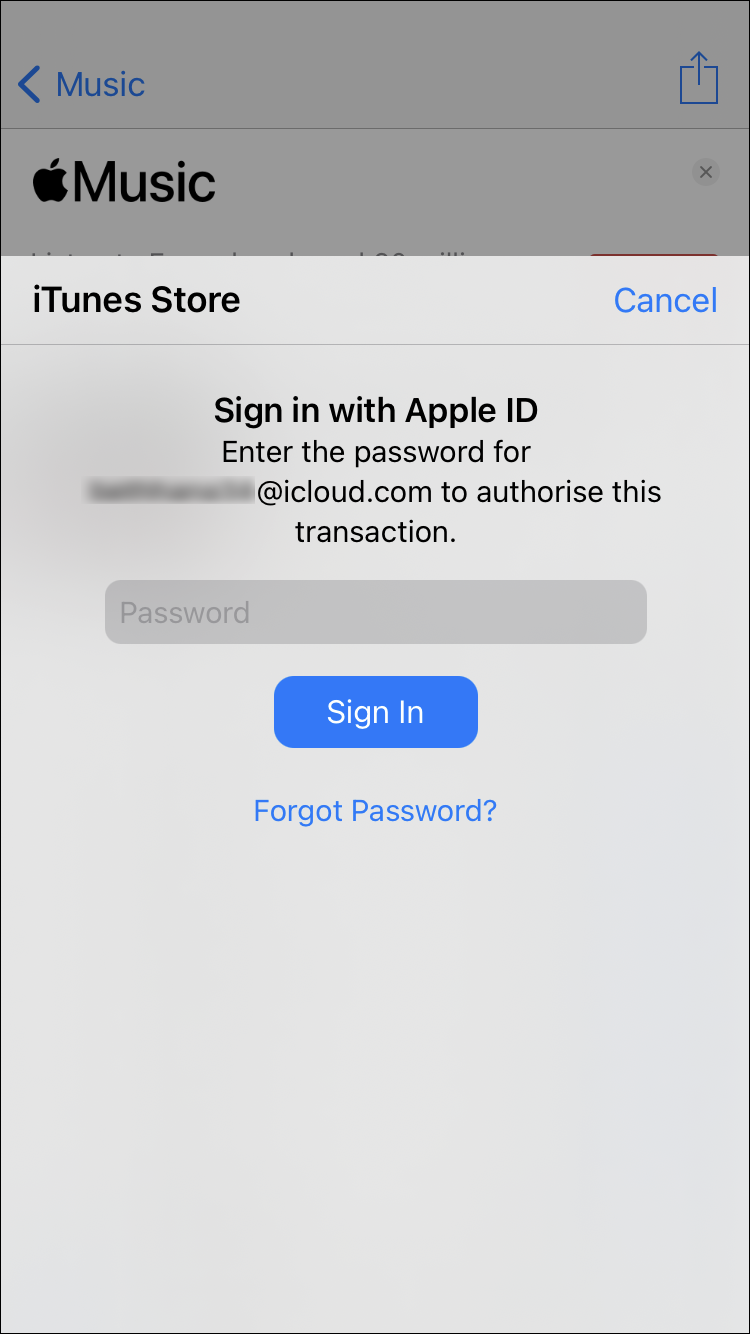
- Sign in with your Apple ID and password.
- Complete the purchase.
- If you want to download the music, go to Library.
- Tap the download button that resembles a cloud with an arrow.
Your iPhone’s storage space can’t be expanded, so you can’t download too many albums and tracks. If you want to download more, you’ll need to make space. Consider saving your photos and videos to a computer or use a cloud service.
iTunes to iPhone Transfer FAQs
Here, we’ll answer some of your burning questions about iTunes to iPhone music transferring.
Device Links
Why Can’t I Transfer My iTunes Music to My iPhone Successfully?
When you choose to sync music, you may have missed the option to check “songs” or “albums.” You can check it in the Sync Music menu. If they’re not checked, you can check them and sync your library again.
Sometimes, your iTunes version isn’t up to date. To rectify this, you need to update iTunes. After an update, you should be able to transfer your music.
Songs and albums that aren’t in your iTunes library can’t be transferred. You need to add them to your library first before you can transfer them. If the music isn’t in your library, you must add it manually.
Can You Transfer Playlists From iTunes to iPhone?
Yes, you can. Just like you can transfer your albums and tracks, playlists are fair game. Let’s see how you can do it.
1. Connect your iPhone to your computer.
2. Launch iTunes on your computer.
3. Locate the “Device” icon in the shape of an iPhone at the top-left.
4. Access your iPhone and select “Music.”
5. Select the playlists you want to transfer.
6. Select “Apply.”
7. If it doesn’t sync immediately, select “Sync.”
After the process is done, you should be able to listen to your playlist on your iPhone. If not, you can try again and see if you missed something.
Why Did My Synced Music Disappear From My iPhone During the New Sync?
After the new iOS 14 update and sync, some users reported that their music was missing. There are a few reasons for this.
• Bugs.
There were a few bugs that may have caused data to go missing. You’ll need to retrieve your old music files from backups. This way, you can restore the missing files.
• Apple Music isn’t available in certain regions.
Sometimes, Apple Music isn’t available where you are. This will make your music disappear if you used Apple Music to enjoy your tunes.
• iCloud Music Library isn’t on for all devices.
If you didn’t turn it on for your PC and iPhone, you’ll have to do so. This way, you can sync everything properly again. This should help make your music files appear.
You can also re-download music from the iTunes Store if it’s missing. Since Apple keeps a record of what you purchased, you can download those albums again without issue.
Sometimes you’ll need a music recovery tool. Thankfully, there are a few of those available for free. Just download one and follow the instructions.
Have Your Ever Listened to All Your Songs?
Now that you know how music can be added to your iPhone, you can start expanding your library. Syncing between devices is also very easy. With a few clicks, you’ll have an updated library on your iPhone.
Do you have a large library? Do you like listening to playlists or albums in one sitting? Let us know in the comments section below.
Disclaimer: Some pages on this site may include an affiliate link. This does not effect our editorial in any way.


