Did you know that you can use an Apple keyboard with a Windows PC? It might seem like putting a round peg in a square hole, but that’s right, you can. Just because Apple peripherals are built for Apple devices doesn’t mean they aren’t compatible with Windows devices.
Whether it’s a USB keyboard, a Mac keyboard, or a wireless model, you can connect it with your Windows PC and work on whatever you have in mind.
In this article, we’ll show you how to use an Apple keyboard with a Windows PC.
How to Use an Apple USB Keyboard With a Windows PC
Although Apple has produced various keyboard models over the years, USB models seem to have hit the sweet spot among users. They come with a sleek aluminum chassis and flat keys that sit much closer to the tabletop than traditional keyboards.
USB keyboards have a cult following among computer users because they don’t need to be recharged. Instead, they are powered directly by your machine, so all you need to do is connect the keyboard and start typing.
If you have an Apple USB keyboard, here’s how to use it with a Windows PC:
- Start or reboot your PC.
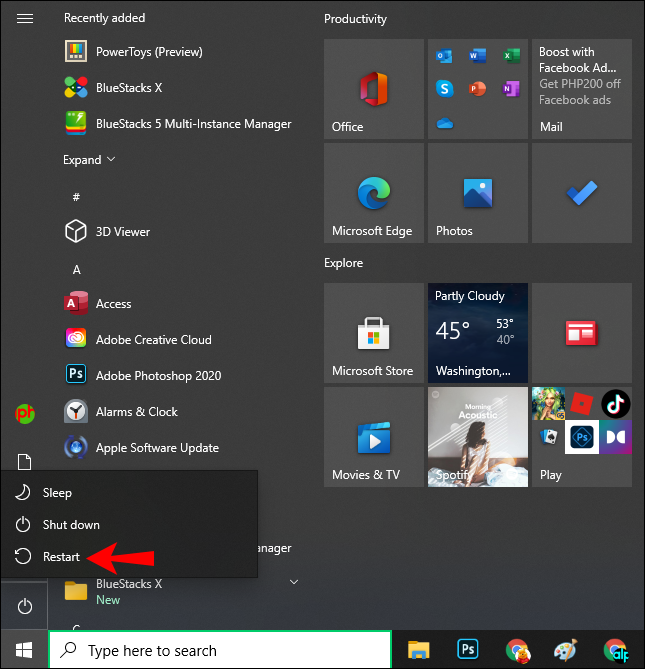
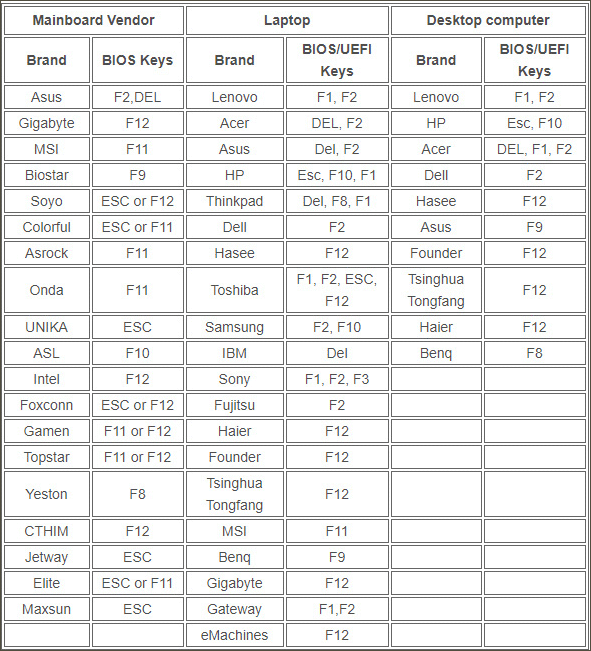
- Before your machine has completed the startup process, you need to enter the BIOS setup because you’re about to install a new hardware component. To do so, press F1, F2, or any other key as specified by your machine’s manufacturer.

- When the BIOS software window opens, look for a setting called “USB keyboard Support” and enable it.
- At this point, close the BIOS setup and follow the on-screen instructions to save the changes. Your computer will then reboot to effect the changes.
- Connect the keyboard to one of your PC’s USB ports. Your PC should recognize the keyboard right away.

How to Use an Apple Wireless (Bluetooth) Keyboard With a Windows PC?
Apple has also produced a series of wireless keyboard models that reduce clutter on your desk while still delivering quality service for hours on end.
If you want to use the Apple Magic keyboard with your Windows PC, make sure the keyboard is fully charged. If you’ve got one of the older models that use batteries, be sure to get some fresh batteries beforehand.
Here’s how to connect the keyboard to your PC:
- Turn of the keyboard.
- Power on your Windows PC and enter “Bluetooth Devices” into the search bar (located in the bottom left corner).
- Click on “Bluetooth and other devices settings.”
- When the Bluetooth settings window opens, click on “Add Bluetooth or other device.”
- At this point, turn on the Apple wireless keyboard. Windows will then run an automatic scan and detect the keyboard as one of the available Bluetooth devices.
- Click on the keyboard.
- Click on “Next.”
- Enter the code generated by your Windows PC on your keyboard and hit “Enter.” Windows will then establish a connection with the keyboard and install a driver.
- Close the Bluetooth settings window. You can now start using your Apple keyboard with your machine.
How to Remap Keys on Your Apple Keyboard for Use With a Windows PC
Although PC and Apple keyboards are identical for the most part, some keys/key combinations aren’t.
For example, Apple keyboards don’t have a Windows key. Instead, they’ve got a Command key that serves the same purpose.
It’s a similar situation for “Enter.” Windows keyboards come with two Enter keys, one on the alphabet section and the other on the number pad. On an Apple keyboard, the big key on the number pad is still labeled “Enter,” but the key on the alphabet section is labeled “Return.”
These differences can slow you down and inadvertently introduce typos into your workflow. So, how can you solve the problem?
For starters, you could use the Windows on-screen keyboard whenever you aren’t sure what keys or key combinations to press on your Apple keyboard. To do so, navigate to Settings > Ease of Access > Keyboard, and then toggle the slider button next to “Use the On-Screen Keyboard.”
However, the on-screen keyboard can be an inconvenient element on your screen. You may not like the idea of venturing into Settings to bring the keyboard up whenever you need it but there are few other alternatives.
You can also remap keys on the Apple keyboard and make it work just like a Windows keyboard. Remapping gives you the chance to tweak the keys on the Apple keyboard and produce the Windows characters you want. But to achieve this, you need a Microsoft PowerToy app called Keyboard Manager.
With Keyboard Manager, you can customize the Apple keyboard and increase your productivity. You can even create your own shortcuts.
Here’s how to go about it:
- Download Keyboard Manager from Microsoft’s official website.
- Follow the on-screen prompts to install the app on your system.
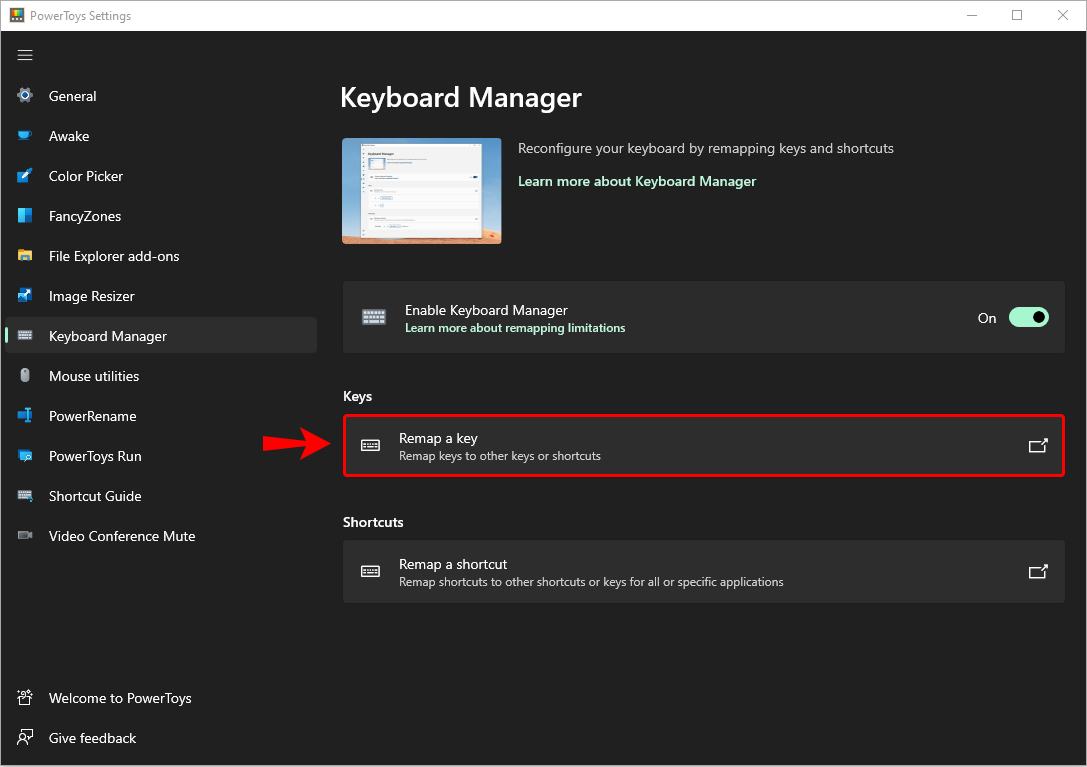
- Once the app has installed successfully, open it and click on “Remap a key.”
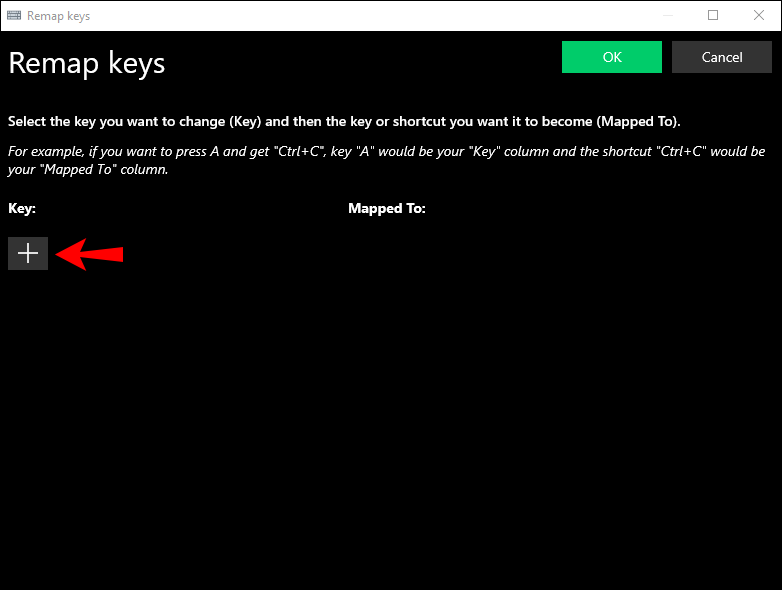
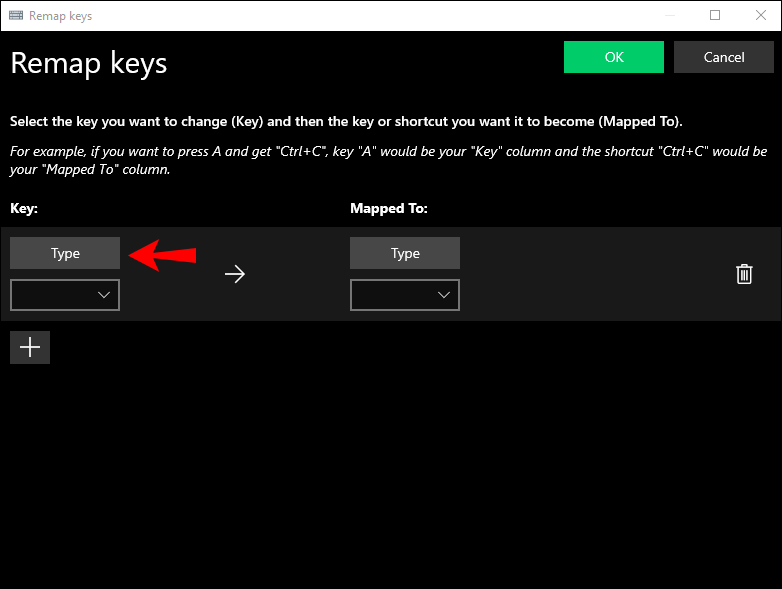
- Click on “+” to introduce a new key mapping.
- Click on “Type” and then proceed to tap the key you’d like to modify.
- Click on “Ok.”
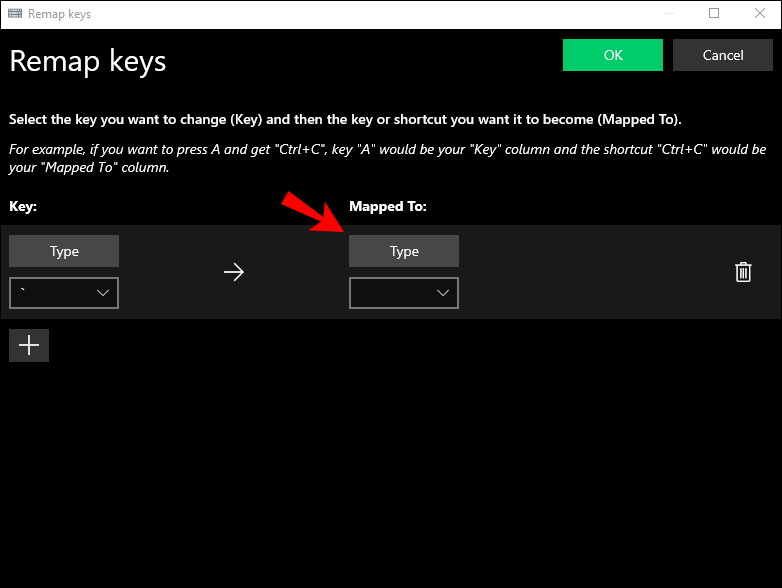
- Again, click on “Type” under “Mapped,” but this time tap the key you’d like to introduce.
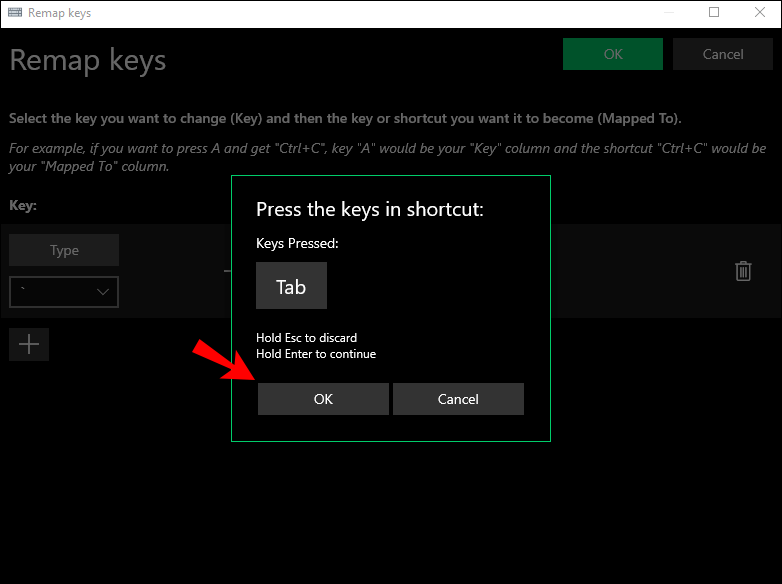
- Click on “Ok.”
- Save your new settings.


Additional FAQs
Can I Take a Screenshot on a Windows PC Using an Apple Keyboard?
Sadly, Apple keyboards don’t have the Print Screen key, so you can’t take screenshots.
But you can still take screenshots using Snipping Tool, a Windows built-in tool available in the Start menu.
Keep Working
Just because you don’t have a Windows keyboard doesn’t mean your workflow should be disrupted. You can easily connect an Apple keyboard to your PC and even modify some keys to produce the characters you want.
An Apple keyboard and Windows and Microsoft may be a marriage of convenience but one that’s necessary for certain situations.
Have you tried using an Apple keyboard with your PC? How did it go?
Let us know in the comments section below.
Disclaimer: Some pages on this site may include an affiliate link. This does not effect our editorial in any way.


