Remembering or writing down everything said in a meeting can be demanding. That’s why many apps like Microsoft Teams have the recording option. However, it’s easy to forget to press the recording button once the meeting starts, and you have to focus on other things. Fortunately, Teams allow you to record all your meetings automatically.
This article will explain how to find the option to automatically record your meetings on Teams and other useful recording features.
How to Record Teams Meetings Automatically
Microsoft Teams allows you to record each meeting’s video, audio and shared screens automatically. This option is available for both Microsoft 365 web clients and those using the Android and iPhone apps. The recordings are saved in an MP4 format to OneDrive or SharePoint connected to the channel if it was a channel meeting.
Unfortunately, there’s no option to enable automatic recording for all future meetings. You can only set the feature for separate or recurring meetings once you schedule them.
Before you’re able to switch the automatic recording on, you have to ensure you meet other requirements:
- Enable OneDrive or SharePoint storage
- Have enough storage space (an hour-long recording takes about 400 MB of storage)
- Have the “Meeting recording” setting switched on if you’re the user recording the meeting
Regardless of your device, Microsoft Teams sends a notification to each participant before the meeting recording starts, and this can’t be switched off.
On Microsoft Teams Web
If you’re a Teams web user, you can enable automatic recording for a meeting by following these steps:
- Schedule a meeting as you would normally and “SAVE” it.

- Click on the session you want to record automatically.

- Select “Edit” in the small pop-up window.
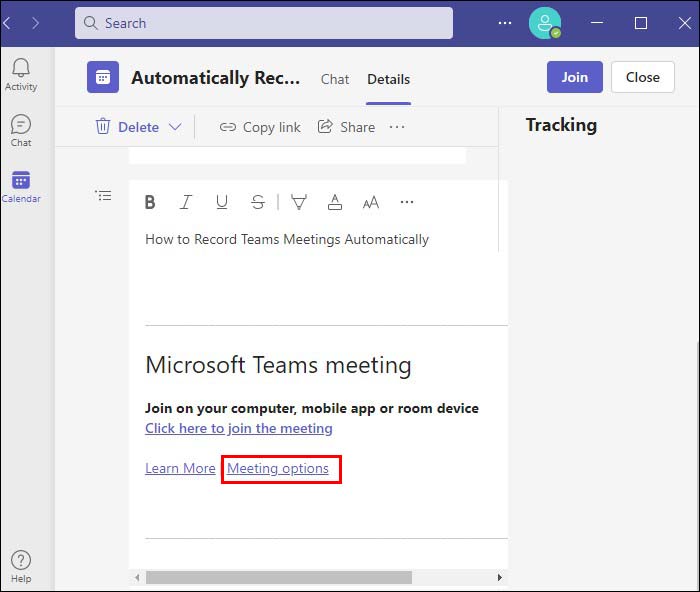
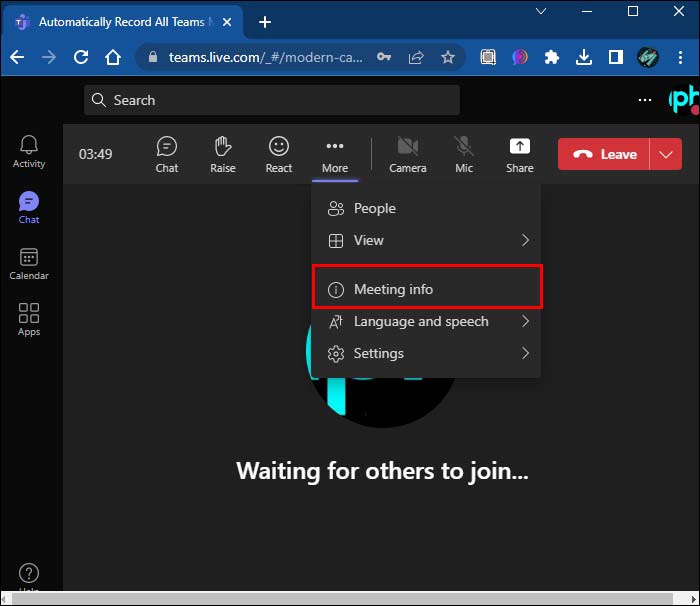
- Click the “Meeting Options” button in the top right corner.
- Select the toggle next to “Record automatically” to enable the setting and press “Save” to confirm your choices.


On Microsoft Outlook
You can also enable the record automatically option through Outlook.
- Create a meeting as you would normally.
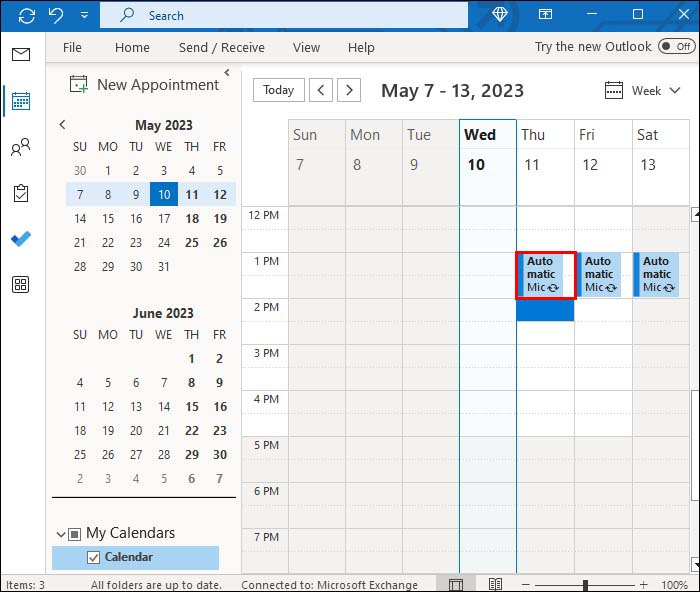
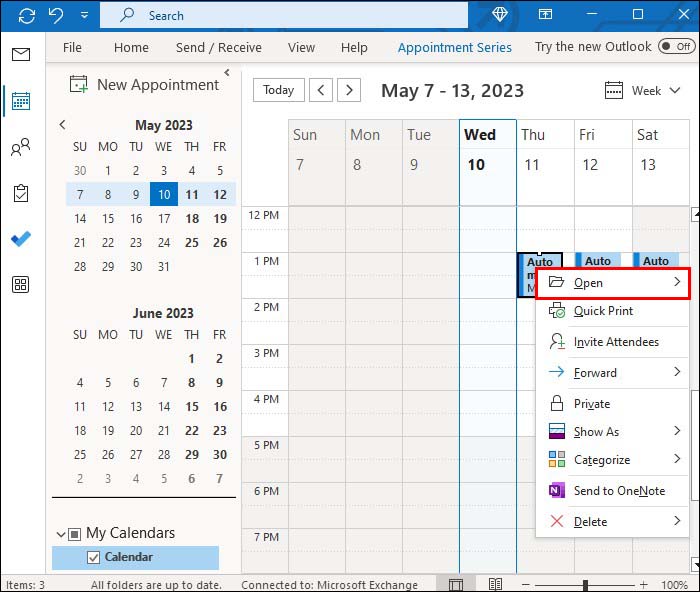
- Click on the scheduled meeting on your calendar.
- Tap “Open.”
- Go to the “Meeting options” button next to “Learn more.”
- Click the toggle next to “Record automatically” to enable the setting and select “Save” to confirm your choices.

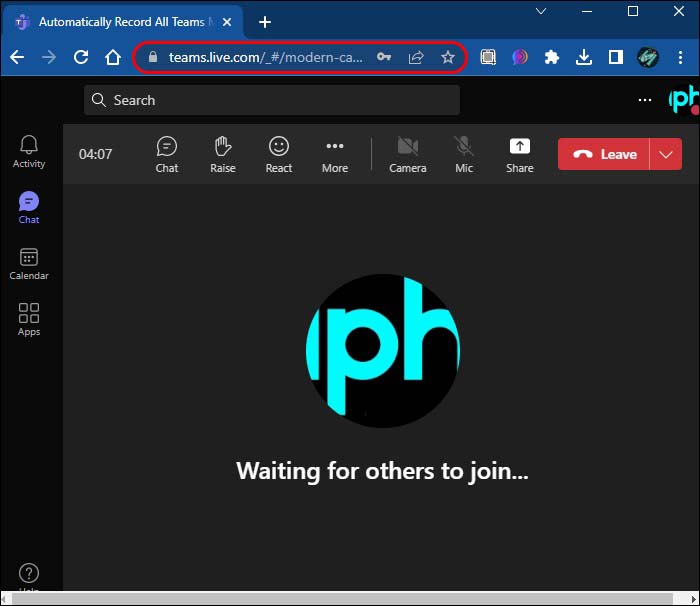
Now the recording will start automatically when the first person from the organization joins the scheduled meeting. The recording will continue even if the person who started it has left the meeting.
Who Can Record Teams Meetings
Teams meetings cannot be recorded by everyone. Only those with specific licenses and meeting certain criteria can press the recording button or enable automatic recording for a meeting. These are usually meeting organizers, co-organizers, presenters, or those to whom an IT admin allows this option.
If you’re the meeting organizer, you can enable meeting recording to “organizers and co-organizers” or “organizers and presenters” while creating the meeting. To do so, follow these steps:
- Start a meeting as you would normally.
- Invite others.
- Go to “Meeting options” in the invitation.
- Appoint the meeting participants as “presenters and co-organizers.”
- In the drop-down menu next to “Who can record,” select your choice.
- Press “Save” to confirm the changes.
Guests, anonymous users, and people from other organizations or companies cannot record the meeting or be appointed to record it by the meeting organizer.
How to Manage the Expiration of a Teams Meeting Recording
Microsoft Teams recordings expire after 120 days by default. This frees up storage space for new recordings.
The expiration date is visible in the message that pops up in the chat after the meeting finishes. You can view it by doing these steps:
- Open the recording in your browser.
- Select the “i” icon to view the details.
Or:
- Go to “My files” in OneDrive or SharePoint, depending on where the recording is saved.
- Hover your cursor over the recording whose expiration date you wish to view.
- Click on the three vertical dots next to the file name,
- Select “Details.”
As a meeting organizer, you can change the default date from here by opening the drop-down menu. You can extend the expiration date by 14, 30, or 60 days, select a date from the calendar, or set to “No expiration.”
As a Teams administrator, you can set a new default expiration date by following these steps:
- Click on the “Microsoft App Launcher.”
- Go to “Admin.”
- Select “Teams.”
- Find “Meeting policies” under “Meetings.”
- Go to “Global (Org-wide default).”
- Under “Recording & transcription,” you can disable the expiration by clicking on the toggle next to “Meetings automatically expire,” or you can change the “Default expiration date” by writing the desired number of days.
Changing the default expiration date will only affect future meeting recordings. To change the expiration date of existing recordings, you’ll have to follow the previously described steps.
The expired recording is usually deleted after a day, and the owner will receive an email notifying them. The deleted recording will stay for 90 days in the recycle bin. If you choose to recover the recording, it will no longer have an expiration date.
The recordings can also be deleted earlier unless you have to comply with certain recording deletion requirements. Additionally, you can download the recordings or move them to another platform to save them for longer if the organizer enables this option.
Additional FAQs
What happens if I forget to stop the recording at the end of a Teams meeting?
If you forget to press the “Stop” button once your meeting ends, the recording should stop automatically and will save to the meeting chat or OneDrive. If someone forgets to leave the meeting, the recording will end automatically after four hours.
Can you retrieve a meeting if you forgot to record it?
Unfortunately, Microsoft Teams doesn’t store your meetings unless you’ve pressed the recording button. You cannot access a session the participants haven’t recorded, as it’s against users’ privacy.
Who can view the Teams meeting recordings?
Meeting participants can automatically view the recording without the download or sharing options. Guests can only view the recording if the organizer allows it.
Can you transcribe Teams meeting recordings?
You can see the recording’s transcript if the organizers allow it. To enable meeting transcription:
1. Go to “Meetings.”
2. Select “Meeting policies” and ”Recording & transcription.”
3. Turn on the “Transcription” button.
Automatic Recording for Your Peace of Mind
Automatically recording meetings is a useful feature when you have many things on your plate and tend to forget these details. Following this article’s instructions, you can set automatic recording for individual meetings once you create them. Rest assured that your team’s valuable information will be stored for later revisiting and reviewing.
Have you already tried automatically recording a Teams meeting? Did you use any of the tips from this article? Tell us in the comments below.
Disclaimer: Some pages on this site may include an affiliate link. This does not effect our editorial in any way.