Without a doubt, Gmail is the most popular email service. It works great with third-party apps to sync content across different protocols. It also offers you good options to automate, manage, and sort your emails.
This is done via Smart Labels which can be used like folders and there are a few default labels that should auto-sort incoming messages. Truth be told, it might take some time to set and program everything. However, you’ll get a clean clutter-free inbox and it’ll be easier to bulk select and sort all email.
What Are Smart Labels?
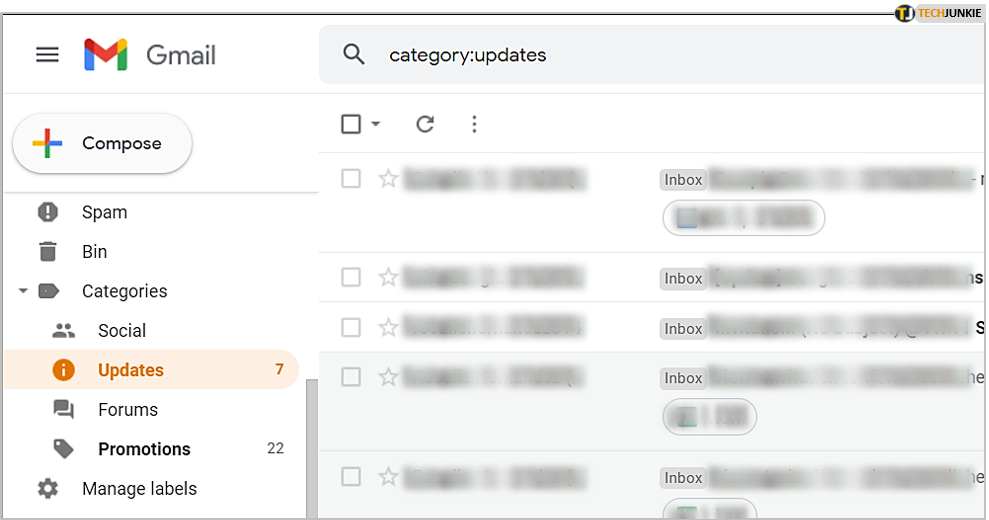
By default, Smart Labels put incoming emails into five categories. Here’s what they are:
Social – This label contains emails from dating services, social media, and other media-sharing websites.
- Updates – Your digital receipts, bills, confirmations, as well as financial statements end up in the Updates label.
- Primary – Messages that don’t belong anywhere else and personal emails go to the Primary label.
- Forums – Emails about messages from online boards, groups, and forums live in the Forums tab.
- Promotions – The annoying email blasts and marketing campaigns are sent to Promotions.
Note: Gmail is very good at filtering the emails into the labels as long as you have them enabled and properly configured. However, some of the new emails might still end up in the Primary tab.
Configuring Smart Labels
Google allows you to choose which Smart Labels appear in your inbox. For example, the configuration menu is where you can remove Promotions or Social from your inbox. This is what you need to do.
Step 1
Click on the Gear icon in the upper right corner of the screen to access the Settings menu. Then click on “See all settings.”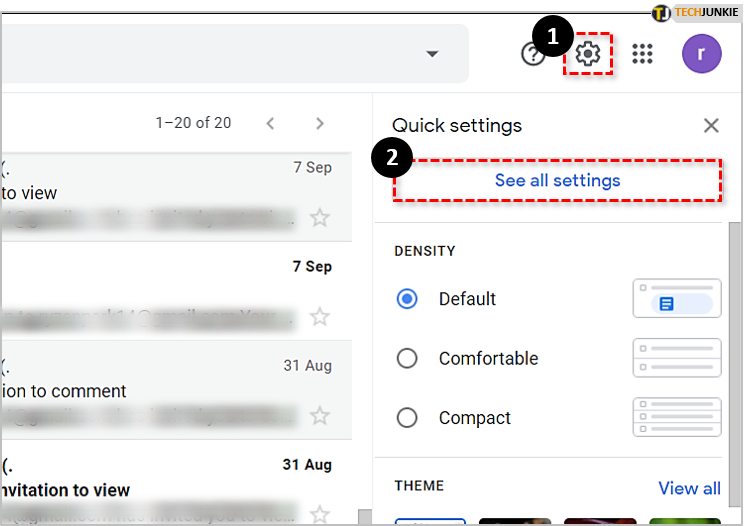
Step 2
Now, select “Inbox” and click on the box in front of the labels you’d like to get in your inbox. Unless you really need the Promotion or Social emails, feel free to keep everything unchecked. Once done, click “Save Changes” to confirm and you’re good to go.
Using Filters to Auto-sort Emails
Filters are there to auto-sort emails and put them under a correct label. As indicated, the default filters do a pretty good job on their own and you can also set custom ones.
Step 1
Launch Gmail and click on the filter icon in the search bar (the icon is on the far right of the bar). A digital form drops down and you need to fill up the relevant sections.
Step 2
The form is quite comprehensive and it includes the sender and recipient email, subject, size, date, etc. The “Includes the words” field is quite interesting because it allows you to enter the target keywords and send spam straight to digital oblivion.
Step 3
Once you fill-up the fields, click Create Filter and another pop-up window appears, then you should choose “Skip the Inbox (Archive it)”. By doing this you ensure the filter emails avoid your inbox and only show up under the designated label. You should also choose “Also apply filter to 15 matching conversations” located at the bottom part of the pop-up window.
Step 4
There is a drop-down arrow next to “Apply the label”, click that arrow and select the label that matched the filtered emails.
Expert Tip: Google doesn’t limit your options to the default labels. Click on “New label” and create a custom one that matches your needs.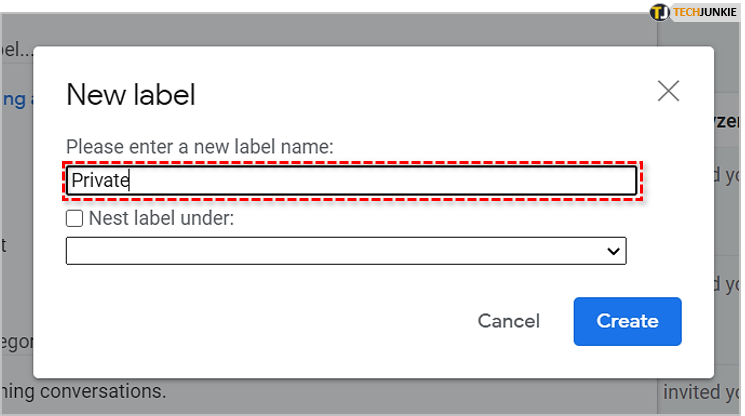
Step 5
Finally, you click on “Create filter” again and all the filtered emails jump from your inbox and into the label. This also applies to old emails you’ve gotten from a given sender. You can preview the filtered emails if you select All Mail or go to that filter.
Important Consideration
Filtered messages appear in respective folders when you use an email client to access Gmail through IMAP. On the other hand, this doesn’t apply when you use POP Gmail. This time, the filtered messages show up with all new messages.
Exporting and Importing Filters
You might not know it, but Google allows you to export and import filters. This can be a real lifesaver if you need to move to a new email client.
To export the filters, open Gmail Settings, click on “See all settings” and select “Filters and blocked addresses” tab. Choose the filter you want to export and click on “Export”. You’ll get a .xml file that can be edited via a text editor. But there’s no reason to make any edits there since it’s easier to delete/change filters after you upload them.

Importing filters is also quite easy. Go to the bottom of the page and select “Import filters” then “Choose File”. Locate the filters’ .xml file, click on it, and choose “Open file”. Gmail doesn’t automatically finish up the action, you need to click on “Create filters” to confirm.

Neat Trick: The quickest way to auto-sort important emails is to star them. Just click on the small star next to the date and time and the emails appear in the Starred section.
The Postman Cometh
When all is said and done, setting up the auto-sort on Gmail takes some time and effort. But the UI is intuitive, simple-to-use, and you only need to do it once.
Do you use an email client to access your Gmail account? What custom labels would you like to create? Feel free to tell us more about your preferences in the comments section below.
Disclaimer: Some pages on this site may include an affiliate link. This does not effect our editorial in any way.