Frames are in-built tools on Canva that help enhance the image’s visual appeal. They allow you to incorporate color, effects, and styles into your photos. All of which will help ratchet up your creativity.
This guide explains how to add photos to frames on Canva.
Adding Photos to Frames on PC
You may need to insert images into a frame to perfect your designs on Canva. Thankfully, process is relatively straightforward. Here’s how it’s done on PC:
- Select the frame to which you want to add the photo.

- Navigate to the editor side panel and choose “Photos.” If you can’t see this option, find “Apps.”

- Use the magnifying glass icon to locate the images you want to insert on the frame. The “Category buttons” under the search field can also help you browse the library for pictures.
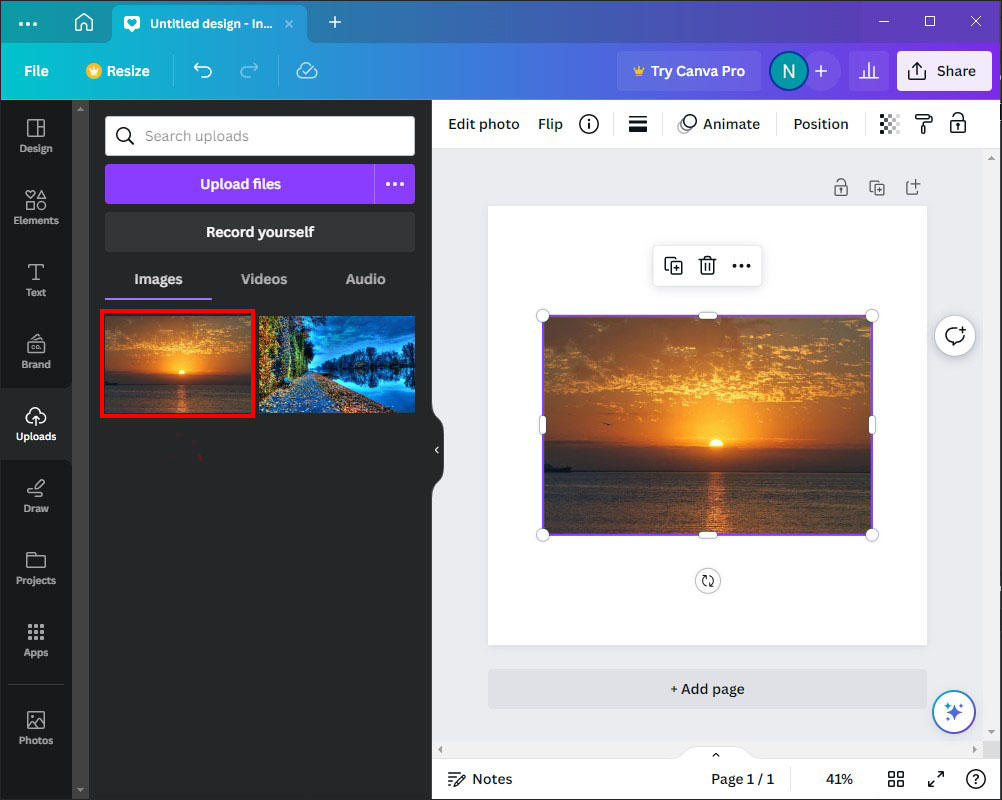
- Select “Upload” if you want to use custom images.
- Drag and drop the photo onto the selected frame.


Adding Photos to Frames on Mobile
Mobile users can also add images to their Canva frames, making the option widely accessible for most designers. Here’s what you need to do:
- Select the frame you want to add a photo to by tapping on it.
- Go to the editor toolbar and choose “Replace.”
- Select “Photos.”
- Click on the “Search” icon and use it to locate the image you’d like to use. Go to the “Category buttons” to browse the library.
- Choose “Camera Roll” or “Uploads” to transfer images to the app. If an authorization prompt pops up from Canva, ensure you grant the app permission.
- Tap on the photo you want to insert on the frame to add it.


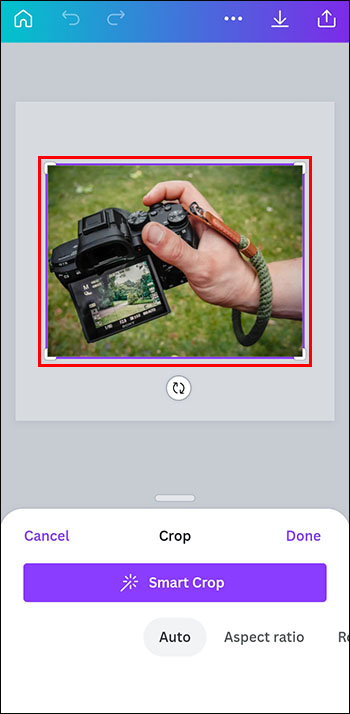
Rescaling and Repositioning Added Photo on PC
Once you’ve added a picture into a Canva frame, you may need to adjust its position or size to enhance the design.
- Double-click on the image you want to alter.
- Click and drag the white circle handles appearing on the corners of the picture to adjust its size.
- Reposition the photo by dragging it inside the frame space.
- Select “Done” to complete the process.


Adjusting Size and Position of Added Photo on Mobile
To rescale and change the position of the image on Canva is also relatively straightforward when using a mobile:
- Double-tap the image you want to modify.
- Drag the white circle handles on the photo’s vertices.
- Drag the picture inside the frame until you achieve your desired placement.
- Choose “Done” to complete the process.


Decoding Canva Frame Usage
It’s common to find your library overflowing with photos you can’t use. Since most images are one-dimensional, removing a specific element from the picture can be difficult. Luckily, Canva frames allow you to eliminate aspects you don’t like.
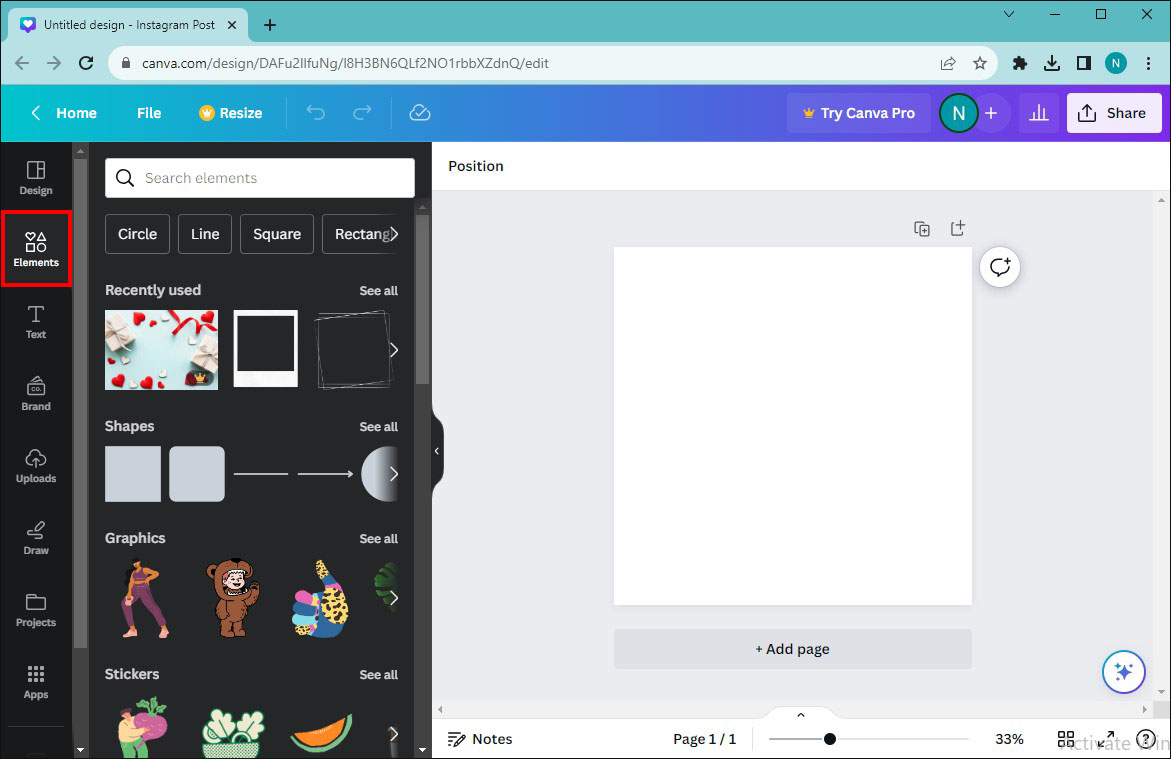
- Locate “Elements.” If you can’t see it, go to “More” and check the top of the section.
- Browse the options and find “Frames,” then select “See all.” You can also type “Frame” on the search bar to access the property.
- Select the you want to insert in the frames.


Don’t worry about the distracting elements in the photo. You’ll be able to modify them. Be aware that you can also edit your image background to your desired perfection using frames.
Changing Images in a Frame
Canva frames lets you switch images placed inside the structure. You can do this in two ways:
- Select a new photo and drag it over the old one. The added picture will instantly adopt any effects or filters used in the initial images.
Here’s an alternative method for switching pictures in a frame:
- Click the image you want to replace.
- Select “Delete” using your keyboard to make the structure visible.
- Drag or click the image into the new frame.


Note that, unlike the first method, the replacement photo won’t feature any filters or effects from the existing image.
Adding Frames to Canva Designs
Here’s how to insert a frame on your Canva designs:
- Browse through the frame collection on Canva and select one. You can also upload one to the app.
- Drag the frame from the left side panel onto Canva. Clicking on it can also add it to your design. This second option will place the border at the center of the image.

Adding Multiple Frames to One Canva Designs
One of the fun aspects of using Canva frames is flexibility. You can use any number of frames you want in your designs, which helps save time. Here’s how you can add them to your artwork:
- Open Canva and click the “Elements” tab to access the frames.
- Select the first frame you want to add to your design.
- Adjust the frame to your desired preference and style. If you plan to use it on multiple designs, go to the “Mini options bar” and choose “Duplicate.”


Once you’ve set up all your frames, you can add photos:
- Select the pictures you want to use.
- Drag and drop them into each frame. If you’re working with a complex design, you’ll have to move each image separately.


Saving Canva Frames for Future Designs
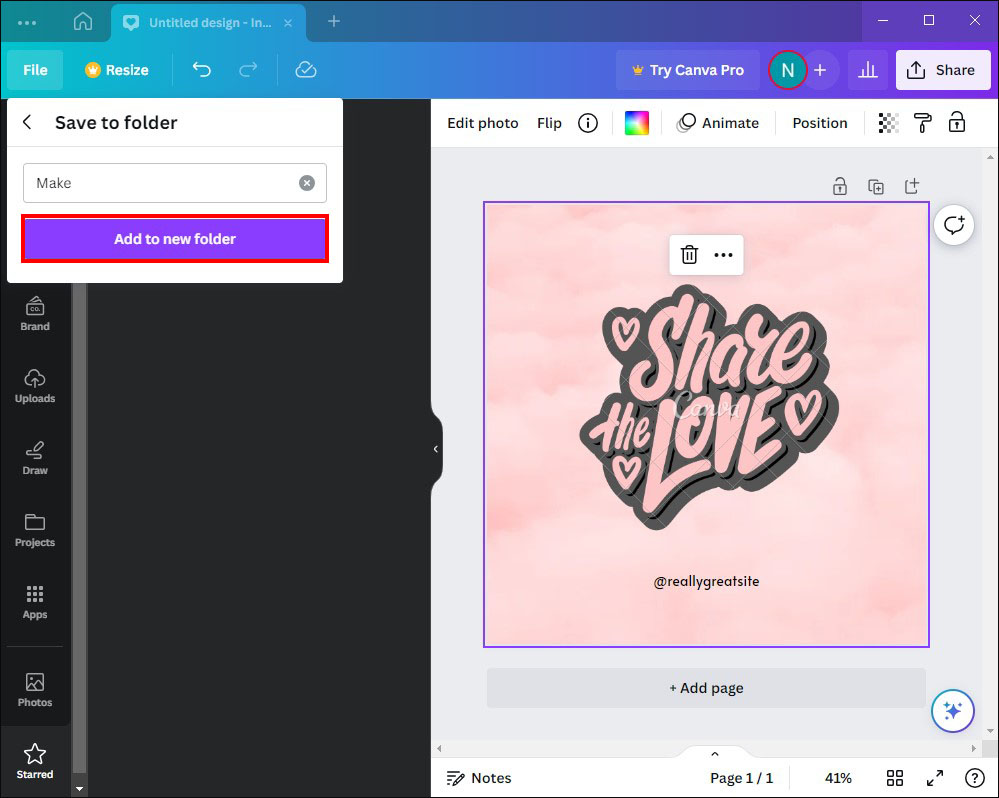
You may come across a stunning frame layout that you’d love to use in the future. There are ways you can access it quickly later on. Here’s how you can save it for future designs:
- Drag your mouse over the frames on the side panel.
- Click on the three dots that will appear in the top right corner.
- Select “Star” from the options that will appear. This will add the frame to your “Starred Folder.”
- Click the “Add to Folder” option to save the frame in a separate folder.


This is how to locate the Starred Folder in the future:
- Go to “Projects.”
- Navigate to the “Folders” section.
- Browse through the options to find the “Starred Folder.”


Deleting Images and Frames
You may no longer like the frames or photos you selected for your design. Fortunately, Canva lets you remove these aspects with ease:
- Click on the photo you want to erase.
- Choose “Delete” on your keyboard. This will make the frame visible so you can add new images.


Alternatively, you can do the following:
- Select the picture you want to remove.
- Locate the “Bin” icon on the top-right corner of the screen and click on it.


If you want to delete the Canva frames, here’s what you need to do:
- Click on any part of the frame.
- Hit “Delete” on your keyboard. You can also click on the trash icon to remove it.


Troubleshooting Frames Not Working in Canva
Canva frames may fail to add the photo you want included in the design. There are two primary reasons:
Image not selected: You can’t add a photo to your frame if it isn’t selected. Ensure you click on the image. A purple bounding box will appear if you do so correctly. This will allow you to add a frame to your design.
Lock icon is active: You can’t apply any changes to a locked image. Check whether you accidentally locked your photo and double-click the lock icon to add frames to the picture freely.
Create Stunning Designs With Canva Frames
Learning how to use Canva frames can give your images a more professional touch. They’re a fun way to spice up your photos and introduce a dimensional aspect to your designs. Better still, you can crop or reshape your images to make them as eye-catching as possible.
Have you used any filters or effects on your Canva frame designs? Do you create your frames or prefer using the app’s default options? Let us know in the comments section below.
Disclaimer: Some pages on this site may include an affiliate link. This does not effect our editorial in any way.