Color is an important part of web design that brings your page and mobile apps to life. Figma is a great creative tool but the default color scheme leaves a lot to be desired. Luckily, there are many ways to get the most out of colors in Figma. You can customize almost everything, even the background colors.
In this article, we’ll show you how to change the background color for your canvas, buttons, and other components in Figma. We’ll also show you how to create your own colors. Let’s get into it.
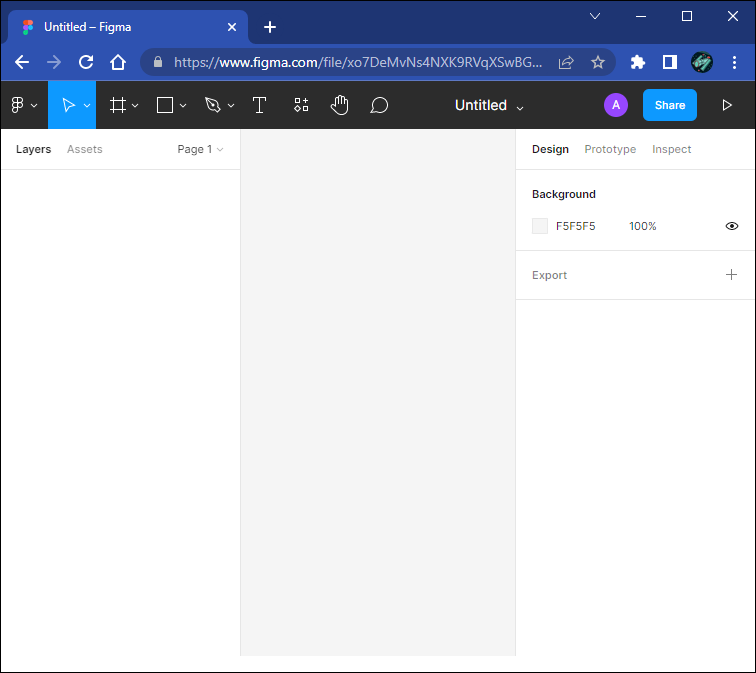
How to Change the Background Color
Depending on whether you chose the “light” or “dark” theme, your workspace background color will be either light grey or off black. Changing the background color for your workspace won’t change the theme, but it will change the current page’s color scheme. Any new pages will be the color of the current page, not the theme.
With that in mind, let’s look at how to change the background color of your workspace.
- Open a new workspace.
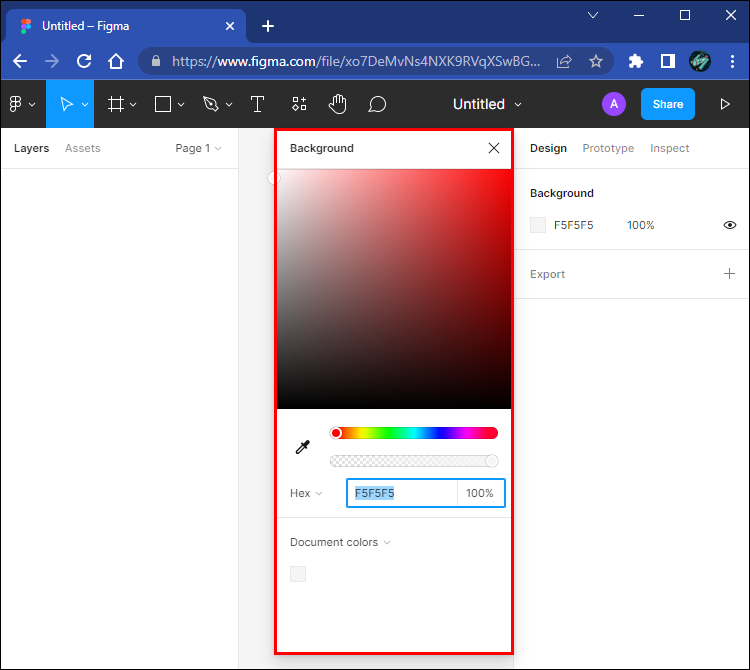
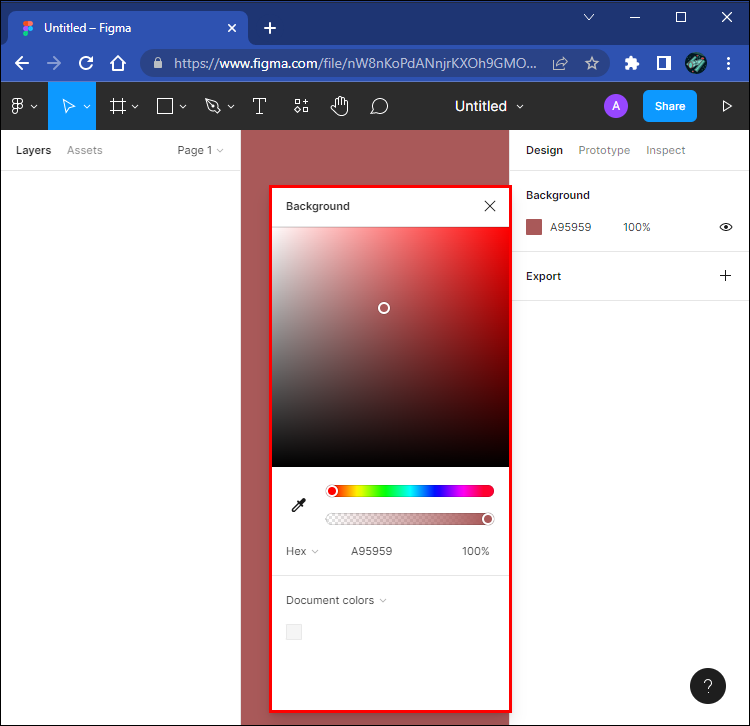
- On the toolbar to the right, select the “Background” section.

- Use the color picker to change your background color.
- If you want to add rulers to your background, press “Shift+R” to enable them.


How to Change the Background Color Using Prototype
Prototypes allow you to preview how your current project will look on a device in the Presentation viewer. Some devices model settings come with different color scales. Therefore, it’s important to choose the right model for your needs.
To select the device and change the background color on Prototype, do the following:
- Clear your selections on your canvas.
- Go to the “Prototype” menu on the right sidebar.
- Select your preferred device and model. The preview box will show you how it will look on the canvas.
- In the “Background” section, choose the background color you want. The background color will appear behind the device in the preview box.


How to Create Custom Color Sets in Figma
When you’re working on a project, the last thing you want to do is waste time. Figma has a handy feature that allows you to create custom color sets. These colors can also be applied to background colors, so you can quickly change colors without having to go through the color wheel. This saves you the time of resetting the color every time.
Here’s how to create custom color sets on Figma:
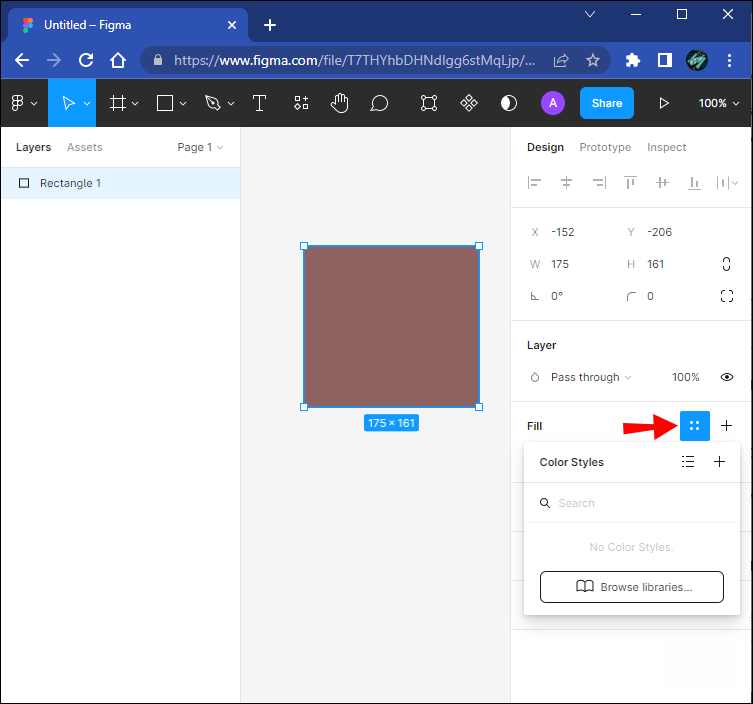
- Create a new shape in your canvas.
- Highlight the shape, then on the sidebar go to the “Fill” section.
- Click on the color box, then create the color you want to use in the pop up window.
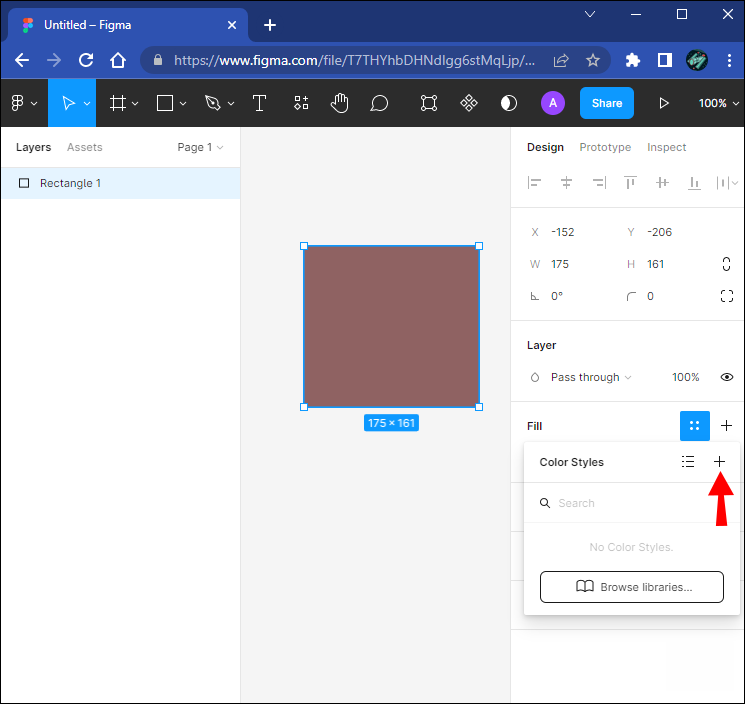
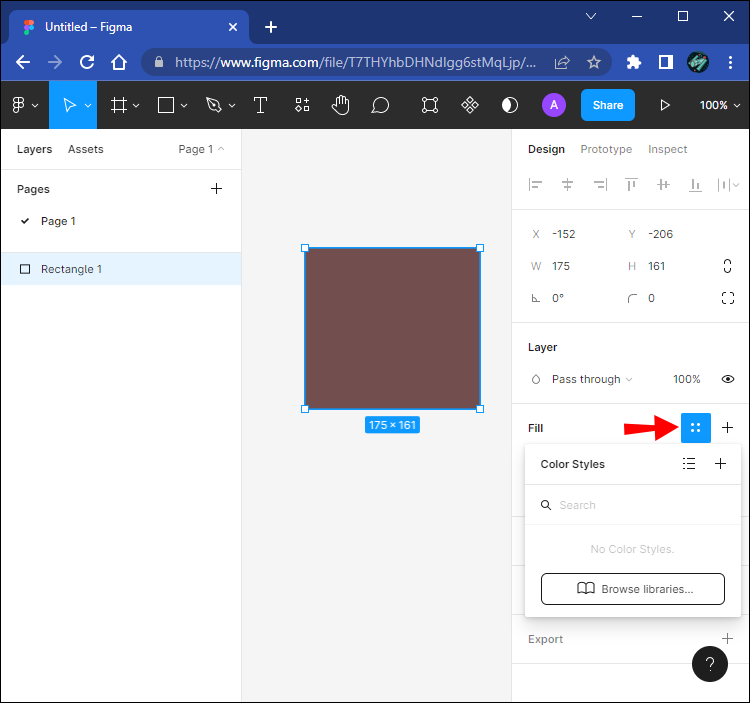
- To the right of the “Fill” section, there’s a symbol with four dots. Click on it to enable the “Color Styles” modal.
- In the right corner of the modal, click on the “+” symbol. Repeat these steps for any other colors you want to make.
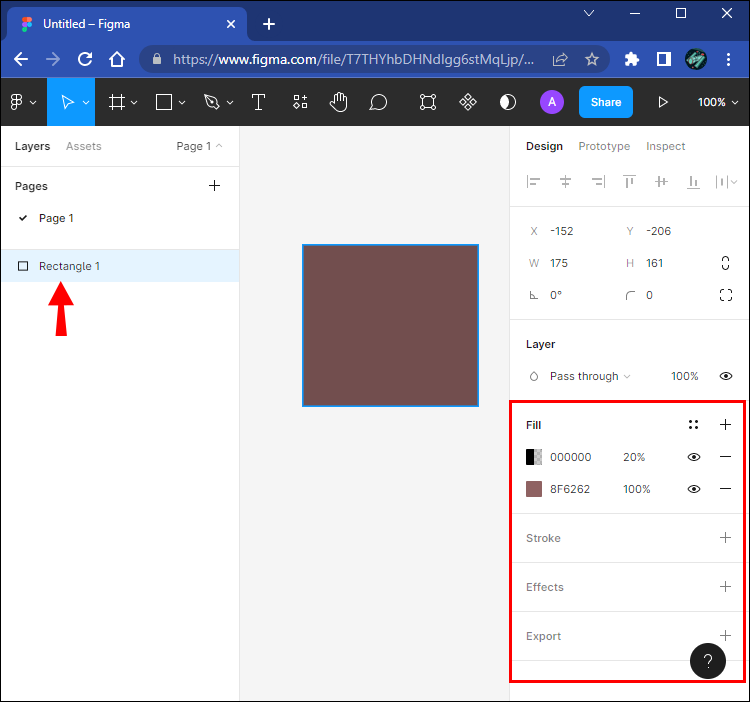
- To add your custom color, select the layer you want colored and go to the “Fill” section.
- Click on the four dots on the right.


A Colorful Canvas
With so many customization options available, Figma has all the color combinations you need to make eye-catching web designs. You can even create your own colors, giving you endless options at your disposal. These methods show you how to get the most out of Figma’s expansive color palette and applications. You’ll be making art show worthy projects on Figma in no time.
Have you ever tried to change the background color in Figma? Did you use any of the methods featured in this article? Let us know in the comments section below.
Disclaimer: Some pages on this site may include an affiliate link. This does not effect our editorial in any way.