By default, unvisited links on websites created in Webflow are blue. Granted, this is the case for most internet platforms. If you’re tired of seeing the same old blue color everywhere, we’ve got good news. Webflow made it easy to change the color of your website’s links, thus making them stand out.
Keep reading to learn more about linking in Webflow and how to change the link color.
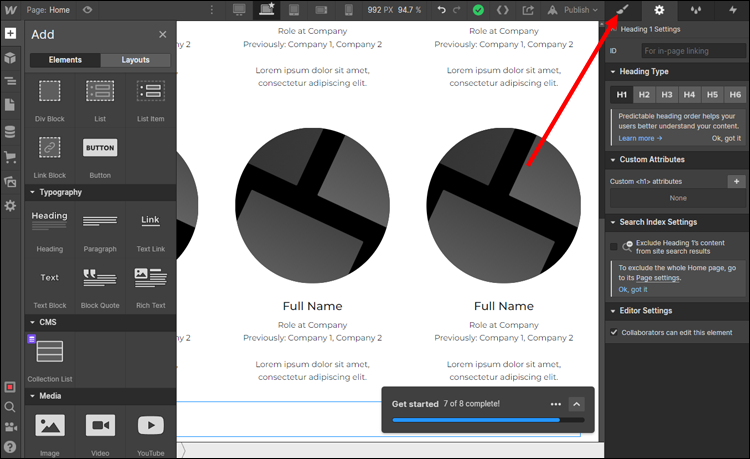
Types of Links in Webflow
Before styling your links, let’s go over your linking options when creating a website in Webflow.
Text Links
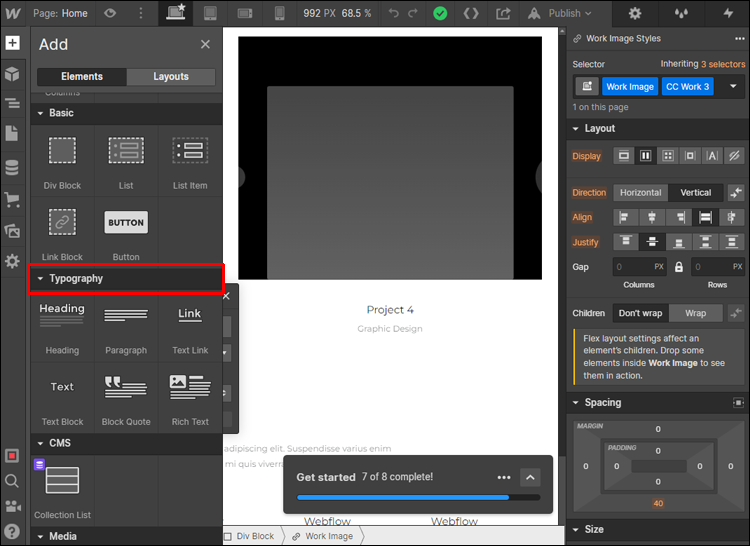
Text links are the most basic form of links in Webflow. You can use them when a text element doesn’t have other purposes except linking. One of the most common uses for text links is anchor texts.
To add a text link to your website design, do the following:
- Open the “Add Elements Panel” from the left sidebar.
- Navigate to the “Typography” section.

- Tap the “Text Link” field.

Once you’ve entered your link, you can edit it by double-clicking on the text. Alternatively, you can select the element and hit “Enter.”
Link Fields
If you think text links are too plain, consider adding link fields to your design. They are perfect for adding links dynamically. Once you add a link field, you can activate it by connecting it to a text link or a button.
Link fields are typically used for:
- Linking to locations outside your website.
- Registration links for third-party event services.
- Linking to social media accounts.
You can add a link field to a newly created or existing Collection by visiting the Collection settings. From there, do the following:
- Select “New Field.”
- Tap the “Link” icon under the “Select Field Type” menu.
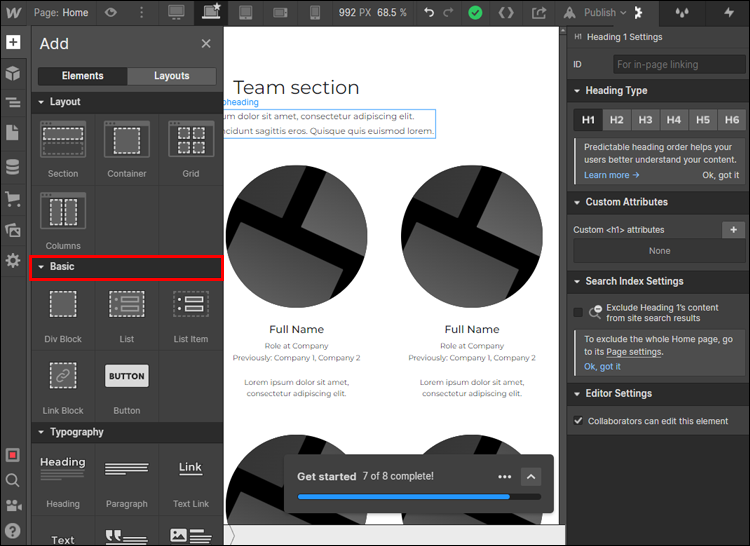
Link Blocks
Link blocks allow you to turn any design element into a link. Although primarily used for linking, these handy blocks can also be used for layout and structure.
The most common design elements used for a link block are:
- Images
- Layouts
- Banners
Follow these steps to add a link block to your website:
- Go to the “Add Elements Panel.”
- Navigate to the “Basic” section.
- Select the “Link Block” field and drag it onto your page.
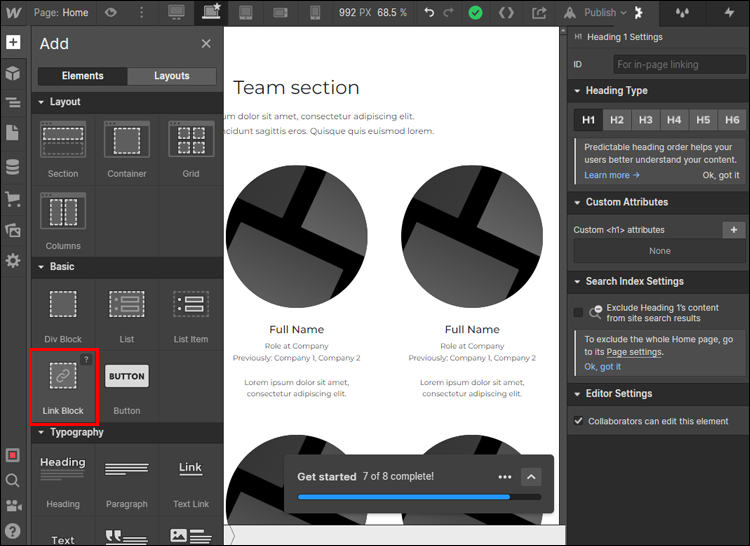
Once the link block is on the page, you can drag any element into it, except other links.
Changing a Link’s Color
Once you’re satisfied with how your links are displayed on your website, it’s time to give them a little makeover. Whether you’re going for bold, eye-catching color or more of a subtle change, your ideal link color is just a few clicks away.
How to Change Color for Single Link
The default text styling for the “All links” tag displays blue and underlined links. If you’d like a particular section of your website to stand out, you can change the link color for only one or a few elements.
The Style panel has everything you’ll need for this action, regardless of the link type. To override the default color for a specific link, do the following:
- Click on the link element.
- Go to the “Style” panel on the right (the brush icon).
- Scroll down until you spot the “Typography” section.
- Under “Color,” set your preferred link color.
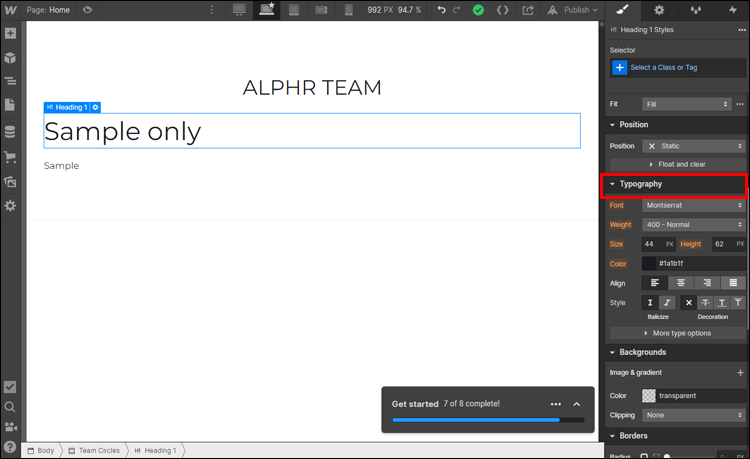

You can type the code in the HEX color field if you already have a color in mind. Alternatively, you can use the color picker tool to find your perfect link color.
How to Change Color for All Links
If you want to build a recognizable brand, it is crucial to establish a uniform and compelling visual identity. Of course, your website design should also visually match your brand. Having all links be the same color, particularly the brand color, can help.
Here’s how you can style all the links on your website:
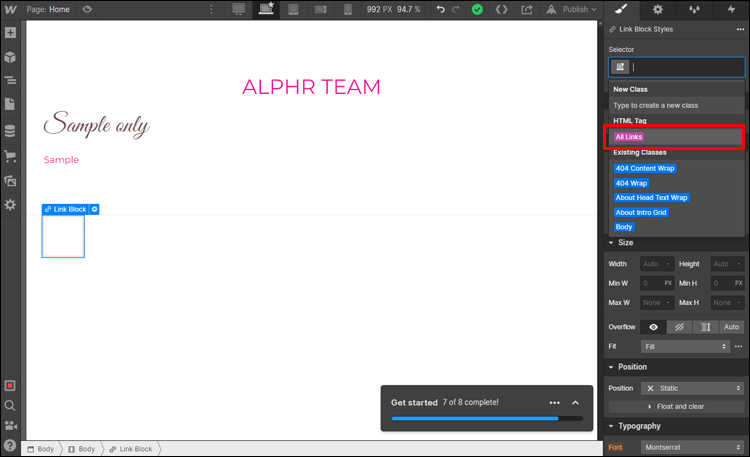
- Click on any link element.
- Press the “Control + Enter” shortcut on Windows or “Command + Enter” on Mac to launch the selector menu.
- From the list of tags, select “All Links” at the bottom.
- Change the link color to your preferred color.


Any new link you add later will take style cues from the “All Links” tag. If you change your mind about a particular set of links, you’ll have to override the set rule on a case-by-case basis.
No More Feeling Blue
When creating a website, it’s easy to overlook the links with so many design elements to consider. For that reason, changing up the links can go a long way toward making your website stand out. The challenging part is choosing the best color to represent your brand or business. After that, implementing that color should take no more than a few minutes of your time when following our guide.
Have you tried changing the link color in Webflow? What is your color of choice? Let us know in the comments section below.
Disclaimer: Some pages on this site may include an affiliate link. This does not effect our editorial in any way.


