The online design site Canva has a wide range of eye-catching elements you can incorporate into your creation to make it pop. In addition, all elements are highly customizable, allowing you to experiment with different color combinations, placement, sizes, and more.
In this article, we’ll show you how to use the fantastic Canva tools to change the color of an element and create gorgeous vibrant pieces. We also included some tips on choosing the best color palette for your prints, as well as a couple of other key design to-dos.
The web-based version, as well as the desktop app, share the same streamlined layout, so the steps are identical. So, without further ado, here’s how to change the color of an element in Canva:
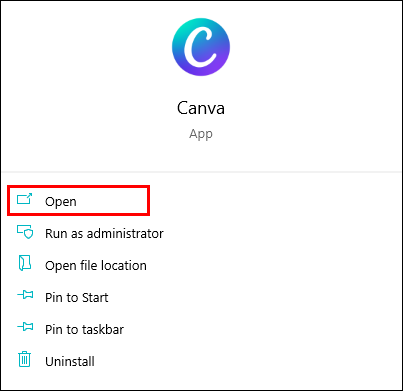
- Open the Canva app and sign in to your account.
- Choose an existing design or create a new one by clicking on the purple button in the top-right corner, next to your avatar pic. Then, select the design template you want (e.g., poster or flyer) from the drop-down list.

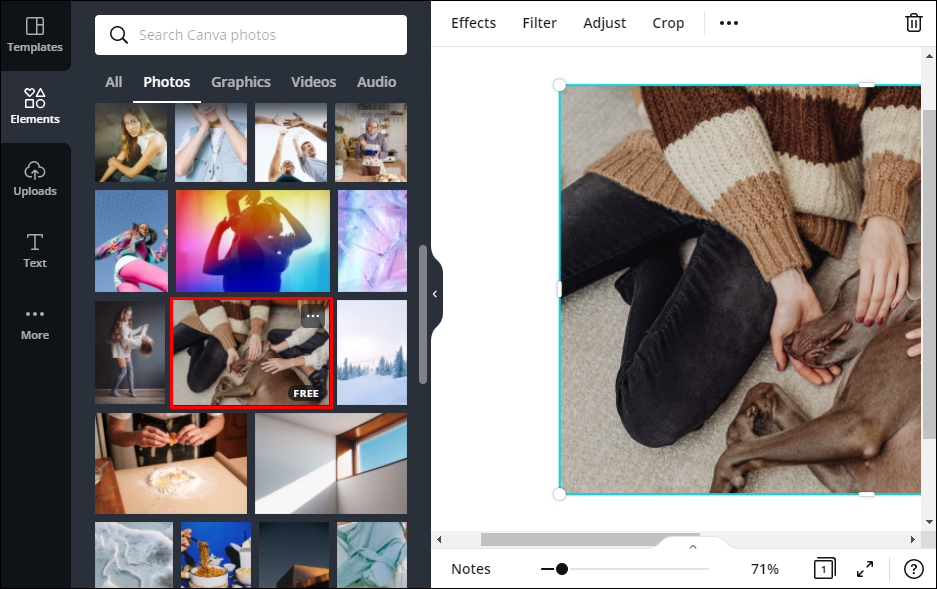
- From the panel on the left-hand side, open the “Elements” tab. Browse through the elements or use the search bar at the top of the panel if you’re looking for something specific. Next, add the element to the editor.
- Click on the element to highlight it. Tiny color tiles will appear at the top of the panel, depicting the palette of the element. Click on the color you want to change.
- A new panel will appear. You can choose an existing shade or create a custom color by clicking on the rainbow-colored tile.


From that point, you can switch between different colors with a click of the mouse until you get the desired effect.
Since Canva is a highly flexible design tool, you don’t have to rely on the default color palette for your designs. Instead, you can create one yourself. Here’s how to do it:
- Open Canva. From the panel on the left-hand side, open the “Brand Kit” tab. If you’re an Enterprise user with multiple Brand Kits, pick the one you want to customize.
- Scroll to the “Brand Color” section and click on the “Untitled Palette” box. Next, click on the “Add New Palette” button below. Next, add the title.
- If you already have a palette but want to add a new color to it, click the tiny “+” icon.
- If you want to remove a color from the palette, hover your cursor over it until an “x” sign appears. Then, click to delete it.
- If you want to remove an entire palette from the Brand Kit, click on the three horizontal dots to open a drop-down menu. Then, click “Delete Palette.”


How to Find and Use Elements in Canva
Canva offers an endless library of high-quality elements that are entirely customizable. Not only do they come in all shapes and sizes, but also different file formats. As a result, you can add all kinds of graphics to your Canva design, from images to animated gifs.
When you open the “Elements” tab in the editor panel, you’ll see all the elements are divided into several categories based on the type. Furthermore, a “Recently Used” section and a built-in search function make browsing easier. Also, there are several tags below the search bar you can use to speed things up even more.
As mentioned, each element can be tweaked to fit your design idea better. We’ve already covered changing the color, but you can make several other edits that are equally effective. For starters, you can adjust the element’s size if the original dimensions are too big or too small. It’s super easy to do:
- From the “Elements” tab on the left-hand side panel, add the image or graphics to your canvas.
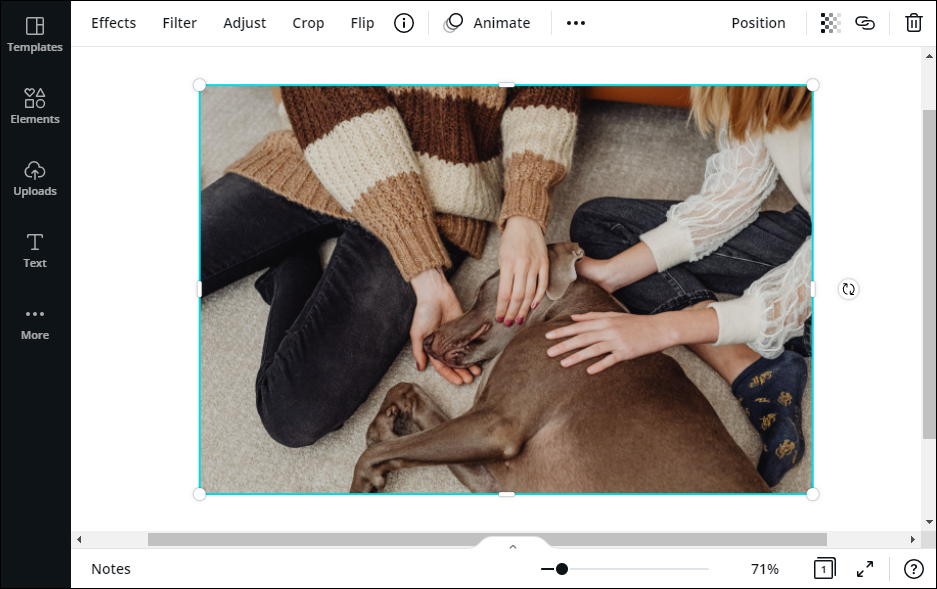
- Click on the element to highlight it. A blue square will appear on the outline of the image.
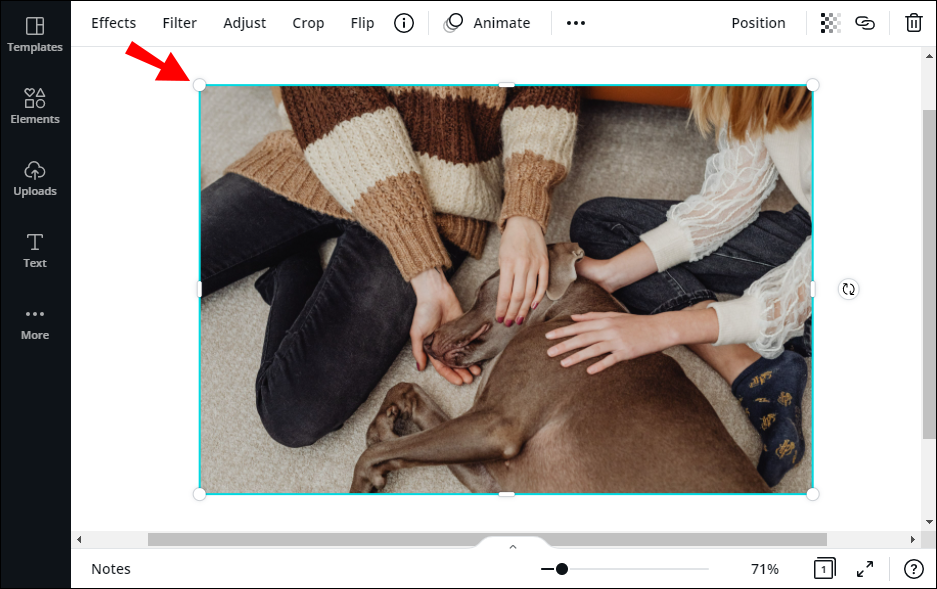
- Hover your cursor over the white circles at each corner and drag to resize the element.
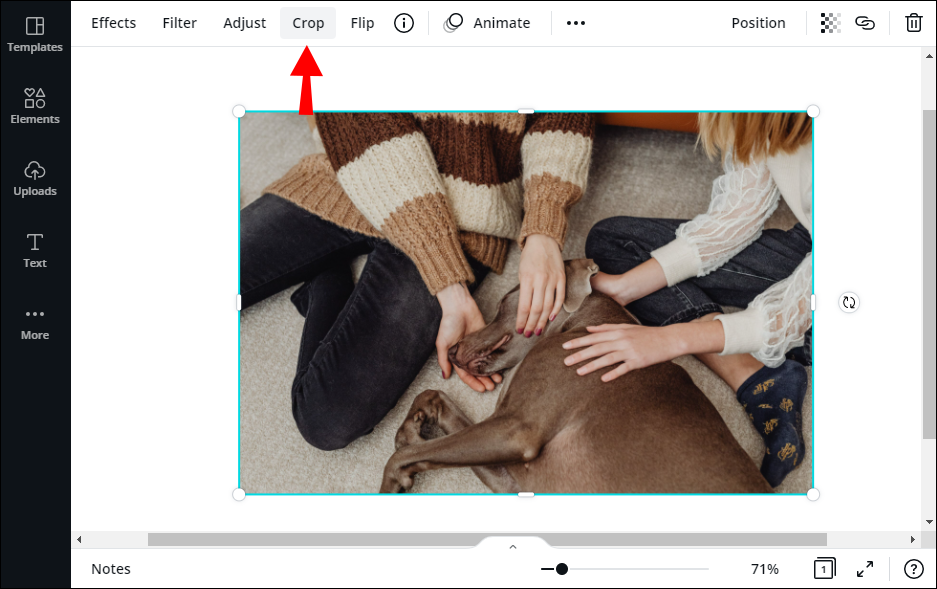
- You can also use the “Crop” feature at the top of the panel.
Canva allows you to play around with the composition if you have an intricate design with multiple elements. For example, you can layer the elements on top of each other for a more striking effect. Here’s how to do it:
- Select one element and drag it over the other with your cursor.
- In the top-right corner, open the “Position” tab.
- If you want the highlighted element to be in front, select “Forward” or hold “CTRL + ].”
- If you want it behind the other element, click “Backward” or press “CTRL + [.”
- Next, you can increase or decrease the transparency level by clicking on the icon in the top-right corner and toggling the slide.
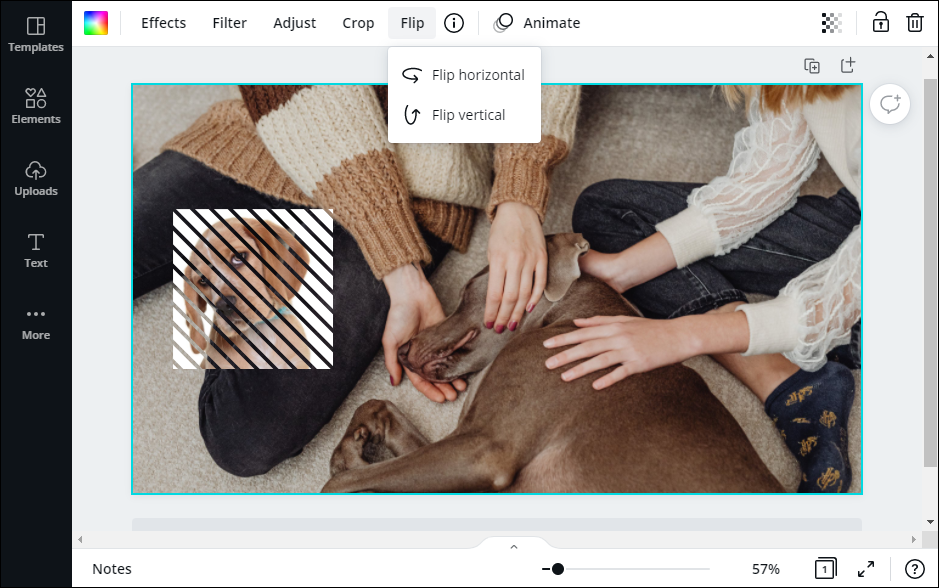
- If you want to change the elements’ orientation, click on the “Flip” tab at the top of the panel. Then, choose a direction from the drop-down list.


Finally, if you want to expand your selection, you can upgrade to a Canva Pro or Canva Enterprise subscription and unlock premium elements. That way, the watermark will no longer be visible, and you’ll be free to incorporate even more elements into your design.
Paint With All the Colors of Canva
With Canva, you have complete creative control over your designs. The platform provides an impressive selection of gorgeous graphics, images, borders, and videos that can liven up any project. Moreover, each element is entirely customizable.
What’s your experience with Canva? Do you like their selection of elements? Feel free to share some of your design tips in the comments section below.
Disclaimer: Some pages on this site may include an affiliate link. This does not effect our editorial in any way.