Microsoft Word lets you customize the look of your links, including changing their color. When you insert a link in a Word document, it will be blue by default. However, if you don’t like how your link looks, you can change it in several ways. Keep reading this article, and we’ll tell you all you need to know about changing the color of links in a Word doc and customizing your links in general.
How to Change the Color of a Single Non-Visited Link in a Word Doc?
Non-visited hyperlinks are links that haven’t been opened yet. They are blue by default. You can change the color of a single non-visited link in your Word document. If you’d like to do this, follow the steps below:
- Select the link of your choice.
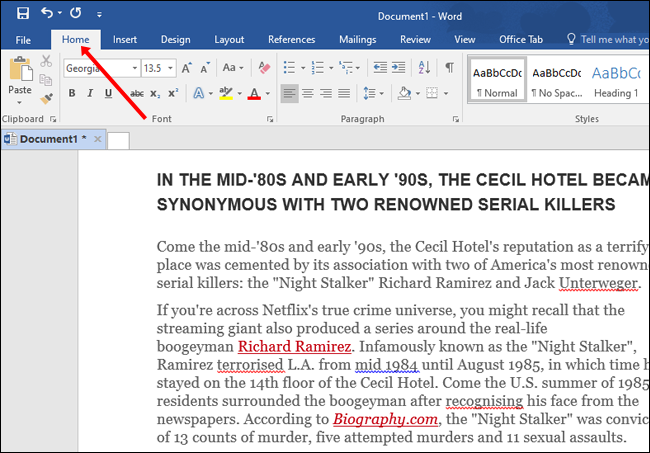
- Go to the “Home” tab.

- Under the “Font” section, select the arrow next to the font color.

- Choose the color for your link.


It’s important to note that this method doesn’t work for a visited link in a Word document.
How to Keep a Visited Link in Blue in a Word Doc?
Once you open a link in a Word Doc, it will change its color from blue to purple. If you’d like to change this and return the link in blue after you’ve opened it, follow these steps:
- Right-click on the link you’ve visited.
- Tap “Edit hyperlink.”
- Tap “Ok.”


This way, you can keep your link in blue even after you’ve opened it.
How to Change the Color of All Non-Visited Links in a Word Doc?
If you’d like to change the color of all non-visited links in your document, follow these steps:
- Add the link to your document.
- Go to the “Home” tab.
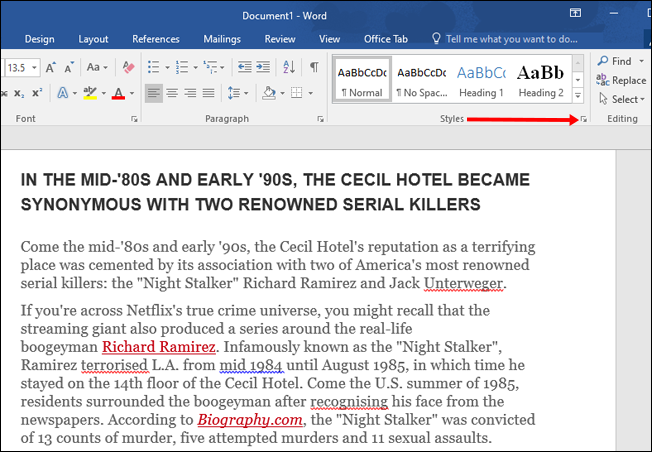
- Go to the “Styles” section and click on the arrow at the bottom-right corner of the section.
- Scroll down to “Hyperlink.”
- Click on the arrow on the right side.
- Tap “Modify.”
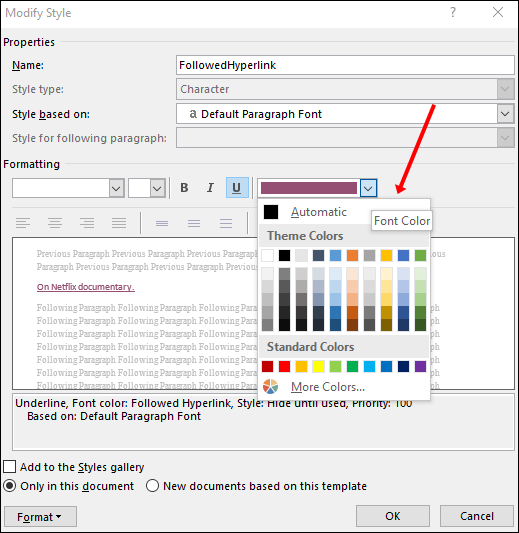
- Choose the color you like.


How to Change the Color of All Visited Links in a Word Doc?
If you’d like to change the color of all links that have already been opened in your Word document, here is how you can do it:
- Go to the “Home” tab.
- Go to the “Styles” section and click on the arrow at the bottom-right corner of the section.
- Tap “Options” at the bottom-right corner of the “Styles” menu.
- Under “Select styles to show,” choose “All styles.”
- Tap “Ok.”
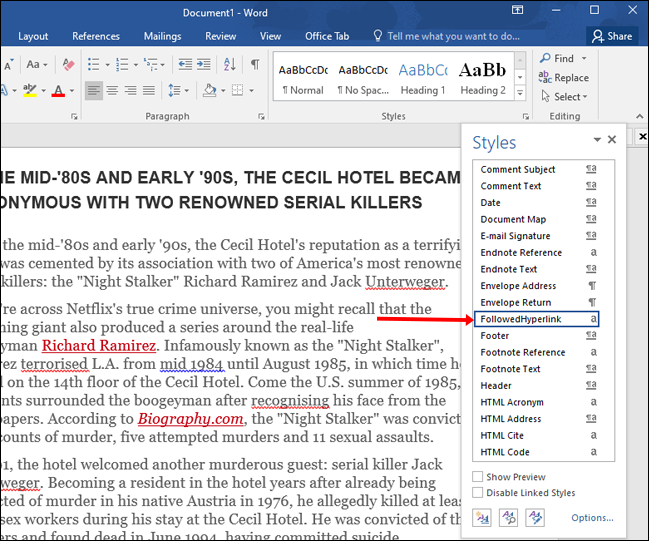
- Now you will see an option called “FollowedHyperlink” in the “Styles” menu.
- Go to that option and tap on the arrow right next to it.
- Tap “Modify.”
- Choose the color you like.


How to Highlight a Link in a Word Doc?
You can emphasize a specific link in your Word document by highlighting it. If you’d like to try this out, follow the steps below:
- Select the link you’d like to highlight.
- Go to the “Home” tab.
- Under the “Font” section, select the arrow next to the “Text Highlight Color” option.
- Select the color you’d like.


How to Remove the Underline From a Single Hyperlink in a Word Doc?
When you insert a hyperlink in your Word Doc, it will be underlined by default. However, you can remove the underline from a hyperlink. Even when you remove the underline, the hyperlink will still be saved, and you can follow the link with the usual shortcut (Ctrl + Click).
- Right-click on the hyperlink.
- Tap “Font.”
- Under “Underline style,” select “None.”


How to Remove the Underline From All Hyperlinks in a Word Doc?
If you’d like to keep the style of your document consistent and remove the underline from all of your links, you can follow these steps:
- Go to the “Home” tab.
- Go to the “Styles” section and click on the arrow at the bottom-right corner of the section.
- Scroll down to “Hyperlink.”
- Click on the arrow on the right side.
- Tap “Modify.”
- You’ll see the underlined icon. Unselect it.

How to Remove a Single Hyperlink in a Word Doc?
If you’re copying a text to Word, you will often find it contains hyperlinks. You can remove a hyperlink by following these steps:
- Right-click on the hyperlink.
- Tap “Remove Hyperlink.”

How to Remove All Hyperlinks in a Word Doc?
- Tap ‘’Ctrl + A’’ to select the whole document.
- Tap ‘’Ctrl + Shift + F9.’’


How to Turn Off Automatic Hyperlinks?
Microsoft Word will automatically create hyperlinks by default. However, you can disable this in a few easy steps:
- Tap “File” at the top-left corner.
- Tap “Options.”
- Tap “Proofing.”
- Tap “AutoCorrect Options.”
- Go to the “AutoFormat as you type” tab.
- You’ll see a checkbox for “Internet and network paths with hyperlinks.” Make sure the checkbox is unmarked.


How to Turn Off Shortcuts to Follow a Link?
By default, Word allows you to follow a link by pressing ‘’Ctrl + Click.’’ If you’d like to turn this option off, you can do it by following these steps:
- Tap “File” at the top-left corner.
- Tap “Options.”
- Tap “Advanced.”
- You’ll see a checkbox for “Use Ctrl + Click to follow the hyperlink.” Make sure it’s unmarked.


How to Update Automatic Links?
Microsoft Word updates your links automatically. This means that whenever there’s a change in the source file, your link will get updated. However, if your link gets changed, you may lose valuable information by accident. Or, if you have a large number of links in your file, you might have to wait until your document is opened. So, you can decide to turn this option off.
- Tap “File.”
- Tap “Options.”
- Tap “Advanced.”
- Scroll down to “General.”
- You’ll see a checkbox for “Update automatic links at open.” Make sure it’s unmarked.


How to Create a Hyperlink Within the Same Word Document?
So far, we’ve covered dealing with links to different websites. But, what happens if you have a large document and you want to insert a hyperlink to take you to a specific location within your document? Fortunately, Word offers this feature. You can easily jump back and forth within your document by inserting hyperlinks.
This feature enables your readers to jump to another part of your document. Here is how you can create a hyperlink within the same Word document:
- Mark the destination of your hyperlink by inserting a bookmark that you can find under the “Insert” tab.
- Choose the name of your bookmark.
- Tap “Add.”
- Choose the text you want to use as a hyperlink.
- Right-click on the text and tap “Hyperlink.”
- Choose “Place in This Document.”
- Find your destination under “Bookmarks.”
- Tap “Ok.”


What to Do When Your Hyperlink Isn’t Working?
By clicking on a hyperlink, your browser should automatically launch and take you to the page. If this doesn’t happen, your hyperlink isn’t working properly. There are some things you can check to establish what the problem is:
- Check the website – Launch your browser and look for the website using the URL address from your hyperlink. Websites can change or delete pages, which can affect your hyperlink. Try to find its new location on the website.
- Check the URL – If you manually typed the URL address, check it to make sure you didn’t miss anything. If you copied your URL, check if you copied the whole address since you may have left something out.
- Check the domain structure – The prefix in the address can sometimes cause your hyperlink to malfunction. Furthermore, make sure to check the website suffix or top-level domain. For example, a page on “.gov” won’t open if you gave it a “.com” suffix.
- Check Word setting – Make sure you have automatic hyperlinks in Word enabled. If this option is disabled, the hyperlinks won’t work.
Mastering Word Hyperlinks in a Few Clicks
Now you’ve learned more about links in Word documents. This step-by-step guide shows you how to customize your links and adjust them according to your needs.
How do you customize your links in Word? Tell us in the comment section below.
Disclaimer: Some pages on this site may include an affiliate link. This does not effect our editorial in any way.


