Calendars in Excel can come in very handy, especially if you have a busy schedule. A calendar constructed to fit your projects can help you stay organized when it comes to important appointments, events, activities, and meetings.
Whether you need better organization for school or work, an Excel calendar can be a fantastic tool that will help you stay on track with ongoing and upcoming projects.
Of course, this is all possible if you know how to create a calendar in Excel properly. This article will show you how to do just that.
How to Create a Calendar in Excel With a Template
The easiest way to start using an Excel calendar is to download one of the templates from the official Microsoft website. You can browse yearly or monthly calendars, which can be set for a specific year or used repeatedly for every year.
Some calendars on the site can be customized, which is particularly useful.
However, you don’t have to visit the Microsoft site to get calendar templates. You can find some available right from Excel. Here’s how to access calendar templates in Excel:
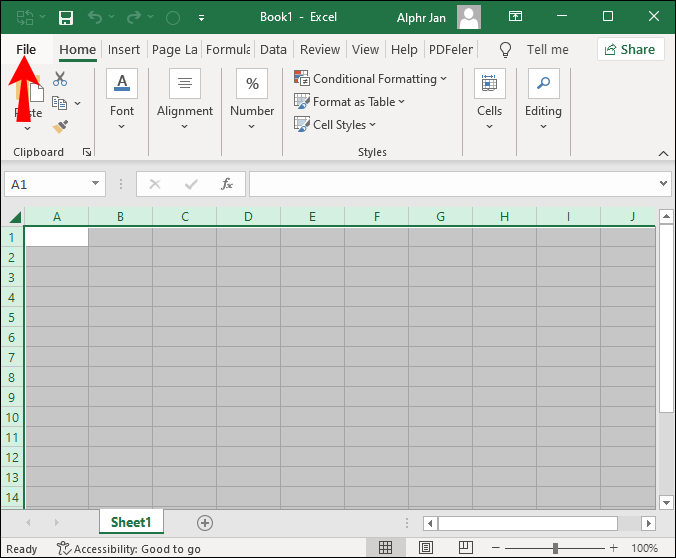
- Launch Excel and go to “File.”
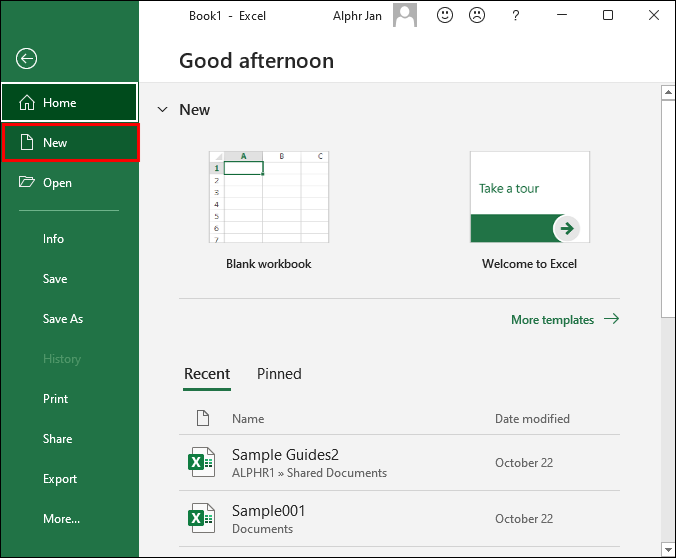
- Click on “New.”

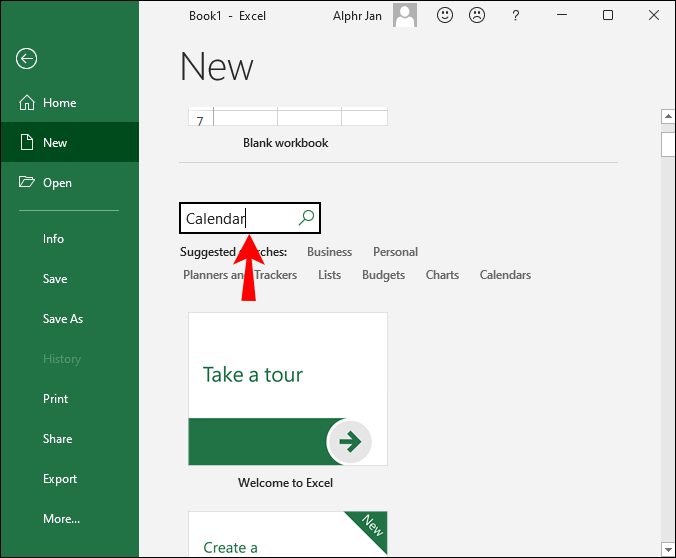
- In the search field, type “Calendar” and hit “Enter.”
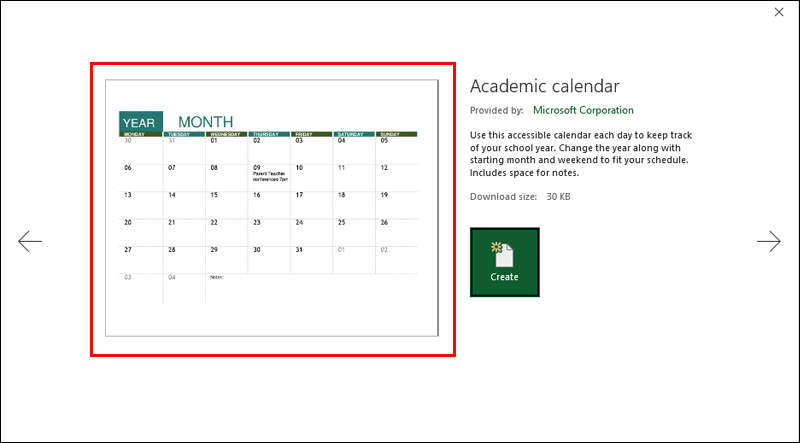
- You’ll see a list of calendars to choose from; find a template that fits your needs the best and select it.
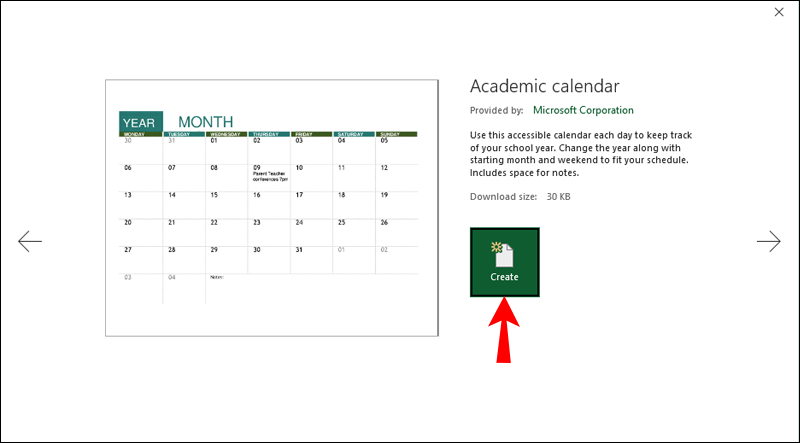
- Once you’ve selected a template, you’ll see its preview on the left side and the template’s name and description on the right.
- Click “Create” under the template description.

Using these steps, you’ll create a new calendar from an existing template. Depending on the type of calendar you’ve chosen and its unique features, you’ll have certain customization options available.
However, if you’d like to have complete control over your calendar, you might want to create it from scratch without using a template.
The following section will show you how to do just that.
How to Create a Calendar in Excel Without a Template
You’ll find that creating a calendar in Excel is quite straightforward, even if working without a template. Follow these instructions to create a custom calendar quickly.
Step one: Type in the weekdays.
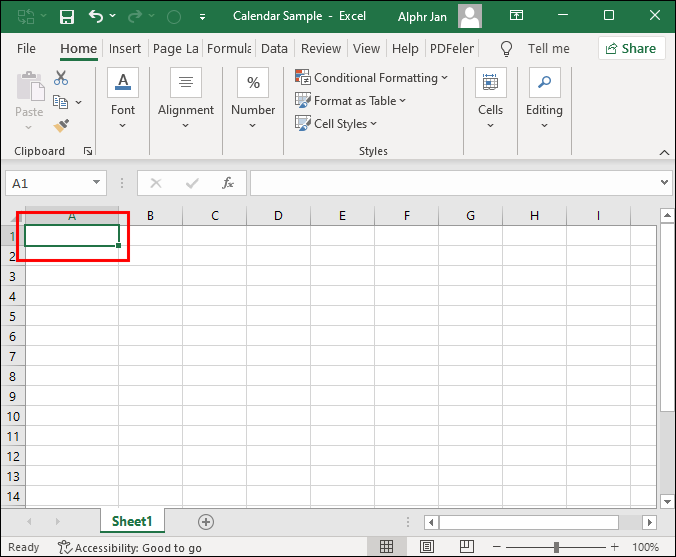
- Once you launch Excel, you’ll see a spreadsheet; leave row 1 blank.
- In row 2, type in the weekdays in each cell: Monday in A2, Tuesday in B2, and so forth.
- Alternatively, you can use Excel’s automation to fill in weekdays. Just enter “Monday” in the A2 cell and drag that cell’s fill handle up to cell G2.
- Whichever method you’ve used, you should have all weekdays in cells A2-G2.


Step two: Format the columns.
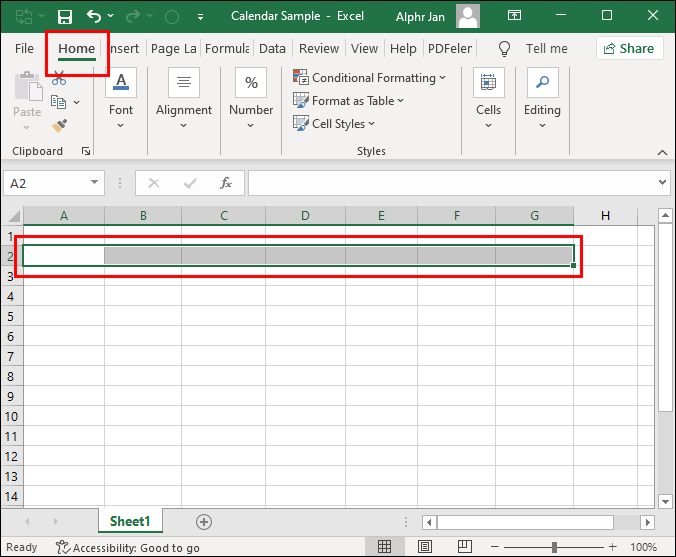
- Highlight cells A2-G2 and go to the “Home” tab.
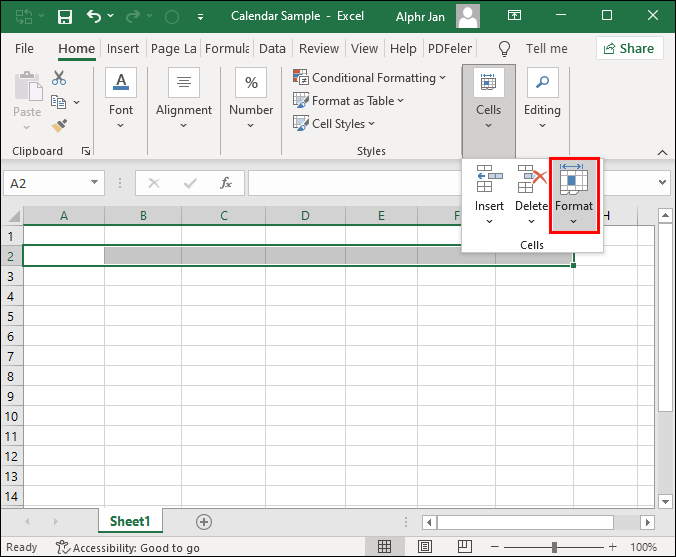
- Under “Cells,” choose “Format.”
- Under “Column Width,” enter how wide you want the cells to be.

Step three: Create a month title.
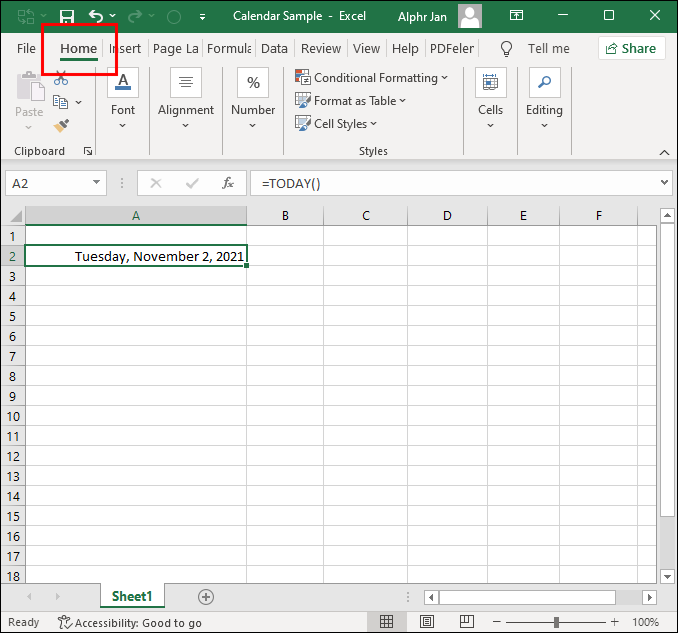
- In row 1, select any cell and type “=TODAY()” in the formula field. This will display the current date in the selected cell.
- With the cell with the dates selected, go to the “Home” tab.
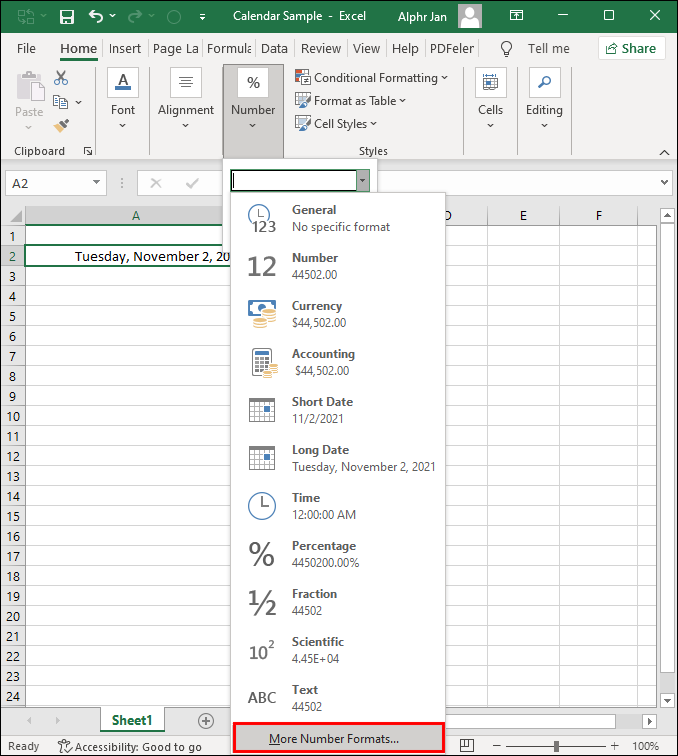
- Under “Number,” choose “Date,” then click on “More Number Formats.”
- Choose a date format from the list and click “OK.”
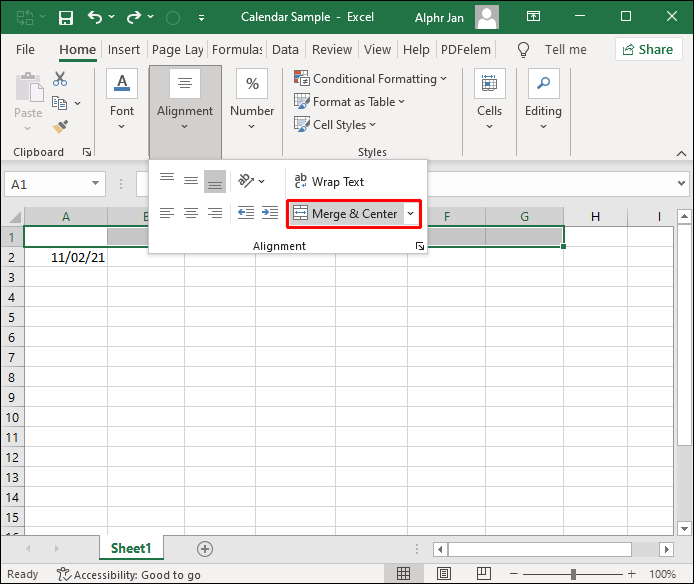
- Select cells A1-G1 and choose the “Merge & Center” option from the “Alignment” menu. This will create a month title.


Step four: Create the calendar body.
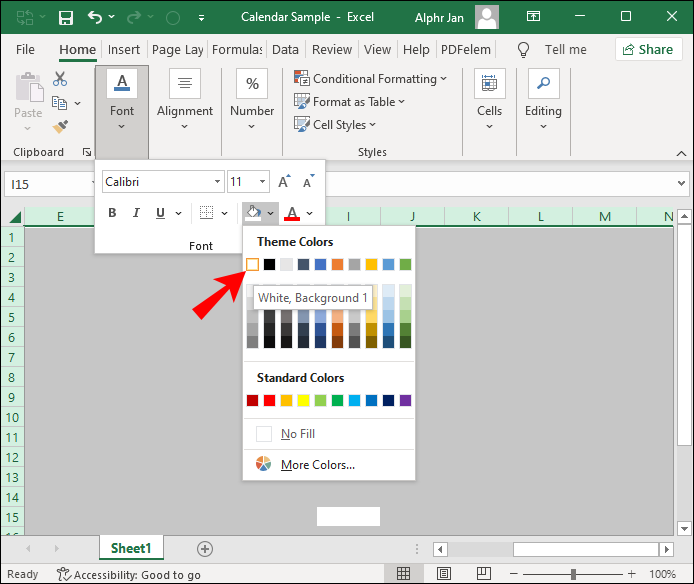
- Highlight the entire spreadsheet.
- Go to “Home” and click on the paint bucket.
- Select white or any other color to set the calendar background.
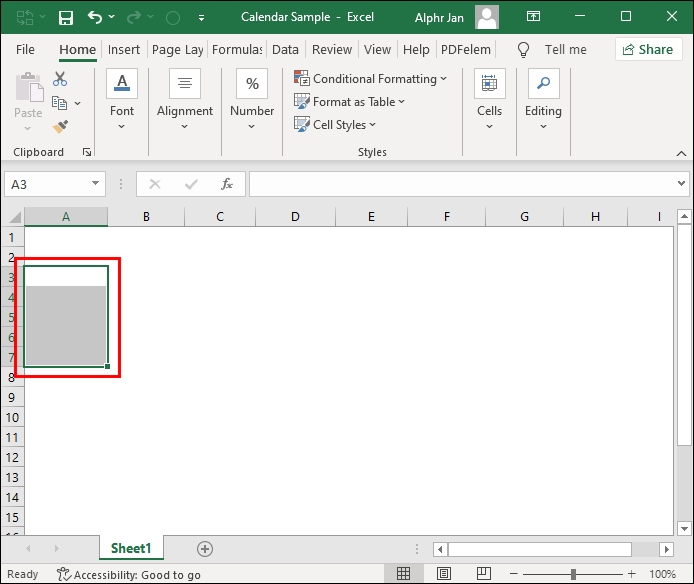
- Highlight cells A3-A7.
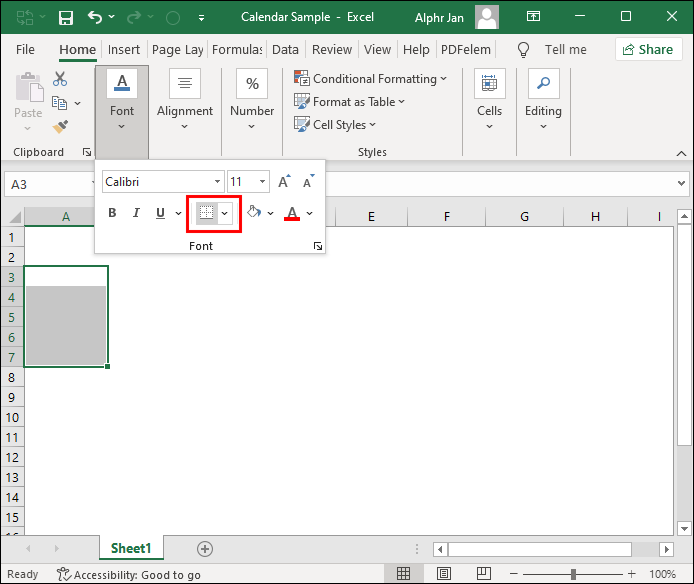
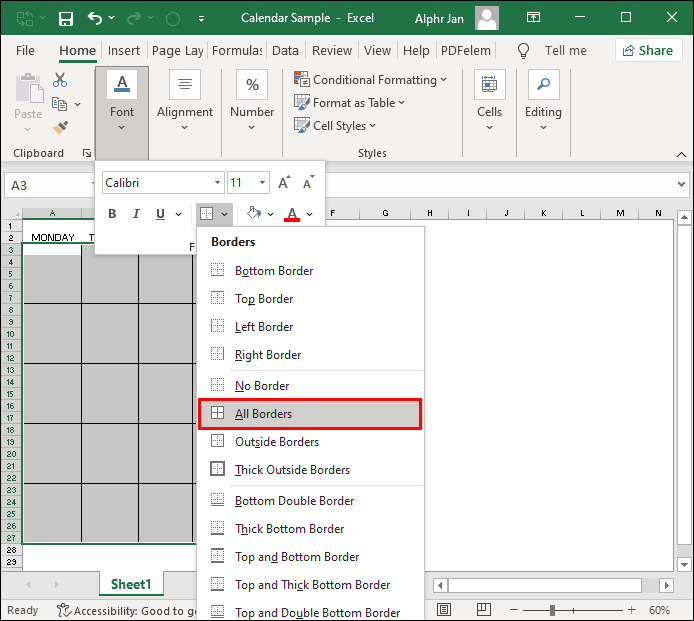
- Under “Home,” bring up the “Borders” menu.
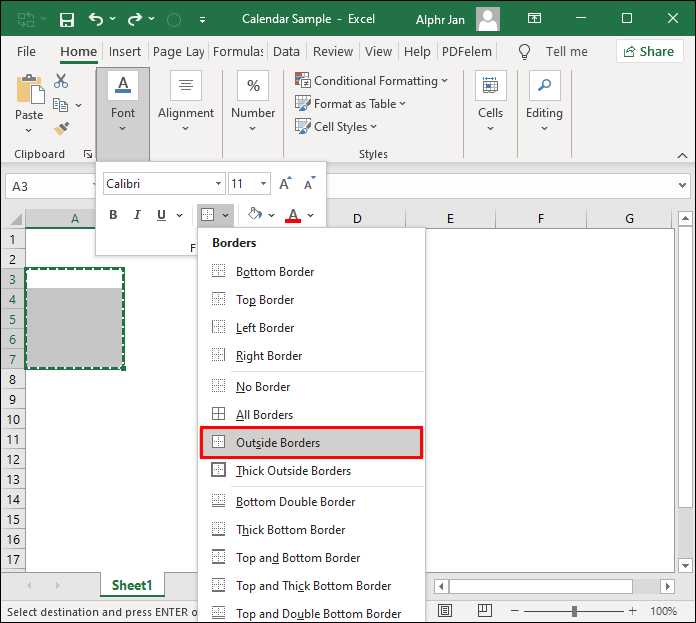
- Click on “Outside Borders.”
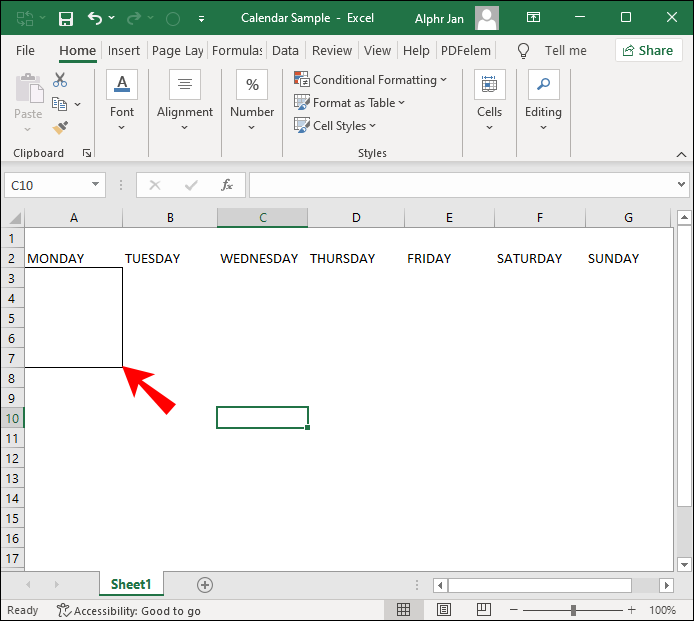
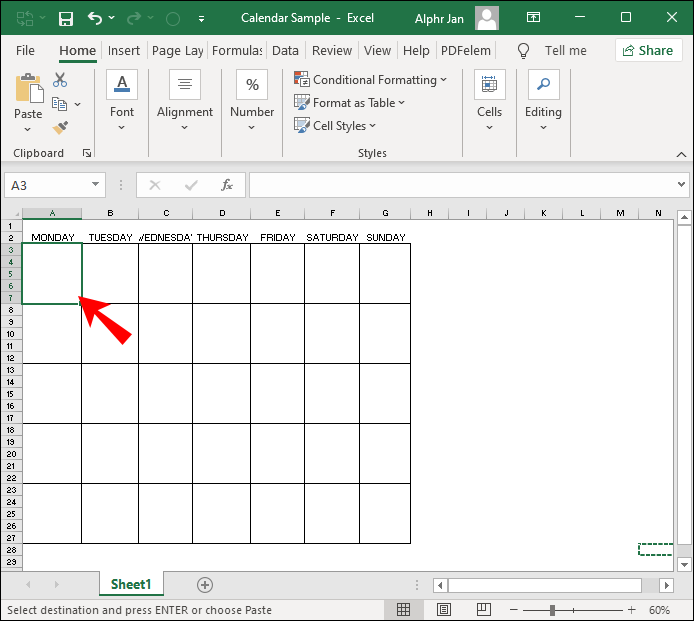
- You’ll see an outlined box beneath “Monday.” Copy it and paste it under the rest of the weekdays.
- After the first row of boxes is complete, create four more rows. Once you’ve done that, the cell in the bottom right corner should be G27.
- Highlight the weekdays row and select “All Borders” from the “Borders” menu to finish up the grid.


Step five: Add dates.
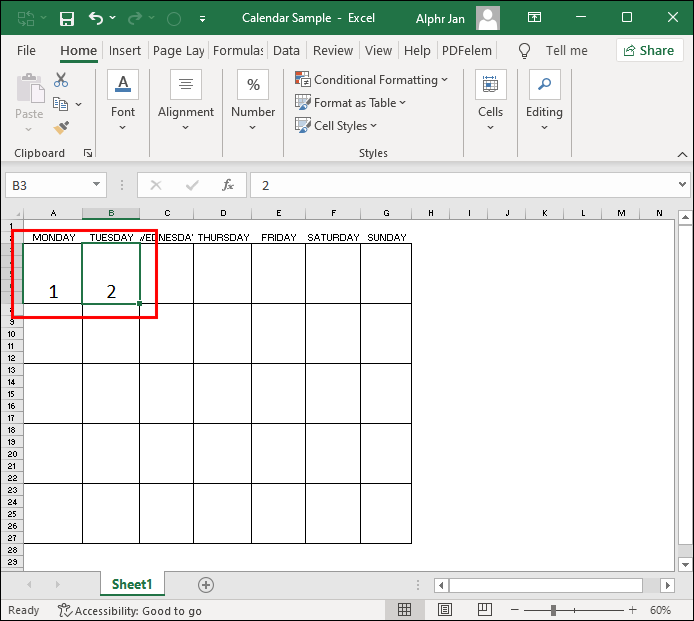
- Find the days that will be the 1st and the 2nd of the month.
- Enter “1” in the first cell of the corresponding weekday box and “2” for the following day.
- Holding down “Shift,” highlight the numbered cells.
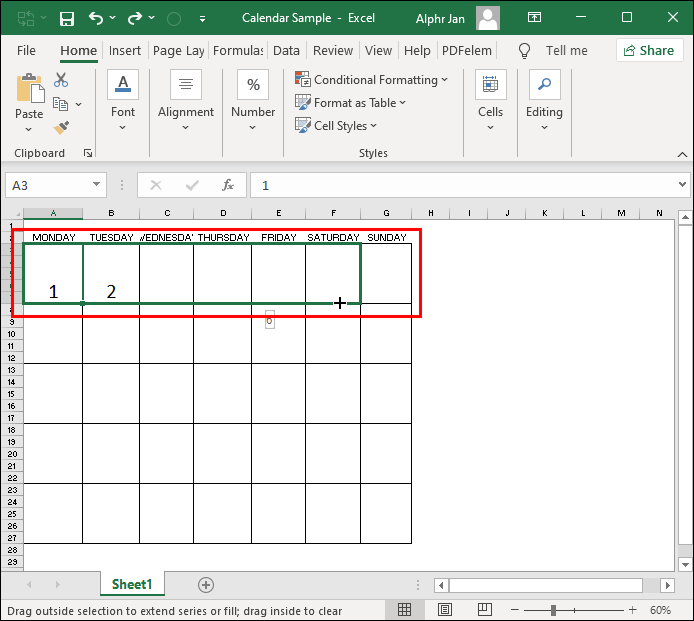
- Drag the selection box to the end of the week to allow Excel to fill in the numbers automatically.
- Repeat the process for the rest of the table. You’ll need to enter dates for the first two days of each week manually.

Step six: Once you’ve created the sheet following these instructions create 12 sheets in total for every month of the year.
If you wish, you can customize cells and dates with different colors and styles.
How to Create a Calendar in Excel That Updates Automatically
Automatization is one of the greatest strengths of Excel. If you want to make your calendar update automatically, you can use the following formula: “= EOMONTH (TODAY() , – 1) +1”.
This formula employs the “TODAY” function to find the current date and calculates the first day of the month through the “EOMONTH” function.
You can easily create calendars for different months from the starting sheet if you use this formula and enter a different date instead of “TODAY ()”.
How to Create a Calendar in Excel Without Weekends
If you use the method for creating a calendar in Excel without a template, building a calendar without weekends will be relatively straightforward.
All you’ll need to do is create a calendar using the steps outlined in this article, select weekend days, and delete all the rows under them.
This way, you’ll end up with a five-day weekly calendar that doesn’t include weekends.
Get Better Organized With Excel Calendars
Excel offers a number of customization options and powerful formulas you can use to automate calculations and organize cell content.
Now that you’ve learned how to create a calendar in Excel, both with and without a template, you can start entering data and leveraging the automation options to organize your weekly schedule. As you master various possibilities that Excel provides, your weekly and monthly organization will become clearer.
Have you managed to build a calendar in Excel? Did you do it with or without a template?
Let us know in the comment section below.
Disclaimer: Some pages on this site may include an affiliate link. This does not effect our editorial in any way.


