Cropping pictures into different shapes can be fun. And it’s not difficult at all. It’s possible to crop pictures into different shapes, such as squares, circles, or triangles. The most challenging part is perhaps choosing an image.
You also need to decide which program or tool to use. Some people will want to crop pictures in Word, some prefer PowerPoint, while others may not have access to Microsoft Office.
Don’t worry if you fall into the last category; we’ve also prepared some online tools that anybody can use.
Cropping Images using TinyWow
Cropping images into different shapes can be tricky, but it’s an essential skill. Most people don’t know how to cut images into one of the most popular shapes – Square! TinyWow makes cropping photos simple with just a few clicks! Here’s a quick tutorial:
- Open your favorite browser and search for TinyWow.com

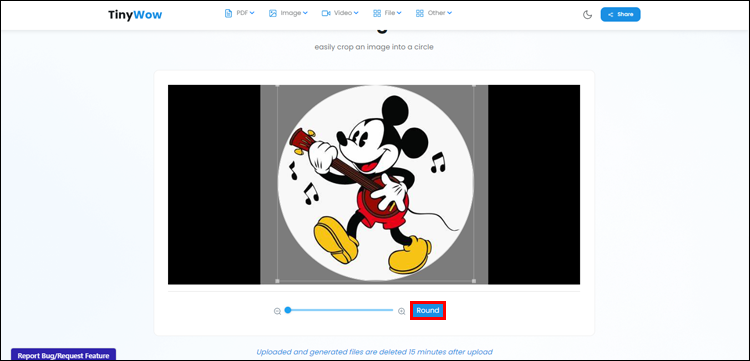
- Hover your mouse over “Image” at the top. Then, click “Manipulate” in the dropdown. Finally, click “Make Round Image.”

- Once you are in, you will have the option to “Upload file from PC or Mobile” or “Drag your files” from your computer.
- When you are finished uploading your image, you can adjust the desired image you’d like to crop; by changing the scale or using the lens.
- Click “Round” if you have the desired image you’d like to crop.
- Lastly, you can now “Download” the image you have finally cropped.


Cropping Pictures in Office 2010 and Above
Cropping pictures in Office is really easy, and the programs for this purpose are Word and PowerPoint. The following tips work for Office 2010 and above:
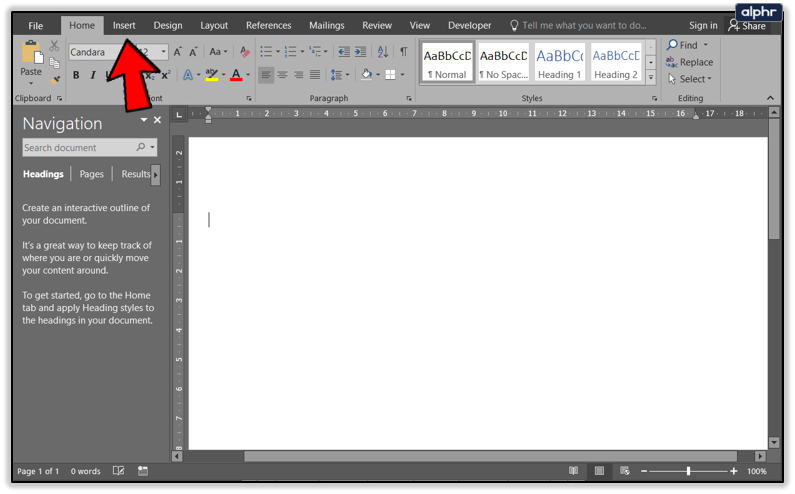
- Open an Office document (e.g., Word file, but you can also use Excel or PowerPoint).
- Next, click on Insert.
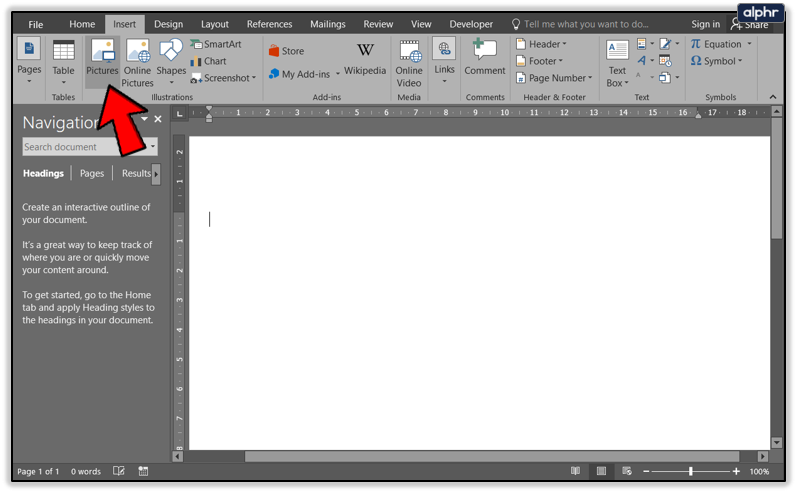
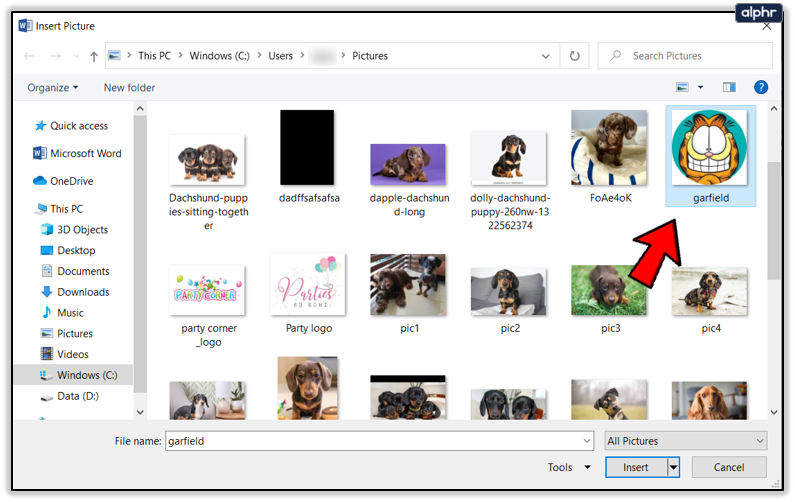
- Then, select Picture and choose from the options to add any image you’d like to crop.
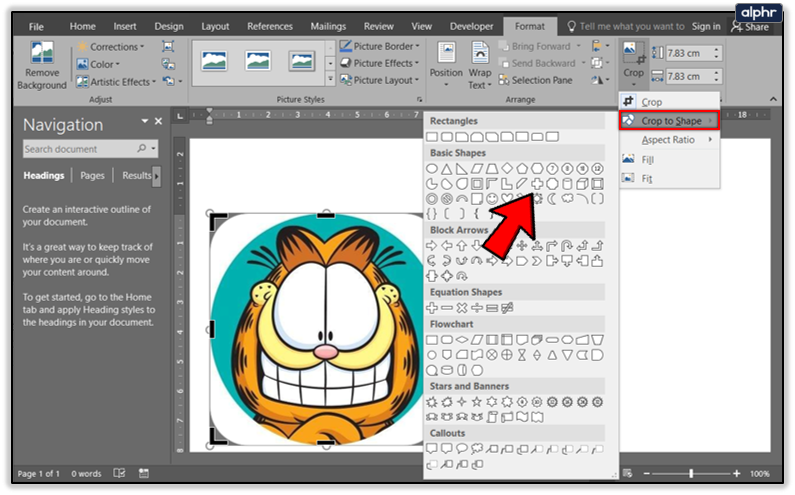
- When the picture is in the file, click on it.
- Now, click Crop located near the top right-hand side of the screen.
- Next, click or hover on Crop to Shape (square, circle, triangle, etc.) and select your shape of choice.
- The shape will appear instantly.


If you are satisfied with the shape but not with the end result, you can crop the image in other ways, such as:
- Cropping one side – to do this, you just need to drag inward on the side cropping handle.
- To crop two sides that are next to each other simultaneously, you need to drag inward on the corner cropping handle.
- If you’d like to crop two parallel sides simultaneously, you need to hold the Ctrl button on your keyboard and drag inward on the side cropping handle.
- Finally, you can crop all sides if you hold the Ctrl button and drag inward on any corner cropping handle.
To confirm all of these changes, tap Crop once again.
Online Cropping Tools
If you don’t have Office, don’t worry; here are some great, free online tools you can use to edit and crop your images.
LUNAPIC
LunaPic is a fairly powerful image editor, so you can use it for basic cropping. You can even draw on the picture that you want to crop. You can crop images into a square or a circle, and there are the magic wand and freeform options as well.

Select the circle tool, for example. Then, draw on your picture to get the image cropped just how you like it. When you’re done, confirm the change by clicking on Crop. Your image will be cropped, and it will have a transparent background.
Follow this link to visit and use LunaPic.
IMGONLINE
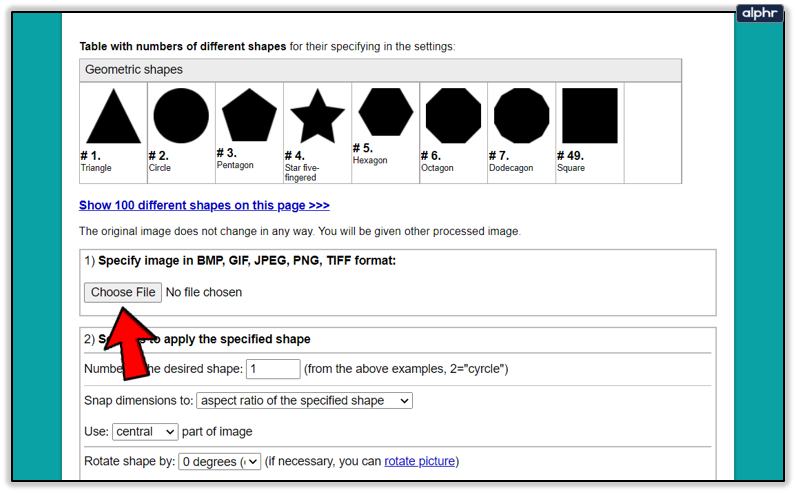
IMGONLINE is another great cropping tool that you can use for free. It offers a great selection of shapes. The complex shapes are even more fun, especially with the animals, hearts, arrows, etc.

Follow the following steps to use this site:
- Click on Choose File to add your image.
- Then you need to select the shape, e.g., shape number four is star five-fingered. There are many other customization options in the second step. Apply them to your liking.
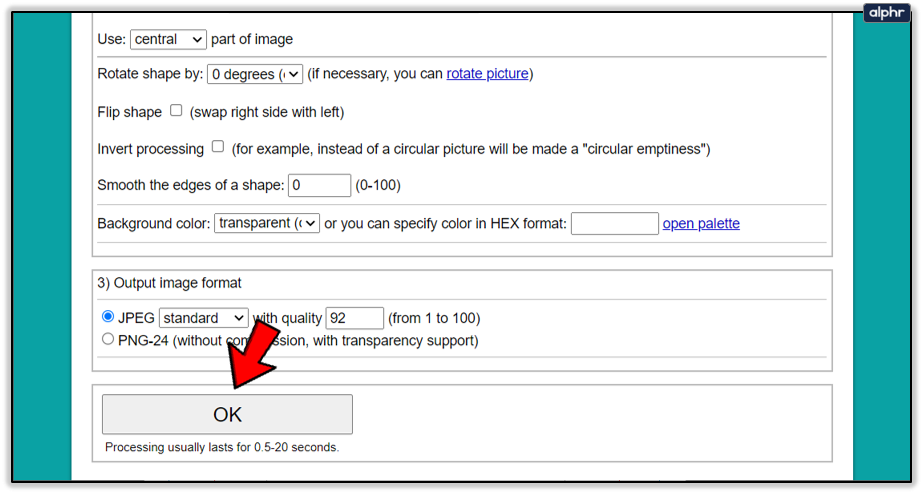
- Finally, select the image format for saving.
- Confirm with OK, and the image will be processed shortly after.
- You can then open or download it to your computer.


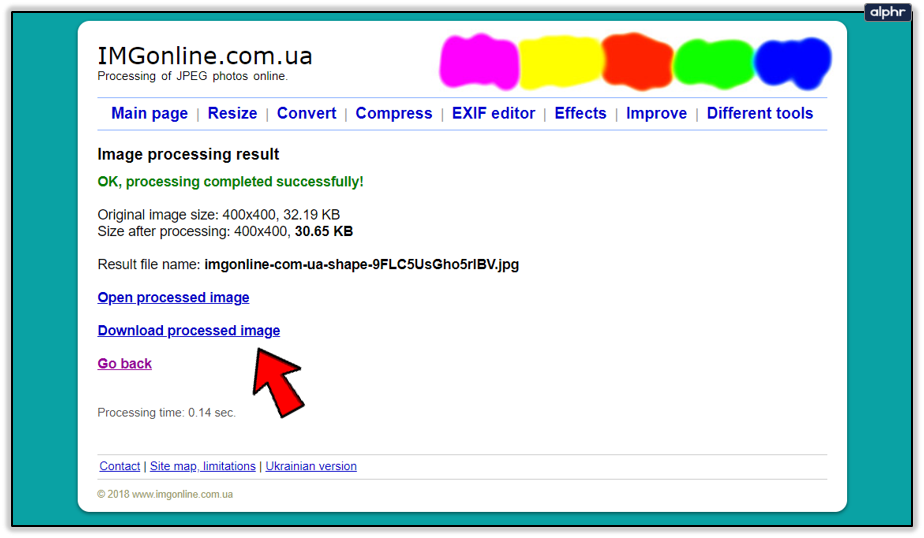
This tool is fun and easy to use once you get the hang of it. It’s probably my personal favorite of the bunch. I used the tool to edit an image of Garfield into a star shape. Here’s the result:

The Only Limit Is Your Imagination
Now you know how to crop images into various shapes in Office and online tools. Hopefully, this guide was fun and easy to follow. May you have loads of fun trying out these cropping options.
Good luck cropping, and feel free to add your ideas to the comments section below.
Disclaimer: Some pages on this site may include an affiliate link. This does not effect our editorial in any way.


