Deleting files from your computer is usually a simple task, but some files can make this process harder than expected. Namely, some files may be locked and cannot be removed because they’re used by a program, the Windows OS, or other reasons.
Locked folders cannot be opened, deleted, or moved in Windows until the password is used, and finding a password for files you didn’t lock may not be possible. Although the “Delete” option will be visible, you won’t be able to click on it and delete the file.
However, if you want to delete a locked file, you can try a couple of approaches. In this article, we’ll walk you through the different methods available.
Safe Mode
The most common approach is to reboot your Windows PC in Safe Mode to delete a locked file. Here are the steps to do so:
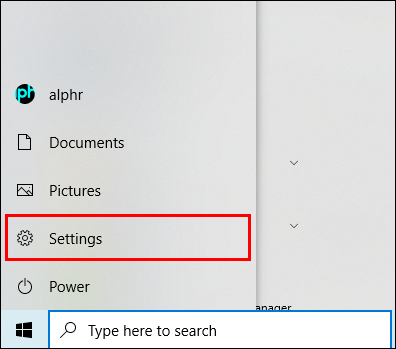
- Open the Start menu by clicking the Windows logo in the bottom-left corner.

- Select the gear-shaped symbol “Windows Settings” icon.

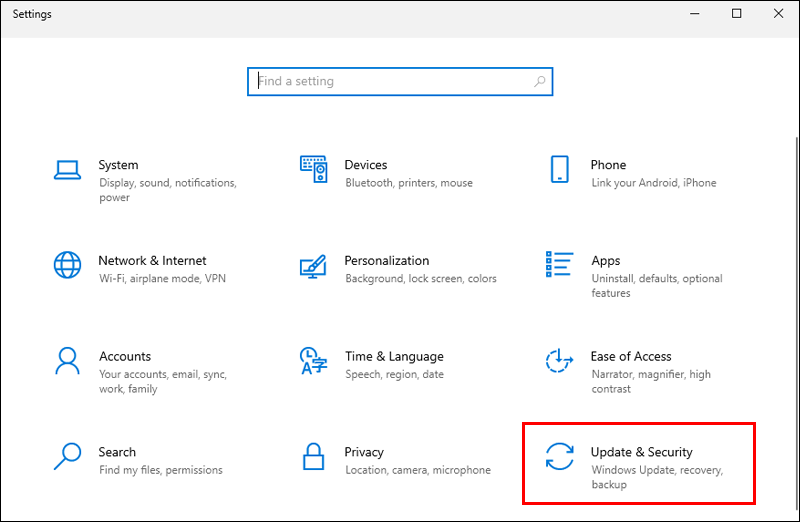
- Choose the Windows “Update & Security” option.
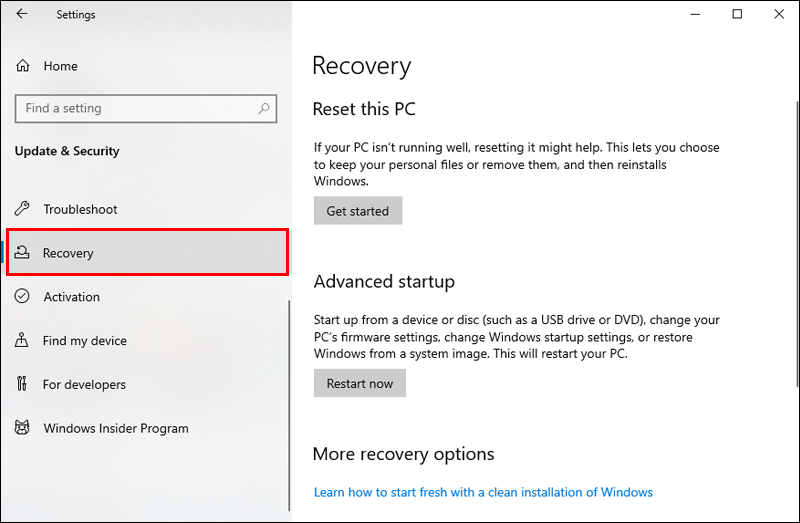
- Select the “Recovery” option. It’ll be on the left corner of the screen.
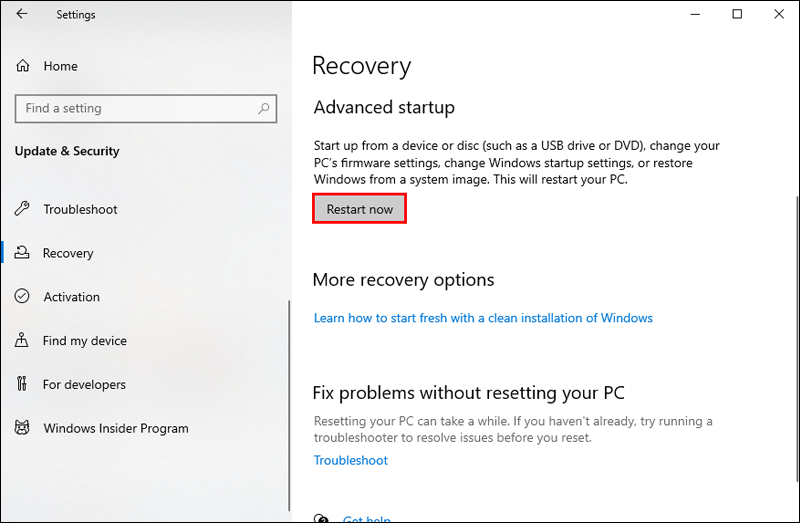
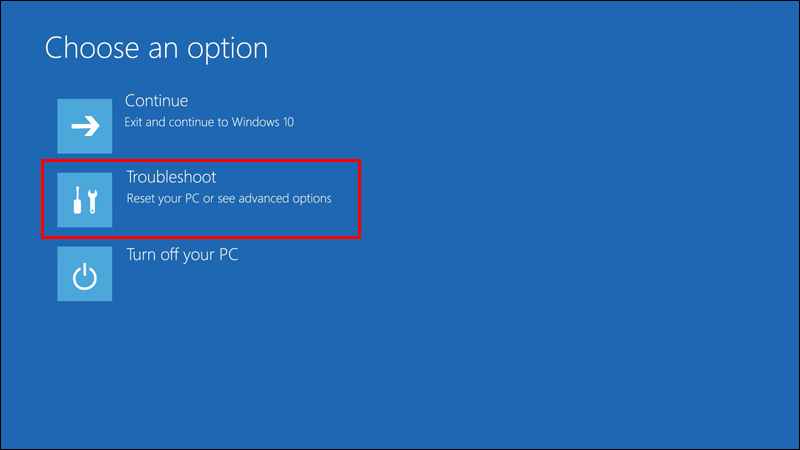
- Click the “Restart Now” button. This will restart your computer and take you to the “Advanced Options” panel.
- Select “Troubleshoot.”
- Navigate to the “Advanced” tab in the screen center.
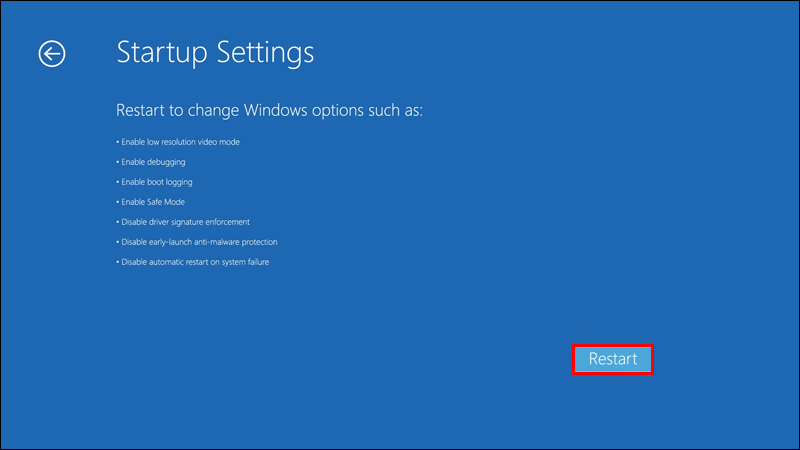
- Select the “Startup Settings” options on the right side.
- Click the “Restart” button at the bottom of the window.
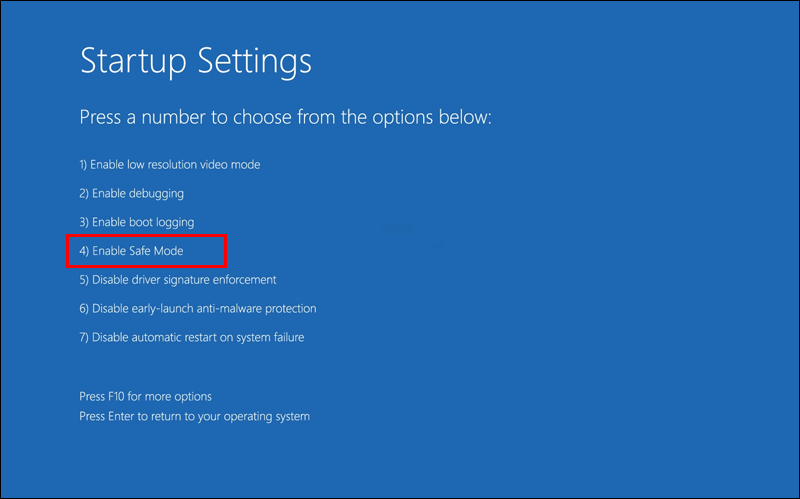
- Choose “Enable Safe Mode” from the drop-down menu.
- On the “Startup Settings” window, press “4” or “F4.”


Let Windows complete its restart. Enter your password if necessary. Once the operating system has completed the boot:
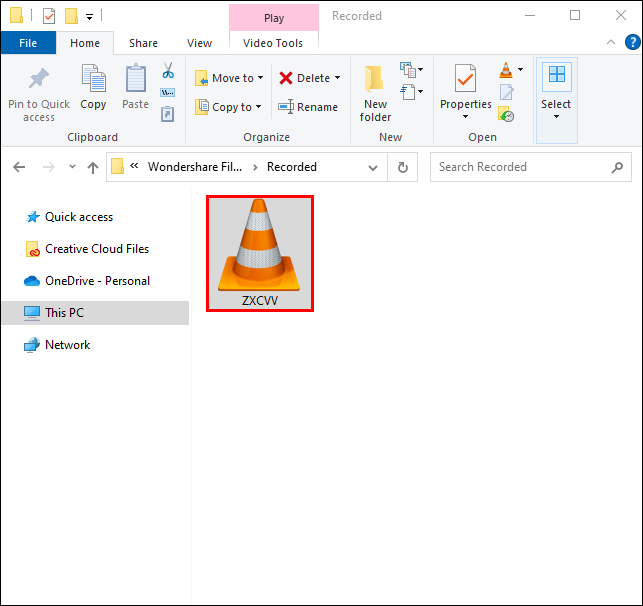
- Locate your file by opening the Start menu, then the “File Explorer.”
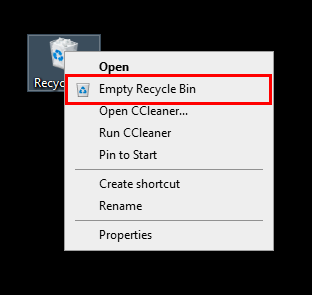
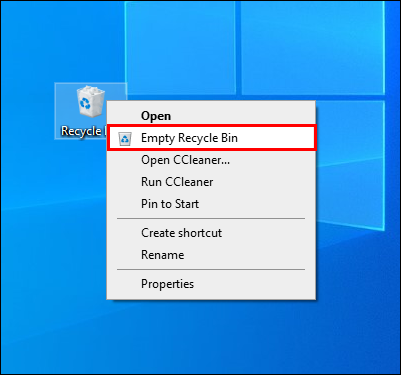
- Click the earlier locked file, then the “Home” tab, and then “Delete” in the following toolbar. Alternatively, you may select the file by clicking on it and pressing the “Delete” key.
- Remove everything from the Recycle Bin. Your file should be removed from the system.

You can exit Safe Mode by restarting your computer after removing your file.
Process Explorer
You can also use Windows Process Explorer to delete a locked file. For some users, this approach might be more convenient. Follow these steps:
- Access the locked file. Just double-click the file to move it to the “Running” section of the PC’s Task Manager.
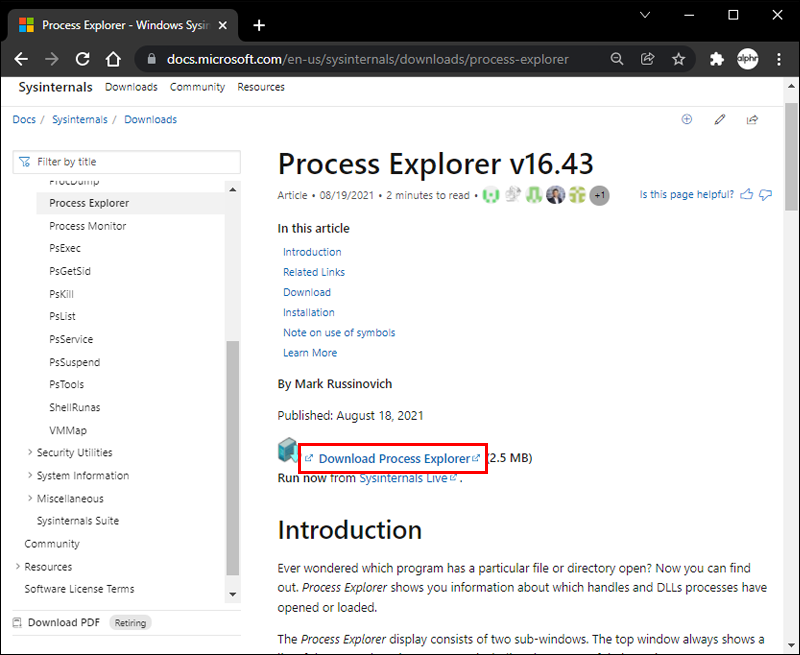
- Navigate to the Process Explorer webpage.
- Click the “Download Process Explorer” button. This will allow the Process Explorer ZIP archive to be downloaded to your PC.
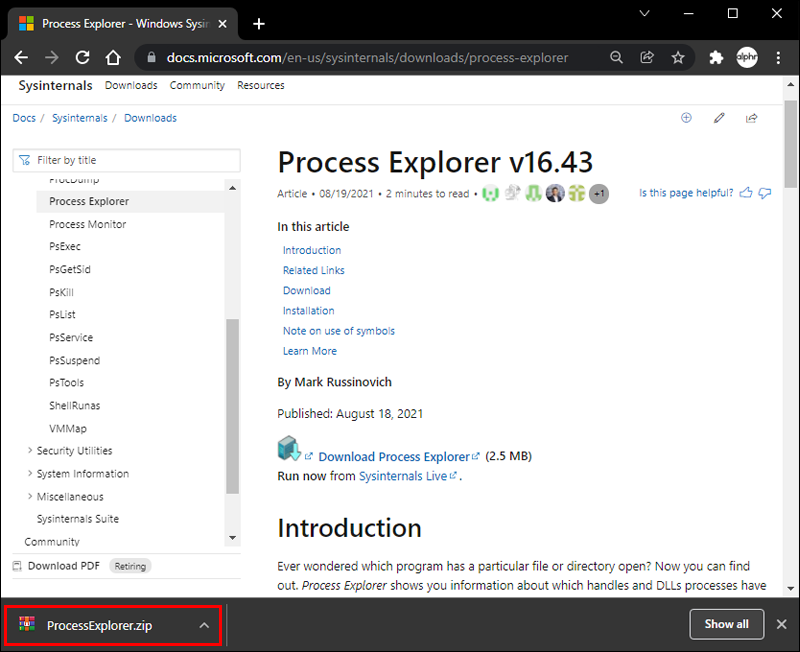
- Double-click it in the location folder to open the “ProcessExplorer.zip” folder.
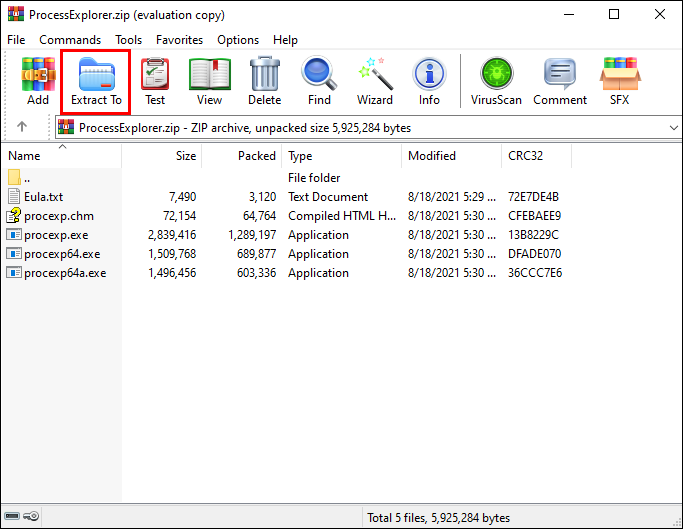
- Select the “Extract to” option on the top of the screen. A toolbar will display.
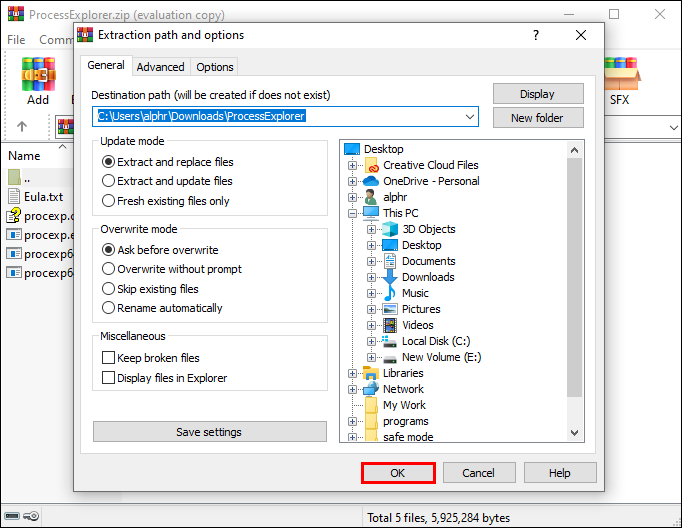
- Choose “Extract all.” When you click it, a new window will appear.
- Click “Extract.”

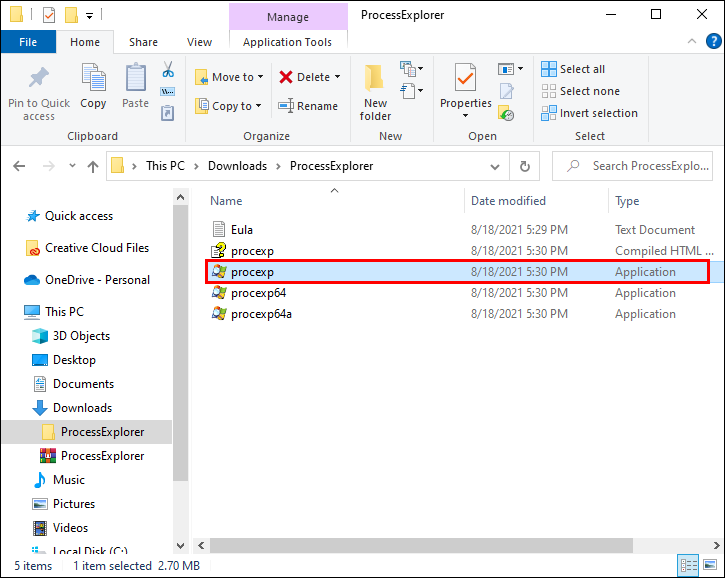
From here, the Process Explorer program will be installed, and the installation folder will open. Now, it’s time to use Process Explorer:
- Launch “Process Explorer.” If your PC has a 64-bit CPU, double-click the “procexp64” item in the folder. If your system is equipped with a 32-bit CPU, double-click “procexp” instead.
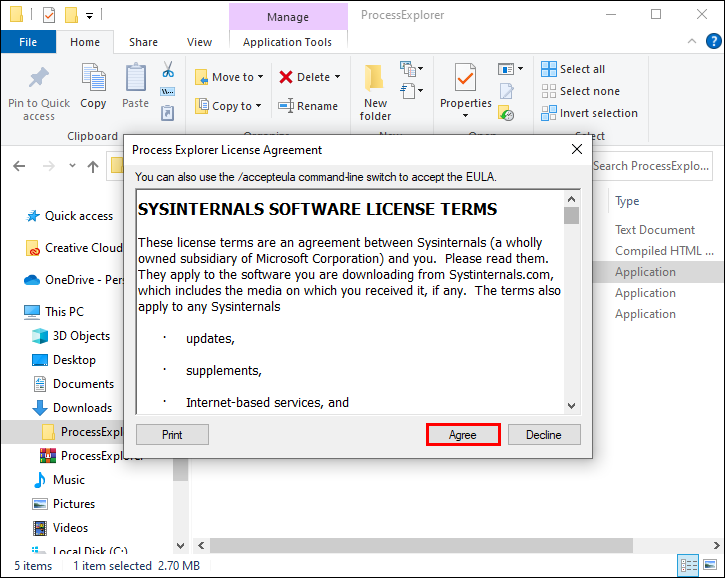
- When asked, select “Agree.” This will launch the primary Process Explorer window.
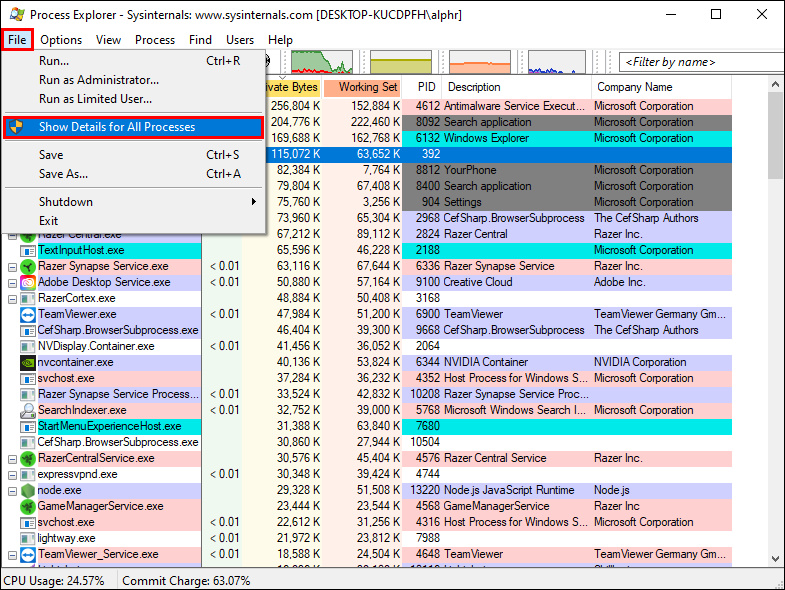
- Select “File” and choose “Show Details for All Processes.”
- When asked, select “Yes” to minimize Process Explorer.
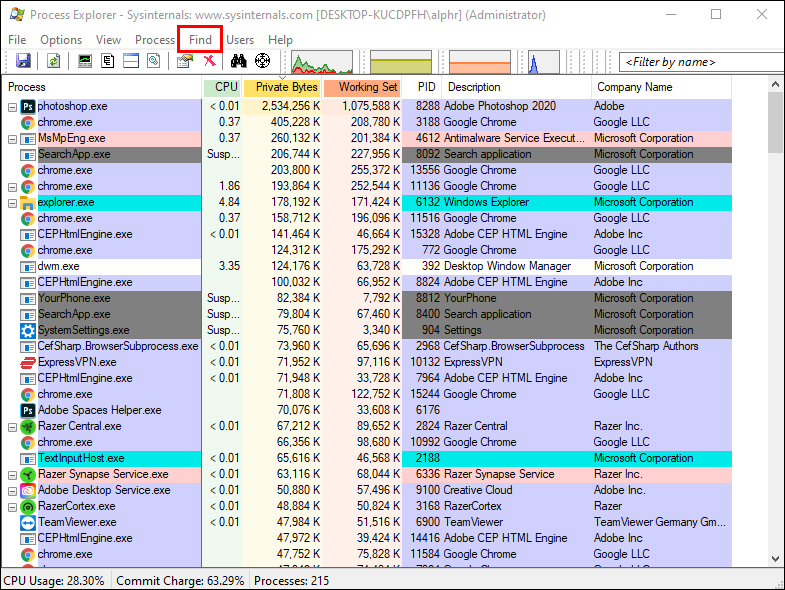
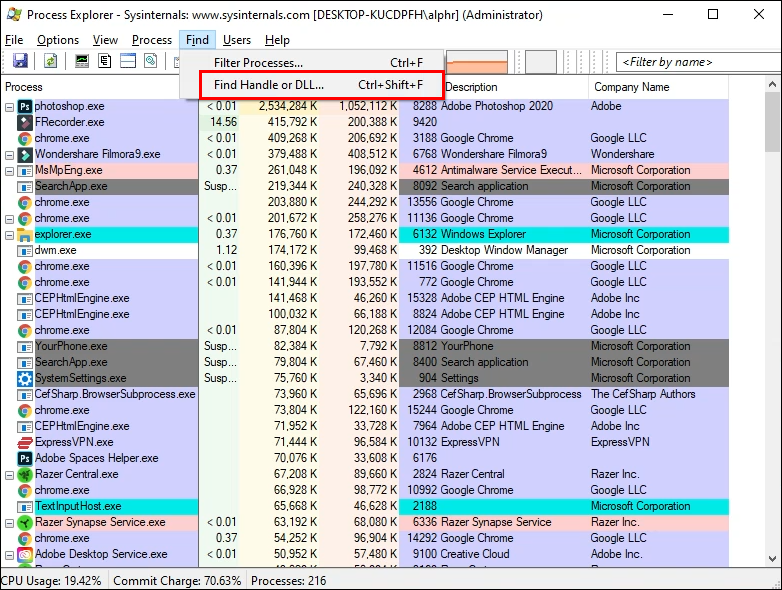
- Select “Find.”
- Choose “Find Handle or DLL…” A search bar will appear.
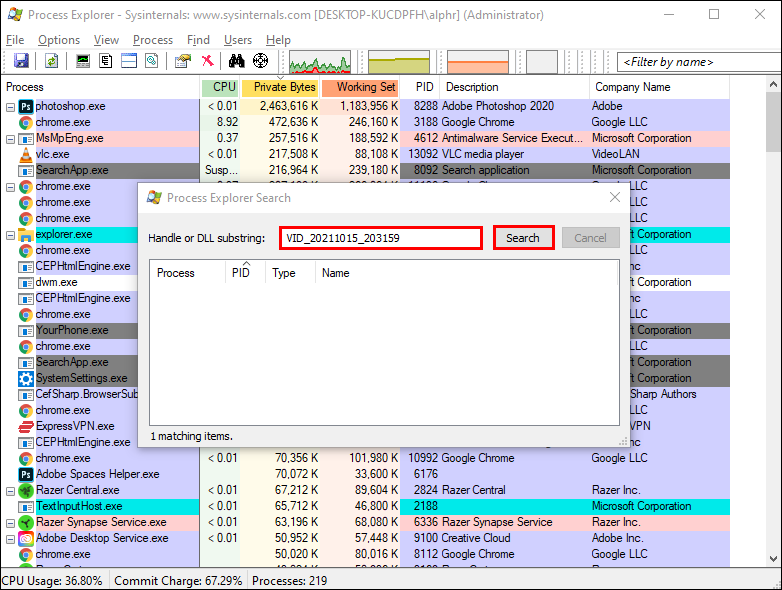
- Fill in the text box with the name of the locked file, then click the “Search” button to the right of the text field.
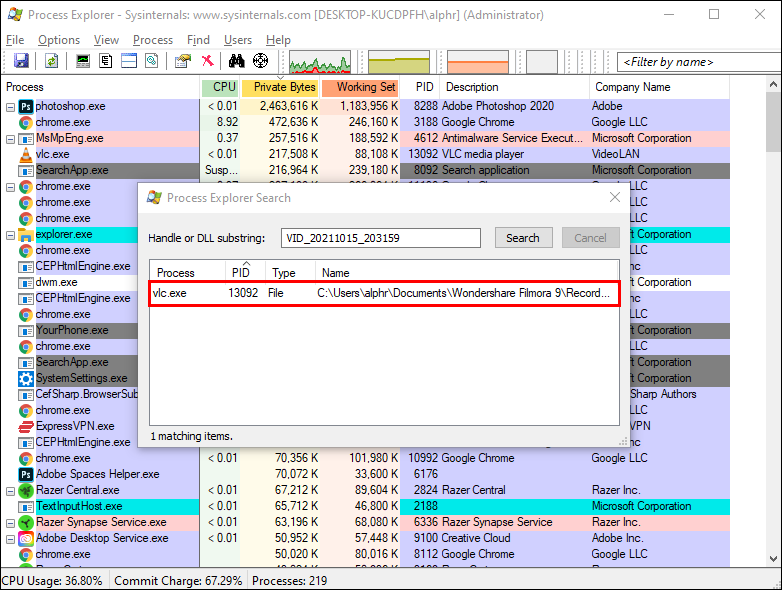
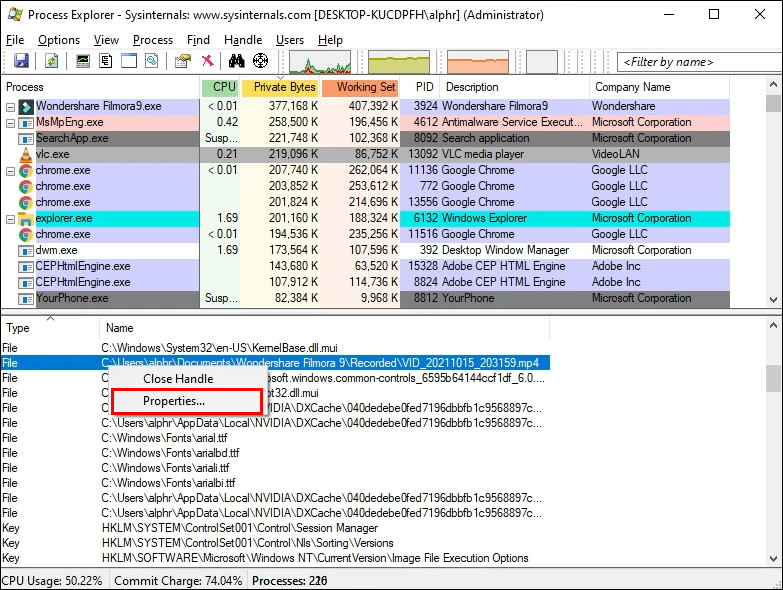
- Choose the locked file. In Process Explorer, look for the highlighted file name towards the bottom of the screen.
- Right-click the filename and choose “Properties.”
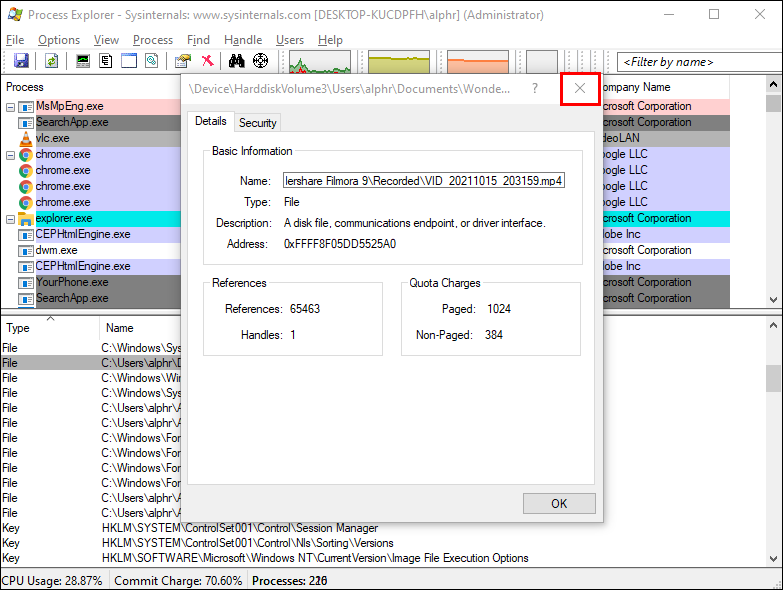
- Click the “Close Handle” button. By doing so, the file is unlocked, and you can delete it.
Finally, it’s time to remove the locked file:
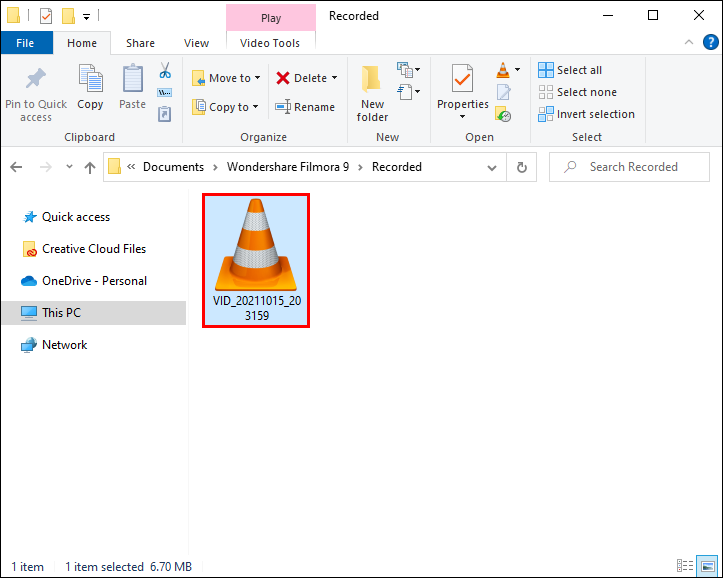
- Locate your file. Open the Start menu, then the File Explorer and find the formerly locked file.
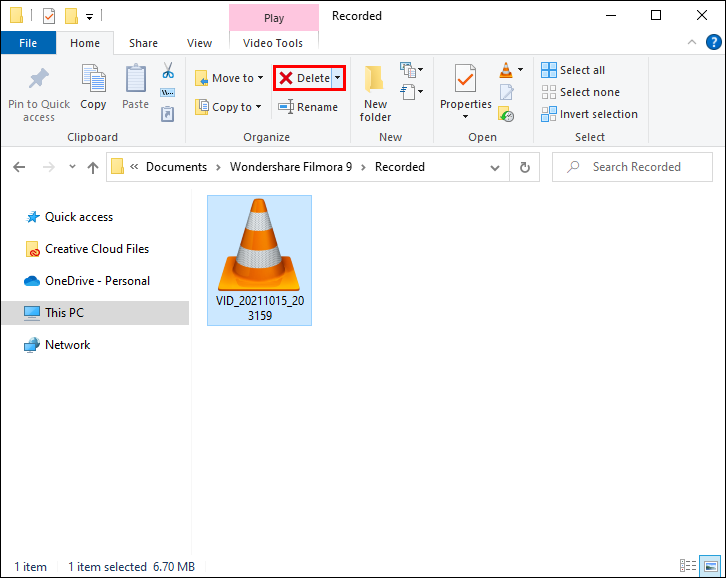
- Remove the file. Click the previously locked file, then the “Home” tab, and “Delete” in the toolbar. Or, you may select the file by clicking on it and then pressing the “Delete” key.
- Remove everything from the Recycle Bin.
Command Prompt
Another way to delete a locked file is to use the Command Prompt. Follow these steps to do so:
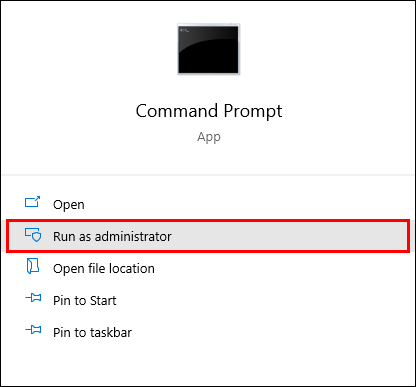
- Launch the Command Prompt by typing “Command Prompt” in the Windows search box.
- Select “Run as administrator.”
- Type “
del /f file name” in the popup box and press “Enter.” Please keep in mind that you must change the file name with the name of your own file.

Note that a file deleted using the Command Prompt cannot be retrieved if you change your mind.
Run Chkdsk
First and foremost, open the Command Prompt window and run it as administrator. The steps to do so can be found above. To proceed, follow these steps:
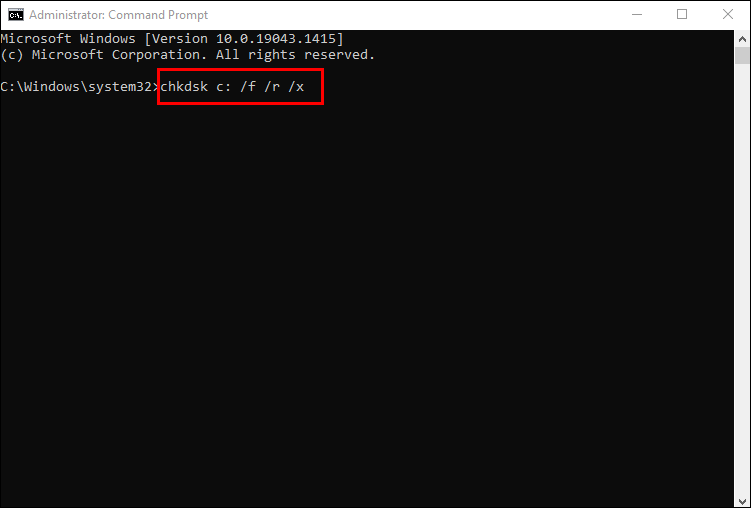
- Type “
chkdsk c: /f /r /x” into the command line window and press Enter. You can alter the drive letter if it is not C. - Find your file.
- Delete the file.
- Empty the Recycle Bin.
Change the File Extension
Sometimes, this is the simplest way to erase a file that won’t be removed when you press the “Delete” key. If you have a file named filename.mp3, click it in File Explorer, press F2, and replace the extension (.mp3) with anything else, such as.txt.
However, you must first enable file extensions since Windows hides extensions for recognized file types by default. Go to the “View tab” and check the ‘File name extensions’ box to allow extensions on Windows.
Have Control Over Your Files
Even though these methods aren’t as straightforward as just simply deleting a file, sometimes these methods are the only way. Remember that Windows versions are different, and the steps may vary, but the main idea stays the same. The most significant difference is that the File Explorer is Windows Explorer in older versions.
Some third-party apps and programs can assist you in deleting a locked file. However, be careful with them. Please do your research before downloading them. Some might carry malware and harm your files.
Have you ever had trouble deleting a file? How did you solve it? Let us know in the comment section below!
Disclaimer: Some pages on this site may include an affiliate link. This does not effect our editorial in any way.