If other people use your computer or mobile device, you may want to ensure that you keep up with the activity and sites visited. In Chrome and many other browsers, there isn’t a direct way to completely prevent users from deleting the Chrome browser history. However, there are a couple of tweaks you could use to stop someone with basic IT knowledge.
Read on to learn how to prevent the browser history from being deleted across various devices.
Disable Delete Browsing History in Chrome on a Mac
You can use the Google Apps Admin Console to prevent other users from deleting the browser history whenever they use your Mac; here’s how.
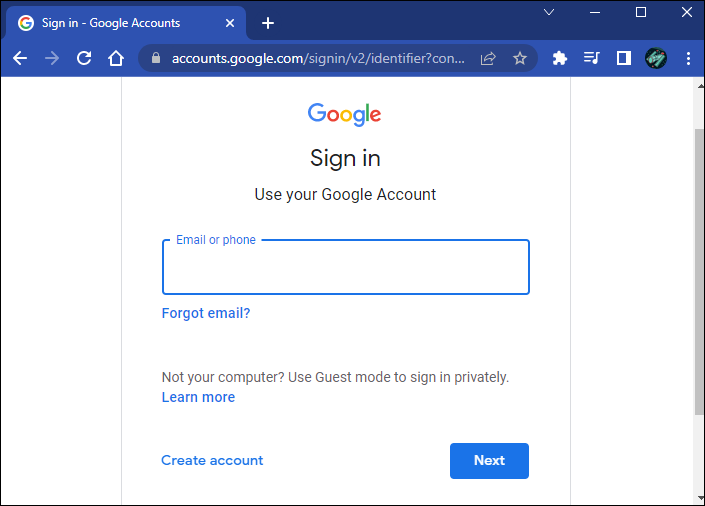
- Go to admin.google.com and sign in.

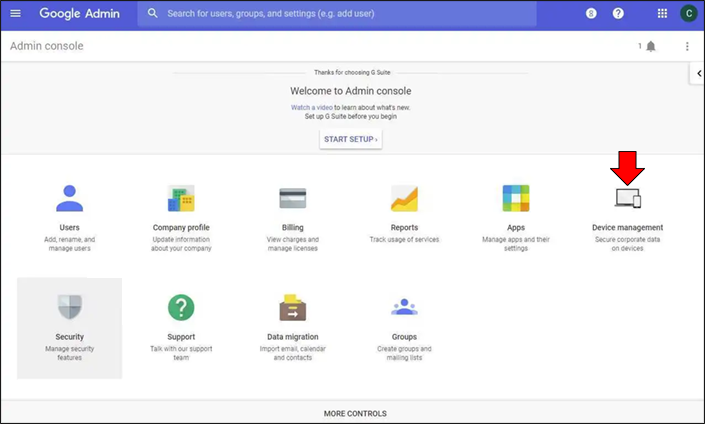
- Select the “Device Management” option.

- Click on “Chrome Management.”
- Choose “User Settings,” then go to “Security.”
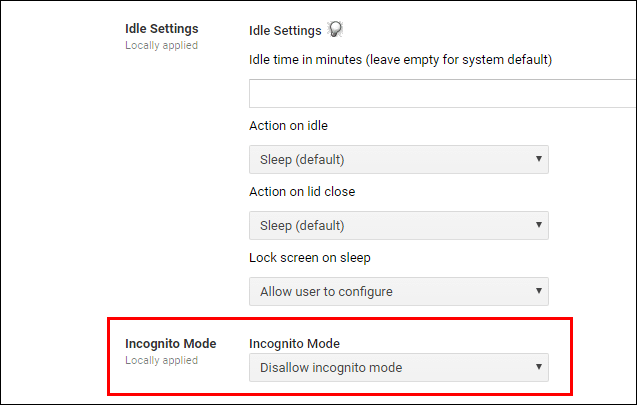
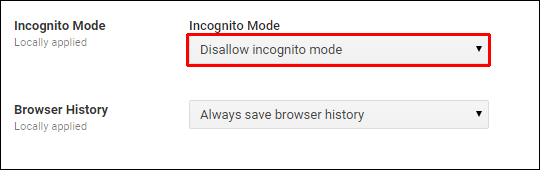
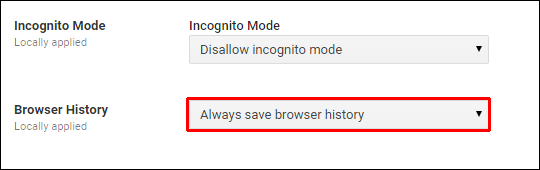
- Beneath “Incognito Mode,” choose “Disallow Incognito Mode” from the drop-down menu.
- Scroll down to the “Browser History” option drop-down and select “Always save browser history.”


However, anyone with intermediate tech know-how can bypass this method. If that’s a possibility, consider using a history extension. The Full History Keeper extension will record all sites visited even after it’s cleared.
- Visit the Chrome web store to find the Full History Keeper app.
- Connect it with your Chrome account to start saving the browser history.

However, this method will be ineffective when Chrome is set to Incognito Mode. Nor will it be effective if the user logs out of the Chrome account.
Disable Delete Browsing History Chrome Windows
Use the Google Apps Admin Console to stop the people you share your Windows PC with from deleting the browser history; here’s how.
- Navigate to admin.google.com, then sign in.
- Click on the “Device Management” option.
- Select “Chrome Management.”
- Choose “User Settings,” then go to “Security.”
- Under “Incognito Mode,” from the drop-down menu, select “Disallow Incognito Mode.”
- Scroll down to the “Browser History” option drop-down and select “Always save browser history.”

Someone with mid-level tech experience can bypass this method. If that’s a possibility, consider installing a history extension. The Full History Keeper extension records all sites visited even after the history is cleared from the browser.
- Go to the chrome web store to find the Full History Keeper app.
- Press “Add to Chrome” to start saving the browser history.


This method will be unsuccessful if Chrome is set to Incognito Mode. Nor will it work if the user logs out of the Chrome account.
Disable Delete Browsing History Chromebook
The tweak to prevent users from deleting Chrome’s browsing history is slightly different on the Chromebook. The following instructions are intended to disable the delete browsing history option.
- Go to admin.google.com and sign in.
- Select “Device Management,” then “Chrome Management.”
- Choose “User Setting.”
- Find “URL Blacklist” beneath “URL Blocking.”
- Type the following in the “URL Blacklist box:”
- “
chrome://settings/clearBrowserData/” - “
chrome://settings-frame/clearBrowserData” - “
chrome://history-frame/” - “
chrome://history/”
- “
- Save the changes.
Disable Delete Browsing History in Chrome on an iPhone
If you want to keep track of the sites visited by you and all the other people on your iPhone, you can access the “My Activity” feature via the Google app to view this information; here’s how.
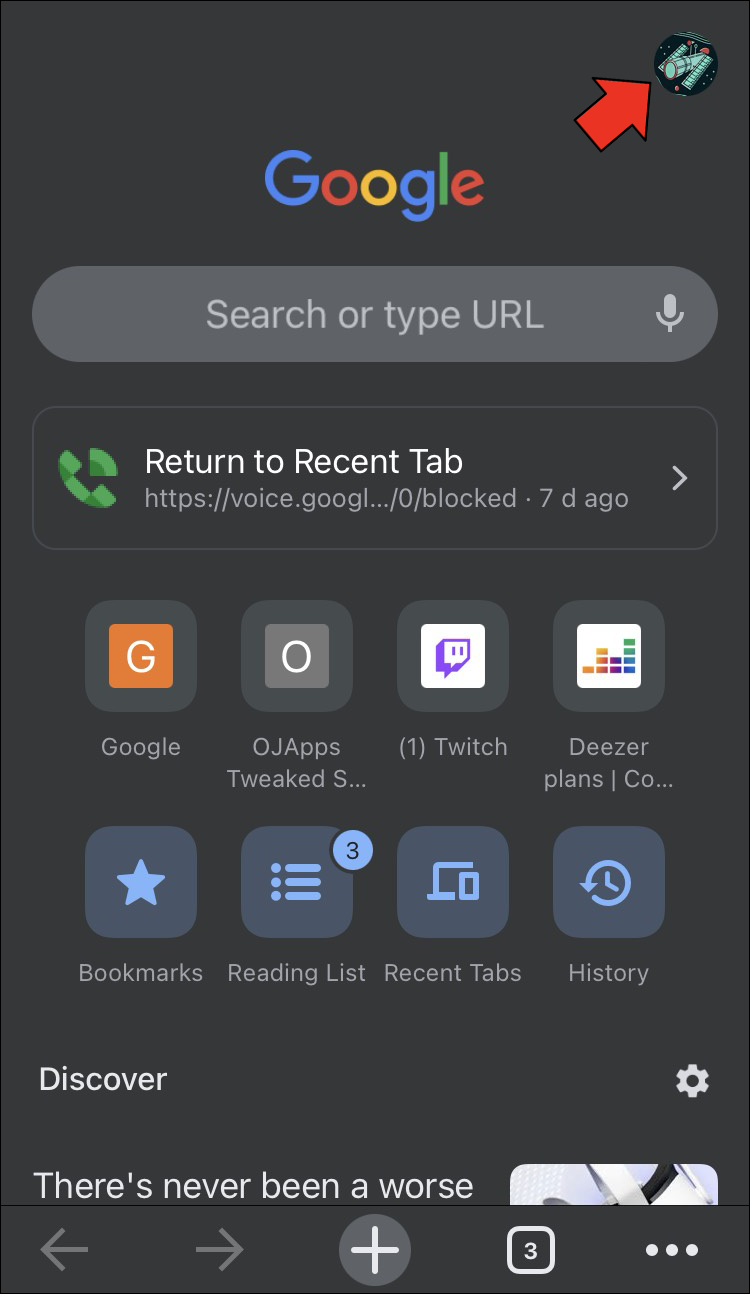
- Open the Google app.
- In the upper right, tap the profile picture to access the other user’s profile if they’re not already signed in.
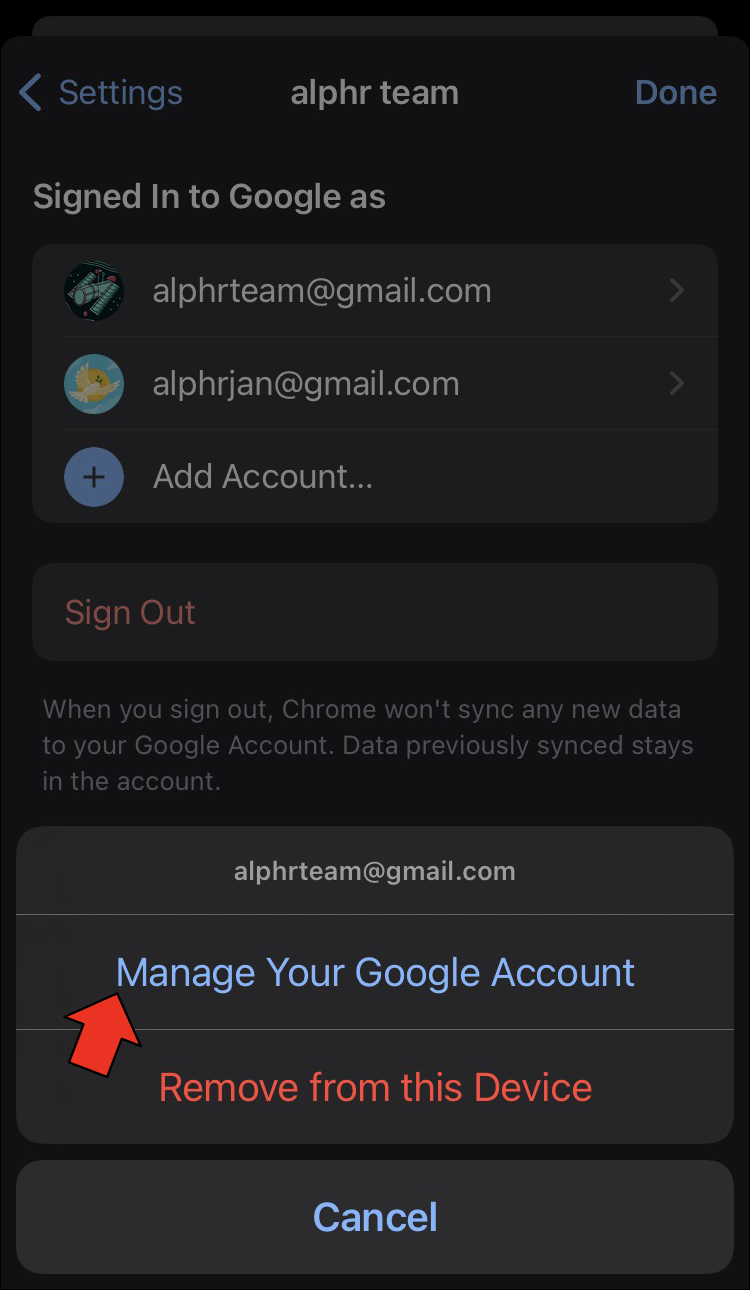
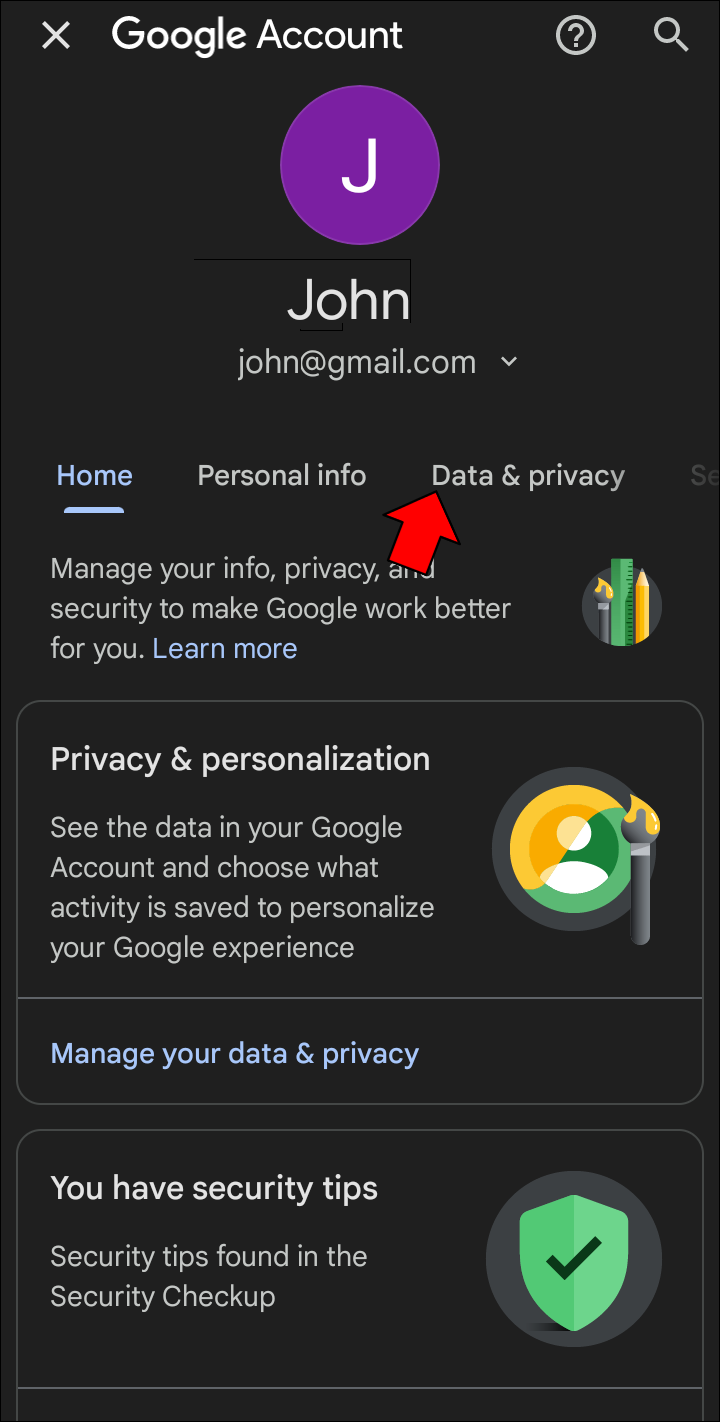
- Beneath the selected account, tap “Manage your Google Account.”
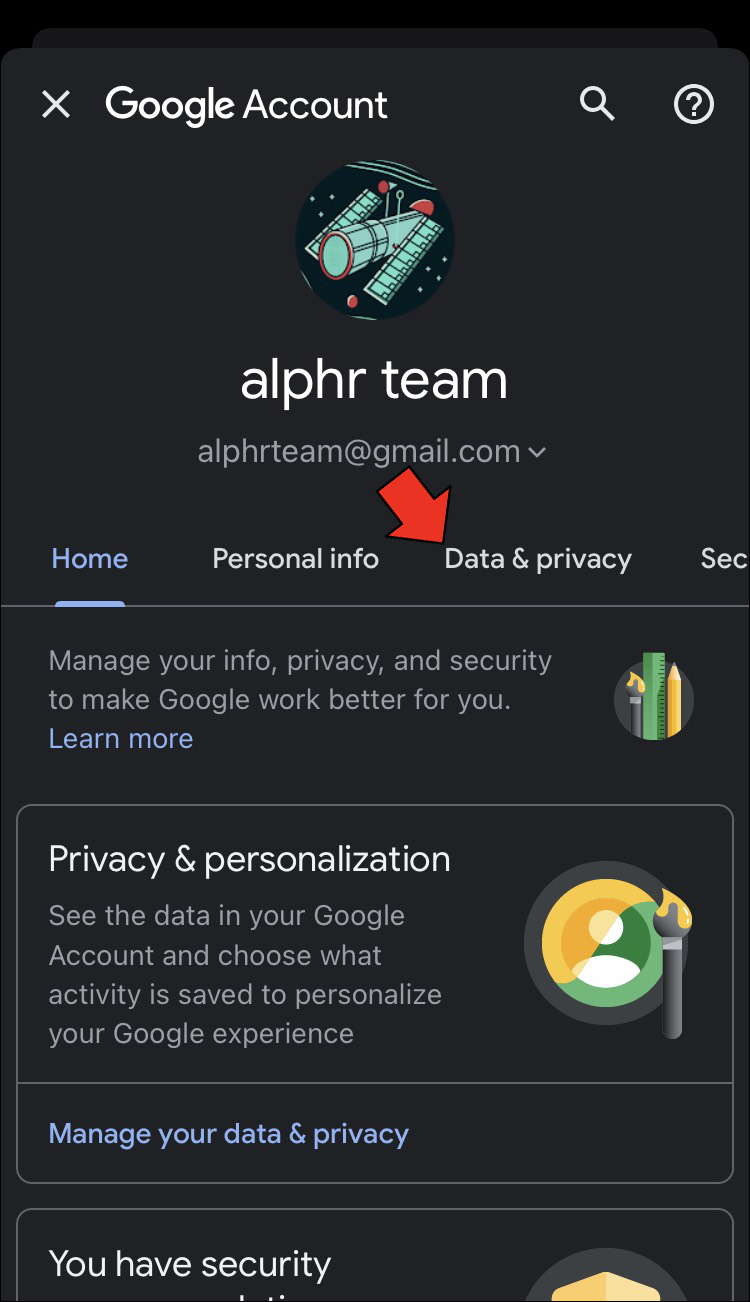
- Press the “Data & privacy” tab.
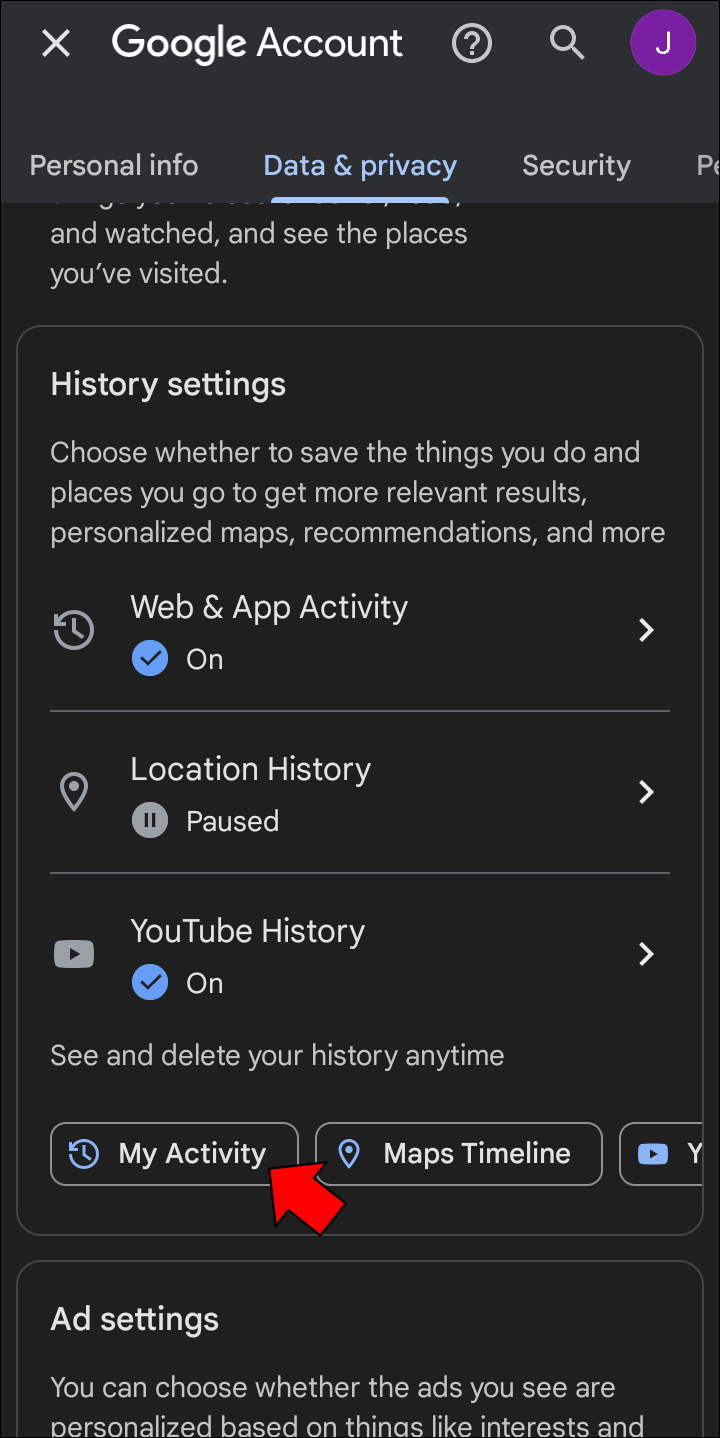
- Scroll down to the “History settings” and choose “My Activity.”


The “Don’t auto-delete activity” option is enabled by default. If you wish, you can set it to auto-delete activity older than 3, 18, or 36 months.
Disable Delete Browsing History in Chrome on an Android
To keep track of the sites visited by everyone using your Android device, you can access this information for each user via the “My Activity” on the Google app; here’s how.
- Launch the Google app.
- Tap on the profile picture in the top right to switch to another user if they’re not already signed in.
- Beneath the selected account, tap “Manage your Google Account.”
- Tap the “Data & privacy” tab.
- Scroll down to the “History settings” and select “My Activity.”


Device Links
lock-paragraph">The “Don’t auto-delete activity” option is enabled by default. You can set it to auto-delete activity older than 3, 18, or 36 months if you want.
FAQ
How do I lock my history on Google Chrome?
Here’s how to set a password for access to delete internet history.
1. Open a new web page and go to the My Google Activity page.
2. Select the “Manage my activity verification” link.
3. Click on the “Require extra verification” option, then “Save.”
Can someone see my browsing history from another computer?
Yes, when you’re connected to a network under another person’s control they can see your browsing history. For example, your boss or the network admin can see nearly everything you do in the work environment.
Will a VPN hide my history from my internet service provider?
When you use VPN, all your internet traffic will be encrypted, thus effectively hiding your activity from your ISP. However, your ISP may still be able to tell that you’re using a VPN and for how long, based on the fact that encrypted traffic is going to an IP address of a VPN server. You can check out our choices for the best VPN services.
Users Can Still Delete Their Browsing History
If multiple users access your computer or mobile device, you may want to closely monitor the sites visited. Chrome doesn’t offer a reliable way to prevent the other users using your devices from deleting their browsing history. However, you can use the admin console to set Chrome to always save browser history, use an app to save all history, or access the other user’s activity via “My activity.” Unfortunately, these workarounds are only partially effective, and anyone with mid-level tech knowledge could get around them. So bear this in mind.
Which method do you think would be the most effective in your situation? Tell us in the comments section below.
Disclaimer: Some pages on this site may include an affiliate link. This does not effect our editorial in any way.