Rebooting your Windows 11 to factory settings is a good idea for several reasons. The original setup may no longer work, or you may be having problems with your PC’s performance. Alternatively, you could be planning to sell your device and want to delete your files. Either way, a factory reset is a perfect solution, but how do you perform this process?
This entry will tell you how to factory reset your Windows 11 computer. We’ll give you several ways to reboot your device so that you can address various situations with your OS.
How to Factory Reset Windows 11
If your computer is working fine and you can sign in to your account, rebooting your Windows 11 PC shouldn’t be challenging. Here’s the simplest factory reset method:
- Press your Windows key and find the “Reset” function.
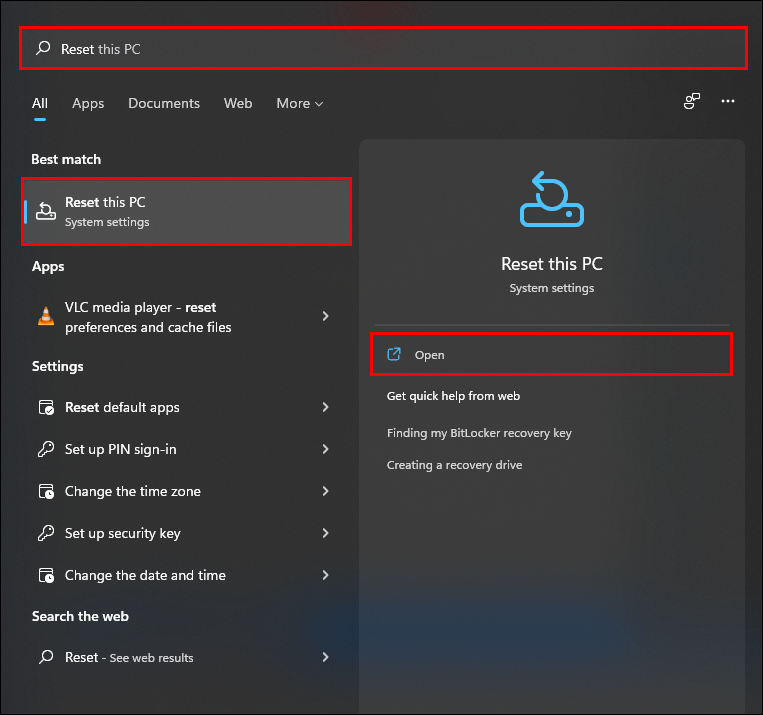
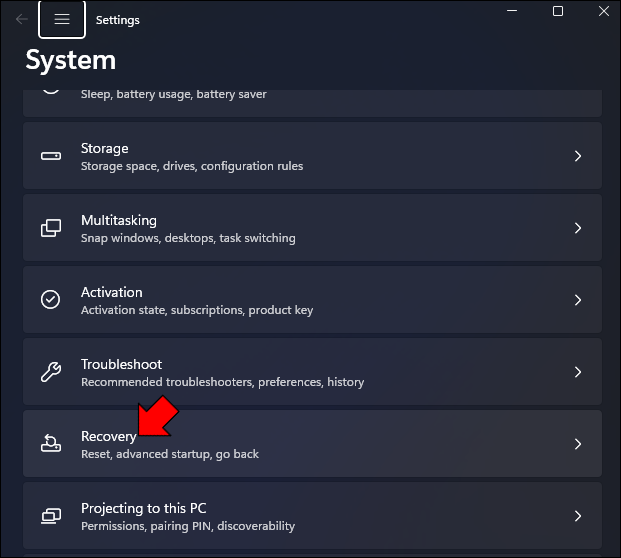
- Select the prompt to reset your PC. Another way to access this feature is to use the “Windows key + I” shortcut and go to “System,” followed by “Recovery.”

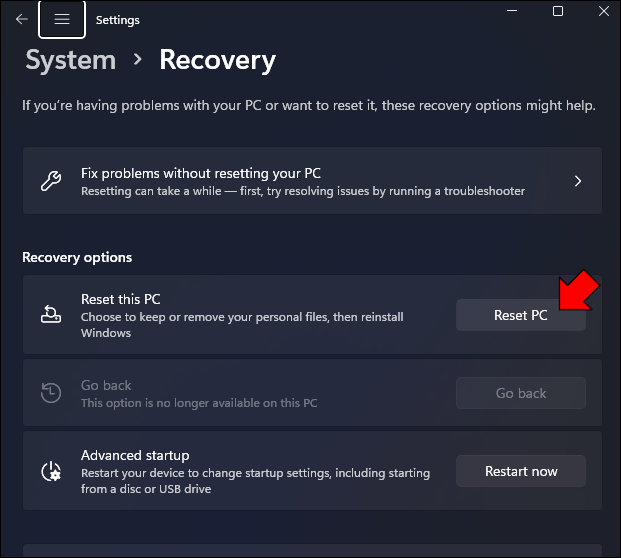
- Browse the “Recovery” windows and press “Reset PC.”
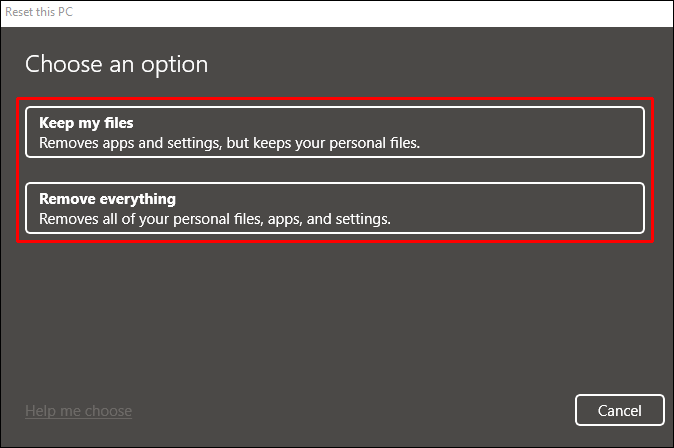
- Choose to keep your files. This way, you’ll reinstall Windows 11 by removing all installed programs, but you’ll keep your folders and files from all drives except for C. All contents of the “Downloads,” “Documents,” and “Desktop” folders will be gone, so be sure to back them up beforehand. If you wish to get rid of everything (including all files), click “Remove everything.”
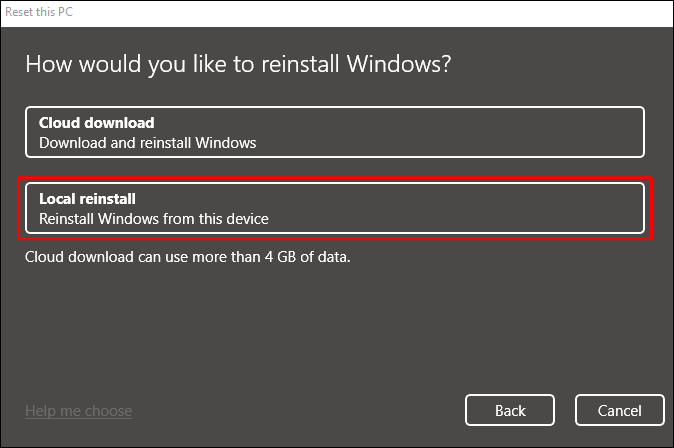
- Select “Local reinstall” to install the same OS as the one you’re currently running, which takes less time. You can also reset the computer and update the system by pressing “Cloud download.” This option downloads about 5GB of data and usually takes more time.
- Go to “Additional settings” to make any necessary changes and hit “Next.”
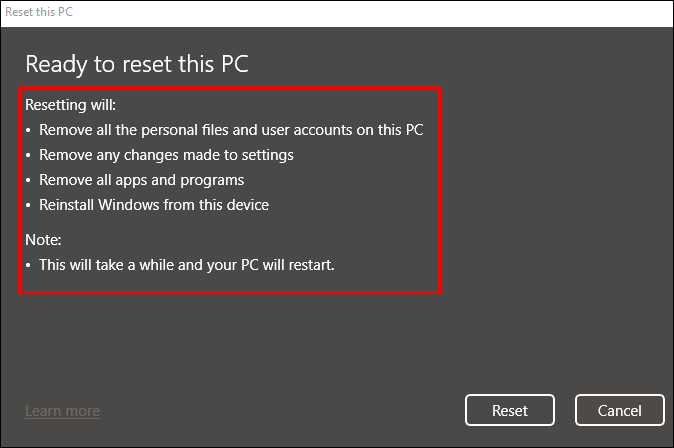
- Read the summary.
- Choose “Reset,” and your computer will start rebooting. Follow the instructions to complete the process and set up your account.


If your computer isn’t booting, you’ll only have one option to reboot your Windows 11 – using the “Recovery” method. It should appear automatically if your PC is malfunctioning, but if it doesn’t, resetting your device when the Windows logo appears should do the trick. Keep resetting until you can see the “Recovery” section. From there, the process is relatively straightforward:
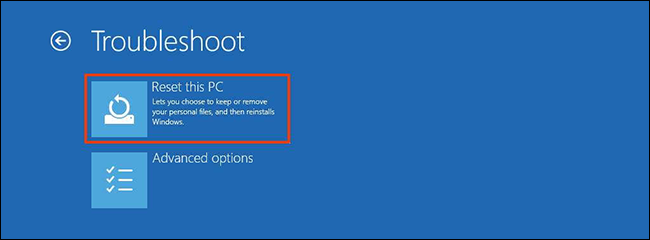
- Click “Advanced options.”
- Navigate to “Troubleshoot” and “Reset this PC.”
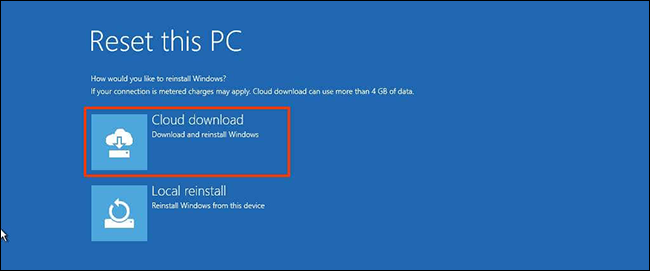
- To keep your files, select “Local reinstall” or choose “Remove everything” to delete your programs and files. Alternatively, go for “Cloud download” to reinstall the latest version from the web.
- The computer will now reboot and your factory reset will be initiated. Use the on-screen prompts to finalize the process and set up your OS.

How to Factory Reset Windows 11 With a USB Drive
Resetting Windows 11 with an external drive is the most complex method. This procedure requires you to download a disk image to a USB drive or other external storage from another PC. Additionally, make sure there’s enough space on the external drive (at least 8GB) to download the ISO file. Finally, having a stable internet connection will dramatically speed up the process.
If your PC meets all the requirements, it’s time to start the reboot:
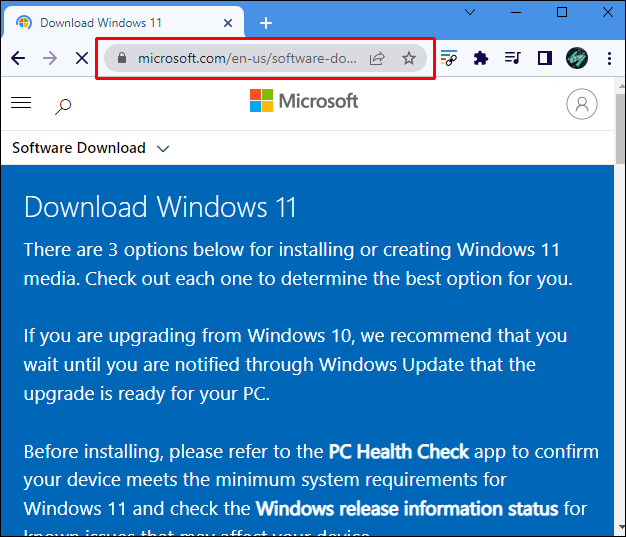
- Go to Microsoft’s website and navigate to this download page.
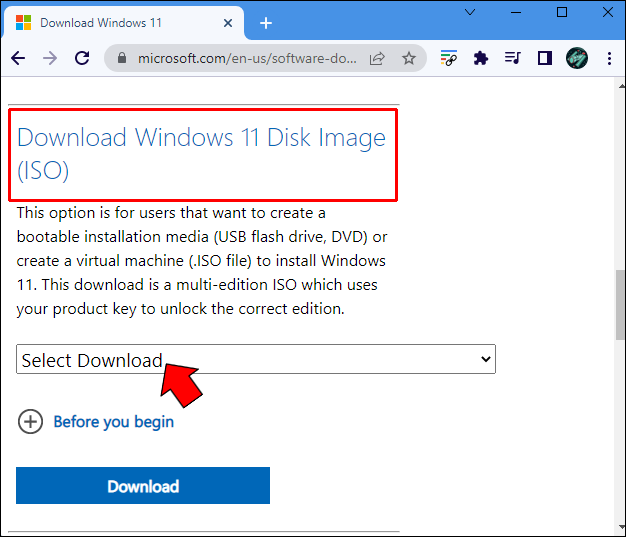
- Find the “Download Disk Image” section and press “Select Download.”
- Choose “Windows 11,” followed by “Download.”
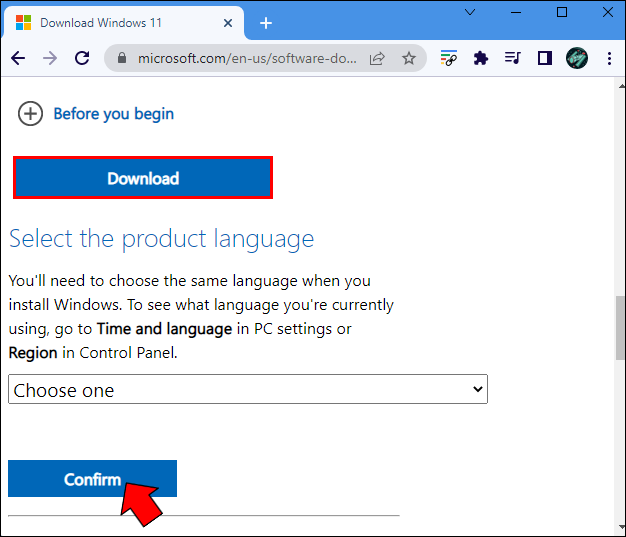
- Select your preferred language and hit “Confirm” to initiate the download. This should generate a download link. If not, retry after 24 hours or use another PC if there are error messages.
- Pick “64-bit Download.” You can only use Windows 11 with this type of processor. Factory resetting your device to a 32-bit unit might not be available.
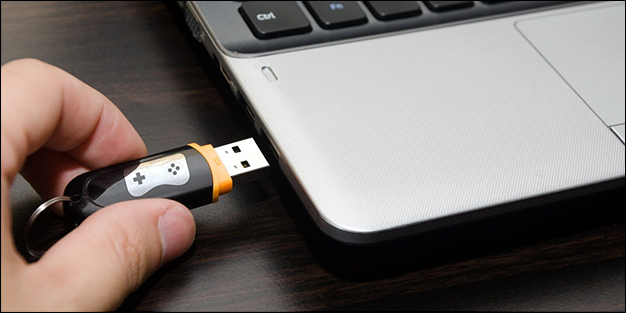
- Plug your USB drive into your computer once the download finishes.
- Head to the Rufus website and download the software. This is a dependable solution for setting up USB drives.
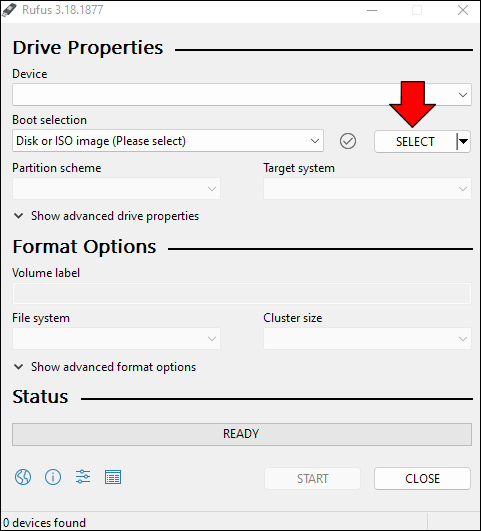
- Run Rufus on the device and it should automatically detect your PC. Navigate to the “Device” window and choose “Select” to proceed.
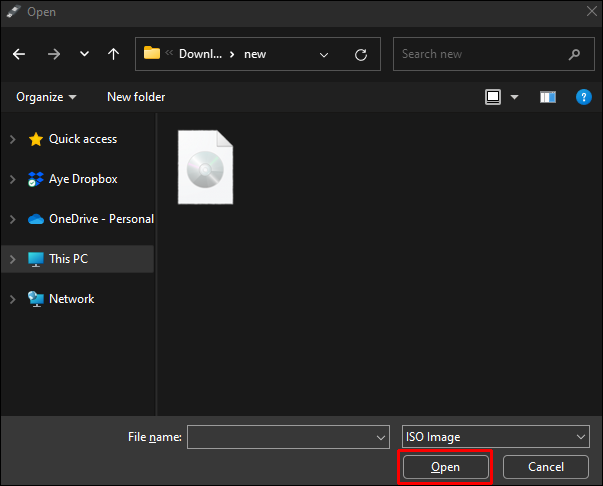
- Find the ISO file on your computer, select it, and press “Open.”
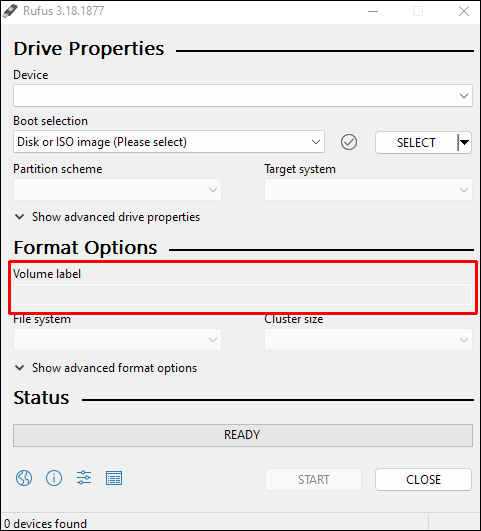
- Go to “Format Options” and enter the name of your bootable drive in your “Volume label” box.
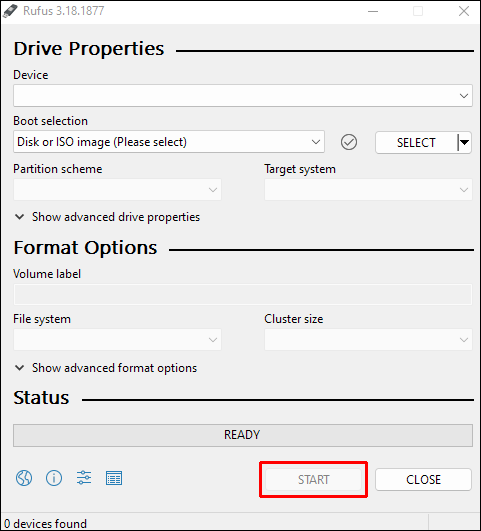
- Hit “Start” to set up the drive.
- Press “OK” to delete all contents on your USB drive. If you want to return and back up the data, hit “Cancel.”
- Turn on the computer you wish to reboot and press F2 to reach the BIOS settings. On some PCs, you might need to press F1, F10, or F12. If none of these work, contact the manufacturer of your device or go through the instruction manual.
- While in your BIOS section, go to “Security.”
- Find “Secure Boot” and disable it.
- Save your changes by pressing F10.
- Leave the BIOS and reset the computer.
- Press F12 to access “Boot Manager.” You may need to press this button repeatedly.
- Head to “Boot Option” and choose your USB drive.
- Hit “Enter” to load your setup file. Follow the prompts to complete your Windows 11 installation.
- Press “Install Now” to launch the factory reboot.


What should you do after factory resetting Windows 11?
Once you’ve rebooted your Windows 11 PC, reinstalling your apps isn’t the only thing on your to-do list. You also want to ensure you’re not missing out on any crucial features. The first step is to check for the latest updates and install them:
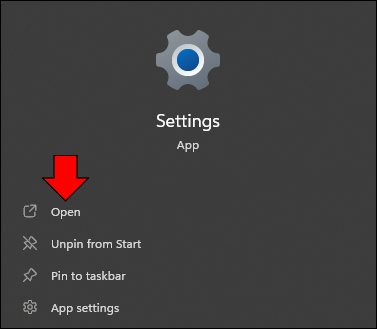
- Launch “Settings.”
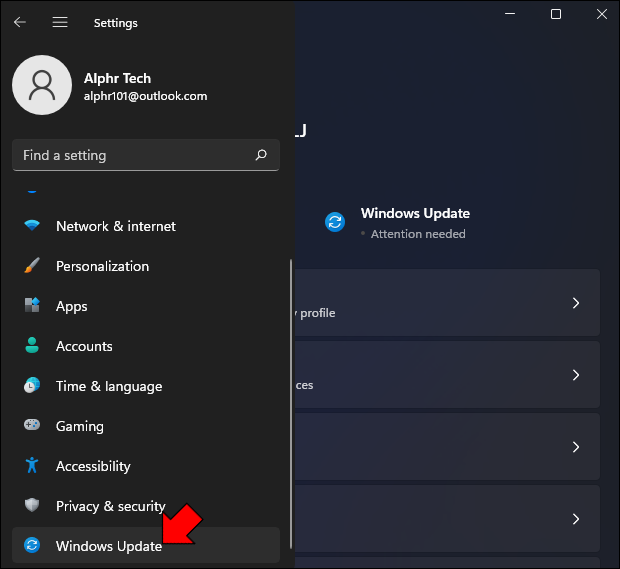
- Click “Windows Update.”
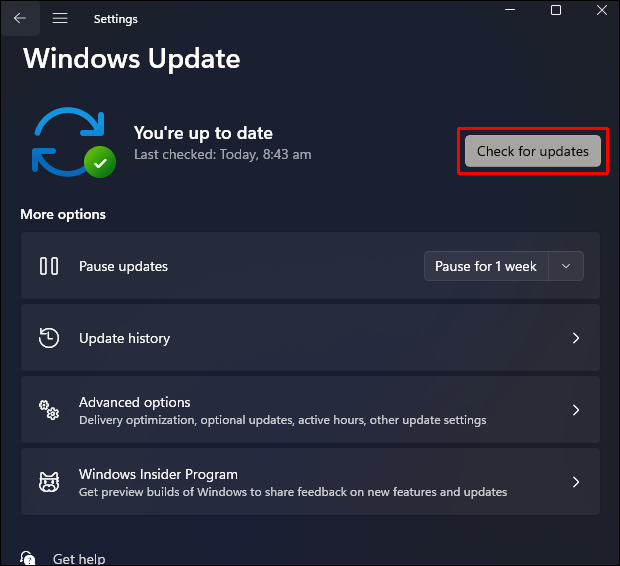
- Select the prompt to check for Windows 11 updates.
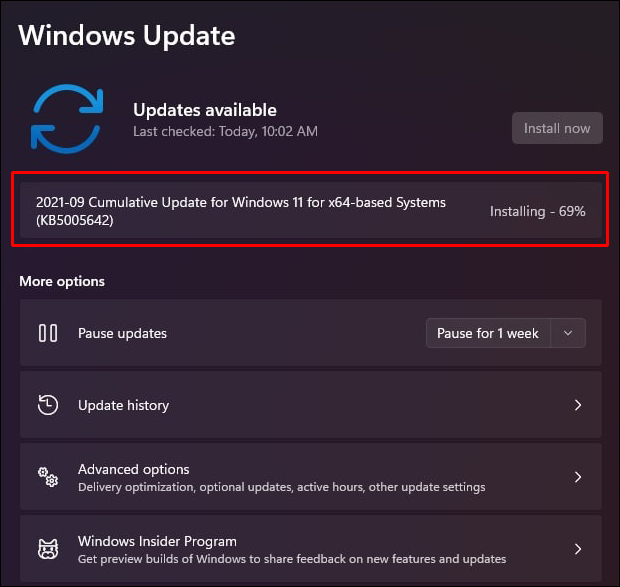
- Wait for the system to download and install any updates.
Next, you should check for any missing drivers:
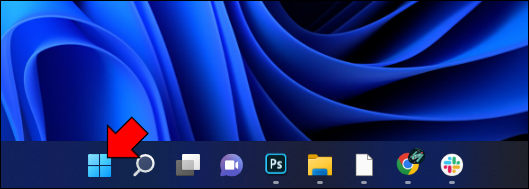
- Go to “Start.”
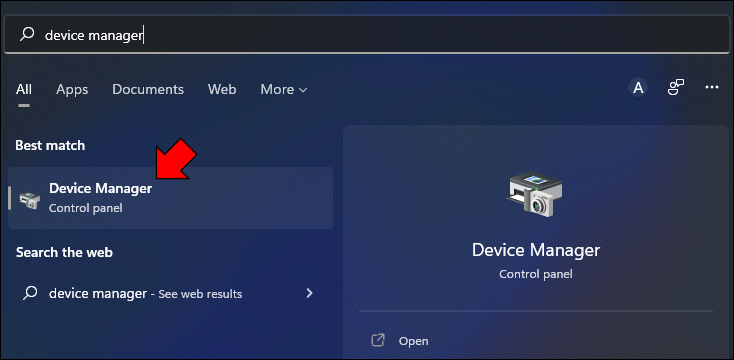
- Use the search option to find the “Device Manager.” Click the first result to launch the app.
- Confirm there’s no “Other devices” section, which generally shows devices with missing drivers. However, if the branch appears, visit your PC’s support website, and download the necessary drivers.
Finally, you want to restore your backup files. If you’ve backed them up with an external drive, connect it and follow these steps:
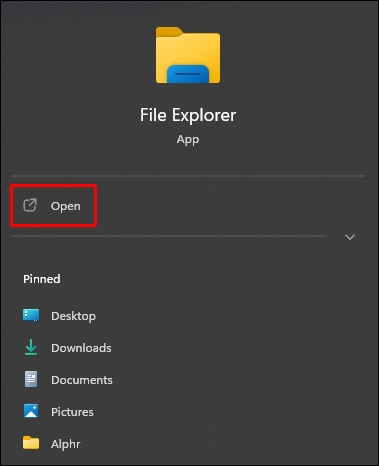
- Start “File Explorer”
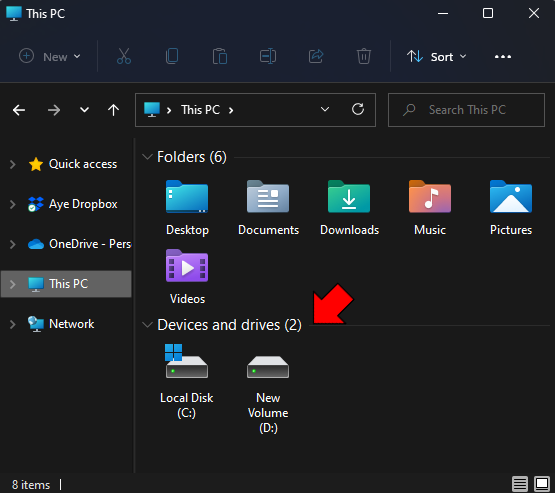
- Select “This PC” on the left part of the screen.
- Find “Devices and drivers.”
- Double-click the driver with backup files.
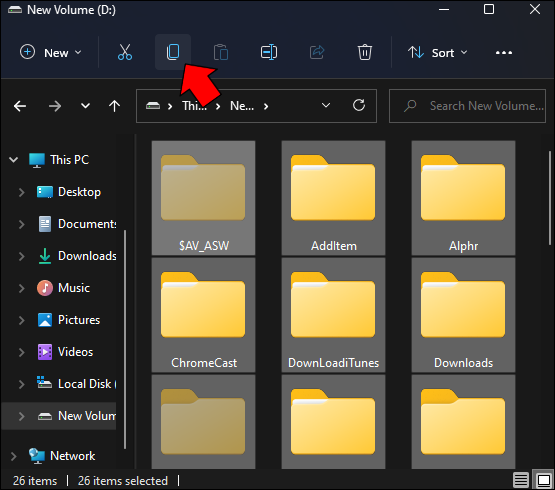
- Choose the folders and files.
- Click “Copy.”
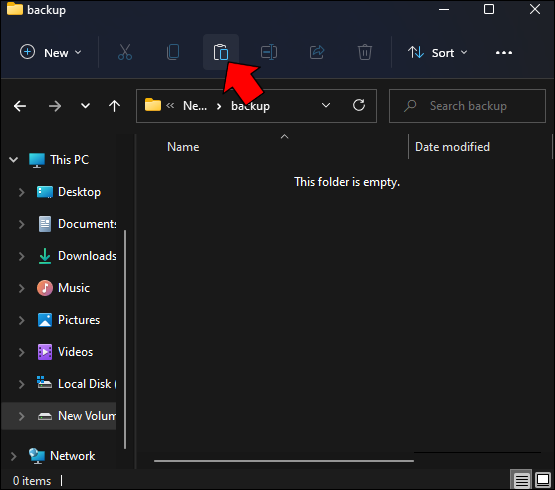
- Open your destination folder and click “Paste” to wrap up the restoration.


File History is another backup restoration method you can use:
- Plug the drive with backup files into your PC.
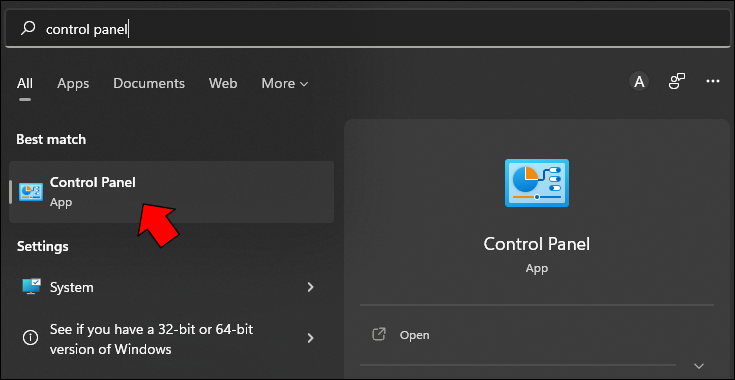
- Type in “
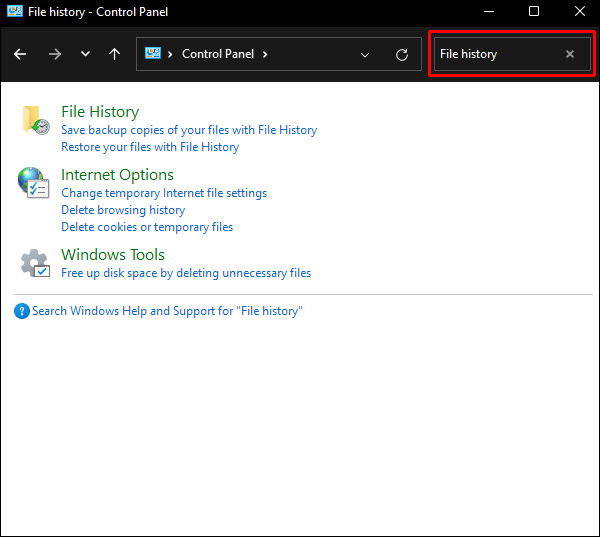
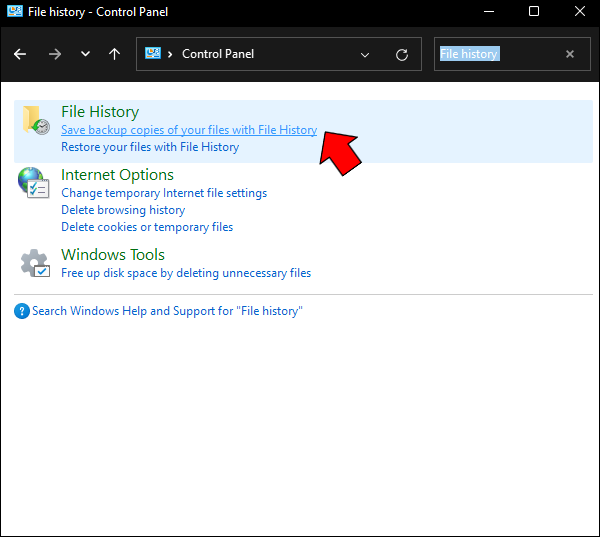
Control Panel” in your search box and click it from the results. - Navigate to the search box in the new window and enter “File History.”
- Choose the prompt to save your backup copies using File History.
- Restore your files by following the on-screen instructions.

Lastly, you can restore your files to Windows 11 with the “Backup and Restore” feature:
- Connect your external drive.
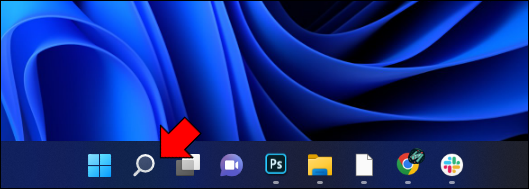
- Go to the taskbar and find the search box.
- Type in “
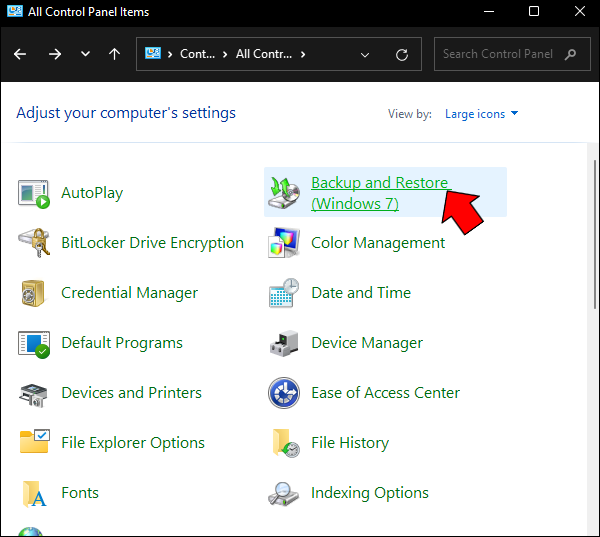
Control Panel” and click the result. - Choose “Backup and Restore.”
- Select the backup folder you want to retrieve files from and choose the location of the external device.
- Follow the prompts to finish the restoration.
Get Back on Track With a Quick Reboot
There’s no need to let a sluggish Windows 11 hinder your work and gaming. Use one of the above methods to restore the system to the factory settings, and you’ll see the difference immediately. Your PC will run smoothly, making your experience more enjoyable.
Have you ever restored Windows 11 to factory settings? How did the OS perform after the reboot? Let us know in the comments section below.
Disclaimer: Some pages on this site may include an affiliate link. This does not effect our editorial in any way.


