Depending on what you want to make, you can use various options such as a pen tool, bend tool, shape tools, and vector network to create curved lines in Figma. Each instrument brings something new to the table, and combining them can result in icons and other simple creations or even more complicated designs like irregular polygons and illustrations.
Read on to learn everything you need to know about curving and shaping lines in Figma.
How to Make Curved Lines in Figma
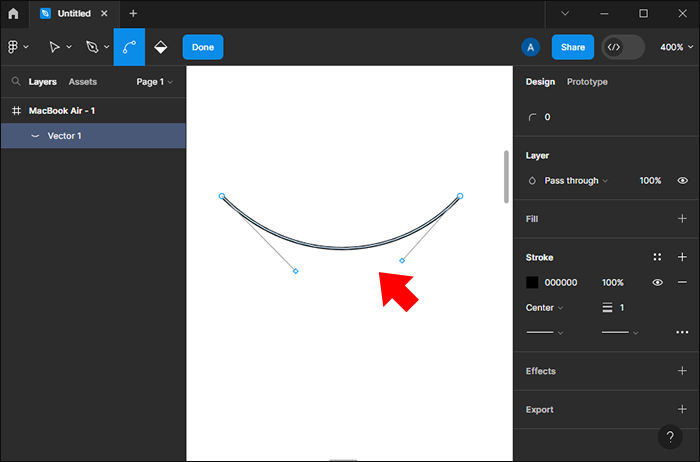
When you create an object in Figma, you can use the bend or pen tools to curve the lines. To create lines with a pen, you first have to master this tool. Here is how you can curve the line with the pen:
- Left-click to create a node.
- Drag the cursor to create a line from it.
- Click and hold the left mouse button on the canvas.
- Drag the mouse around to adjust the curve between the nodes.
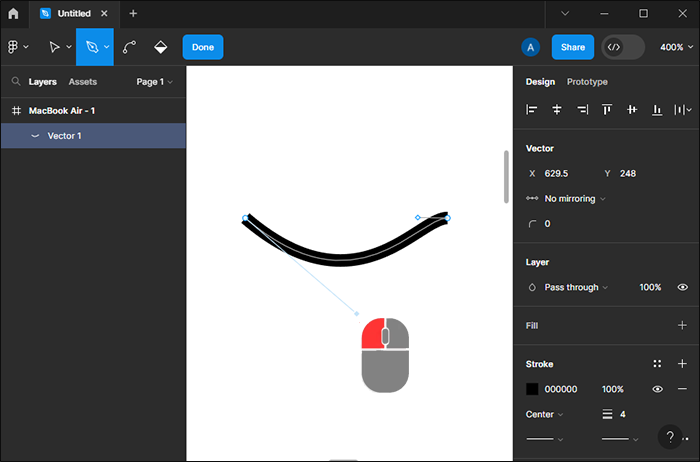
- Release the left mouse button to finalize the line.
- Repeat steps 2 to 5 as needed until you get a complete shape.
This is how you can go on about creating curves with the bend tool:
- Create a line or an object with the Pen tool.
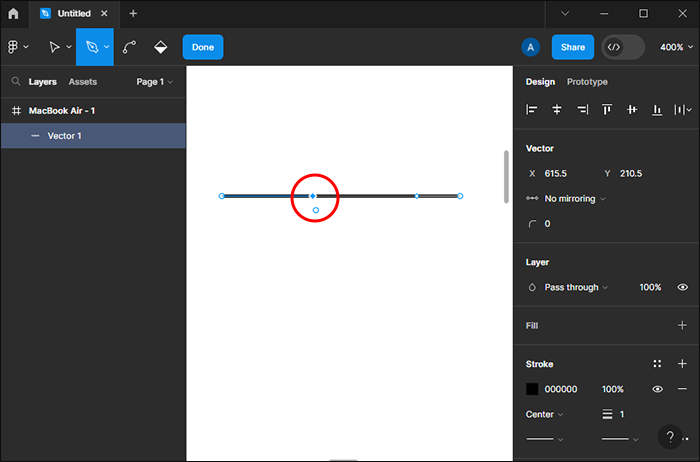
- Select one of the nodes.

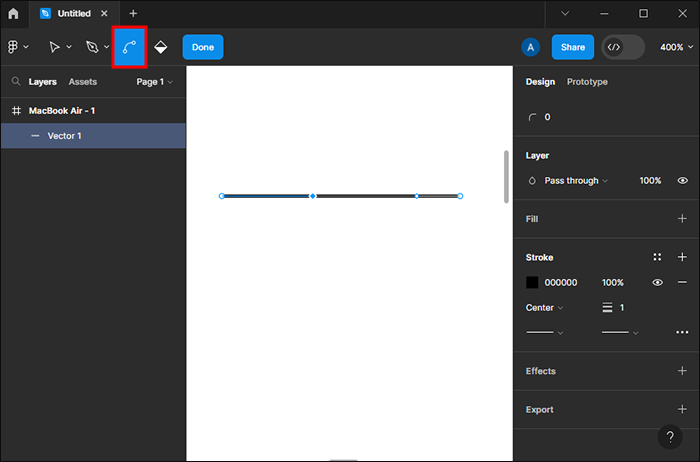
- Tap the Bend tool or press the Ctrl button to select it.
- Click on the node and drag it in the desired direction.
- Select the other nodes and drag them to curve all the edges of an object or a line.

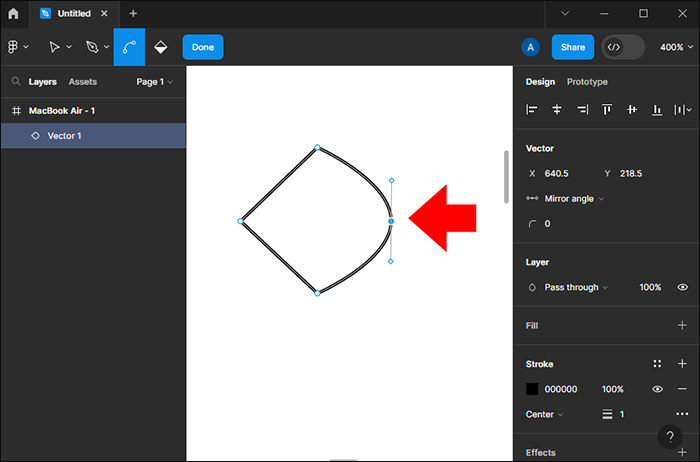
After you do this, you will see the handles next to the nodes you dragged. Click and drag on the handles to manage the angle and position of the curves. Furthermore, you can select the curving type when you curve an object. This option can be found in the Design panel on the right of your screen. Possible options are No mirroring, Mirror angle, and Mirror angle and length.
If you select the Mirror angle and length option when you curve an object, both sides will move symmetrically. When you try to move one of the handles, the second handle tries to mirror the movement. If you want an asymmetrical shape, change the option to No mirroring or press the Alt key and left-click to drag the node. When you use the latter method, the mirroring option changes automatically.
Once you have made changes, export your design to Figma.
How to Remove Nodes in Figma
If you created too many lines in your object and want to remove one but keep the shape closed, this is what you have to do:
- Select the node you want to remove.
- Tap the Shift and Delete buttons on your keyboard simultaneously.

If you select the node and press the Delete button without holding Shift, you will delete the selected node and the two nodes connected to it, leaving the object open.
After you’re done editing, you need to exit the edit mode by:
- Tapping the Done button in Figma.
- Pressing the Return, Enter, or Escape button on your keyboard.
- Double-clicking on an empty canvas (Double-clicking on the layer where your object is turns the editing mode back on).
How to Create a Circle Manually in Figma
Sometimes, you’ll need simple objects like rectangles, squares, or circles. These shape tools can be used in such cases, but knowing how to make these objects manually can’t hurt. While rectangles and squares are constructed by connecting nodes, a circle requires using the bend tool. Here is how you can create a circle with pen and bend tools:
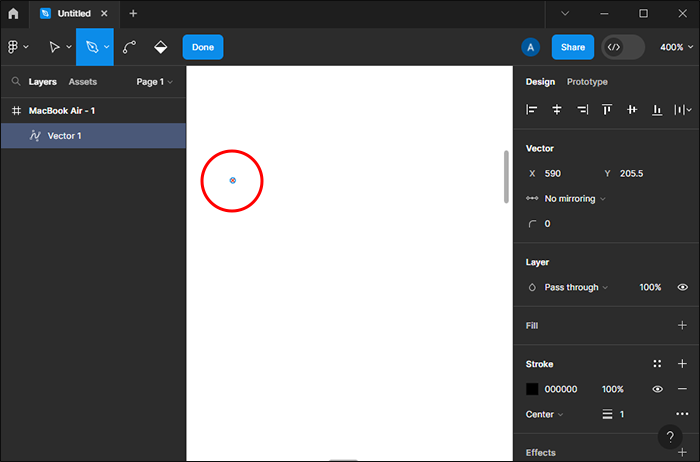
- Select the Pen tool.
- Create a node.
- Hold Shift to make a rhombus square (Shift allows you to move the line at a 45-degree angle).
- Connect the four nodes by holding Shift and left-clicking to add nodes in the right spots.
- Go to the Vector tab in the Design panel.
- Tap the Mirror angle and length option.
- Tap the Ctrl button to select the Bend tool.
- Left-click and drag on the node to bend it.
- Bend all four nodes the same way.

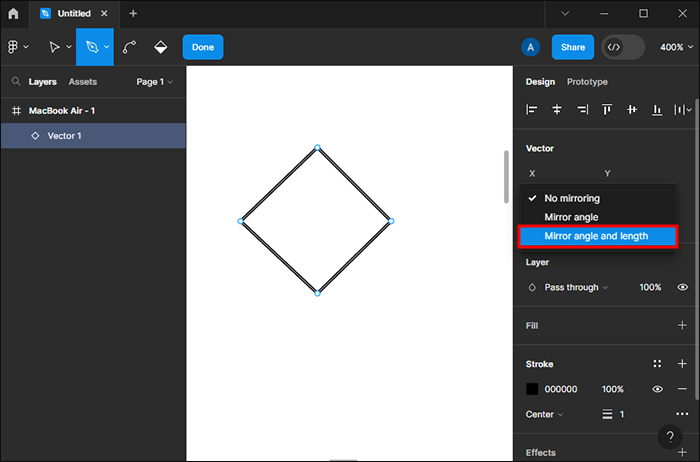
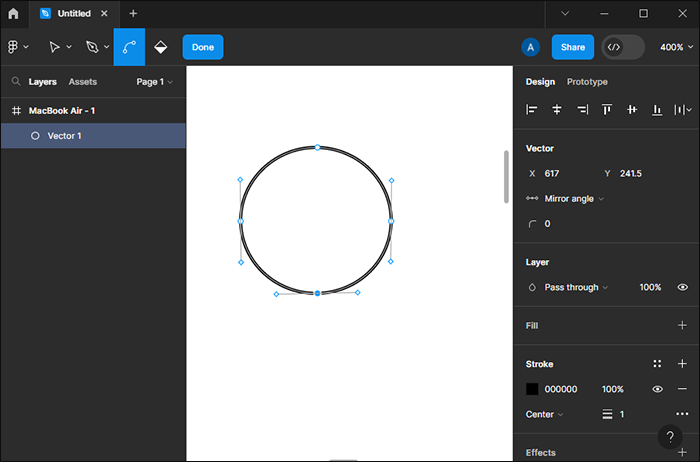
The Mirror angle and length options are crucial for creating a circle. If you don’t use it, the curves won’t be symmetrical. However, if you intend to create an asymmetrical round object, leave the option No mirroring on.
Understanding Line Tools in Figma
Objects in Figma are created by connecting multiple nodes using the most essential tool, a pen. Another way to manage the objects is by using a vector network. Knowing the difference between a standard straight line and a vector network is essential when making curved lines.
With a vector network, you can create complex shapes and connect many diverging nodes, while with the pen, you can create two nodes on a single line.
If you need a simple curved or straight object, you can use shape tools instead of the pen tool. These tools are arrows, rectangles, ellipses, and polygons. However, it would be best to use the pen tool to create a unique vector object.
Practice Using the Pen Tool
Figma can be challenging to use for beginners. For this reason, you can practice it by visiting a website called Bezier Game. This website is made to help you practice and master the pen tool, which will later allow you to use it more smoothly in Figma.
FAQs
To maintain consistency in curvature, consider using guides or grids to align anchor points and bezier handles. You can also copy and paste bezier handles from one line to another to ensure uniformity.
While Figma doesn’t natively support custom brushes or strokes, you can create unique line styles by combining basic shapes, gradients, and effects. Additionally, you can explore third-party plugins for advanced stroke customization options.
Disclaimer: Some pages on this site may include an affiliate link. This does not effect our editorial in any way.