When you can’t decide on one color, gradients are an excellent option. In Figma, you can make various gradient backgrounds, put a gradient on a shape and text, create stroke gradients, and much more. You can even create mesh gradients with the blur effect or with a Figma community mesh gradient plugin.
Since Figma has so many different ways to create a gradient, new users might struggle to grasp them all from the beginning. Of course, experimenting is all part of the learning process, but it’s much easier to have all the instructions in one place. And this article provides exactly that.
How to Create Different Gradient Styles in Figma
Figma offers various gradient styles that you can use to fill out backgrounds or objects on the canvas with multiple colors.
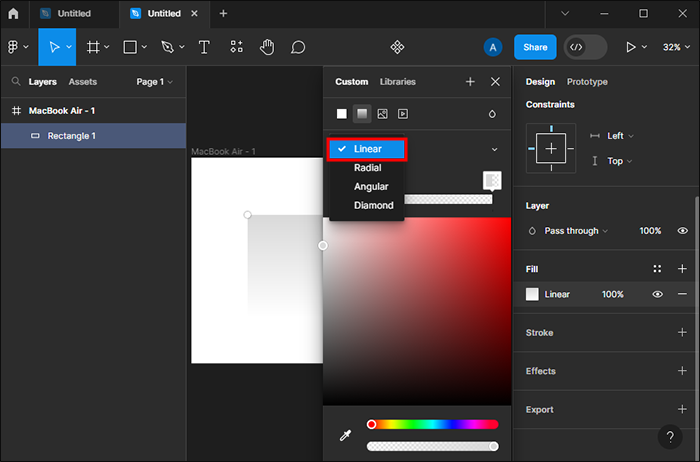
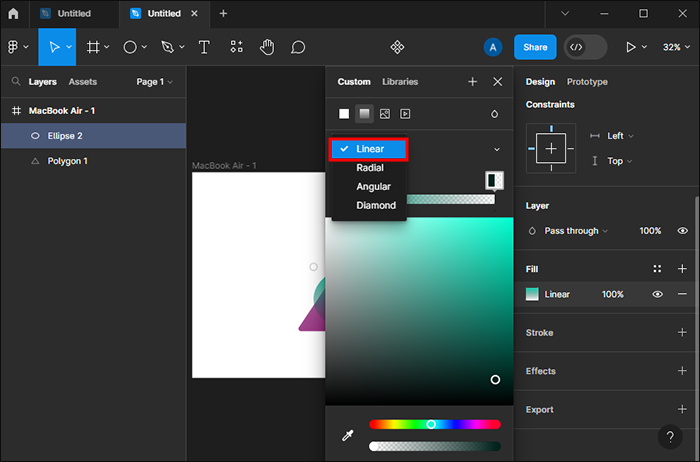
- Linear: Linear gradients have two colors that blend together in a straight line.
- Radial: With radial gradients, the first color starts from a single point and blends into the other in all directions.
- Angular: In angular gradients, you can determine the direction in which the gradient moves by adding angles. It’s an excellent option for creating 3D images.
- Diamond: As the name suggests, diamond gradients start from one point and spread out in the shape of a diamond.
The steps for making any of these gradient styles are the same. The only difference is in the style you select. Here’s how to create a gradient design in Figma:
- Open a blank Figma file.
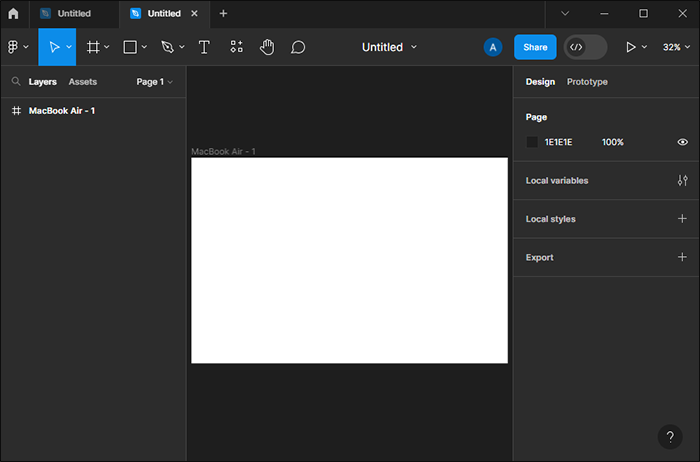
- Tap the “Rectangle Tool” from the left toolbar.

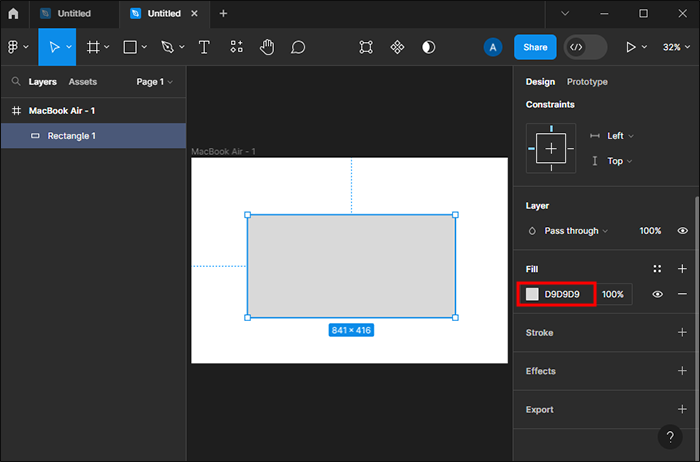
- Using the tool, draw a rectangle on the canvas to use as the gradient reference.
- Select the created rectangle.
- Click on the current color under “Fill” on the right panel to open the color picker.
- Press the drop-down menu and change the default “Solid” to whichever gradient style you want. Two color stops or boxes will appear.
- Select each color stop and pick the color you want to add to the gradient.
- Tap the four dots next to “Fill” to save the gradient as a style.


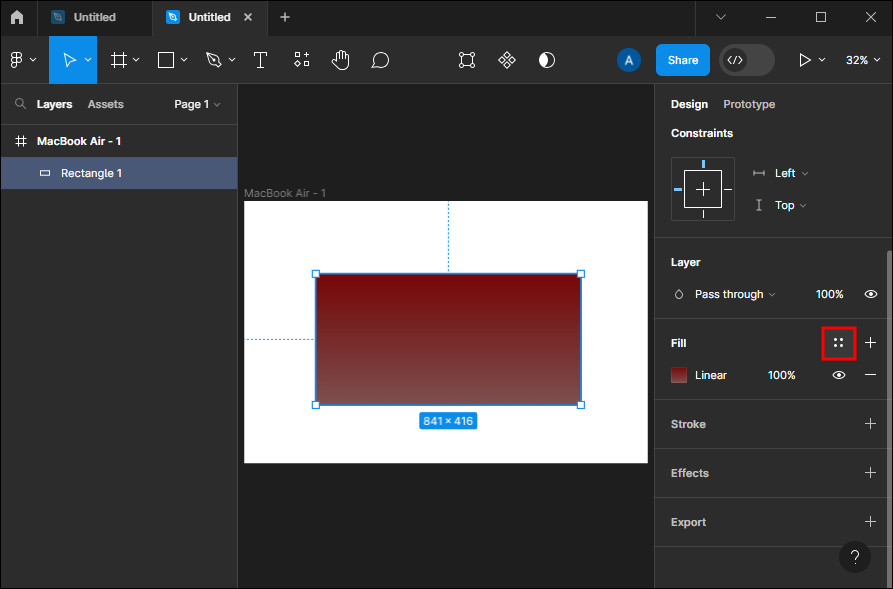
After that, you can adjust the transparency value, position the color stops where you want one color to end and the second one to begin, add another color stop, move them around on the canvas, or change the gradient angle. When you’re done adjusting, save the gradient again (Step 8).
Note: To delete a color stop you added, select the stop and hit “Delete” or “Backspace” on your keyboard.
Now, you can apply the gradient style to any object you want.
How to Create a Mesh Gradient in Figma
Mesh gradients are popular among big companies and brands. If you’re a frequent Instagram user, you see it every day the app’s logo. Thus, knowing how to create them can be useful in situations when you need to add some interest to your projects.
As mentioned, mesh gradients can be created with a plugin provided by the Figma community. But there’s a more straightforward way to add multiple colors wherever you want on your canvas without the need for external tools.
Here’s how to create a mesh gradient in Figma:
- Enter a new Figma file.
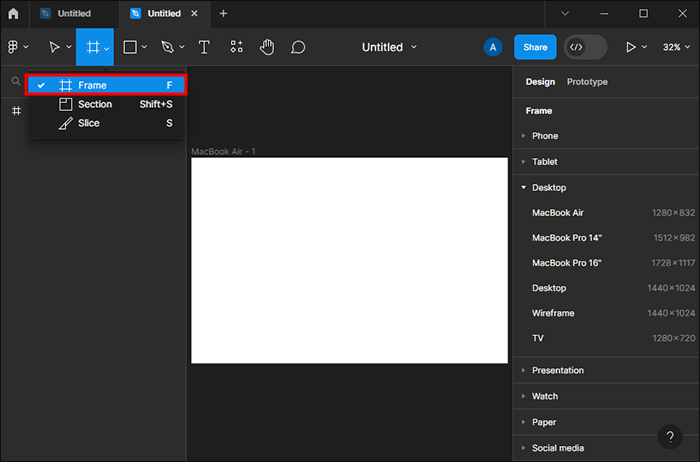
- Create a frame.
- Tick the “Clip content” box in the right panel so that whatever goes outside the frame gets clipped.
- Start adding various shapes or create your own object with the “Pen” tool inside the frame.
- Change the “Fill” of each new form so it differs from the rest.
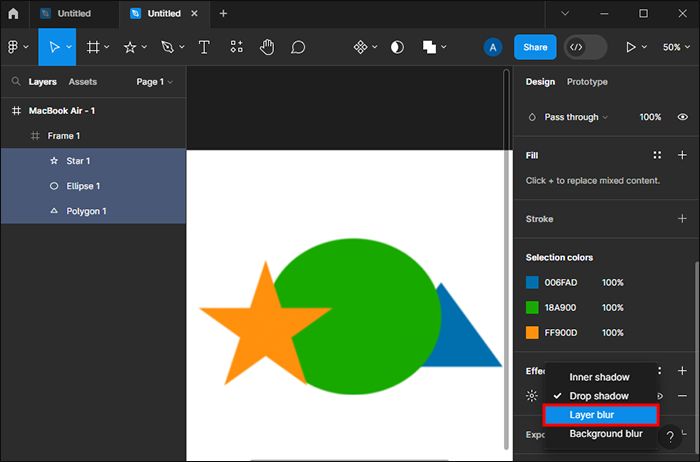
- Select all the shapes.
- Under “Effects,” press the drop-down menu and select “Layer blur.”
- Open the “Layer blur” settings and increase the value until you no longer see clear boundaries between the shapes.
- Save the style as above and use it on other objects.


Another way to create a mesh gradient is by using the angular style. It gives a slightly different but equally interesting fascinating result like the first tutorial.
Here’s what you need to do:
- Open a blank canvas.
- Use the shape you want and add it to the canvas.
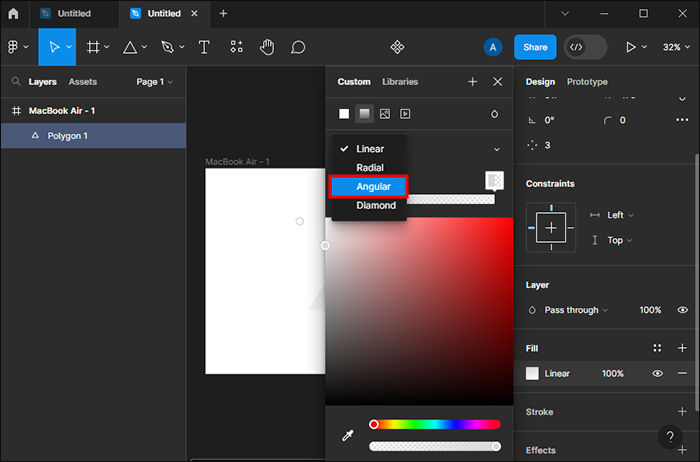
- Under “Fill,” change the “Solid” to “Angular.”
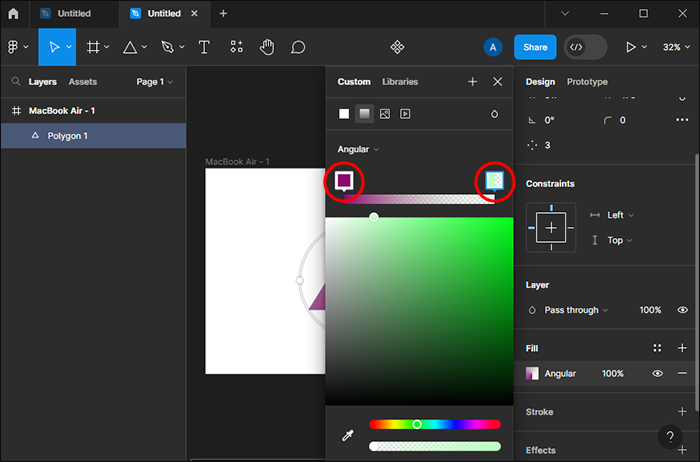
- Choose the colors for the gradient.
- Adjust the angle and other aspects of the gradient.
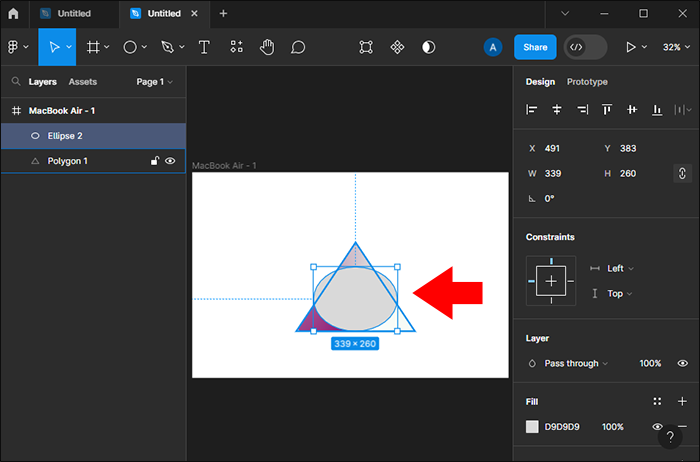
- Add another shape, preferably “Eclipse,” i.e., a circle.
- Put it on top of the other shape on the canvas.
- Add a linear gradient and change the color to the one that matches the rest well.
- Under “Effects,” use the “Layer blur” effect and blur the lines of the new shape to blend it into the first one.


How to Gradient an Image in Figma
Apart from creating a gradient, you can also overlay an existing image with a gradient to add some dimension. It gives it a “fade” effect or the illusion of an invisible light source shining on the image from the outside.
Here’s how to add a gradient to an image in Figma:
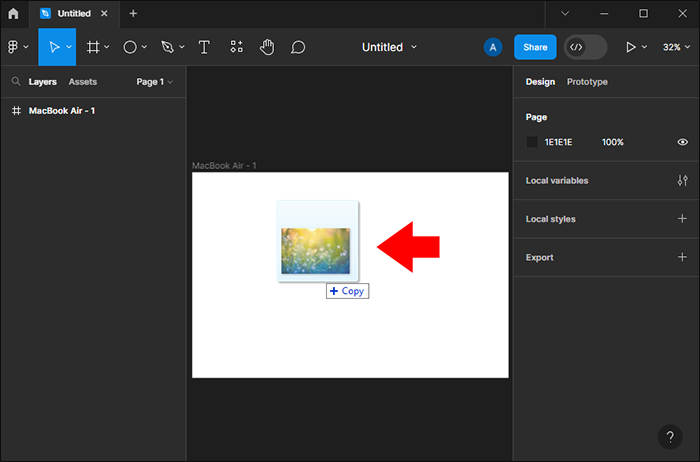
- Open a new file in Figma.
- Drag and drop the image you want to add the gradient to on the canvas.
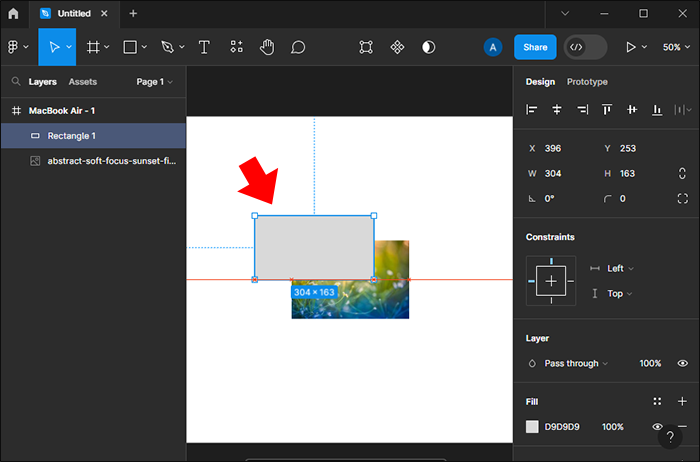
- Add a shape that matches the size of the image on top.
- Select a gradient style under the “Fill” section.
- Choose the colors of the gradient from the color picker.
- Adjust the opacity, angle, etc.


You can also use the “Pen” tool and draw a shape in the area where you want the gradient to be.
How to Gradient a Text in Figma
Creating a gradient on a text in Figma is pretty similar to how you create a gradient for any other shape. Here are the steps:
- Open a new canvas in Figma.
- Press the “Text” tool from the toolbar on the left.
- Click anywhere on the canvas and start writing.
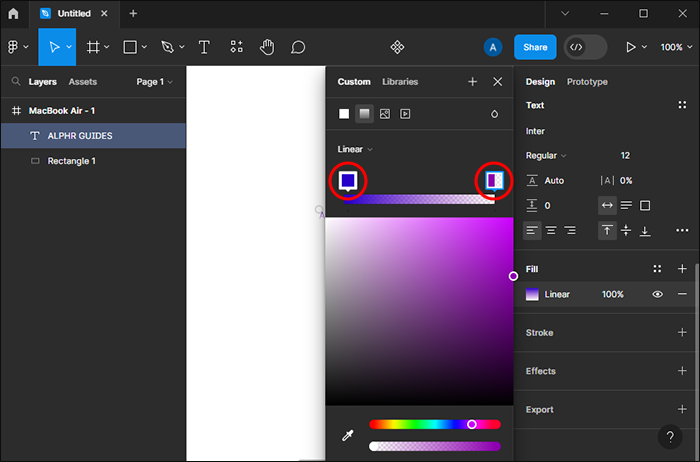
- Select the text and go over to “Fill.”
- Choose the gradient style.
- Press each color box and find the color you want to add to the gradient.


FAQs
How many colors can I add to a gradient in Figma?
You can add as many colors as you want in both standard and mesh Figma gradient styles. But try not to go overboard. Since gradients have multiple transitional colors, more than five might be too much, even for a mesh gradient.
Can I import a gradient into Figma?
You can import any gradient you want into Figma. For example, you can paste code from CSS (Cascading Style Sheets) by opening the “Code” panel and pasting the code. You can also import gradients from Adobe Illustrator.
Where can I find free Figma gradients?
You can find free and paid Figma gradients in the Figma community. It features a plethora of gorgeous and unique designs created by Figma users. You can filter by plugins, files, and widgets. Just type “gradient” in the search bar at the top and find the one you like.
Get Funky With Colorful Gradients
Gradients are an excellent way to make a design distinct and personalized. And Figma allows you to make a smooth transition between any two or more colors you choose. However, don’t overdo it. Mix colors that go well together and try to remain within the same color palette.
Have you already tried making a gradient in Figma? Tell us in the comments below which gradient style you used and for what you used it.
Disclaimer: Some pages on this site may include an affiliate link. This does not effect our editorial in any way.