Most people leave out footers on Google Slides because they have no dedicated editing option like in Google Docs or Microsoft PowerPoint. As such, the slides lack supplementary information that adds depth to the content and helps with organization and navigation. But, fortunately, editing Google Slides footer isn’t a complicated process.
This article will explain how to automatically add and delete a footer in single or multiple slides.
Editing the Footer in Google Slides
Editing Google Slides footer requires you to dig into menus to find the necessary tools. The process might not be straightforward if you’re new to the platform. But once you know where to find the editing tools, the process will be easy and won’t demand much of your time.
Adding Google Slide Footer on One Slide
Adding a footer to one slide at a time is appropriate if you want to emphasize certain aspects of each. Here’s how it’s done:
- Log in, navigate to the right side corner, and tap “Google apps” beside your profile icon. This displays all Google apps.

- Select “Slides” from the display to open it.

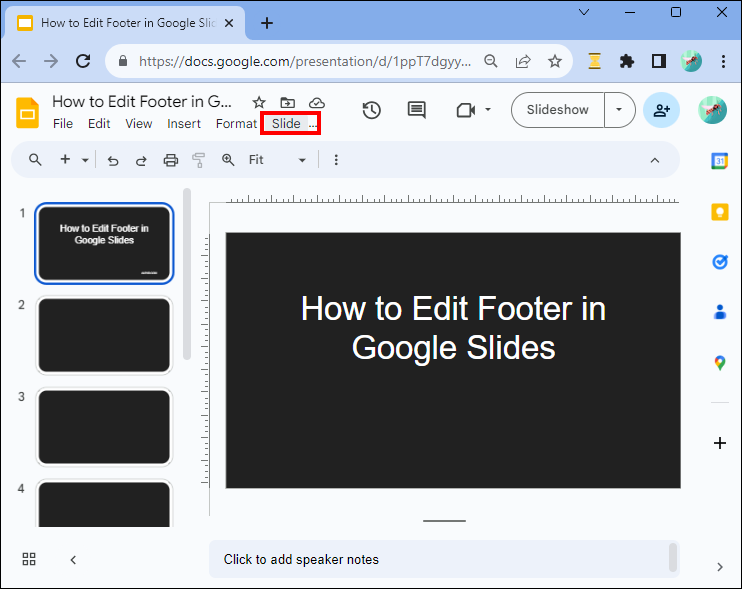
- Tap the “Add” icon when the home page loads to create a blank presentation. Alternatively, open an existing presentation on your Google Slides if you have one.
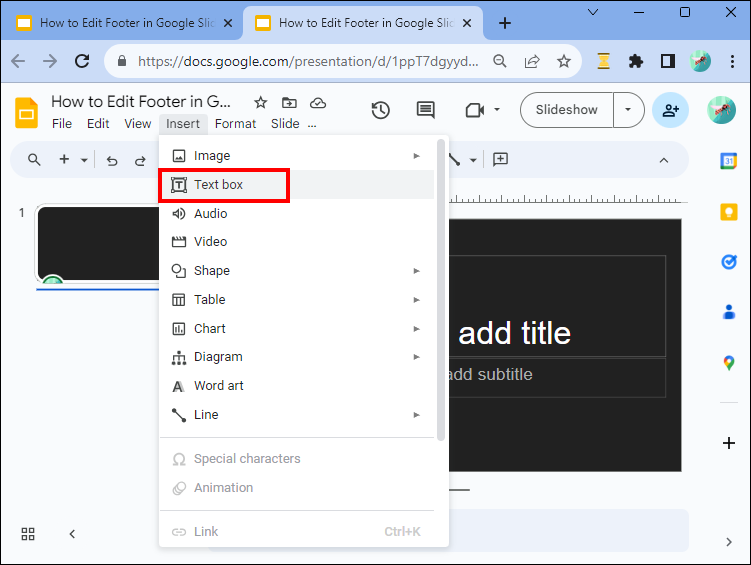
- After preparing your slide, navigate to the toolbar at the top and hit the “Text box” icon (it has a T on it). Alternatively, tap the “Insert” menu at the top and select “Text box.”
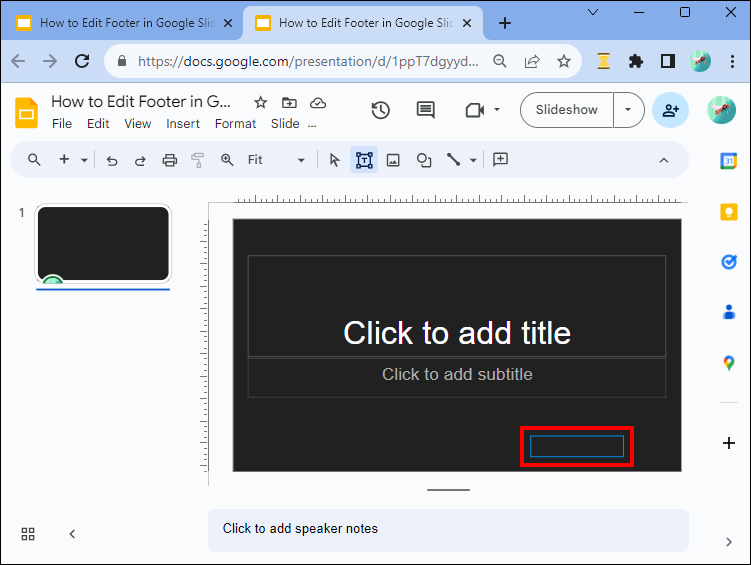
- Drag the text box to the bottom of the slide and drop it where you want the text to appear.
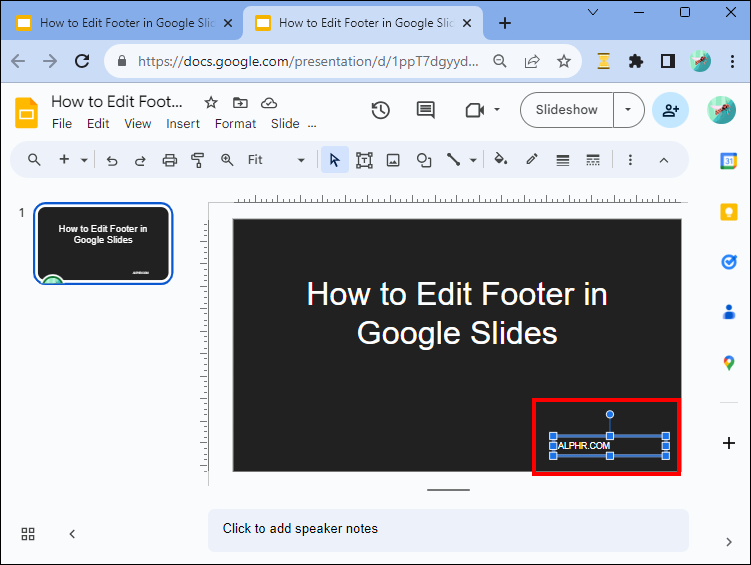
- Type the content in the text box. You can edit the text’s color, font type, size, alignment, and style using the toolbar options at the top.
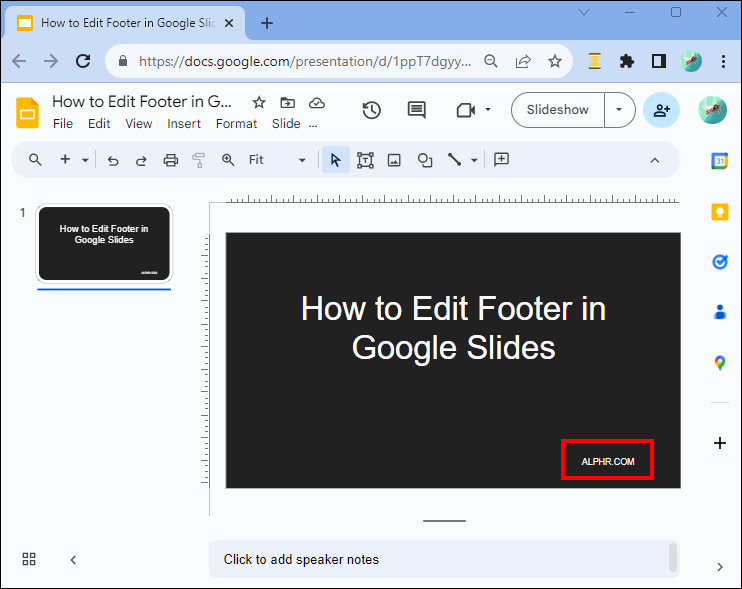
- When finished, tap anywhere outside the text box to exit the footer. You can drag and drop the footer and place it in the position you want at the bottom.


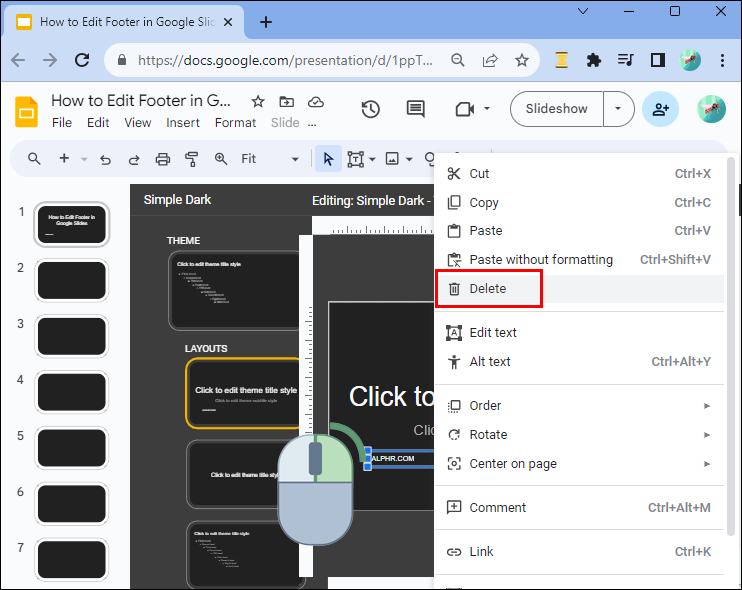
Deleting the Footer from the Slide
To delete the footer from the slide, follow these steps:
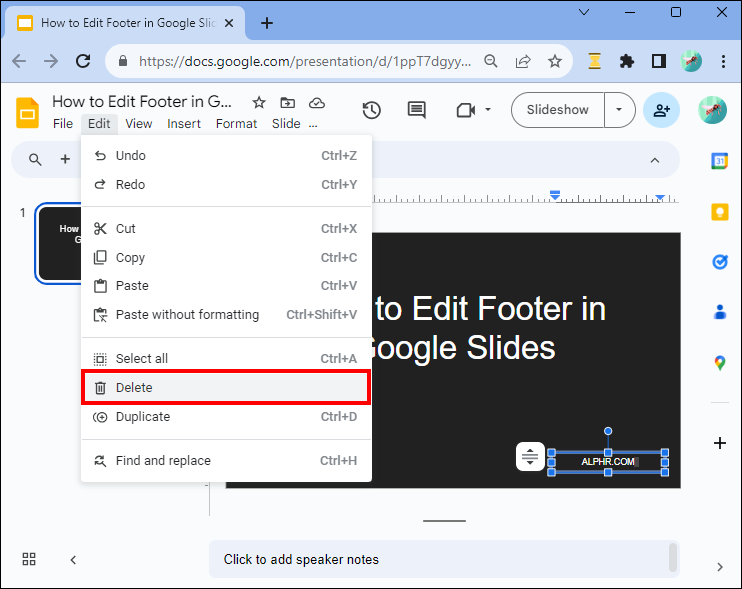
- Open the slide whose footer you want to delete.
- Tap the footer to highlight it.
- Select “Edit” in the toolbar and tap “Delete” in the drop-down menu.
Applying the Same Footer to All Your Slides
If you want to add the same footer on all your Google Slides, repeating the process for each slide can be daunting. Fortunately, there is a way you can edit the footer on a single slide and apply the effects to other slides automatically.
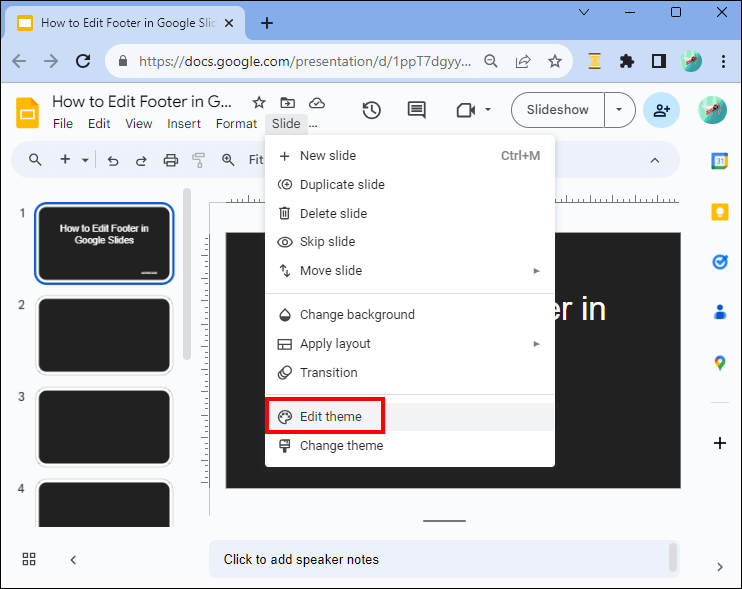
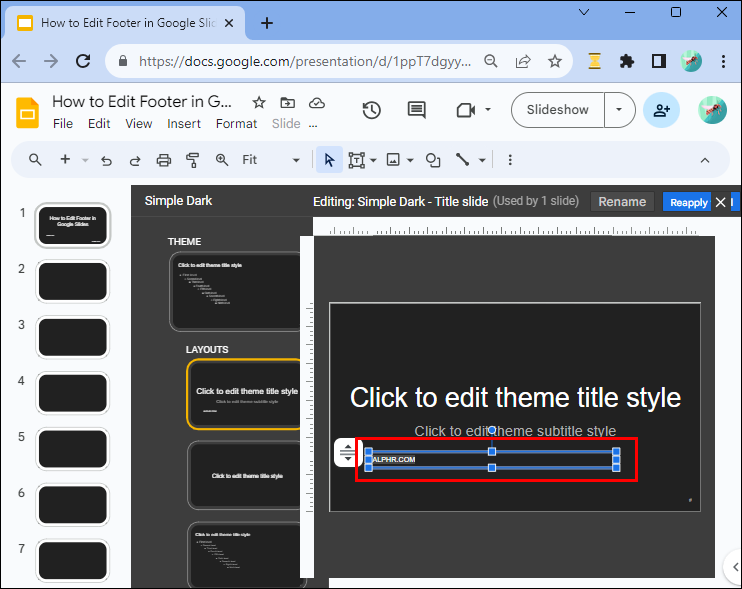
- Launch your Google Slides and create a new presentation. When all your slides are ready, navigate to the toolbar and select “Slide.”
- On the drop-down menu that pops, tap “Edit theme.” This should open the master editor.
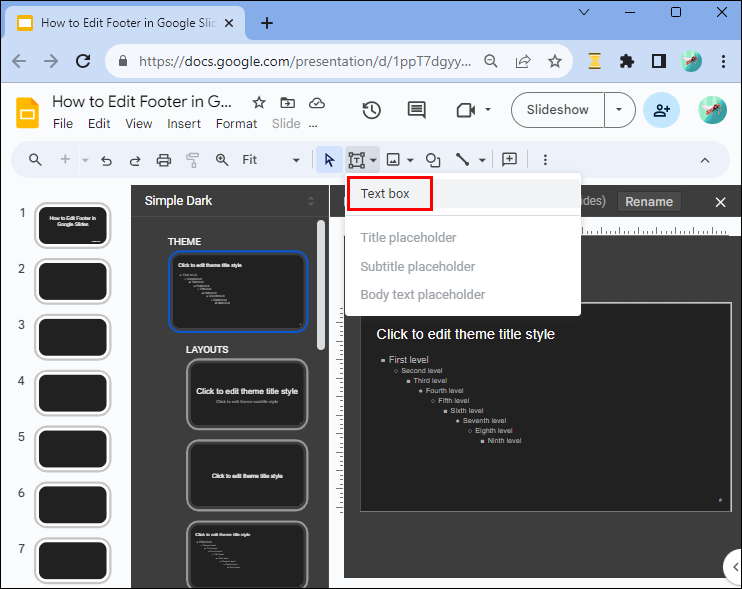
- Navigate to the left side pane and tap the “Master slide” (the one at the top).
- When the slide opens, tap the “Insert text placeholder” in the toolbar and select “Text box” from the drop-down menu.
- Drag the text box to the bottom of the slide and place it in the desired position.
- Type the text you want to appear on the footer and edit it appropriately using the toolbar options.
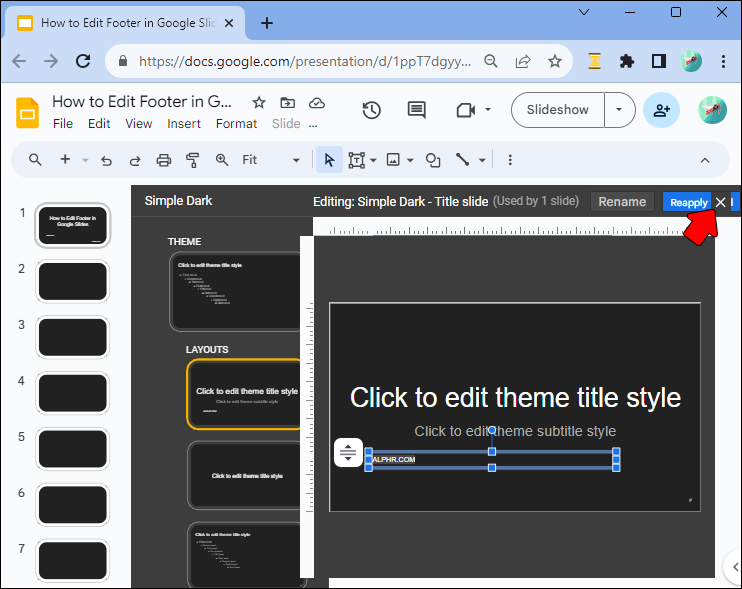
- After editing, tap the “Exit” button (X) in the top right corner to leave the master view. The footer will appear in all your theme slides.
Removing Footer on Google Slides
If you want to delete the footer from your slides, follow these steps:
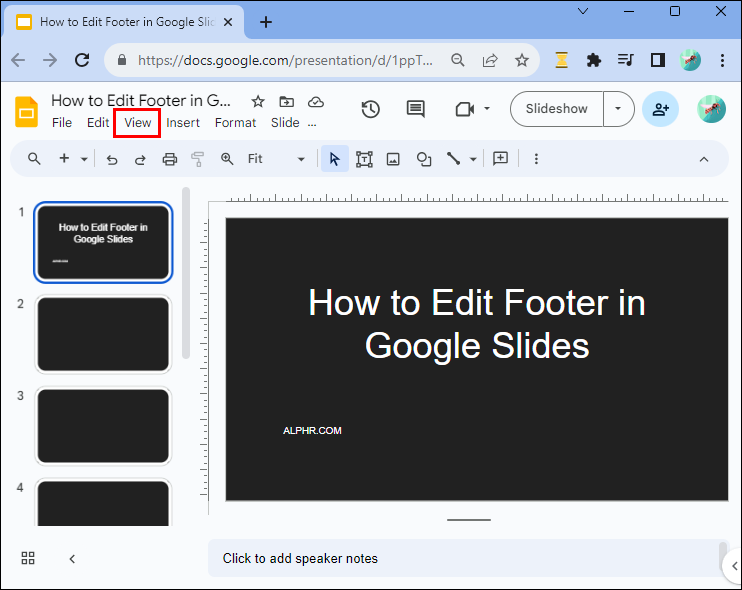
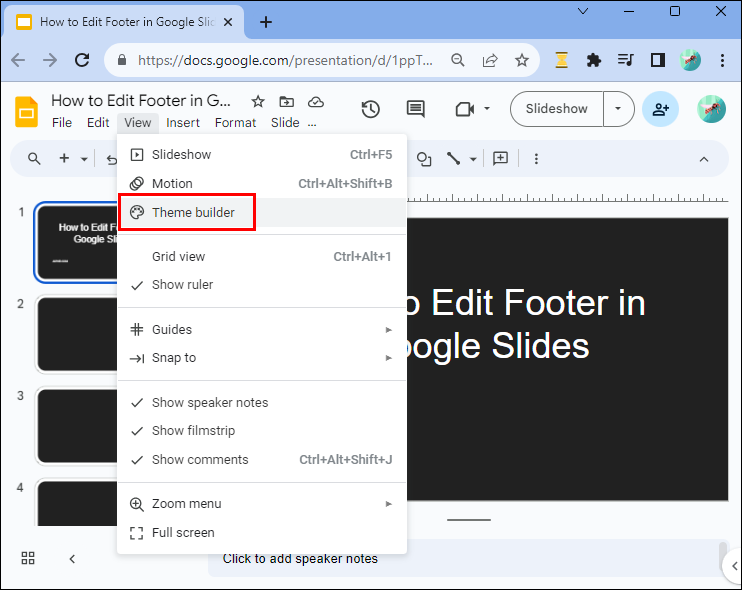
- With your Google Slides presentation open, go to the toolbar and tap “View.”
- Select “Theme builder” from the drop-down menu.
- Move to the left side pane and tap the “Mater slide” at the top.
- Hover over the footer and right-click. Choose “Delete” from the menu and exit the master view. This deletes the footer from all the slides.
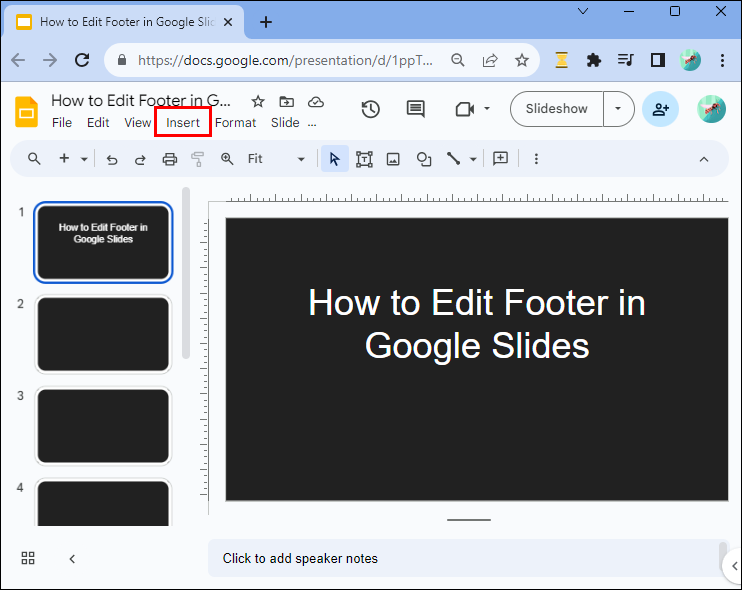
Adding Slide Number Footer on Google Slides
When creating a long presentation, adding slide numbers is invaluable. First, it adds structure and organization to your work, giving you and your audience a logical flow. Secondly, numbers help in referencing a specific slide. Though slide numbers are part of the footers, you don’t add them like text footers.
Here’s how it’s done:
- Open the presentation with the slides you want to number on your Google Slides.
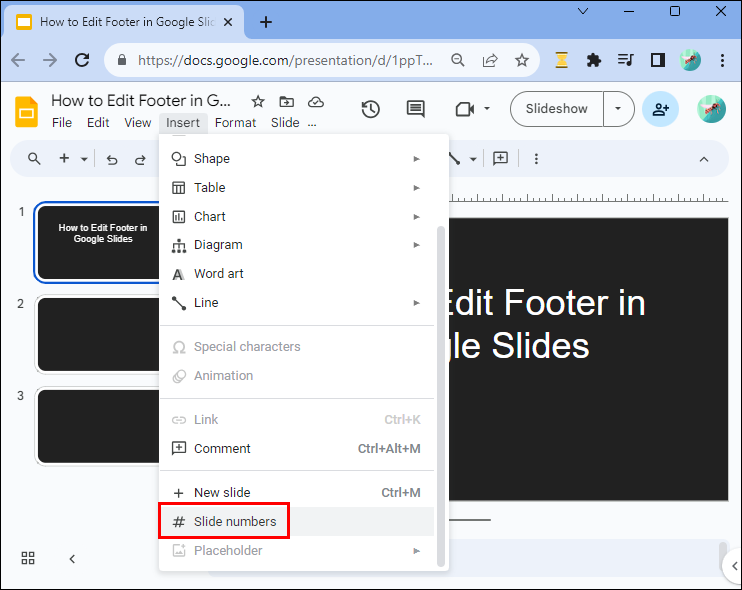
- Go to the toolbar and tap “Insert.”
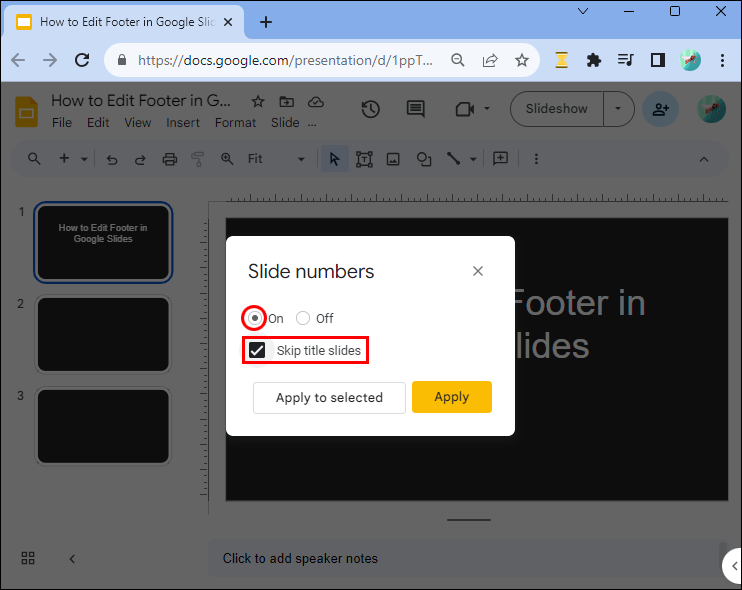
- Choose “Slide numbers” at the bottom of the drop-down menu. A pop-up window will appear on your screen.
- Tap the “On” button and check the box for “Skip title slides” if you want the numbering to start from the title slide. Leave the box unchecked if you want the numbers to begin from the next slide after the title.
- To insert numbers on the slide open on your workspace only, tap “Apply to selected.” On the other hand, if you want to number all the slides, tap “Apply.”

Removing Slide Number on Google Slides
To remove slide numbers, follow these steps:
- Open the slide presentation you want to remove numbers.
- Dab the “Insert” menu and select “Slide numbers.”
- Tap the “Off” button and hit “Apply.”

Best Practices When Editing Google Slides Footer
Although adding footers to your slides makes them look polished, adding them the wrong way can have the opposite effect. Here are some best practices to follow:
- Be consistent with footer formatting on all your slides: Use the same color, fonts, and size on your footers to create visual harmony throughout your presentation. This will enable the audience to concentrate on the content without being distracted by varying designs on each slide. Also, ensure the footer font size is slightly smaller than the slide font but still readable.
- Include only relevant details: Avoid cluttering your footer with too much information. Stick to pertinent details, like the company logo, slide number, and date.
- Position the footer in the right place: Ensure that the footer doesn’t obstruct critical details or graphics on the slide.
- Ensure your footer contrasts with the slide background: Maintaining the right contrast enhances readability. Choose light text on dark backgrounds and vice versa.
FAQs
Can I have different footers on different slides?
Yes, you can have a different footer on each slide. However, using a consistent formatting style is advisable to enhance readability and uniformity in your slides. Also, note that when you add different footers, you can’t edit them as a group – you edit each at a time which might be time-consuming.
How do I align the footer text to the center or right side of the slide?
By default, the footer text is aligned to the left. To align it differently, navigate to the toolbar and tap the “Alignment” menu towards the right. You’ll find the right and center alignment on the drop-down menu.
How do I position the footer without hiding the slide content?
The footer text box is movable – you can position it anywhere by dragging and dropping it. Hover over the text box and press and hold the left side of the mouse or touchpad with your left hand and use your right hand to move the text box to your desired position.
Polish Your Presentation
With the right know-how, adding footers to your Google Slides shouldn’t be daunting. You can now add a professional touch to your slides in no time. But you should remember to balance the informative value of a footer against the potential to distract from your slide’s content.
Have you ever added footers on Google Slides? If so, did you use any of the tips and tricks featured in this article? Tell us in the comments section below.
Disclaimer: Some pages on this site may include an affiliate link. This does not effect our editorial in any way.